
Aria Sew Along | Getting Started
We are happy to bring you a sew along for the Aria Top sewing pattern. The sew along features step-by-step photos for the entire sewing process! In addition to the sew along, we also have community-led sewing support in our Facebook group, or you can email us directly for additional support.
GATHERING SUPPLIES
Before we begin sewing, here's what you'll need for your Aria:
- The Aria Top Pattern, we have an adult version and a mini version.
- Washed and pressed fabric: we have a fabric resource post here.
- Tricot fusible interfacing: we recommend this tricot fusible interfacing from Wawak.
- 1/4" Elastic. You'll need between 1 1/2 - 2 1/2 yards, depending on the size. There is a cut chart in the tutorial.
- If sewing the Mini Aria, View A (high back), you will also need a button and elastic cord (I usually use a hair band in a matching color for the center back elastic cord).
VIEW A | High Back with Bias or Facings

VIEW B | Low Back with Facings

MINI ARIA | High Back with Bias

Optional Notions
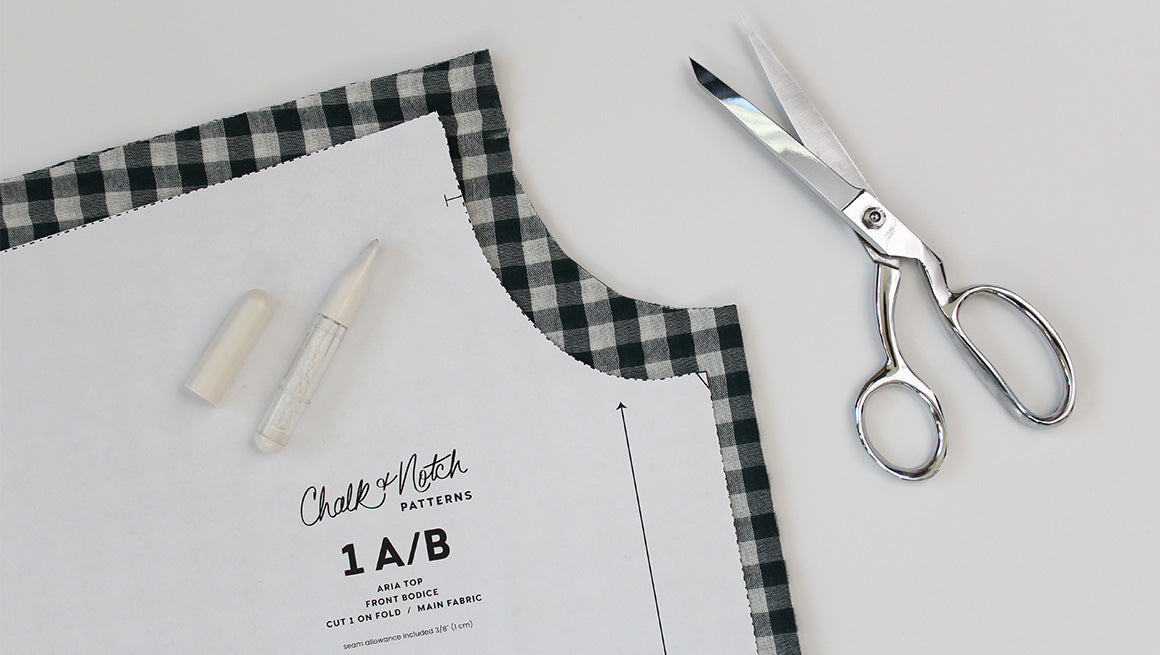
- Tailor's Chalk or Washable Fabric Marker
- Pressing Ham
TIPS FOR CUTTING
When cutting your fabric and pattern, here are a few important notes to remember:
- Your fabric should be pre-washed the same way you plan to launder your garment.
- Read the information on each pattern piece.
- Grainlines are indicated on the pattern pieces. Place pattern pieces on the grainline, parallel to the selvage or fold.
- If the pattern says “Cut 2,” the pieces are mirror images of each other.
- If the pattern says “Cut on FOLD,” place the pattern edge exactly along the fold of the fabric.
- Clip all notches at 1/4” (0.6 cm) or less.
- Transfer all pattern markings to your fabric with a washable marker or chalk.
CUT LISTS
VIEW A | HIGH BACK W/BIAS

MAIN CUT LIST
- #1 A/B OR C/D - FRONT BODICE - CUT 1 ON FOLD
- #2 HIGH BACK BODICE - CUT 1 ON FOLD
- #4 HIGH NECK BIAS - CUT 1
VIEW A | HIGH BACK W/FACINGS

MAIN CUT LIST
- #1 A/B OR C/D - FRONT BODICE - CUT 1 ON FOLD
- #2 HIGH BACK BODICE - CUT 1 ON FOLD
- #5 FRONT FACING - CUT 1 ON FOLD
- #6 HIGH BACK FACING - CUT 1 ON FOLD
FUSIBLE INTERFACING CUT LIST
- #5 FRONT FACING - CUT 1 ON FOLD
- #6 HIGH BACK FACING - CUT 1 ON FOLD
VIEW B | LOW BACK W/FACINGS

MAIN CUT LIST
- #1 A/B OR C/D - FRONT BODICE - CUT 1 ON FOLD
- #3 LOW BACK BODICE - CUT 1 ON FOLD
- #5 FRONT FACING - CUT 1 ON FOLD
- #7 LOW BACK FACING - CUT 1 ON FOLD
- #5 - BACK TIES - CUT 2
FUSIBLE INTERFACING CUT LIST
- #5 FRONT FACING - CUT 1 ON FOLD
- #7 LOW BACK FACING - CUT 1 ON FOLD
Aria Top Sew Along Posts | Getting Started | Prepare Neckline and Sew Shoulder Seams | Sew Bias Neckline | Sew Facing Neckline | Sew Side Seams and Hem | Mini Aria: View A
