Reya Sew Along | Prep Pattern & Sew the Drawstring
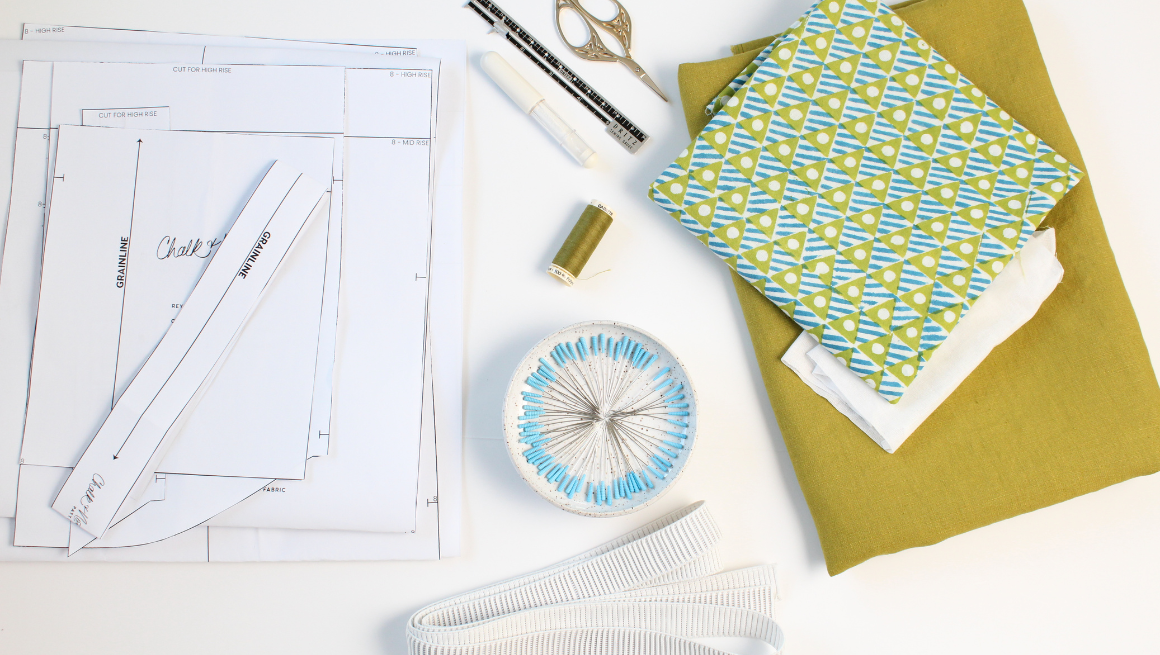
In this post, we are going to prepare our pattern by marking our pattern, adding fusible, and sewing the drawstring. Sewing the drawstring is not hard, but it's not my favorite part, so I like to get it out of the way first.
SEAM ALLOWANCE, RISE & MARKINGS
Unless noted, the seam allowance included is 3/8” (1 cm) for joined seams and 1/2” (1.25 cm) for the side seams.
Cut the pattern rise length based on your preference. Clip or mark the notches and pocket placements. The notches are indicated by “T” marks. The back pocket placements are indicated by “+” marks and should be marked on the right side of the fabric. The tutorial will show the shorts view, but the construction is the same for the pants view.

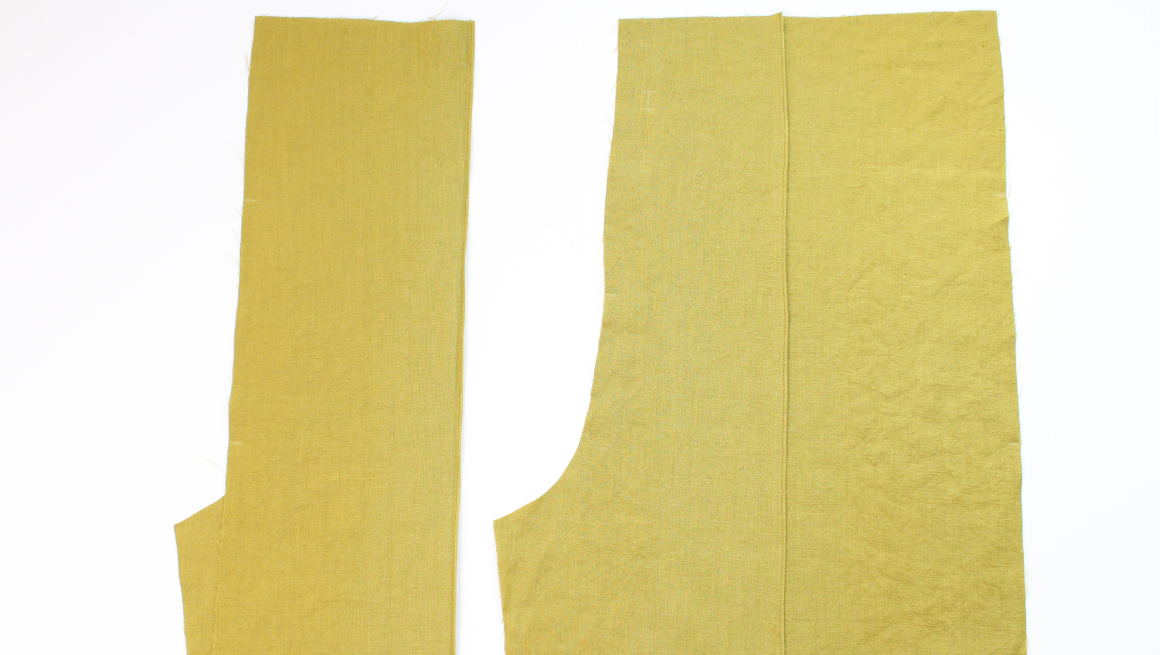
ATTACH THE INTERFACING
Attach fusible interfacing to the wrong side of the front pieces behind the buttonhole markings. If you are not including drawstrings, you can omit this step. Alternatively, you can wait to add the interfacing until sewing your buttonholes. Attach the fusible to the top of the back patch pockets. Attach the fusible to the four side pocket facing pieces.

As a side note, if you use the main fabric for your side pockets, you will not have pocket-facing pieces. If you omit the waist drawstring, skip to the next post here.
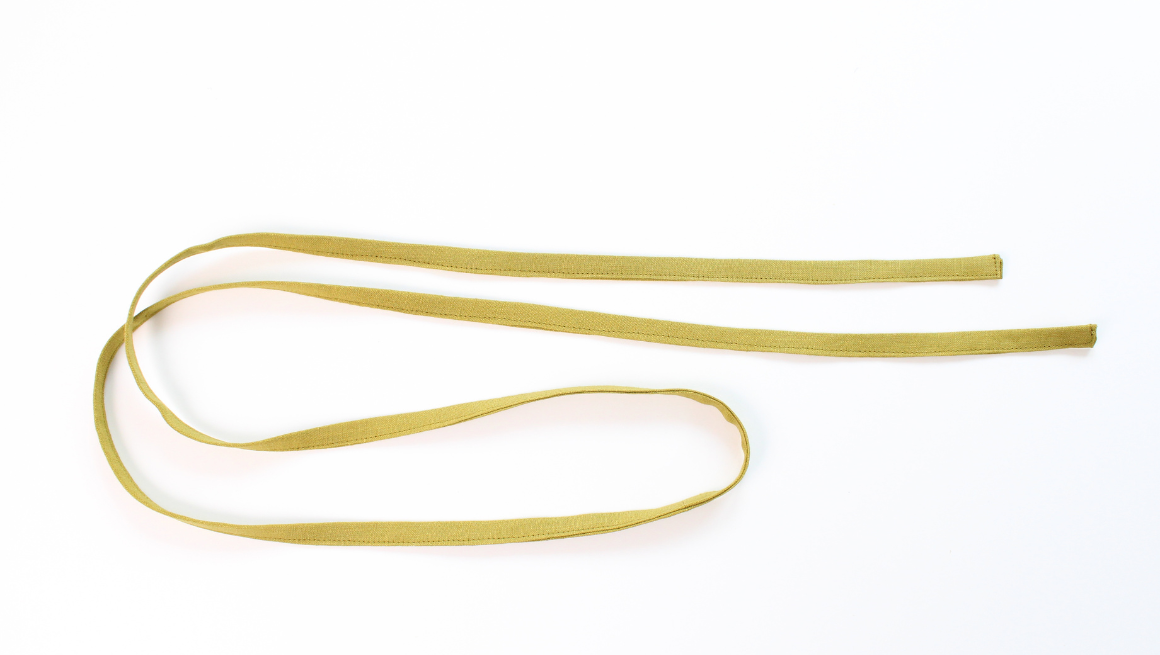
PREP THE WAIST DRAWSTRING
With the right sides together, sew the waist drawstring together at the short ends at 3/8” (1 cm). Press the seam open.

SEW THE WAIST DRAWSTRING
Press the short ends in wrong sides together at 3/8” (1 cm).

With the wrong sides together, fold the ties in half lengthwise and press to create a fold line.

Open and press the cut edges to meet the center fold line.

Fold again to create a 3/8” (1 cm) wide drawstring and edgestitch the three open ends. Set aside.

Reya Sew Along Posts: Getting Started | Prep Pattern & Sew the Drawstring | Sew the Pin Tuck | Sew the Back Pockets | Sew the Side Pockets & Side Seams | Sew the Inseams & Rise | Sew the Waistband & Hem