Reya Sew Along | Sew the Pin Tuck
In this post, we will be sewing the front pin tuck. This is the primary design element of the Reya pants, and I'm embarrassed to admit I have forgotten to sew it. So, I always try to sew it first. If this is your first time sewing a pin tuck, I promise it is as easy as sewing a straight line!
PREP THE FRONT PIN TUCK
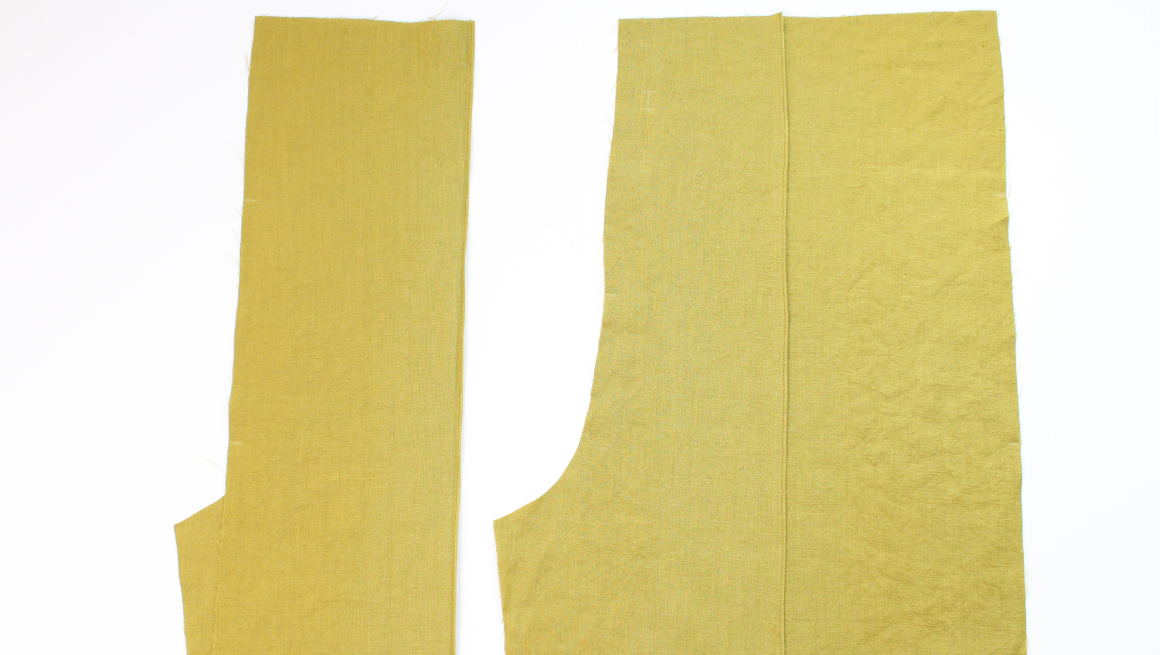
Find the notches on the top and hem of the front pieces. You will notice that the hem notch is centered at the hem. You may find making a straight line with a washable marker or chalk helpful.
With the wrong sides together, press the center front pin tuck. Add a few pins to secure it in place.

SEW THE FRONT PIN TUCK
Sew a line 1/8” (0.3 cm) away from the folded edge to create a pin tuck down the center front pieces. Press the pin tuck towards the side seams. If omitting the back pockets, skip to the next post here.

Reya Sew Along Posts: Getting Started | Prep Pattern & Sew the Drawstring | Sew the Pin Tuck | Sew the Back Pockets | Sew the Side Pockets & Side Seams | Sew the Inseams & Rise | Sew the Waistband & Hem