Tess Sew Along | Prepare and Sew Neckline
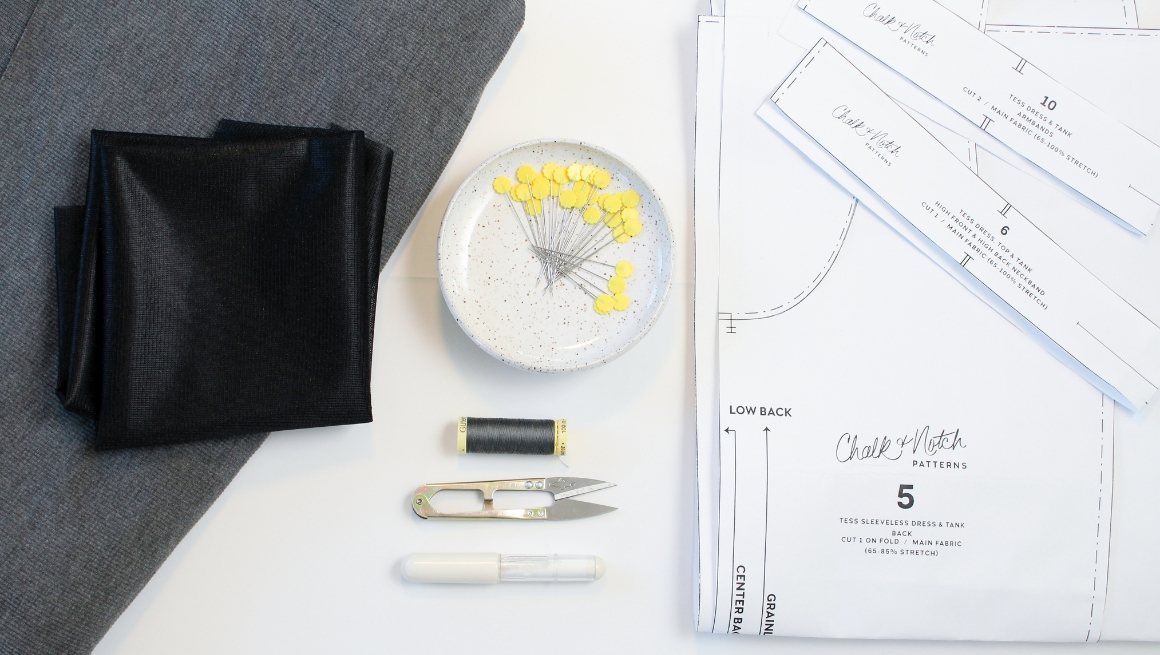
It’s time to begin the sewing portion of our Tess Sew Along, we’ll start by preparing our pattern pieces and sewing the neckline.
Unless noted, the seam allowance included is 3/8″ (1 cm) for joined seams.
Clip or mark the notches indicated by ‘T” marks.
While the sew along won’t show every neckline combination, construction will be the same for each.
ALL DRESS VIEWS | OPTIONAL FUSIBLE
When sewing the dress, apply a 1/2″ (1.25 cm) piece of tricot fusible to the wrong side of the shoulder seam. This step is not required for the top, but recommended if your knit is lightweight. Apply the remaining tricot fusible interfacing pieces to the hems and slit extensions. Skip to the next step if sewing the dress.

PREP THE HEM | TOP OR TANK VIEW
When sewing the top or tank view, you can prep the bodice hem and sleeve hem by finishing the edge. The overlock stotches in this image are hard to see due to the perfect thread match. Now skip ahead to ‘Sew the Shoulder Seams’.

PREP THE HEM | DRESS
When sewing the dress, you can prep the slit extension, hem, and sleeves by finishing the edge.

ALL VIEWS | SEW THE SHOULDER SEAMS
With the right sides together, sew the shoulder seams. Finish and press the seams towards the back.

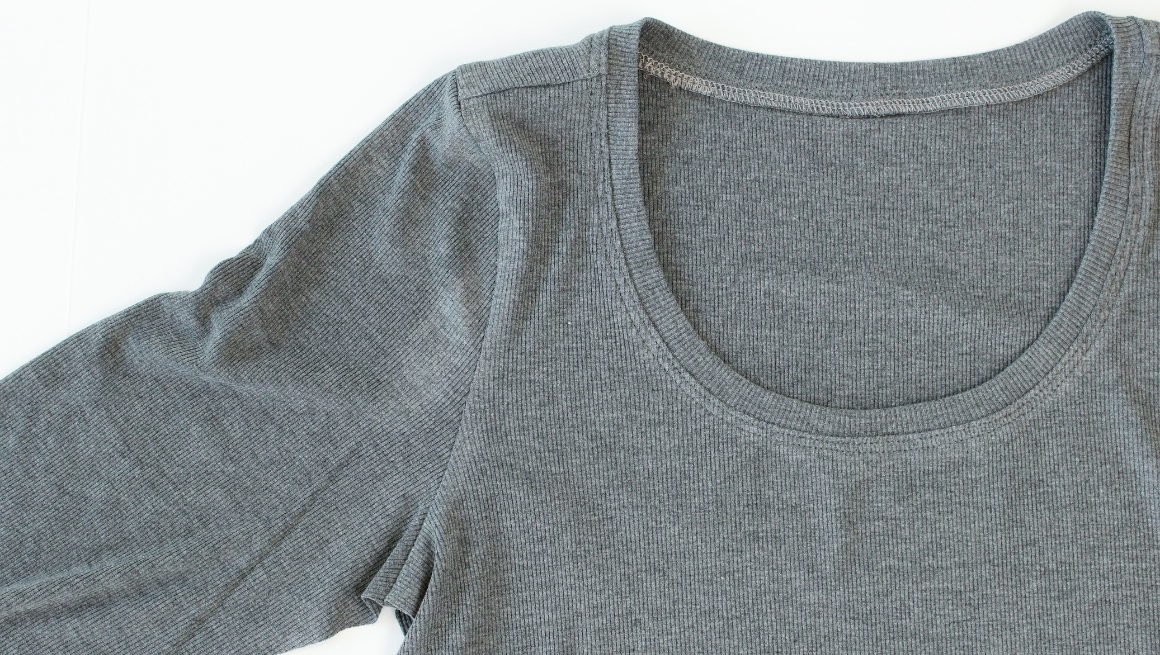
ALL VIEWS | SEW THE NECKBAND
With the right sides together, sew the neckband at the short end. Press the seam open.


Fold the neckband in half with the wrong sides together and press. The quarter points are marked with notches.

ALL VIEWS | FIND THE NECKLINE QUARTER MARKS
To help attach the neckband, you’ll need to add quarter notches to your neckline. The pattern does not include notches since each neckline is different.
Start by matching the center front and center back necklines to find the midpoint between them. This will look different depending on what neckline you’re sewing.

Mark the quarter point with a pin or notch, then repeat for the other side.
ALL VIEWS | SEW THE NECKBAND
Line up the neckband seam with the center back. Continue to pin the rest of the neckband around the neckline, matching the notches, while evenly stretching the neckband slightly. Do not stretch the garment. Sew a basting stitch to confirm the neckband ratio is correct for your fabric. Once confirmed, sew the seam.

Finish and press the seam towards the bodice

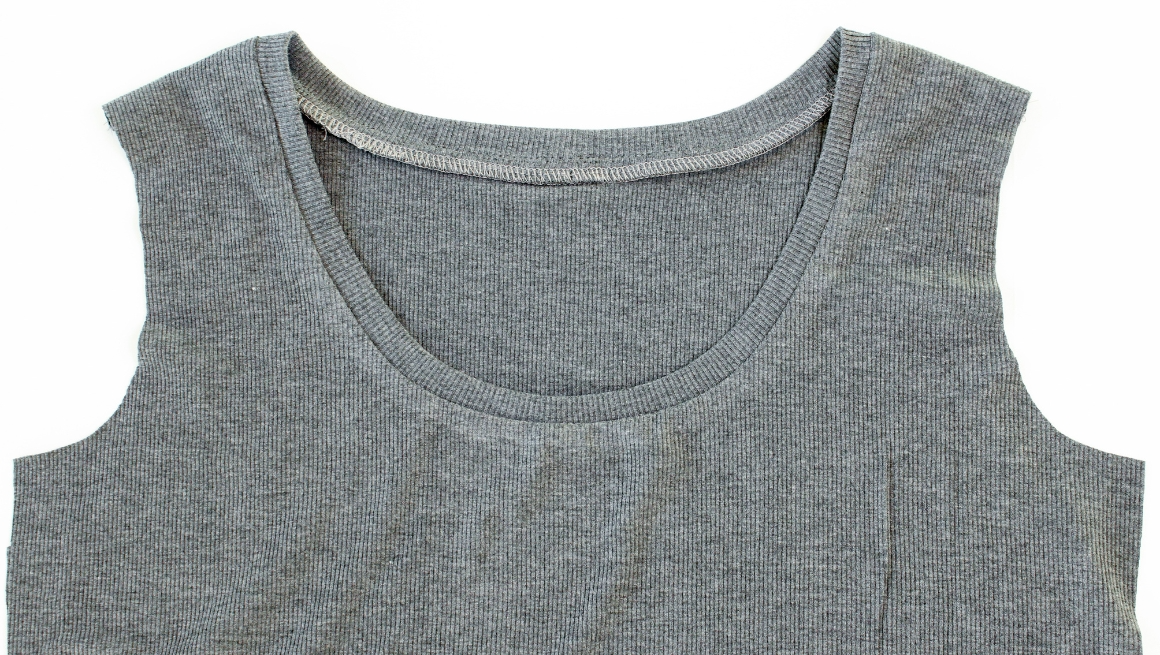
ALL VIEWS | NECKBAND TOPSTITCHING
Topstitch the neckline at 1/4″ (0.6 cm) to hold the seam allowance in place.

That’s it for this installment of the Tess Sew Along. Check out our other sew along posts below.
Tess Sew Along Posts: Getting Started | Prepare and Sew Neckline | Sew Sleeves, Top Side Seams and Hem| Dress Side Seams, Slit and Hem | Sew Sleeve Hems or Armbands
%20for%20joined...)