
Joy Sew Along | Cutting & Applying Fusible
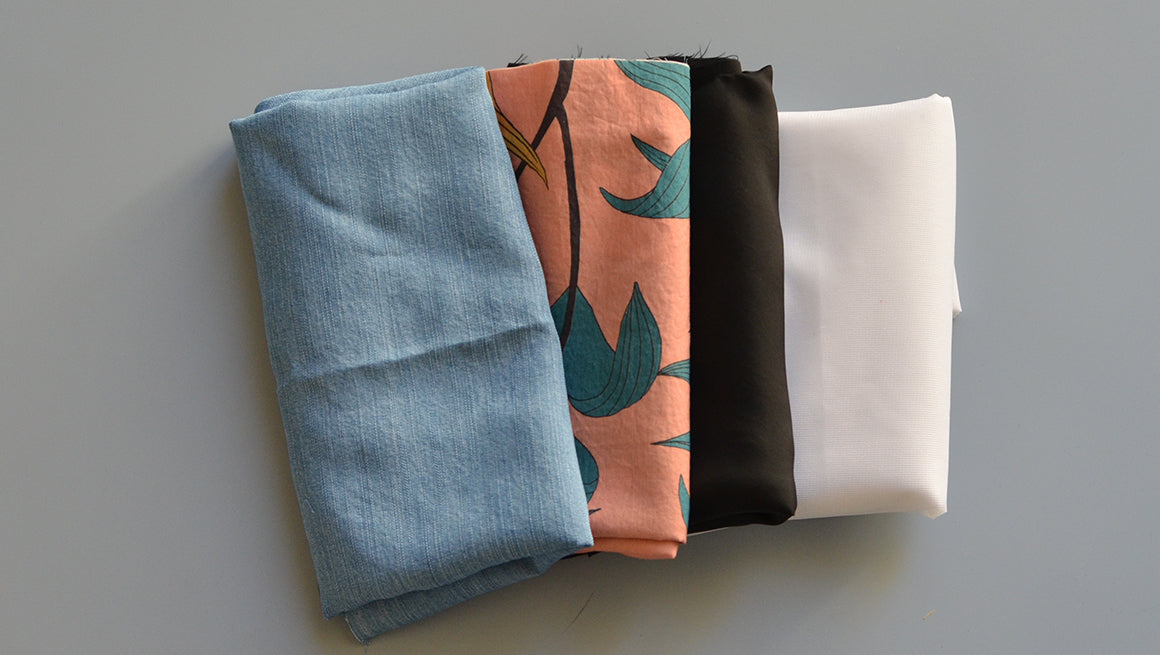
Time to get cutting! Yes, there is a lot of cutting and fusible prep to get this pattern ready to sew, but don't let that stress you out. If you take your time with this part, you will set yourself up for smooth sailing during sewing!
CUT LISTS
Update Nov 2021 || The Joy Jacket has been updated to include sizes 0-30 with two bust cup options. The cut lists and pattern pieces numbers have changed from the originally released pattern. You can find the updated pattern in your Chalk and Notch account. Please reach out if you need help.
I recommend laying out everything before you start cutting to make sure you have the best placement. There are a lot of pieces to cut and fuse, but I promise the prep is worth it!
There is one thing I want to mention before you start cutting. Below, I talk about block fusing. You might want to try this option for the fully fused pieces if you have enough fabric. For the other pieces, you can apply the fusible interfacing after you cut your pieces out.
Use the Cut Lists in the tutorial as a checklist as you are cutting out your pattern pieces. The pockets are interchangeable for either view.


Applying Fusible
There are pattern pieces that are fully fused for the Joy Jacket, and I prefer to block fuse these pieces. To do this, you fuse a block of fabric completely and then cut your pieces out of the fabric that is already fused with the interfacing. All other fusible pattern pieces will need to be cut and fused to the main fabric.
PATTERN PIECES TO BLOCK FUSE - VIEW A
- #6 OR #7 FRONT FACING - CUT 2
- #8 CENTER BACK FACING - CUT 1 ON FOLD
- #9 COLLAR & COLLAR FACING - CUT 1 ON FOLD
- #14 OR #15 FRONT HEM FACING - CUT 2
- #16 BACK HEM FACING - CUT 1 ON FOLD
PATTERN PIECES TO CUT & FUSE - VIEW A
- #29 FRONT SLEEVE HEM FUSIBLE - CUT 2
- #30 BACK SLEEVE HEM FUSIBLE - CUT 2
- #31 SQUARE POCKET FUSIBLE - CUT 2
- #33 COLLAR/HOOD CENTER FRONT FUSIBLE - CUT 2
- #34 BODICE CENTER FRONT FUSIBLE - CUT 2
- 1” (1.5 cm) SQUARE OF FUSIBLE IF ADDING GROMMETS
PATTERN PIECES TO BLOCK FUSE - VIEW B
- #6 OR #7 FRONT FACING - CUT 2
- #8 CENTER BACK FACING - CUT 1 ON FOLD
- #12 HOOD SIDE FACING - CUT 2
- #13 HOOD CENTER PANEL FACING - CUT 1
- #14 OR #15 FRONT HEM FACING - CUT 2
- #16 BACK HEM FACING - CUT 1 ON FOLD
PATTERN PIECES TO CUT & FUSE - VIEW B
- #29 FRONT SLEEVE HEM FUSIBLE - CUT 2
- #30 BACK SLEEVE HEM FUSIBLE - CUT 2
- #32 ANGLED POCKET FUSIBLE - CUT 2
- #33 COLLAR/HOOD CENTER FRONT FUSIBLE - CUT 2
- #34 BODICE CENTER FRONT FUSIBLE - CUT 2
- 1” (1.5 cm) SQUARE OF FUSIBLE IF ADDING GROMMETS
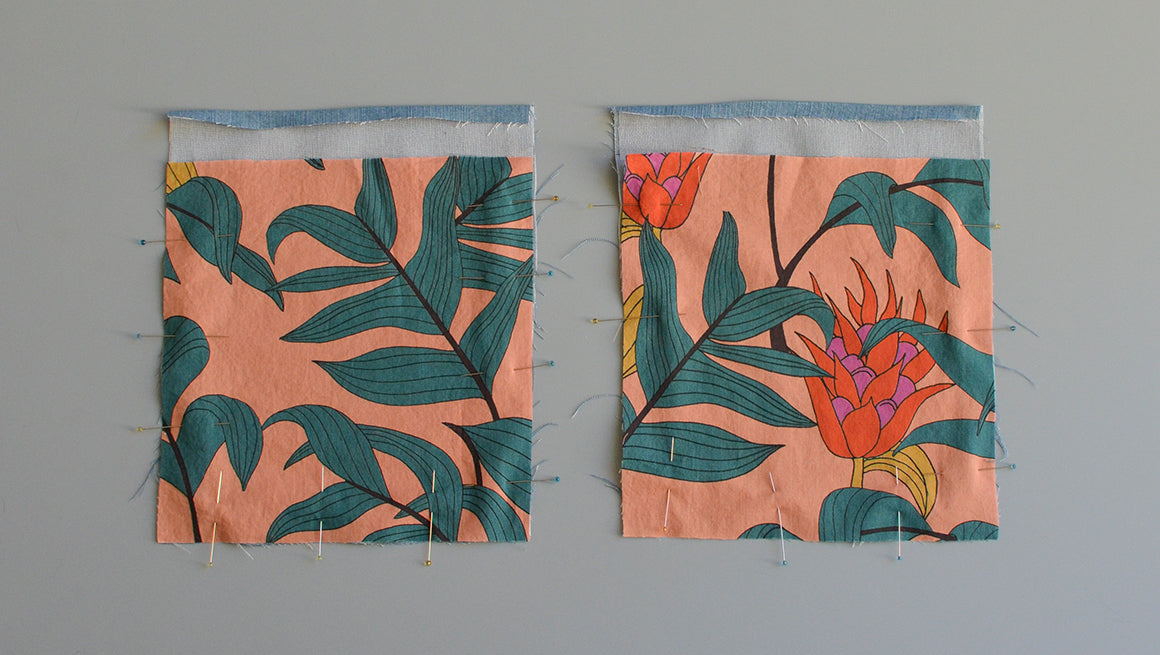
Don't forget to transfer all notches and "+" markings from your pattern to your cut pieces. These will be really helpful when sewing. Now that all of the cutting and fusing is out the way, you can start sewing!
Joy Jacket Sew Along
1 Sewing Supplies || 2 Pattern Adjustments || 3 Cutting and Applying Fusible || 4 Prepping Drawstrings & Pockets || 5 Assemble Outer Main Fabric || 6 Assemble Lining || 7 Assemble Facing & Attach to Lining || 8 Set Zipper & Add Grommets or Buttonholes || 9 Bagging Lining & Finishing Details
Gabriela