Article: Noe Sew Along | Sewing Hem and Long Dress Ruffle
Noe Sew Along | Sewing Hem and Long Dress Ruffle
If you prefer a video reference, we have an Instagram reel for steps 18, 20-21 HERE.
19. HEM THE TANK | TANK ONLY
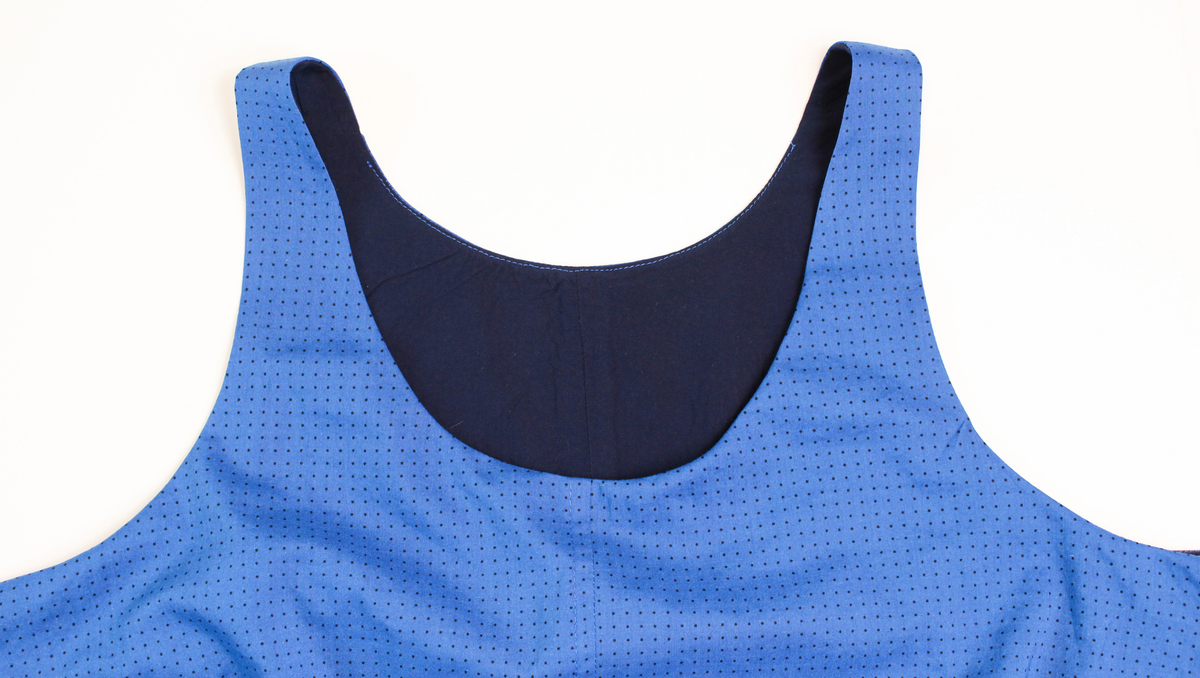
If you are sewing a tank, you can hem both your main and lining separately. The lining is 3/8” (1 cm) shorter than the main bodice. Prep the hem by stitching a fold guide at 1/4” (0.6 cm). Press the hem 1/4” (0.6 cm), wrong sides together. Fold the hem up again at 1/4” (0.6 cm) and pin in place. Sew from the wrong side, edgestitching the hem in place. Make sure your bobbin thread matches your main fabric. Press your hem. Skip to step 31.
20. ENCLOSE THE TANK BODICE (OPTIONAL) | TANK ONLY
Your lining should have an opening on one side seam.
 Add a safety pin on the side seam without the opening through the main and lining at the hem. This will help the tank from twisting during turning.

Turn the tank wrong side out by pulling through the opening on the lining side seam.
 Unpin the safety pin and pin the main and lining hem, right sides together, starting with the front hem.
 Sew the front hem at 3/8” (1 cm).

Turn right side out and repeat for the back hem.

Turn the bodice right side out and press the hem edge. The lining will be slightly shorter than the main fabric.

Press your hem.

21. CLOSE THE SIDE SEAM OPENING | TANK ONLY
With the bodice wrong side out, pin the side seam opening so the folded edges meet.

Edgestitch a line 1/16” (0.15 cm) away from the seam to close the opening.
 Press.

Your tank is sewn, skip to step 31.

22. HEM THE LINING | DRESS VIEWS
If sewing a short dress, prep the lining hem by stitching a fold guide at 3/8” (1 cm). Press the lining hem 3/8” (1 cm), wrong sides together. Fold again at 1” (2.5 cm) and pin in place. Sew from the wrong side, edgestitching in place. If sewing a long dress, prep the lining hem by stitching a fold guide at 1/4” (0.6 cm). Press the lining hem 1/4” (0.6 cm), wrong sides together. Fold again at 1/4” (0.6 cm) and pin in place. Sew from the wrong side, edgestitching in place. Make sure your bobbin thread matches your lining fabric. Press your hem. If sewing a short dress, continue to step 23. If sewing a long dress, skip to step 27.
 Press the lining hem 3/8” (1 cm), wrong sides together. Fold again at 1” (2.5 cm) and pin in place. Sew from the wrong side, edgestitching in place.
 If sewing a long dress, prep the lining hem by stitching a fold guide at 1/4” (0.6 cm).
 Press the lining hem 1/4” (0.6 cm), wrong sides together. Fold again at 1/4” (0.6 cm) and pin in place. Sew from the wrong side, edgestitching in place. Make sure your bobbin thread matches your lining fabric.

Press your hem. If sewing a short dress, continue to step 23. If sewing a long dress, skip to step 27.
23. SEW THE HEM FACING SIDE SEAMS | SHORT DRESS ONLY
With the right sides together, sew the front and back hem facings at the side seams and the center back. Press the seams open.

 24. SEW A HEM GUIDE | SHORT DRESS ONLY
Prep the hem facing by stitching a fold guide just under 3/8” (1 cm) at the top edge without the notches. Press the top hem 3/8” (1 cm), wrong sides together.


25. SEW THE HEM FACING & UNDERSTITCH | SHORT DRESS ONLY
With the right sides together, sew the hem facings to the skirt hem. Press the seam towards the facing. Understitch by stitching a line 1/16” (0.15 cm) away from the seam on the facing. Make sure to catch the seam allowance towards the facing when stitching.

 26. EDGESTITCH THE HEM FACING | SHORT DRESS ONLY
Press the hem facing towards the inside of the skirt, and pin the folded facing edge in place. Sew from the wrong side, edgestitching at 1/16” (0.15 cm) from the folded edge. Make sure your bobbin thread matches the right side of your garment and press. If sewing a short dress, skip to step 31.


 27. SEW THE RUFFLE SIDE SEAMS | LONG DRESS ONLY
With the right sides together, sew the front and back hem ruffles at the side seams and the center back. If you cut the front ruffle in two pieces, you will also have a center front seam on your front ruffle. Press the seam allowance towards the back.
 28. SEW THE RUFFLE HEM | LONG DRESS ONLY
If you think you will need to adjust the length, you can wait to hem the skirt as the last step. Prep the skirt hem by stitching a fold guide at 1/4” (0.6 cm). Make sure you are hemming the edge without notches. Press the hem 1/4” (0.6 cm), wrong sides together. Fold the hem again 1 3/4” (4.5 cm). A hem gauge can be helpful. Edgestitch the hem. Press the hem.


 29. GATHER THE RUFFLE HEM | LONG DRESS ONLY
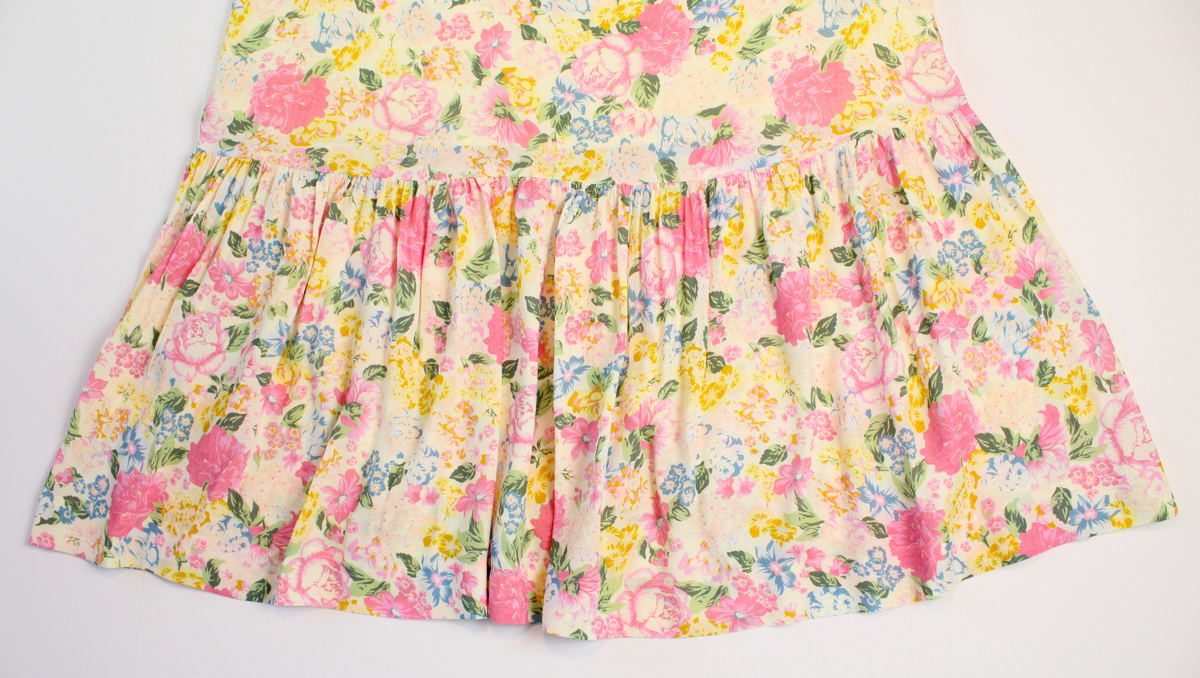
Make sure all of the notches are marked on the hem of your bodice and ruffle hem pieces. Change your stitch length to the longest possible length. Sew two parallel baste stitch lines at the top edge of the ruffle hem. Make sure not to backstitch at the beginning or end of your stitch lines and leave long ends to your threads.
- The first line is 1/4” (0.6 cm) away from the fabric edge.
- The second line is 1/2” (1.25 cm) away from the fabric edge. Pull the bobbin threads to gather the fabric.


30. SEW RUFFLE HEM TO BODICE | LONG DRESS ONLY
With the right sides together, pin the gathered top edge of the ruffle hem to the dress hem, adjusting the gathering. Match the notches, side seams, center back, and optional center front seam. The front panel will be wider than the back panel. Sew and finish the seam, removing any visible basting stitches. Press the seam towards the bodice.


 31. TACK BODICE LINING IN PLACE
Try on the tank or dress, and pin the bodice lining in place at the side seams. Machine sew or hand tack the bodice together at the side seams to keep the lining from pulling up.

32. FINAL PRESS
You’re finished. Give your Noe Tank or Dress a final press.


Noe Sew Along Posts: Getting Started | Staystitching, Darts, Center Seams, and Ties | Sewing the Neckline and Armholes | Attach Ties and Sew Center Back Opening (Open Back View Only) | Shoulder Seams, Straps, and Side Seams | Sewing Hem and Long Dress Ruffle