Noe Sew Along | Sewing the Neckline and Armholes
Continuing our sewing, we'll work on the neckline and armholes next.
If you prefer a video reference, we have an Instagram reel for steps 6-13 HERE.
6. SEW THE FRONT NECKLINE
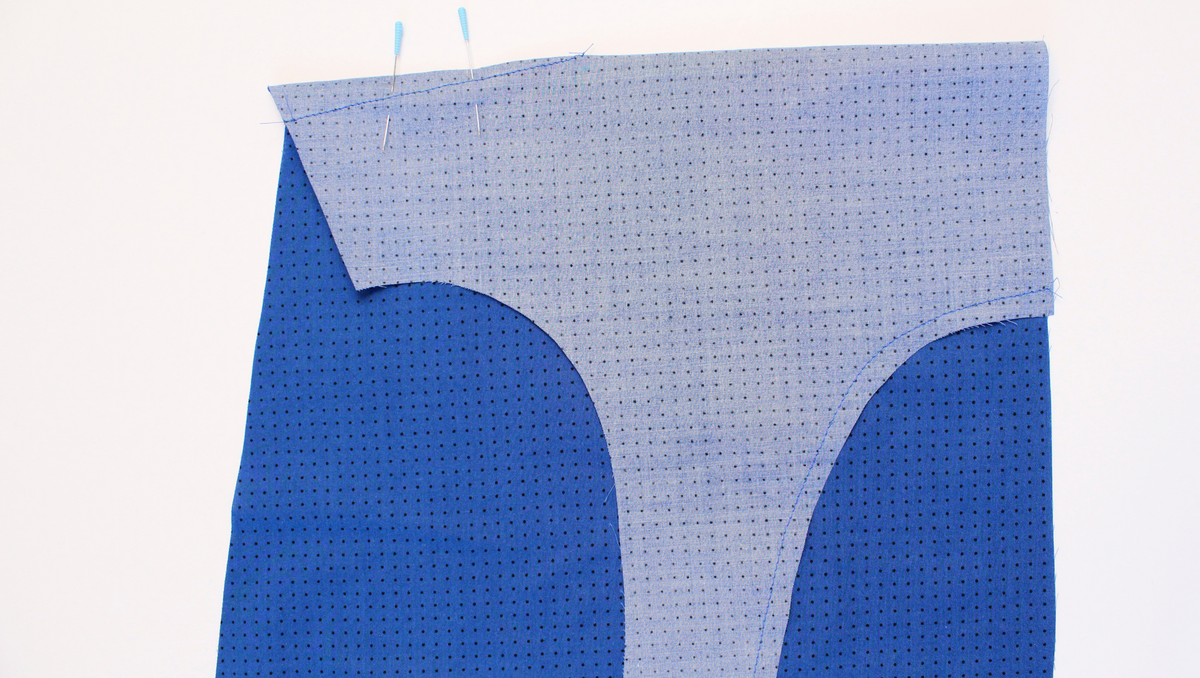
With the right sides together, pin and sew the front lining to the front main at the neckline. Stop 2” (5 cm) from the shoulder seams on both sides.


Trim the seam allowance to half. Leave the seam allowance near the shoulder seam.

 7. UNDERSTITCH THE FRONT NECKLINE
Press your seam allowance towards the lining.
 Understitch the front neckline by stitching a line 1/16” (0.15 cm) away from the seam on the lining. Stop understitching 1” (2.5 cm) from where your stitch line begins and ends.

 Make sure to catch the seam allowance towards the lining when stitching.

8. SEW THE FRONT ARMHOLES
With the right sides together, pin and sew the front lining to the front main at the armholes. Stop 2” (5 cm) from the shoulder seams on both sides.

 Trim the seam allowance to half. Leave the seam allowance near the shoulder seam.


9. UNDERSTITCH FRONT ARMHOLES
Press your seam allowance towards the lining.
 Understitch the front armholes by stitching a line 1/16” (0.15 cm) away from the seam on the lining. You may not be able to sew the entire length of the seam. Make sure to catch the seam allowance towards the lining when stitching.
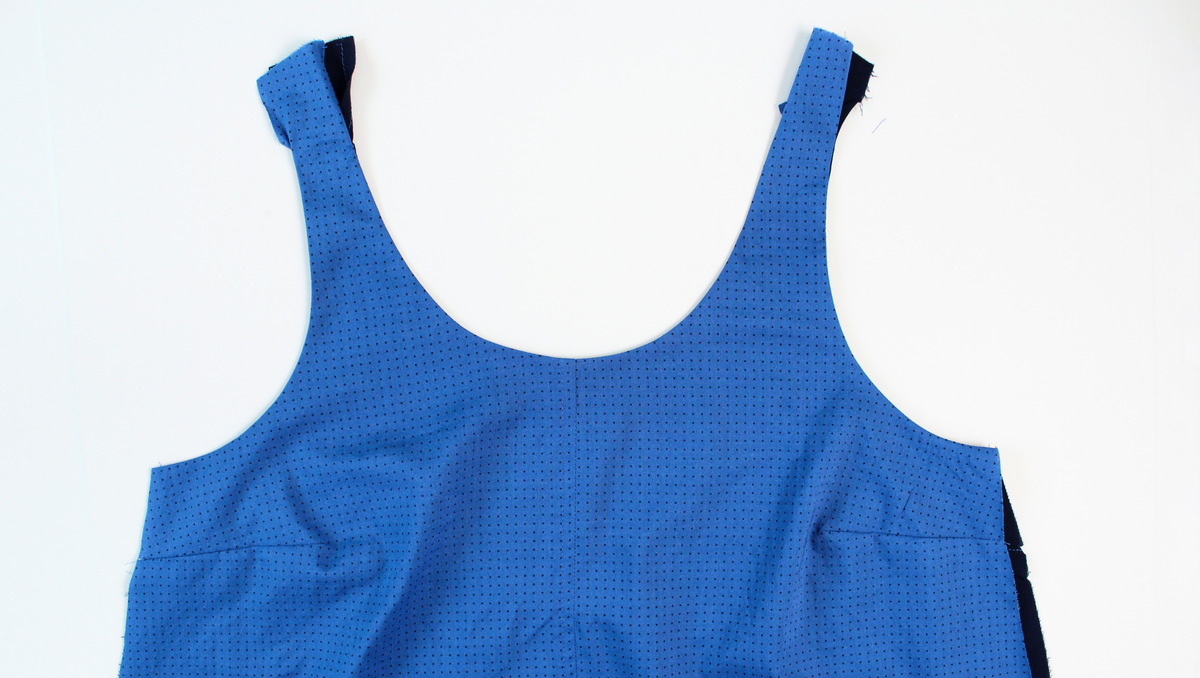
 Turn the front bodice right side out and press. Set the front bodice aside until step 16.
 10. SEW THE BACK NECKLINE
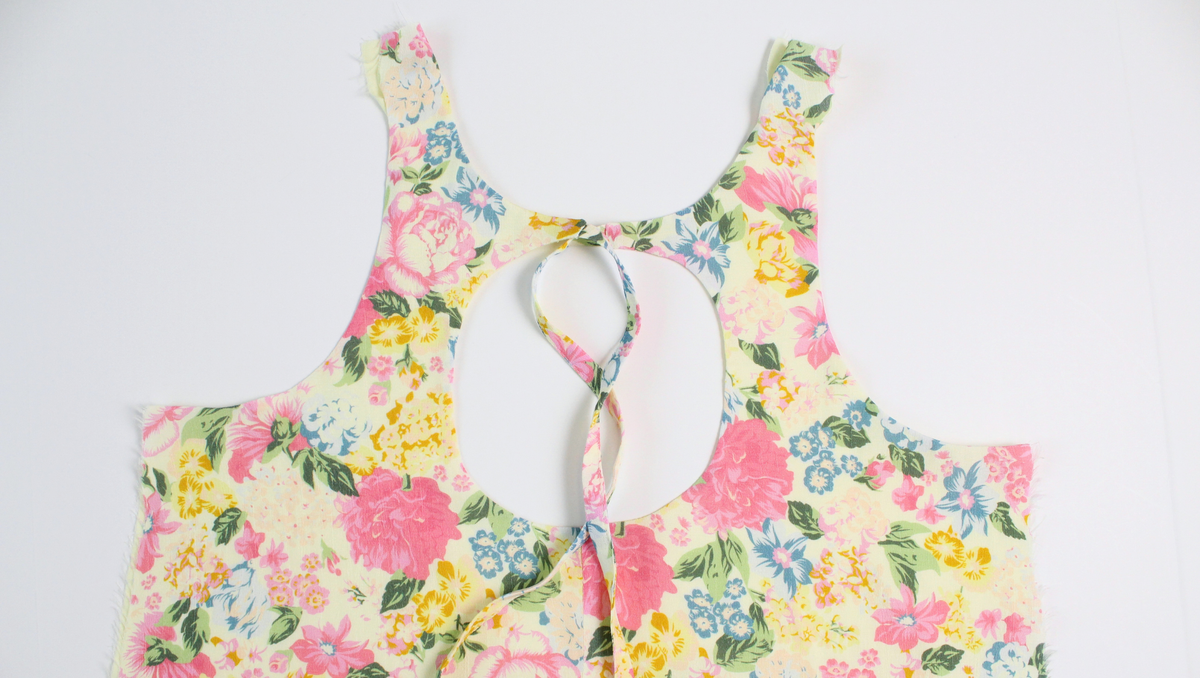
With the right sides together, pin and sew the back lining to the back main at the neckline. Stop 2” (5 cm) from the shoulder seams on both sides. Trim the seam allowance to half. Leave the seam allowance near the shoulder seam.

 11. UNDERSTITCH BACK NECKLINE
Press your seam allowance towards the lining.

Understitch the back neckline by stitching a line 1/16” (0.15 cm) away from the seam on the lining. Stop understitching 1” (2.5 cm) from where your stitch line begins and ends. Make sure to catch the seam allowance towards the lining when stitching.


12. SEW THE BACK ARMHOLES
With the right sides together, pin and sew the back lining to the back main at the armholes. Stop 2” (5 cm) from the shoulder seams on both sides. Trim the seam allowance to half. Leave the seam allowance near the shoulder seam.

Trim the seam allowance to half. Leave the seam allowance near the shoulder seam.


13. UNDERSTITCH BACK ARMHOLES
Press your seam allowance towards the lining. Understitch the back armholes by stitching a line 1/16” (0.15 cm) away from the seam on the lining. You may not be able to sew the entire length of the seam. Make sure to catch the seam allowance towards the lining when stitching.

 Turn the back bodice right side out and press. If sewing the full back view, skip to step 16 and the Shoulder Seams, Straps, and Side Seams post.

Noe Sew Along Posts: Getting Started | Staystitching, Darts, Center Seams, and Ties | Sewing the Neckline and Armholes | Attach Ties and Sew Center Back Opening (Open Back View Only) | Shoulder Seams, Straps, and Side Seams | Sewing Hem and Long Dress Ruffle