Hayes Sew Along | Assemble Bodice and Sew Neckline
Your Hayes will start taking shape as we begin assembling the bodice and sewing the neckline in this installment of the Hayes Sew Along.
TOP & DRESS | FINISHING BODICE SEAMS
The bodice will be fully lined so finishing the bodice seams isn't necessary. If you prefer to finish the bodice seams, prepare the bodice by clipping the center front notch 1/4" (0.6 cm), then finish the seam from the notch to the hem. Repeat for the lining. The rest of the bodice seams can be sewn, finished and pressed to one side.

TOP & DRESS | SEW THE CENTER FRONT BODICE
With the right sides together, sew the center front bodice. Starting from the center notch, make sure to backstitch and continue to the waist seam. Try to be as accurate as possible so that both the main and lining are the exact same length.

Clip the seam at the notch to the sew line and press open. Repeat for lining.

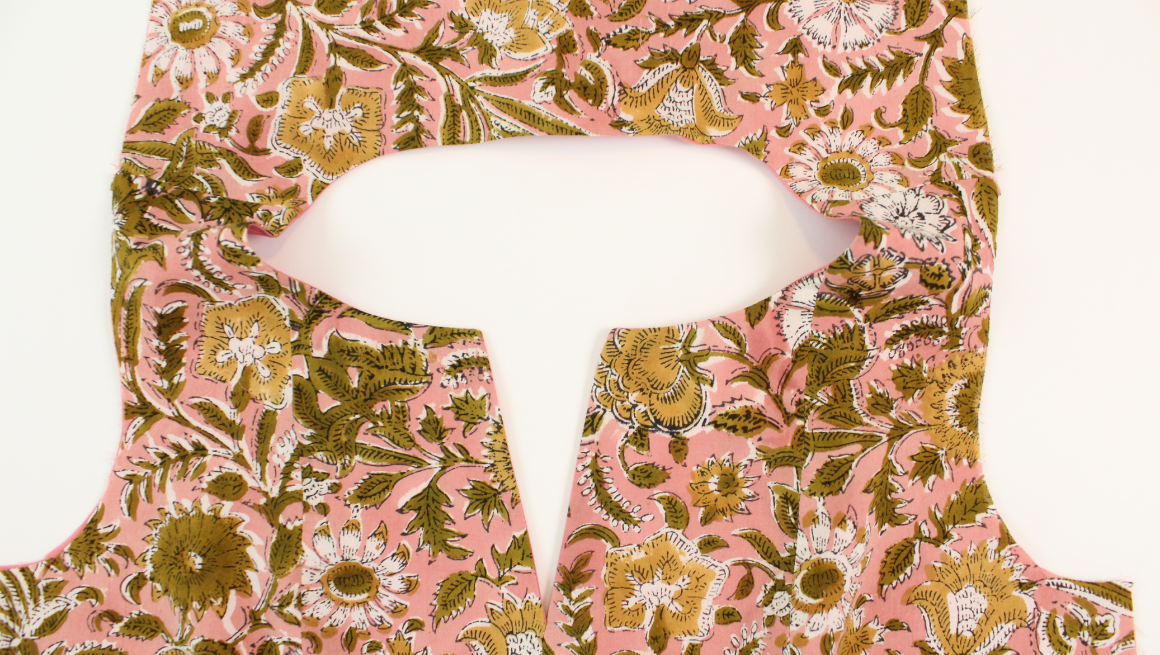
TOP & DRESS | SEW THE CENTER FRONT TO THE SIDE FRONT
With the right sides together, match your notches and sew the center front bodice to the side front bodice.

Press the seams open. A pressing ham can help press open the curved shape. Repeat for the lining.

TOP & DRESS | SEW THE BODICE SHOULDER SEAMS
With the right sides together, sew the front and back main bodice pieces at the shoulder seams. Press the seams open. Repeat for the lining.

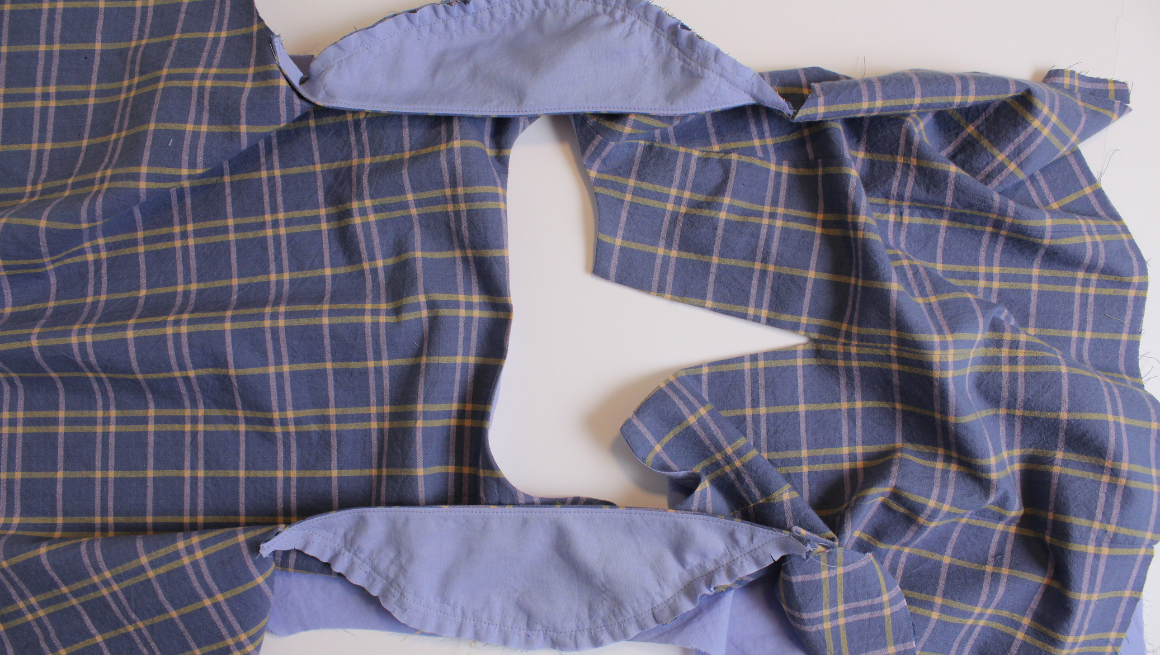
TOP & DRESS | SEW THE NECKLINE
Lay the main bodice right side up. Place the lining bodice right side down. Pin the neckline, matching the shoulder seams. Push the center front seam to the right side.

Sew the neckline, starting exactly at the center front stitch line. Go around the neckline, stopping at the center front stitch line.

Push the center front seam to the left. Sew from the neckline back down to the center front slit. You want to meet exactly at the center front stitch line.

Trim the neckline seam allowance to half, leaving the full seam allowance at the corners. Fold the corners in and turn the bodice right side out and square the front corners. Press the neckline.

TOP & DRESS | UNDERSTITCH THE NECKLINE
Press the neckline seam allowance toward the lining.
Understitch by stitching a line 1/16" (0.15 cm) away from the seam on the neck lining. Make sure to catch the seam allowance towards the lining when stitching. You will not be able to get the corners, but stitch as close as possible. Skip understitching the center front slit in case it falls open.

Turn the bodice right side out and press the neckline.

Now that our neckline is complete, it's time to move on to our next post and insert the sleeves.
Hayes Sew Along Posts: Getting Started | Staystitching, Interfacing, & Ties | Assemble Bodice & Sew Neckline | Attach Sleeves and Sew Sides | Finishing the Bodice | Assemble Skirt | Finish Dress and Skirt Waistband
