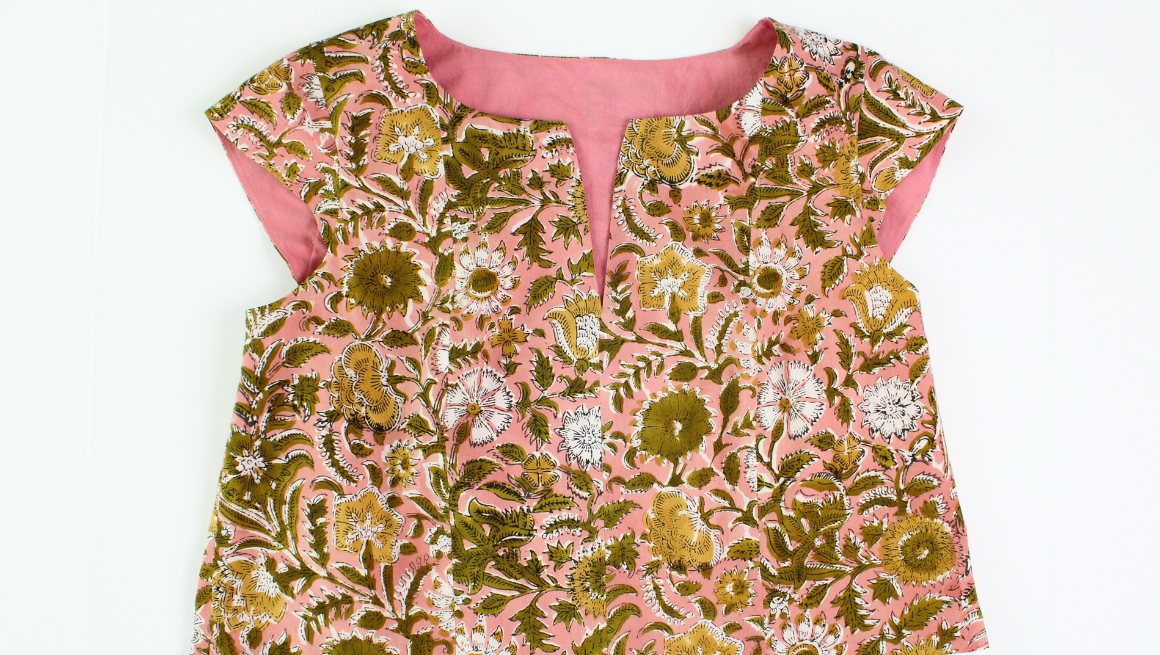
Hayes Sew Along | Finishing the Bodice
In this post we'll finish up the bodice for the Hayes Dress, getting it ready to attach to the skirt and hem the Hayes Top.
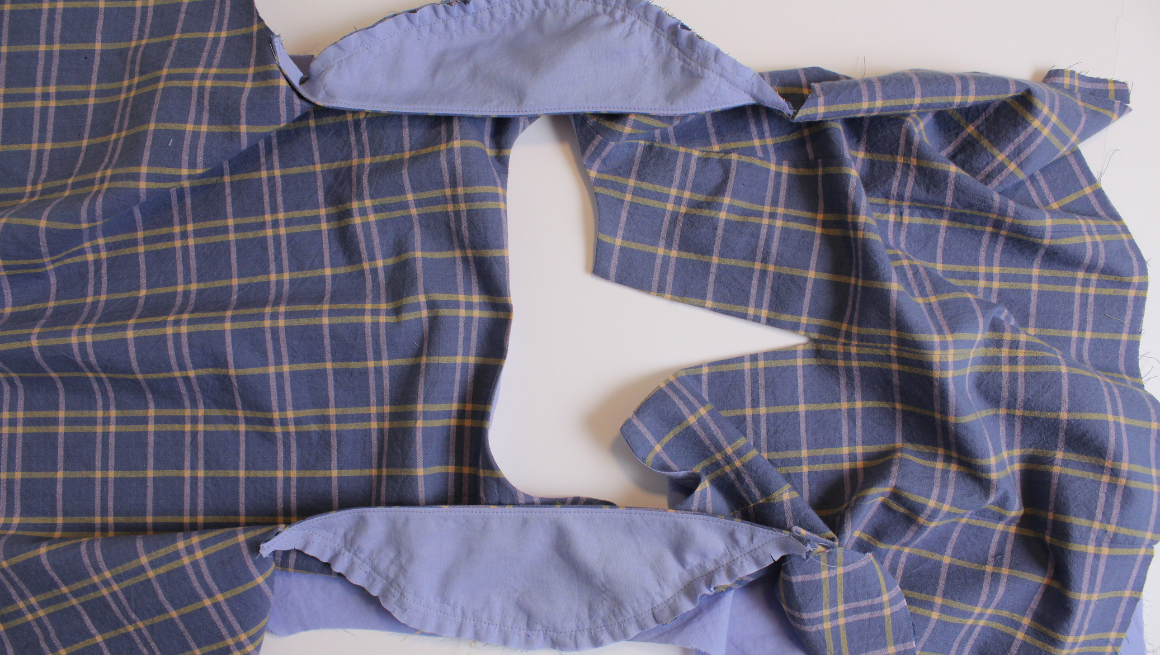
OPEN BACK DRESS | SEW THE OPEN BACK
If sewing the open back dress, turn the bodice inside out and match the back curved hem seam with the right sides together. Sew and trim the seam allowance.

Turn the bodice right side out.

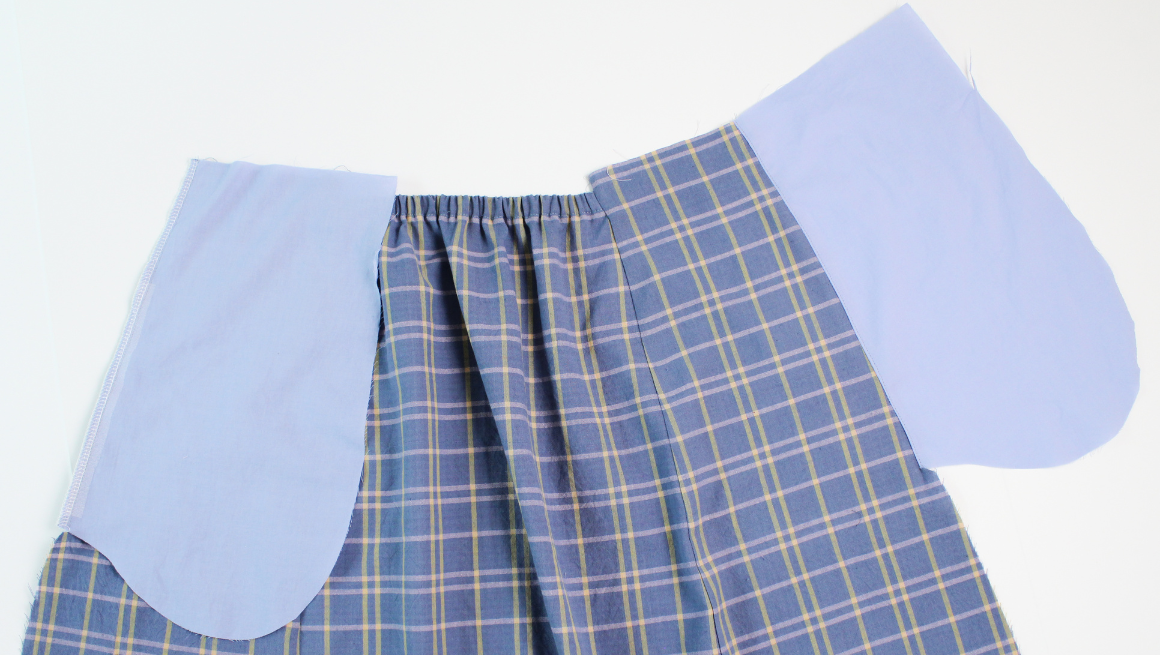
OPEN BACK DRESS | SEW A CASING ON THE BODICE
Measure 1 1/4" (3 cm) up from the cut edge of the bodice and 3/8" (1 cm) from the curved center back. Use this guide to stitch the top seam of the casing.


OPEN BACK DRESS | INSERT THE BACK ELASTIC
Add safety pins to both ends of your elastic. Thread the 1/4" (0.6 cm) elastic through the back curved opening, careful not to twist it. Pin in place to gather the back opening.

Try on the bodice, and once the elastic length is confirmed, secure the elastic with a backstitch, sewing from the 1/1/4" (3 cm) hem line to the curved edge.

OPEN BACK DRESS | INSERT THE WAIST TIES
Thread the tie ends throught the side seam opening. the long piece is for the fornt bodice and the two short piecesare for the side back. Once the waist ties are in place, secure the back elastic by stitching the ends near the back elastic casing.

Sew a basting stitch at 3/8" (1 cm) up from the hem to enclose the waist ties. If sewing the open back dress, skip to next post.

FULL BACK DRESS | SEW A CASING ON THE BODICE
If sewing the full back, measure 1 1/4" (3 cm) up from the cut edge of the bodice. Use this guide to stitch the top seam of the casing.
FULL BACK DRESS | INSERT THE WAIST TIES
Thread the tie ends through the side seam opening. Once the waist ties are in place, sew a basting stitch at 3/8" (1 cm) up from the hem to enclose the waist ties. If sewing the full back dress, skip to our next post.
TOP | TRIM THE LINING HEM
If sewing the top, prep the lining hem by trimming 1/4" (0.6 cm) off of the cut edge. Be sure not to cut the main fabric.

TOP | HEM THE BODICE
Add a safety pin on the side seam through the main and lining at the hem.

Then turn the bodice wrong side out by pulling through the opening on the lining side seam.

Unpin the safety pin and pin the main and lining hem, right sides together. Sew the hem at 3/8" (1 cm). Continue all the way around.

TOP | CLOSE THE SIDE SEAM OPENING
Turn the bodice wrong side out. Pin the open seam so the folded edges meet.

Edgestitch a line 1/16" (0.15 cm) away from the seam to close the opeing and clean finish the bodice. Press the hem. The lining will be shorter than the main fabric.

Turn right side out.
TOP | FINAL PRESS
If sewing the top, you are finished! Give your Hayes a final press.

Hayes Sew Along Posts: Getting Started | Staystitching, Interfacing, & Ties | Assemble Bodice & Sew Neckline | Attach Sleeves and Sew Sides | Finishing the Bodice | Assemble Skirt | Finish Dress and Skirt Waistband