Rivi Sew Along | Assemble the Bodice & Placket
In this post, you will see the bodice come together. Each seam is sewn three times, so it is a bit tedious, but take your time; hopefully, you will find it satisfying.
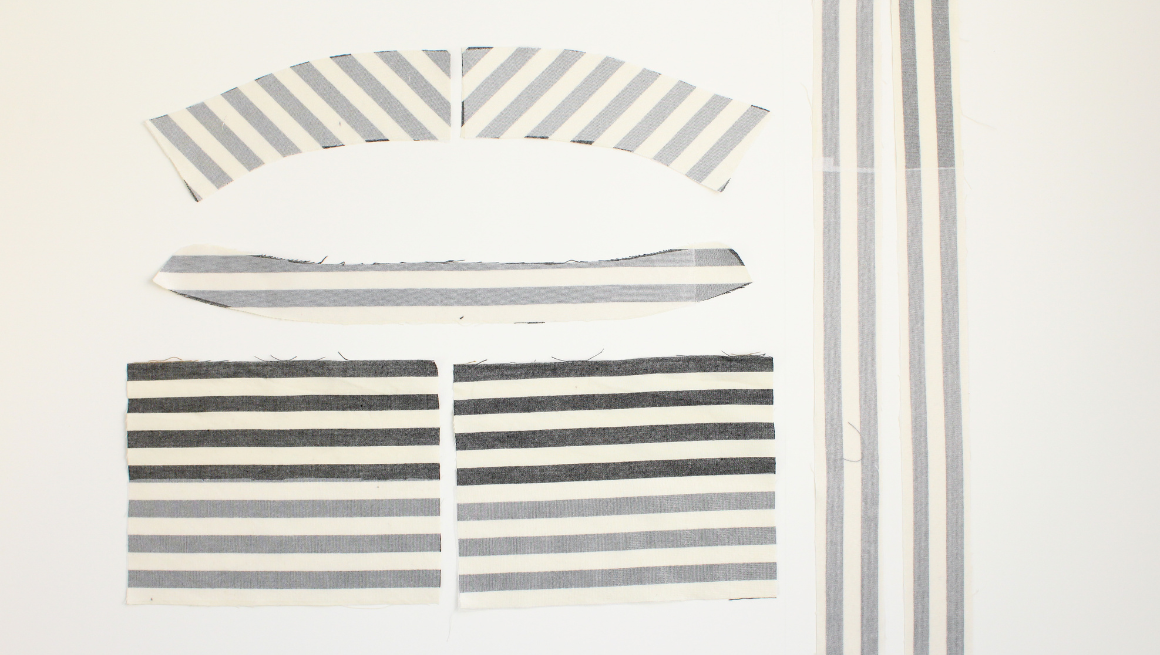
We are using a chambray with a clear right and wrong side for the short-sleeve sample, and a stripe to indicate the stripe direction for the long-sleeve sample. Let's get started!
With the wrong sides together, pin and sew the upper front yoke to the lower front with a 1/4” (0.6 cm) seam allowance. Use the notch to help align the seam. Press the seam open and trim the seam allowance to 1/8” (0.3 cm).
 Press the right sides together, pin and sew a second pass at 3/8” (1 cm), fully enclosing the first pass. Press the seam allowance up towards the yoke. Optional: topstitch the seam at 1/4” (0.6 cm) from the seam edge.
 It can be helpful to use a 1/4" (0.6 cm) tostitching foot. They can look different depending on your machine.

When sewing with striped fabric, this is what your front panels will look like.
 To assemble the back. With the wrong sides together, pin and sew the right back yoke to the back bodice with a 1/4” (0.6 cm) seam allowance. Use the notch to help align the seam.
 Press the seam open, and trim the seam allowance to 1/8” (0.3 cm).
 Press the right sides together, pin and sew a second pass at 3/8” (1 cm), fully enclosing the first pass.
 Press the seam allowance up towards the yoke. Optional: topstitch the seam at 1/4” (0.6 cm) from the seam edge.
 With the wrong sides together, pin and sew the left back yoke to the back bodice with a 1/4” (0.6 cm) seam allowance. Use the notches to help align the seam.
 Press the seam open, and trim the seam allowance to 1/8” (0.3 cm).
 Press the right sides together, pin and sew a second pass at 3/8” (1 cm), fully enclosing the first pass.
 Press the seam allowance up towards the yoke. Optional: topstitch the seam at 1/4” (0.6 cm) from the seam edge.
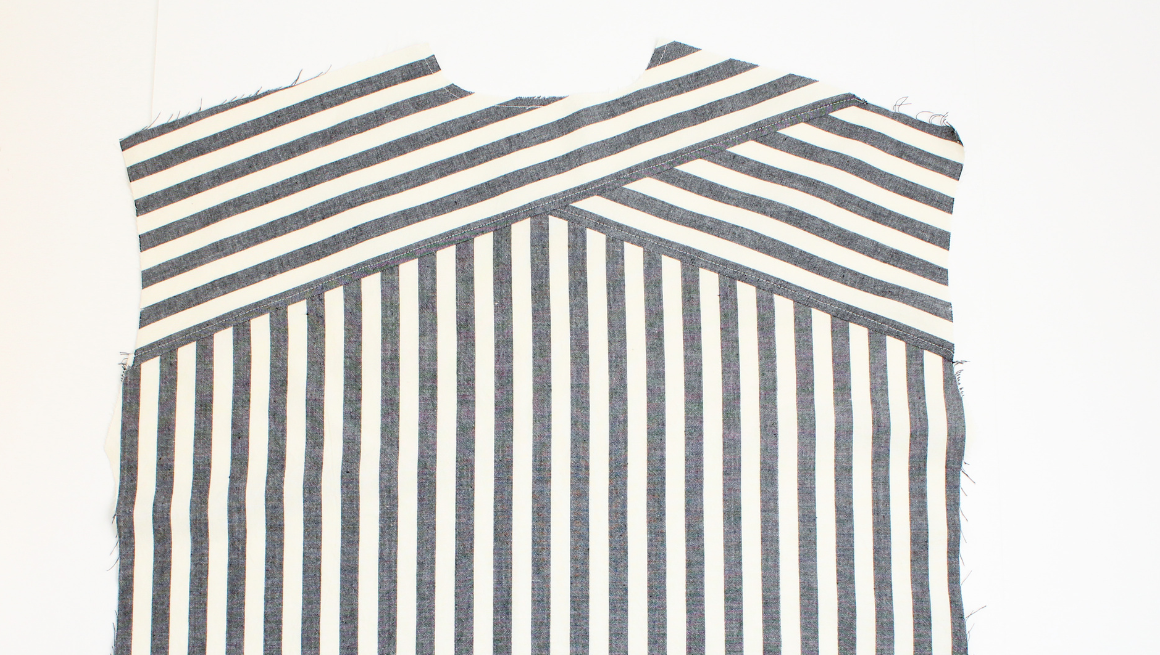
 When sewing with striped fabric, your back panel will look like this.
 Before attaching the front and back pieces at the shoulder, we will attach the plackets to the front bodice pieces. The placket is sewn on top of the bodice, which may be different from other plackets you have sewn.
Sew a fold guide on one of the long sides without a notch, just under 3/8” (1 cm). Press the edge in 3/8” (1 cm), wrong sides together. Repeat for the other placket.
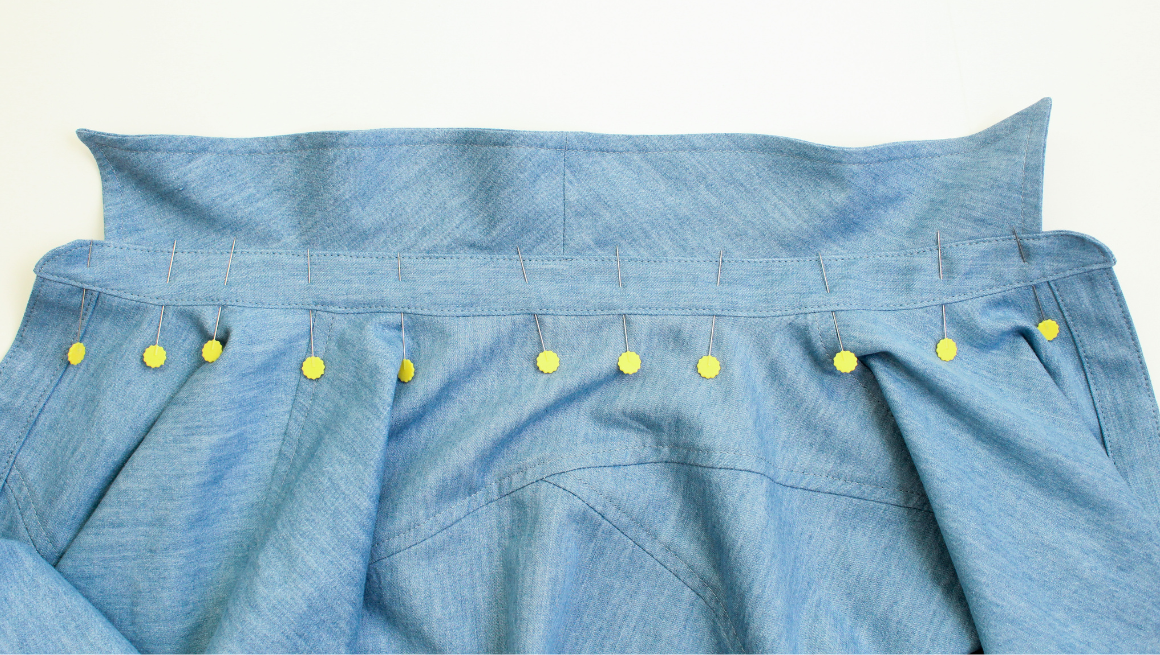
 Pin the right side of the front placket to the wrong side of the front bodice. Match the notch.
 Sew the seam at 5/8” (1.5 cm). Place the blouse right side up, trim the seam allowance to half and press the center front seam open. Repeat for the other placket.
 Press the placket to the front of the bodice. Pin the folded edge of the placket to the front bodice. The placket will be sitting on top of the blouse. Edgestitch the placket at the pinned edge. Then edgestitch the center front so there is stitching on both edges of the center front placket. Repeat for the other placket.
 When sewing with striped fabric, your front panels will look like this.

Now we can sew the shoulder seams. With the wrong sides together, pin and sew the shoulder seams with a 1/4” (0.6 cm) seam allowance.
 Press the seam open and trim the seam allowance to 1/8” (0.3 cm).
 Press the right sides together, pin and sew a second pass at 3/8” (1 cm), fully enclosing the first pass. Press the seam allowance towards the back.
 Optional: topstitch the seam at 1/4” (0.6 cm) from the seam edge.
 Now it's time to sew and attach the collar to the bodice. See you in the next post.
Rivi Sew Along Posts: Getting Started | Staystitching & Fusing | Assemble the Bodice & Placket | Sew the Collar & Collar Stand | Sew the Pockets | Sew the Side Seam Slits | Sew the Sleeves | Hem & Sew Buttons