Rivi Sew Along | Sew the Sleeves
It's time to sew the sleeves. We will start with the long sleeves. If sewing the short sleeves, skip to sewing the sleeve underseam. Look for the steps below with the short blue chambray sleeves. If you prefer a video tutorial, the steps for sewing the sleeve placket (steps 31-34) are available on your YouTube channel here.
When sewing the long sleeves, fold the sleeve placket in half lengthwise, wrong sides together, press, then unfold.
 Fold the cut edges towards the center line, then fold in half again along the center line.
 Make sure the sleeve placket has been cut on the sleeve.


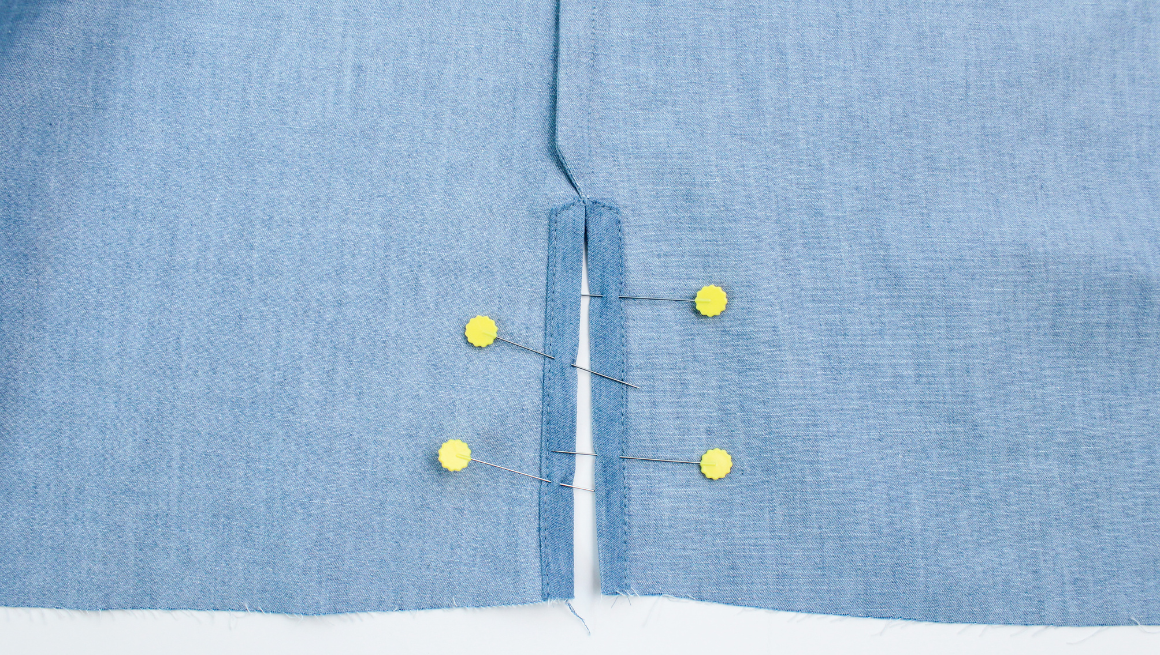
Open the sleeve slit so it forms a straight line. Place the cut edge of the sleeve slit inside the folded sleeve placket. Pin in place.

Edgestitch in place. You will need to be careful in the middle to be sure the center of the slit is caught in the placket. The sleeve placket will be longer than the cut edge.

Turn the sleeve wrong side up. Press the sleeve placket to the inside of the sleeve, towards the notches. Pin the placket in place. Edgestitch the outer side down to the sleeve and across the top of the slit. Stitching shown below in red.

Then, place your sleeve right side up. From the right side, start with the outer notch and fold the pleats toward the sleeve placket to the next notch. Repeat for the second pleat. Pin in place and sew at 1/4” (0.6 cm) to baste.


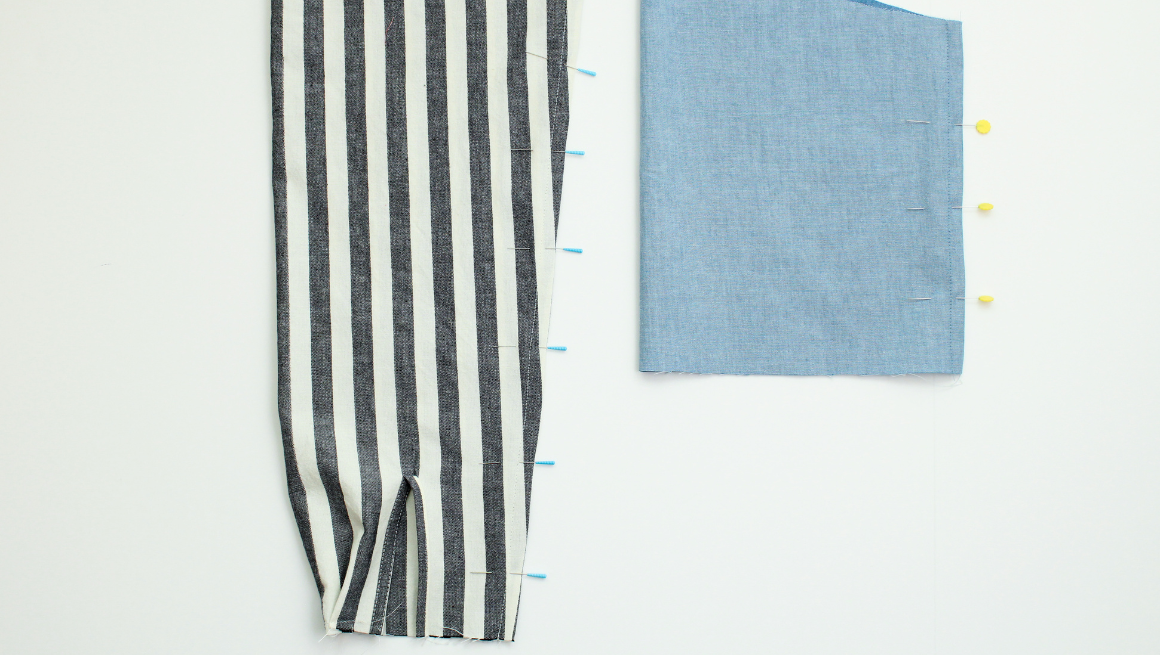
With the wrong sides together, pin and sew the sleeve underseam with a 1/4” (0.6 cm) seam allowance.

Press the seam open, and trim the seam allowance to 1/8” (0.3 cm).

Press the right sides together, pin and sew a second pass at 3/8” (1 cm), fully enclosing the first pass.
 Press the seam allowance towards the back. If sewing the short sleeves, skip to hemming the sleeves, the last step below.
 Stitch a fold guide on the fusible edge of the cuffs, just under 3/8” (1 cm). Press the edge in 3/8” (1 cm), wrong sides together.
 Fold the cuff with the right sides together lengthwise at the notch. Sew the side seams of the cuffs at 3/8” (1 cm). Trim the corners and turn right side out. Make sure your corners are nice and square.
 With the right sides together, pin the unfolded edge of the cuff to the long sleeve hem at 3/8” (1 cm). The edge of the cuff will meet at the sleeve placket slit. Sew the cuff to the sleeve. Flip the cuff up and press the seam allowance towards the cuff.
 Cover the inside exposed cuff seam with the pre-folded cuff edge. Pin in place. Edgestitch the cuff, catching the inner cuff underneath for a clean finish. Your long sleeves and cuffs are complete. In the next post, we will attach them to the bodice.
 To finish sewing your short sleeves, let's hem them before attaching them to the armhole. Sew a fold guide on the bottom edge of the short sleeve, just under 3/8” (1 cm). Press the bottom edge in 3/8” (1 cm), wrong sides together.

Fold the hem up 3" (7.5 cm), pin in place, and edgestitch the 3" hem. Press. This large hem will become the fold-up cuff.

Now that you have sewn your sleeves, it is time to attach the sleeves to the bodice.
This is my favorite way to set a sleeve when there is minimal ease included. If you prefer a video reference, we have one available on our YouTube channel here.
Sew a 1/4” (0.6 cm) stitch line at the cap between the front and back notches. The trick is that when you sew this seam, hold your finger behind the presser foot and apply pressure while sewing. This will add small pleats to the sleeve cap and help ease your sleeve into the armhole. Alternatively, you can add two rows of gathering stitches.

You can see that it sets the perfect small pleats that will help you ease in your sleeves perfectly.

As a reminder, if your fabric is thick and you don't want to sew your armhole with French seams, you can sew the seam, wrong sides together at 5/8" (1.5 cm) and then finish with an overlock. When sewing French seams, proceed below.
With the sleeve inside the bodice and the wrong sides together, pin and sew the sleeve to the armhole with a 1/4” (0.6 cm) seam allowance. Press the seam open, and trim the seam allowance to 1/8” (0.3 cm).
 Press the right sides together, pin and sew a second pass at 3/8” (1 cm), fully enclosing the first pass. Press the seam allowance towards the bodice.

If sewing the short sleeves, press and turn back the cuff 1 1/2” (4 cm).

This is what your long sleeves will look like.

You are so close to being done! It's time to hem and add your buttons in our final post here.
Rivi Sew Along Posts: Getting Started | Staystitching & Fusing | Assemble the Bodice & Placket | Sew the Collar & Collar Stand | Sew the Pockets | Sew the Side Seam Slits | Sew the Sleeves | Hem & Sew Buttons