Rivi Sew Along | Stay Stitching, Fused Pattern Pieces & Sewing Darts
Just a note, our photo sew along will illustrate the blouse views; the instructions are the same when sewing the dress. The tutorial will illustrate sewing the joined seams with a French seam. It is important to be as accurate as possible. Alternatively, you can sew the seams right sides together and finish with an overlock and topstitch. The seam allowance included is 5/8” (1.5 cm) for joined seams. When seams include a different seam allowance, they will be noted.
A quick reminder, our patterns indicate notches with “T” marks and “triangles”. Clip or mark the notches just under 1/4” (0.6 cm) so that you do not cut into the seam allowance.
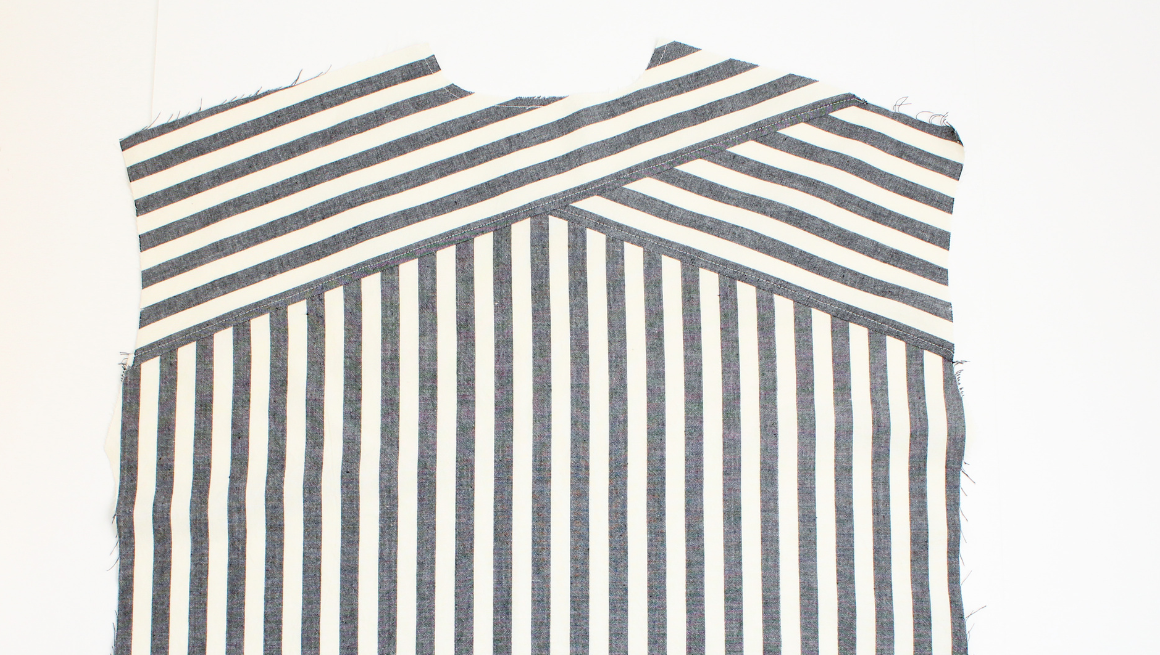
Before handling your cut pieces too much, sew a stitch line 1/4” (0.6 cm) away from the fabric edge on the front and back yoke pieces at the neckline and the yoke edges. We have highlighted the stay stitching in red. This will prevent the seams from stretching out.

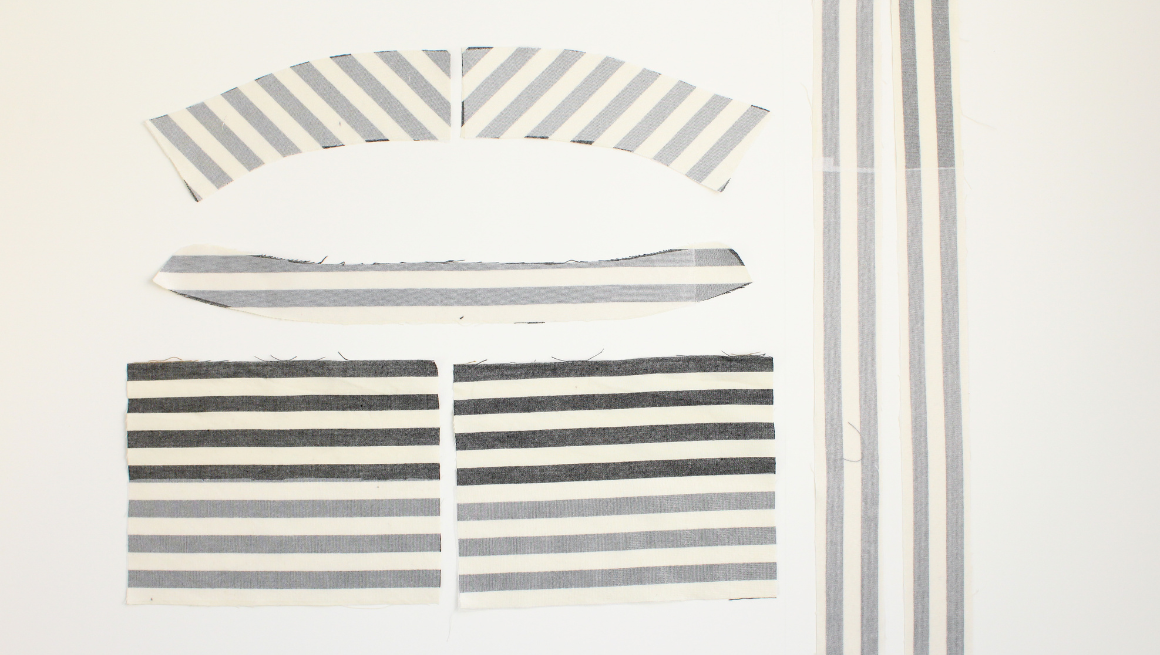
Attach the fusible interfacing to the bias cut under collar pieces, one collar stand, the center front plackets, and one half of the cuffs when sewing the long sleeves. The collar stand with interfacing will be referred to as the collar stand facing. Tricot fusible interfacing is recommended, but you can use any lightweight fusible interfacing.
These are your fused pieces when sewing a long-sleeve blouse or dress. Your plackets will be much longer when sewing a dress.

These are your fused pieces when sewing a short-sleeve blouse or dress. Your plackets will be much longer when sewing a dress.
 If sewing the C/D bust cup option, sew the bust darts on the upper front. Press the bust dart down. We don't have a photo of this step.
In the next post, we will assemble the bodice and sew the center front placket. See it here.
Rivi Sew Along Posts: Getting Started | Staystitching & Fusing | Assemble the Bodice & Placket | Sew the Collar & Collar Stand | Sew the Pockets | Sew the Side Seam Slits | Sew the Sleeves | Hem & Sew Buttons