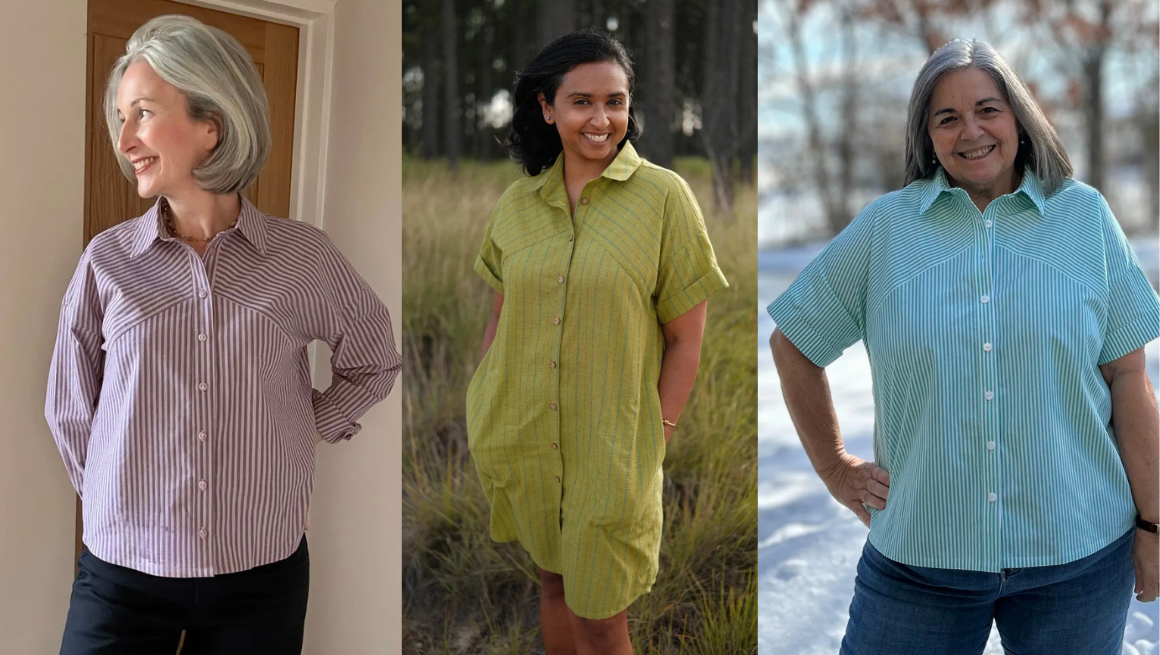
Rivi Sew Along | Getting Started
To help you in your sewing experience, we’re thrilled to share the Rivi Sew Along. This sew along features step-by-step photos for the entire sewing process! In addition to the sew along, we also have community-led sewing support in our Facebook group, or you can email us directly for additional support.

GATHERING SUPPLIES
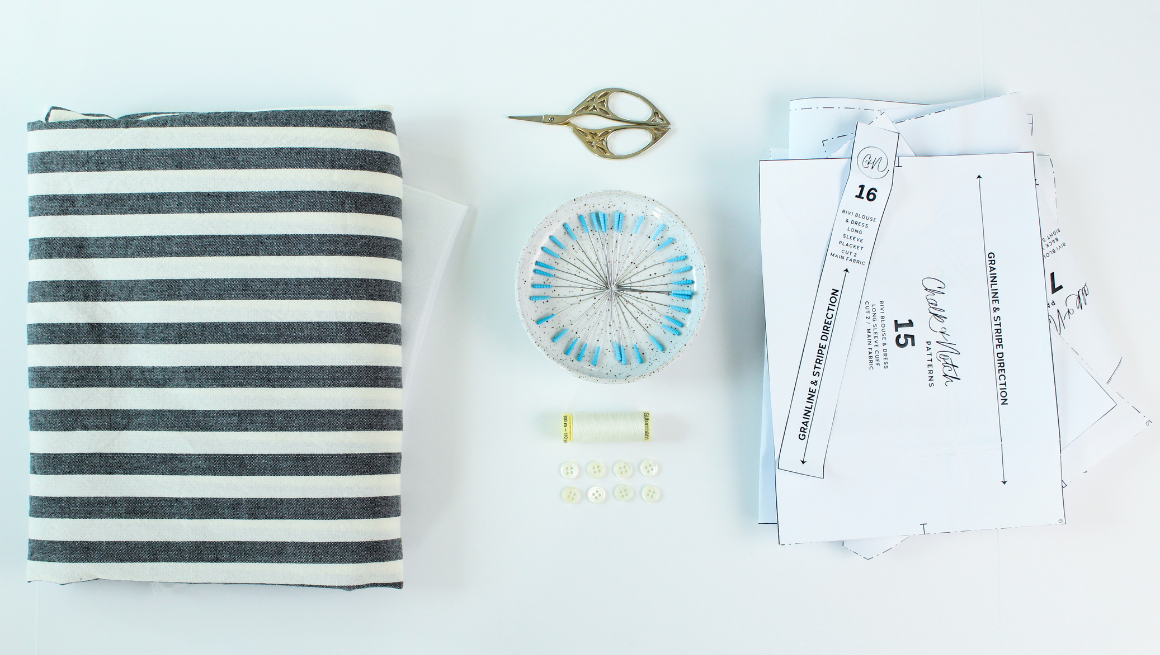
Before we begin sewing, here’s what you’ll need for your Rivi Blouse or Dress:
- The Rivi pattern, available in sizes 0-30.
- Washed and pressed fabric: we have a fabric resource post here.
- Coordinating thread
- 1 yd (1 m) Tricot Fusible Interfacing for the Blouse view -OR - 1 1/4 yd (1.25 m) Tricot Fusible Interfacing for the Dress view
- 8-12 Buttons, 1/2” size (12.7 mm) for the Blouse view - OR - 12-18 Buttons, 1/2” size (12.7 mm) for the Dress view
Optional notions:
- Tailor’s Chalk
- Turning Tool
- Pressing Ham
TIPS FOR CUTTING
When cutting your fabric and pattern, here are a few important notes to remember:
- Your fabric should be pre-washed the same way you plan to launder your garment.
- Read the information on each pattern piece.
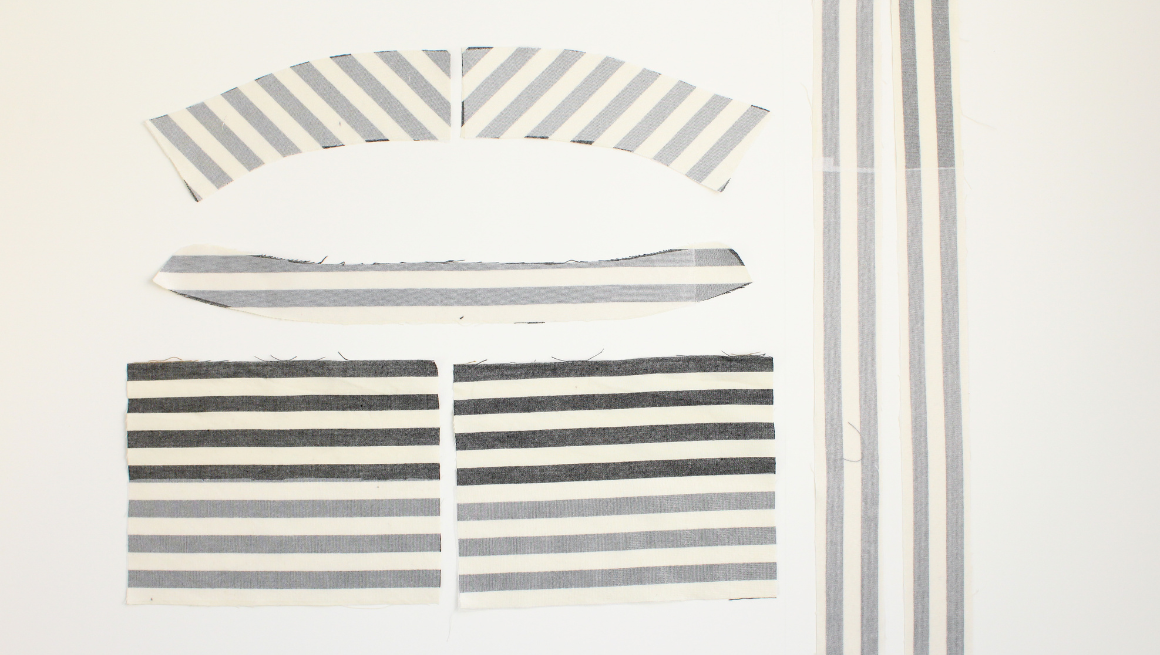
- Grainlines are indicated on the pattern pieces. Place pattern pieces on the grainline, parallel to the selvage or fold.
- If the pattern says “Cut 2,” the pieces are mirror images of each other.
- If the pattern says “Cut on FOLD,” place the pattern edge exactly along the fold of the fabric.
- Clip all notches at 1/4” (0.6 cm) or less.
- Transfer all pattern markings to your fabric with a washable marker or chalk.
CUT LISTS
Below are the cut lists for each view. Before cutting into your final fabric, I always suggest sewing a test garment/muslin first in a comparable fabric, as this will affect the fit.
VIEW A - BLOUSE W/SHORT SLEEVES
MAIN CUT LIST
- #1 - A/B OR C/D - BLOUSE CF PLACKET - CUT 2
- #3 - A/B OR C/D - FRONT YOKE - CUT 2
- #4 - A/B OR C/D - FRONT LOWER BLOUSE - CUT 2
- #6 - BACK YOKE LEFT - CUT 1 RIGHT SIDE UP
- #7 - BACK YOKE RIGHT - CUT 1 RIGHT SIDE UP
- #8 - BACK LOWER BLOUSE - CUT 1 ON FOLD
- #10 - UPPER COLLAR - CUT 1 ON FOLD
- #11 - UNDER COLLAR - CUT 2
- #12 - COLLAR STAND - CUT 2
- #13 - SHORT SLEEVE - CUT 2
FUSIBLE INTERFACING CUT LIST
- #1 - A/B OR C/D - BLOUSE CF PLACKET - CUT 2
- #11 - UNDER COLLAR - CUT 2
- #12 - COLLAR STAND - CUT 1
VIEW A - BLOUSE W/LONG SLEEVES
MAIN CUT LIST
- #1 - A/B OR C/D - BLOUSE CF PLACKET - CUT 2
- #3 - A/B OR C/D - FRONT YOKE - CUT 2
- #4 - A/B OR C/D - FRONT LOWER BLOUSE - CUT 2
- #6 - BACK YOKE LEFT - CUT 1 RIGHT SIDE UP
- #7 - BACK YOKE RIGHT - CUT 1 RIGHT SIDE UP
- #8 - BACK LOWER BLOUSE - CUT 1 ON FOLD
- #10 - UPPER COLLAR - CUT 1 ON FOLD
- #11 - UNDER COLLAR - CUT 2
- #12 - COLLAR STAND - CUT 2
- #14 - LONG SLEEVE - CUT 2
- #15 - LONG SLEEVE CUFF - CUT 2
- #16 - LONG SLEEVE PLACKET - CUT 2
FUSIBLE INTERFACING CUT LIST
- #1 - A/B OR C/D - BLOUSE CF PLACKET - CUT 2
- #11 - UNDER COLLAR - CUT 2
- #12 - COLLAR STAND - CUT 1
- #18 - CUFF FUSIBLE - CUT 2
VIEW B - DRESS W/SHORT SLEEVES
MAIN CUT LIST
- #2 - A/B OR C/D - DRESS CF PLACKET - CUT 2
- #3 - A/B OR C/D - FRONT YOKE - CUT 2
- #5 - A/B OR C/D - FRONT LOWER DRESS - CUT 2
- #6 - BACK YOKE LEFT - CUT 1 RIGHT SIDE UP
- #7 - BACK YOKE RIGHT - CUT 1 RIGHT SIDE UP
- #9 - BACK LOWER DRESS - CUT 1 ON FOLD
- #10 - UPPER COLLAR - CUT 1 ON FOLD
- #11 - UNDER COLLAR - CUT 2
- #12 - COLLAR STAND - CUT 2
- #13 - SHORT SLEEVE - CUT 2
- #17 - POCKET - CUT 4
FUSIBLE INTERFACING CUT LIST
- #2 - A/B OR C/D - DRESS CF PLACKET - CUT 2
- #11 - UNDER COLLAR - CUT 2
- #12 - COLLAR STAND - CUT 1
VIEW B - DRESS W/LONG SLEEVES
MAIN CUT LIST
- #2 - A/B OR C/D - DRESS CF PLACKET - CUT 2
- #3 - A/B OR C/D - FRONT YOKE - CUT 2
- #5 - A/B OR C/D - FRONT LOWER DRESS - CUT 2
- #6 - BACK YOKE LEFT - CUT 1 RIGHT SIDE UP
- #7 - BACK YOKE RIGHT - CUT 1 RIGHT SIDE UP
- #9 - BACK LOWER DRESS - CUT 1 ON FOLD
- #10 - UPPER COLLAR - CUT 1 ON FOLD
- #11 - UNDER COLLAR - CUT 2
- #12 - COLLAR STAND - CUT 2
- #14 - LONG SLEEVE - CUT 2
- #15 - LONG SLEEVE CUFF - CUT 2
- #16 - LONG SLEEVE PLACKET - CUT 2
- #17 - POCKET - CUT 4
FUSIBLE INTERFACING CUT LIST
- #2 - A/B OR C/D - DRESS CF PLACKET - CUT 2
- #11 - UNDER COLLAR - CUT 2
- #12 - COLLAR STAND - CUT 1
- #18 - CUFF FUSIBLE - CUT 2
Check out each blog post to follow the Rivi photo sew along. We'll continue prepping your cut pieces with staystitching and fusible interfacing in the next post here.
Rivi Sew Along Posts: Getting Started | Staystitching & Fusing | Assemble the Bodice & Placket | Sew the Collar & Collar Stand | Sew the Pockets | Sew the Side Seam Slits | Sew the Sleeves | Hem & Sew Buttons