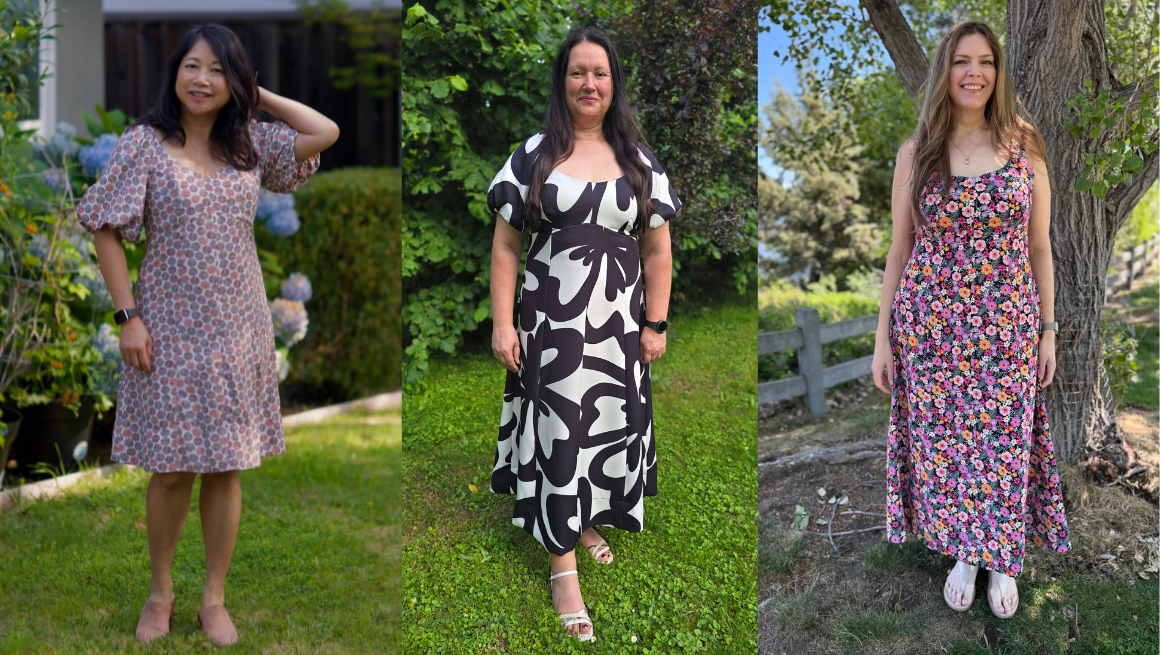
Bora Sew Along | Getting Started
To help you in your sewing, we’re happy to be sharing a step by step Bora Sew Along. This sew along features photos for the entire sewing process! In addition to the sew along, we also have community-led sewing support in our Facebook group, or you can email us directly for additional support.

GATHERING SUPPLIES
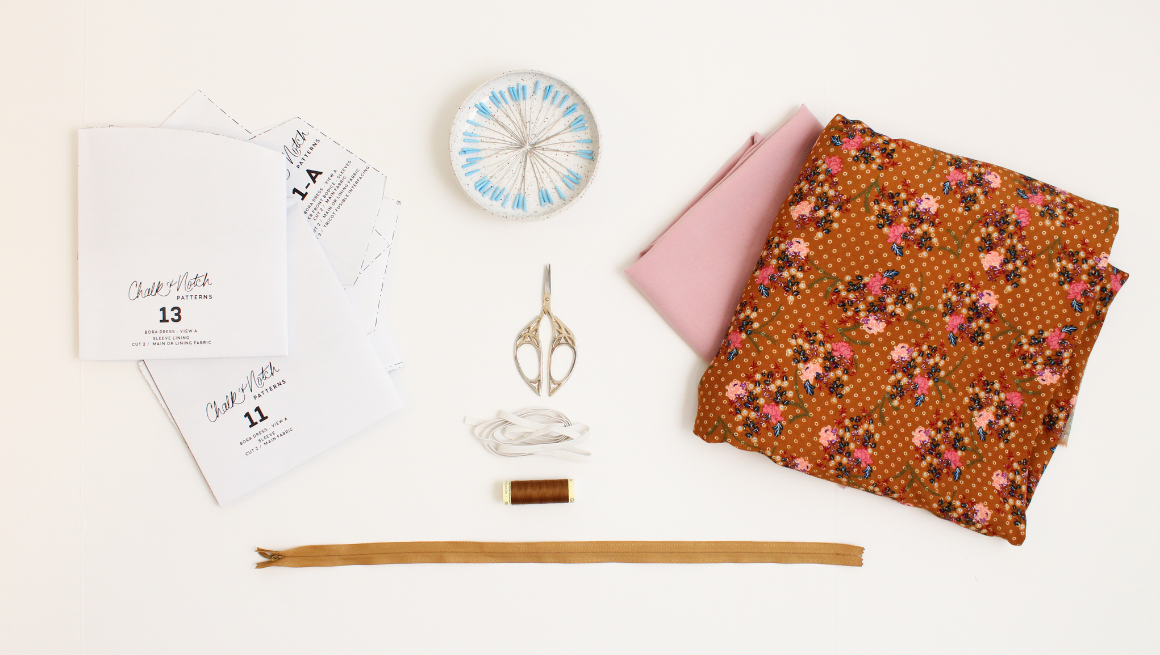
Before we begin sewing, here’s what you’ll need for your Rivi Blouse or Dress:
- The Bora pattern, available in sizes 0-30.
- Washed and pressed fabric: we have a fabric resource post here.
- Coordinating thread
- 2 yds (1.8 m) Tricot Fusible Interfacing
- 18" (45 cm) Invisible Zipper for sizes 0-18 or 20" (50 cm) Invisible Zipper for sizes 20-30
- 2 yds (1.8 m) 1/4" (0.6 cm) Elastic for View A
Optional notions:
- Hook & Eye for above the zipper stop
- Tailor’s Chalk
- Turning Tool & Point Turner
- Pressing Ham
TIPS FOR CUTTING
When cutting your fabric and pattern, here are a few important notes to remember:
- Your fabric should be pre-washed the same way you plan to launder your garment.
- Read the information on each pattern piece.
- Grainlines are indicated on the pattern pieces. Place pattern pieces on the grainline, parallel to the selvage or fold. For this pattern, the skirt pieces can also be cut on the bias. Refer to the cut layouts on pages 14-17 for a visual.
- If the pattern says “Cut 2,” the pieces are mirror images of each other.
- If the pattern says “Cut on FOLD,” place the pattern edge exactly along the fold of the fabric.
- Clip all notches at 1/4” (0.6 cm) or less.
- Transfer all pattern markings to your fabric with a washable marker or chalk.
CUT LISTS
Below are the cut lists for each view. Before cutting into your final fabric for the Bora, I suggest sewing a test bodice first in a comparable fabric to check the fit.
VIEW A SLEEVES - WITH STRAIGHT GRAIN OR BIAS SKIRT


MAIN CUT LIST
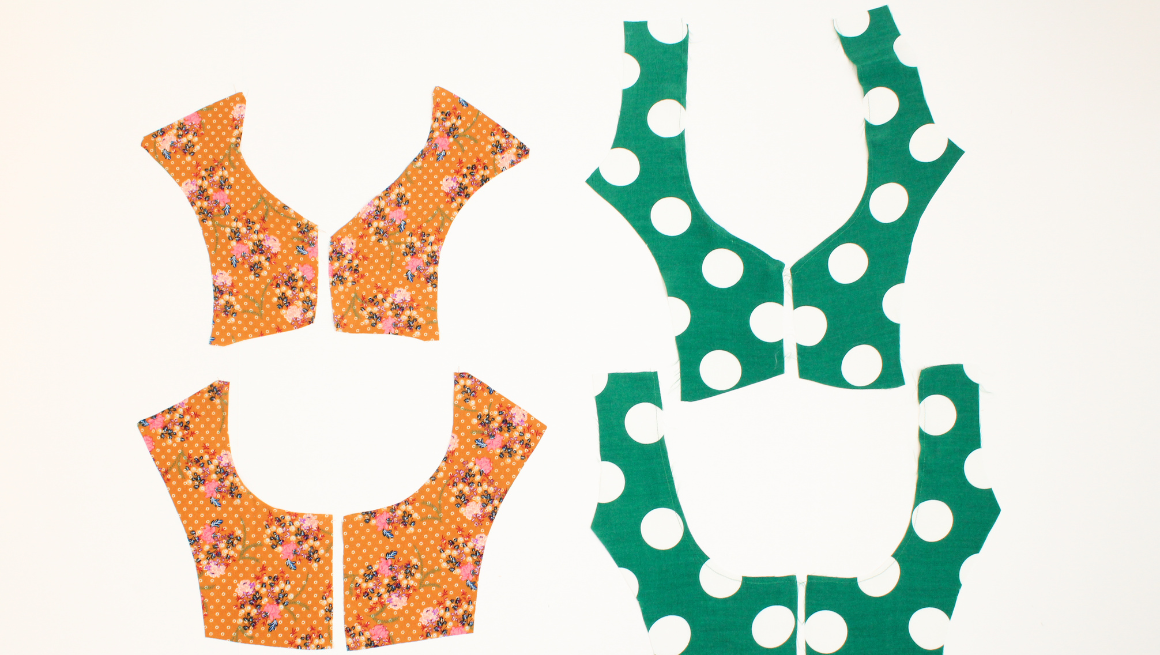
- #1 A-D CUP - CENTER FRONT BODICE - CUT 2
- #2 A-D CUP - SIDE FRONT BODICE - CUT 2
- #3 SIDE BACK BODICE - CUT 2
- #4 CENTER BACK BODICE - CUT 2
- #7 CENTER FRONT SKIRT - CUT 2
- #8 SIDE FRONT SKIRT - CUT 2
- #9 SIDE BACK SKIRT - CUT 2
- #10 CENTER BACK SKIRT - CUT 2
- #11 SLEEVES - CUT 2
- *#12 BACK TIE - CUT 2
*The back tie is optional and can be cut in a contrast fabric.


LINING CUT LIST
- #1 A-D CUP - CENTER FRONT BODICE - CUT 2
- #2 A-D CUP - SIDE FRONT BODICE - CUT 2
- #3 - SIDE BACK BODICE - CUT 2
- #4 - CENTER BACK BODICE - CUT 2
- #13 - SLEEVE LINING - CUT 2
- *#14 OR #16 FRONT HEM FACING - CUT 1 ON FOLD
- *#15 OR #17 BACK HEM FACING - CUT 2
The lining pieces can also be cut out of main fabric.
*The hem facing pieces are optional and not recommended when sewing the bias cut skirt.
VIEW B TANK - WITH STRAIGHT GRAIN OR BIAS SKIRT

MAIN CUT LIST
- #2 A-D CUP - SIDE FRONT BODICE - CUT 2
- #3 SIDE BACK BODICE - CUT 2
- #5 A-D CUP - TANK CENTER FRONT BODICE - CUT 2
- #6 TANK CENTER FRONT BODICE - CUT 2
- #7 CENTER FRONT SKIRT - CUT 2
- #8 SIDE FRONT SKIRT - CUT 2
- #9 SIDE BACK SKIRT - CUT 2
- #10 CENTER BACK SKIRT - CUT 2


LINING CUT LIST
- #2 A-D CUP - SIDE FRONT BODICE - CUT 2
- #3 SIDE BACK BODICE - CUT 2
- #5 A-D CUP - TANK CENTER FRONT BODICE - CUT 2
- #6 TANK CENTER BACK BODICE - CUT 2
- #13 - SLEEVE LINING - CUT 2
- *#14 OR #16 FRONT HEM FACING - CUT 1 ON FOLD
- *#15 OR #17 BACK HEM FACING - CUT 2
The lining pieces can also be cut out of main fabric.
*The hem facing pieces are optional and not recommended when sewing the bias cut skirt.
Continue the Bora Sew Along with the next post here and find links to each installment in the sew along below.
Bora Sew Along Posts: Getting Started | Staystitching, Fusing Pattern Pieces | Sew the Bodice | Sew the Sleeves and Neckline (View A) | Sew Tank and Neckline (view B) | Sew the Skirt | Sew the Invisible Zipper | Sewing the Hem