
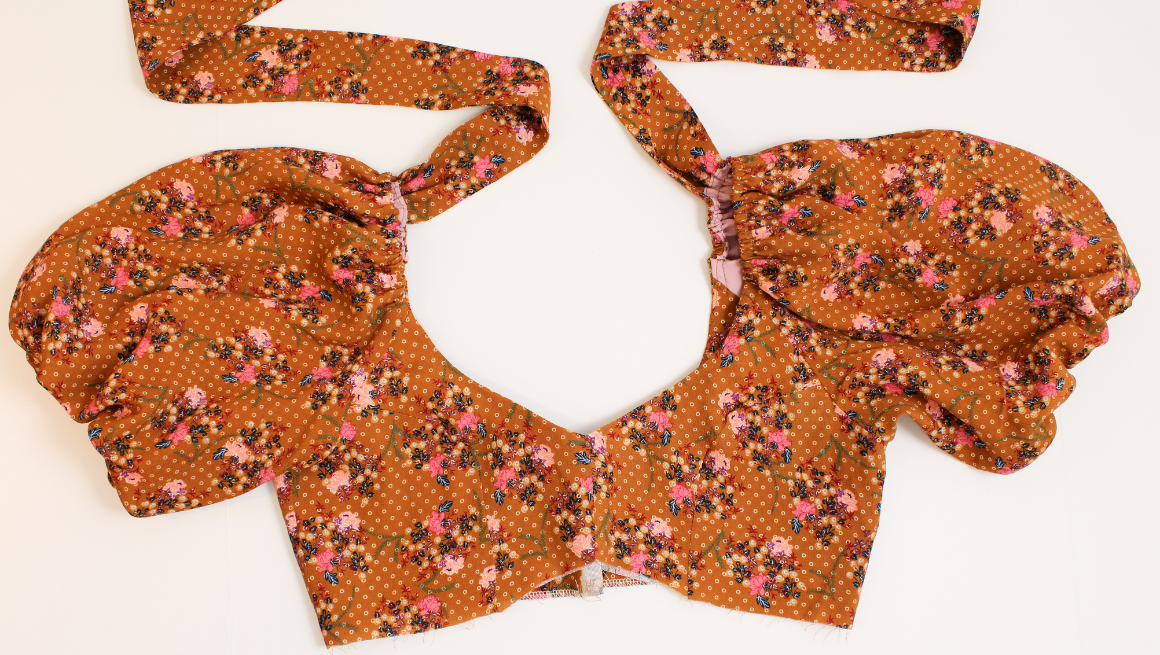
Bora Sew Along | Sewing the Sleeves and Neckline (View A)
Bora Sew Along | Sewing the Sleeves and Neckline (View A Only)
8. SEW THE OPTIONAL BACK TIES | SLEEVE VIEW ONLY
With the right sides together, fold the tie in half lengthwise. Reduce the stitch length to get a sharp corner. Sew around two sides, pivoting at the corner. Trim the seam allowance to half. Turn the ties right side out and press. Repeat for the remaining tie.

9. SEW THE BACK TIES TO THE SLEEVES | SLEEVE VIEW ONLY
Place the main sleeves right side up. Place the back ties on the sleeve with the curve facing the sleeve back, matching the notches. Sew with a 1/4" (0.6 cm) seam to secure in place.

10. SEW THE SLEEVE UNDERSEAMS | SLEEVE VIEW ONLY
If you prefer a bit more visual instruction. We have an IG Reel with steps 10-13 posted HERE.
With the right sides together, sew the sleeve underseams together. Repeat for the lining. The lining is intentionally shorter than the main sleeves. Finish the seams. Press the seams towards the back.

11. SEW THE SLEEVES TO THE BODICE | SLEEVE VIEW ONLY
With the right sides together, sew the main sleeves to the main bodice. The sleeve notches will match the princess seams.
 Repeat for the other side and the lining.


 Finish the seams and press towards the sleeves.
12. SEW THE NECKLINE | SLEEVE VIEW ONLY
With the right sides together, pin the main and lining bodice together at the neckline, matching the seams. Sew the neckline.

 Start and stop your seam 2" (5 cm) from the center back edge.

Sew a second pass at the center front to reinforce the center front V.
 Trim the seam allowance to half and clip the center front, careful not to cut through any stitching.

13. UNDERSTITCH THE NECKLINE | SLEEVE VIEW ONLY
Open the neckline and press the seam allowance towards the lining.
 Understitch by stitching a line 1/16" (0.15 cm) away from the seam on the neck lining. Make sure to catch the seam allowance towards the lining when stitching. Stop 3/4" (2 cm) away from where you finished sewing the neckline. Turn the bodice right side out.
 14. SEW THE MAIN SLEEVE TO THE LINING SLEEVE AT THE HEM | SLEEVE VIEW ONLY
If you prefer a bit more visual instruction. We have an IG Reel with steps 14-15 posted HERE.
Add a safety pin on the underseam of the main and lining at the sleeve hem to prevent them from twisting. Reach inside the bodice to find the matching sleeve hems.

 Pull the sleeve through the bodice hem opening, and unpin the safety pin.
 Pin the main and lining sleeve hems right sides together. Sew the sleeve hem at 3/4" (2 cm). Continue all the way around. Repeat for the other side. Finish the hem. Press the seam allowance towards the lining.

 Sew the sleeve hem at 3/4" (2 cm). Continue all the way around. Repeat for the other side. Finish the hem. Press the seam allowance towards the lining.


 Finish the hem. Press the seam allowance towards the lining.

15. SEW SLEEVE HEM CASING | SLEEVE VIEW ONLY
With the seam allowance towards the lining, edgestitch the hem to the lining, creating a casing at least 3/8" (1 cm) wide.
 Leave a 2" (5 cm) opening near the back to insert the elastic.

Turn the bodice right side out.
 16. SEW THE SLEEVE SHOULDER CASING | SLEEVE VIEW ONLY
If you prefer a bit more visual instruction. We have an IG Reel with steps 16-18 posted HERE.
Sew a casing ⅜” (1cm) away from the sleeve neckline edge.

17. INSERT 1/4” (0.6 CM) NECKLINE ELASTIC | SLEEVE VIEW ONLY
Add safety pins to both ends of your neckline elastic. Thread the elastic through the casings, being careful not to twist it.


Pin the elastic in place. Try on the bodice to confirm the shoulder length.
 Once the elastic length is confirmed, secure the elastic and backstitch in the seam.


18. INSERT 1/4” (0.6 CM) SLEEVE ELASTIC | SLEEVE VIEW ONLY
Add safety pins to both ends of your sleeve hem elastic.
 Thread the elastic through the sleeve hem casings, being careful not to twist it.
 Overlap the elastic cut edges and secure with a safety pin. Try on the bodice to confirm the elastic at the sleeve hem. Once the elastic length is confirmed, secure the elastic with a zig zag stitch.
 Edgestitch the opening of the casing to enclose the elastic.


Skip to ‘Sew the Skirt' to continue the sew along.
Bora Sew Along Posts: Getting Started | Staystitching, Fusing Pattern Pieces | Sew the Bodice | Sew the Sleeves and Neckline (View A) | Sew Tank and Neckline (view B) | Sew the Skirt | Sew the Invisible Zipper | Sewing the Hem
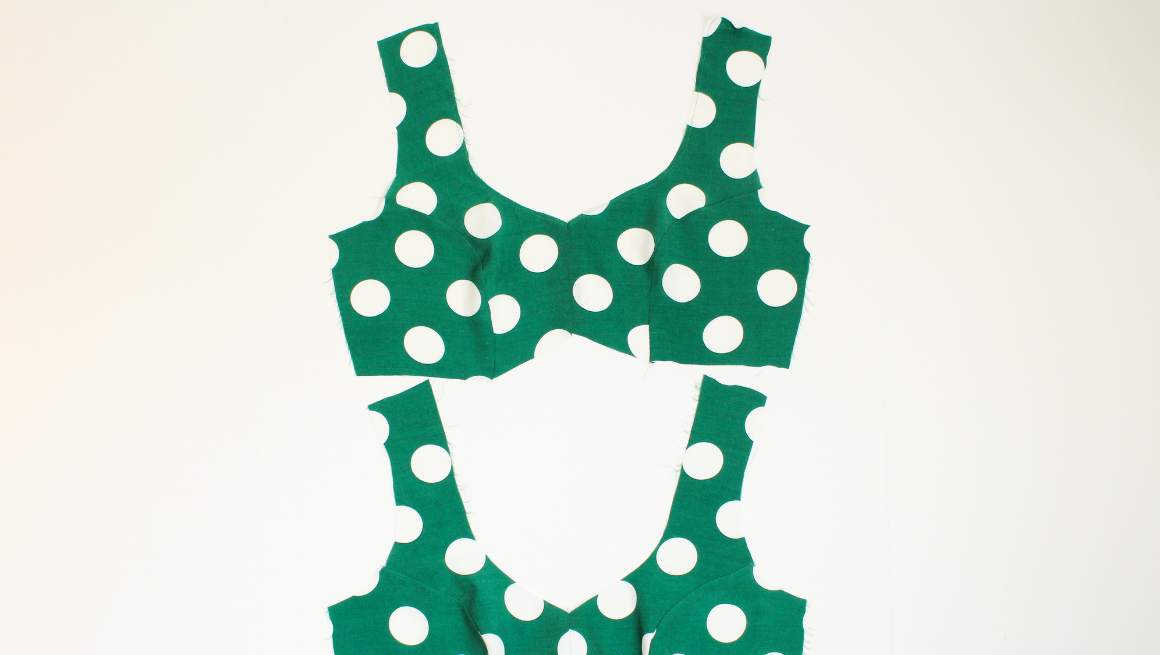
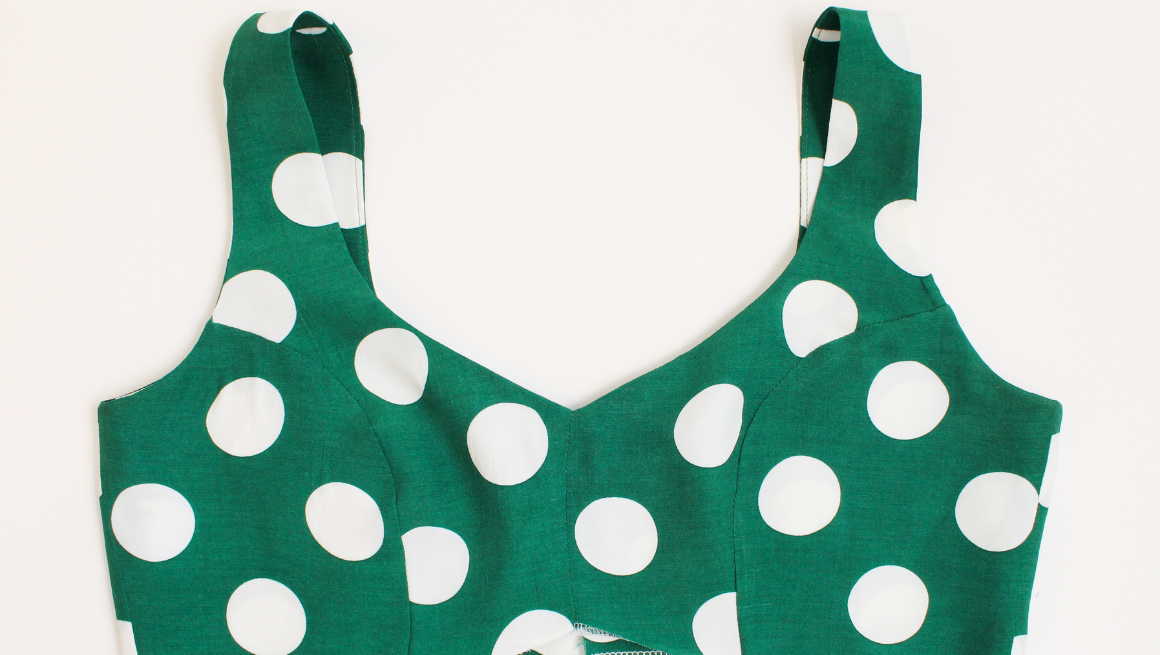
%0A%0A8.%20SEW%20THE%20OPTIONAL%20BACK%20TIES%20%7C%20SLEEVE%20VIEW%20ONLY%C2%A0%0AWith%20the%20right%20sides%20together,%20fold%20the%20tie%20in%20half%20lengthwise.%20Reduce%20the%20stitch%20l...)