
News
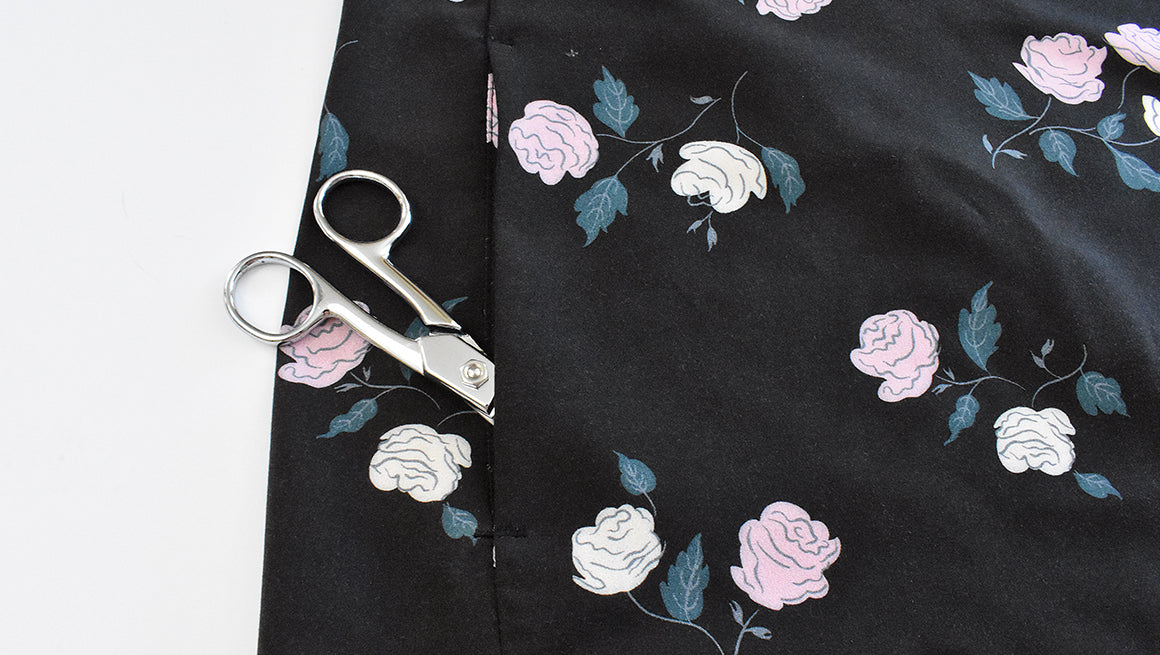
Fringe Sew Along | Sew Pockets and Skirt Side Seams
At this point, your bodice should be sewn and we're ready to stitch up the pockets (optional) and skirt of your Fringe blouse or dress. SEW THE SIDE SEAMS WITH NO POCKETS If omitting skirt pockets ...
Read more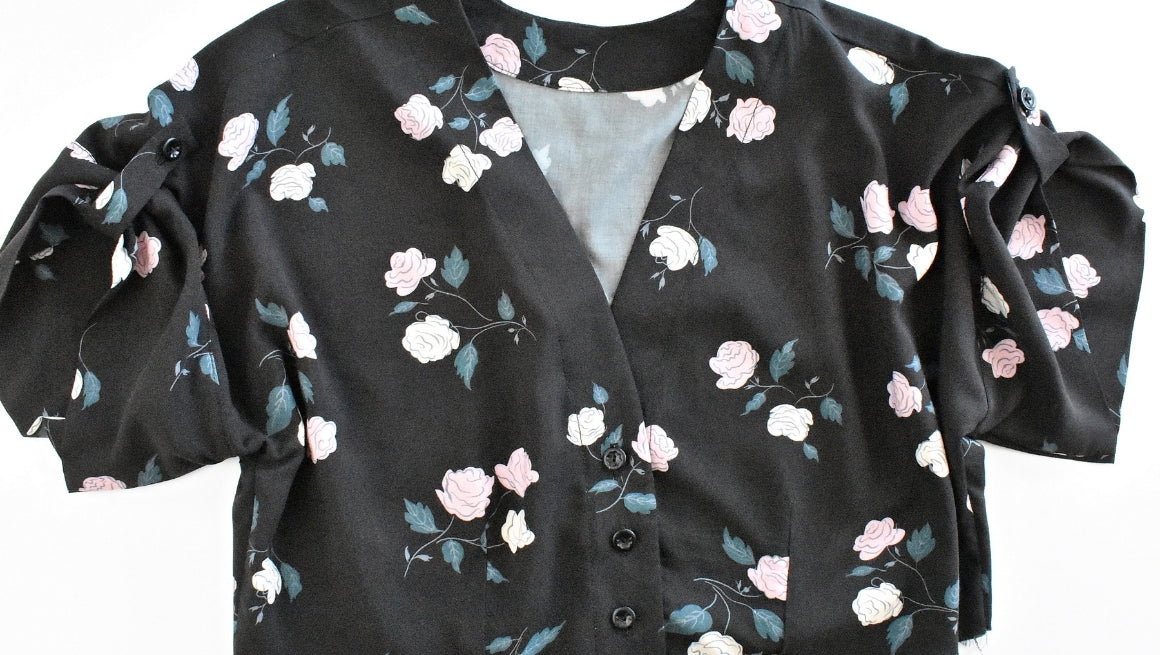
Fringe Sew Along | Attach the Sleeves/Cuffs and Sew the Side Seams
We're almost finished with the bodice portion of the Fringe. The sleeve and cuff options are interchangeable for both views. If sewing View B, skip all View A instructions below. SEW THE SLEEVE TAB...
Read more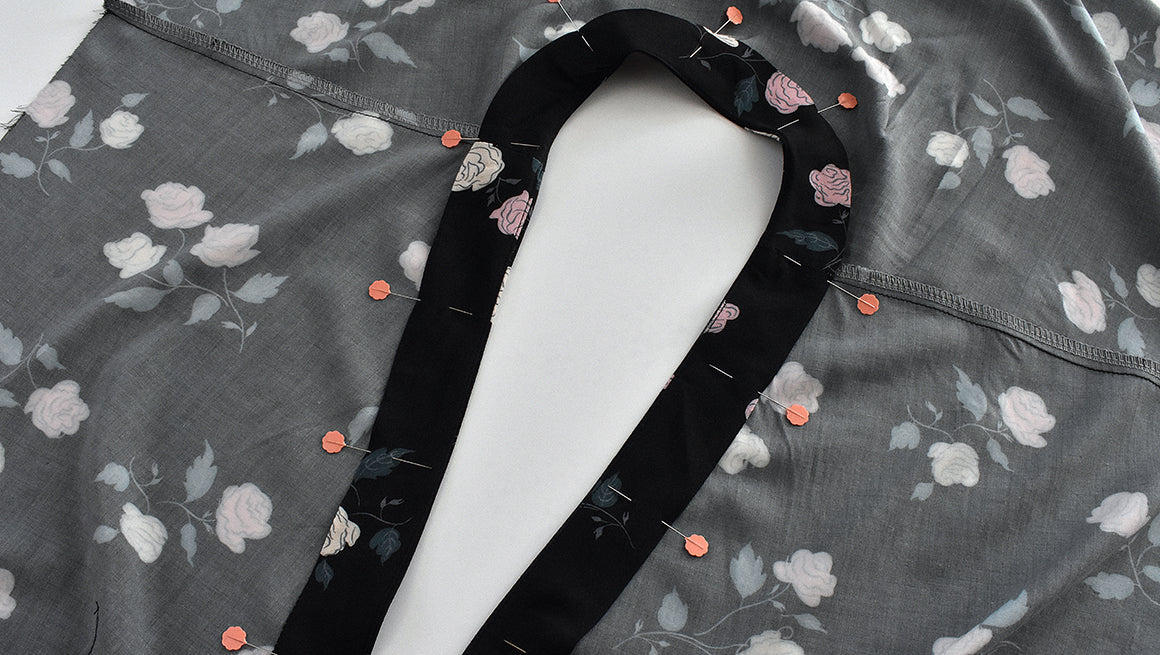
Fringe Sew Along | Sew Shoulder Seams and Attach Facings
Let's continue construction on your Fringe bodice with shoulder seams and facings for both Fringe views and the Mini Fringe (with a bodice lining). SEW THE SHOULDER SEAMS Before you attach your fac...
Read more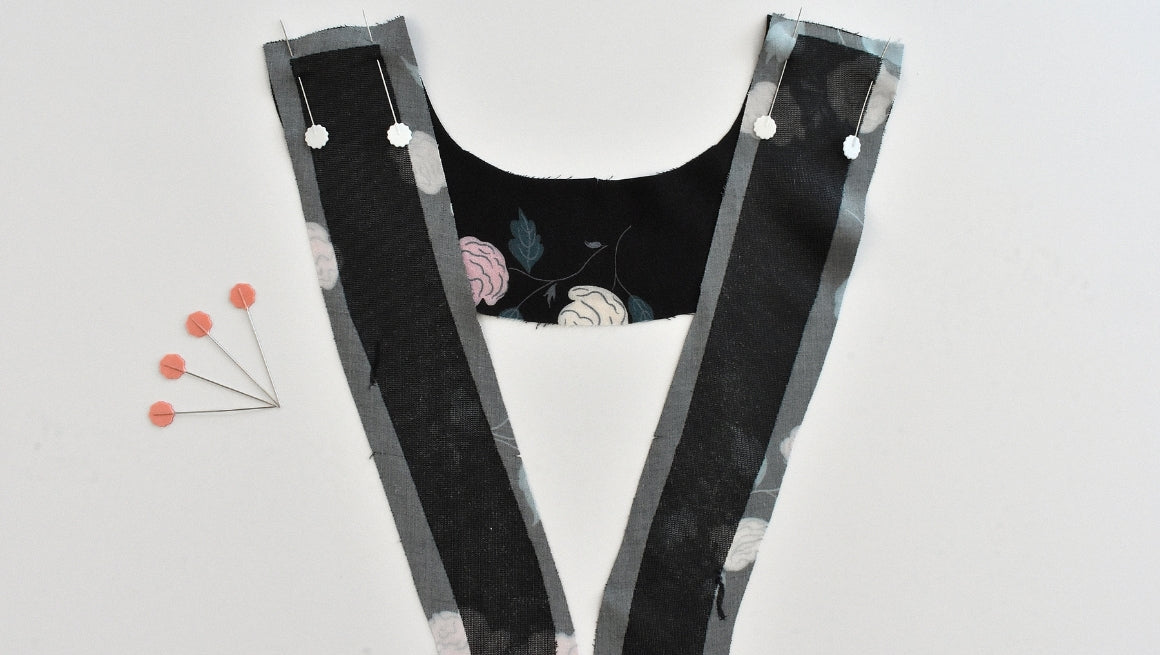
Fringe Sew Along | Prepare Facings and Sew Darts
Now that pieces have been prepared and cut, it's time to begin sewing. We'll start with the facings and bodice darts. SEW THE CENTER FRONT BODCE SEAM FOR VIEW B This step is for View B only. With r...
Read more
Fringe Sew Along | Getting Started
The Fringe is one of our most popular patterns, and we're thrilled to bring you more support in your creative endeavor with the Fringe Sew Along. Throughout this sew along, we will be sewing Fringe...
Read more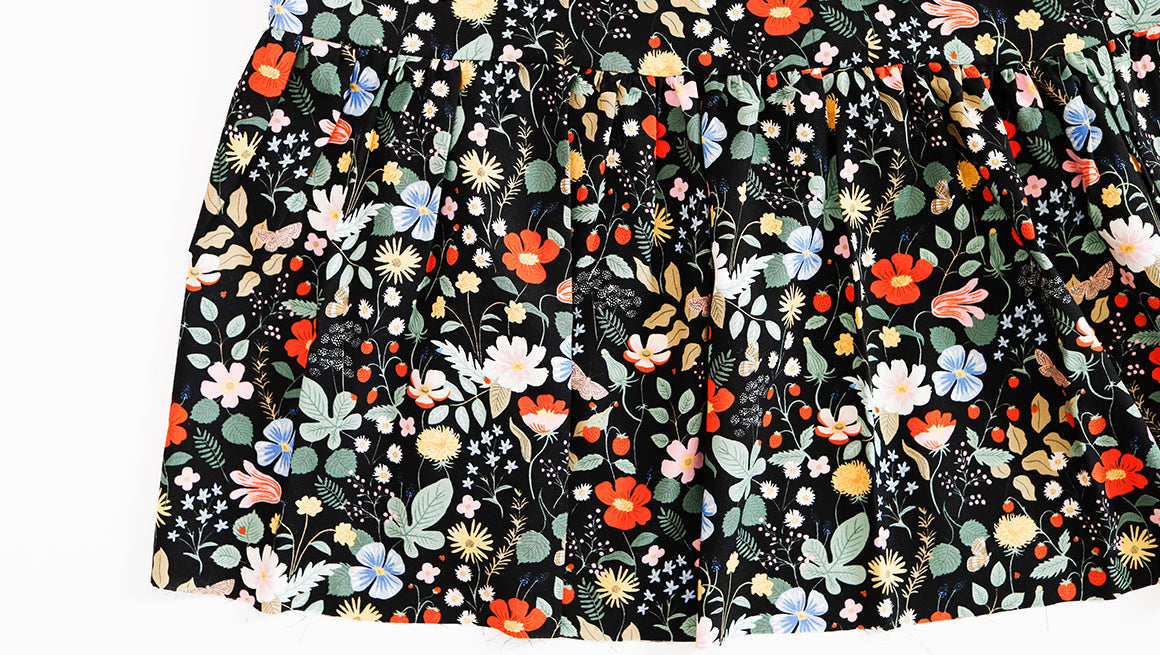
Wren Sew Along | Sew Dress Skirt & Hem
This is the last step before you can wear your Wren dress! Sew the Ruffle Side Seams With the right sides together, sew the ruffle side seams. Finish and press to the back. Gather the Ruf...
Read more
Wren Sew Along | Hem Blouse, Sew Buttonholes & Attach Buttons
In this post we have a few tips for sewing your buttonhole and your blouse hem. I prefer to sew the buttonholes and buttons of the dress before attaching the skirt but you can always add them at th...
Read more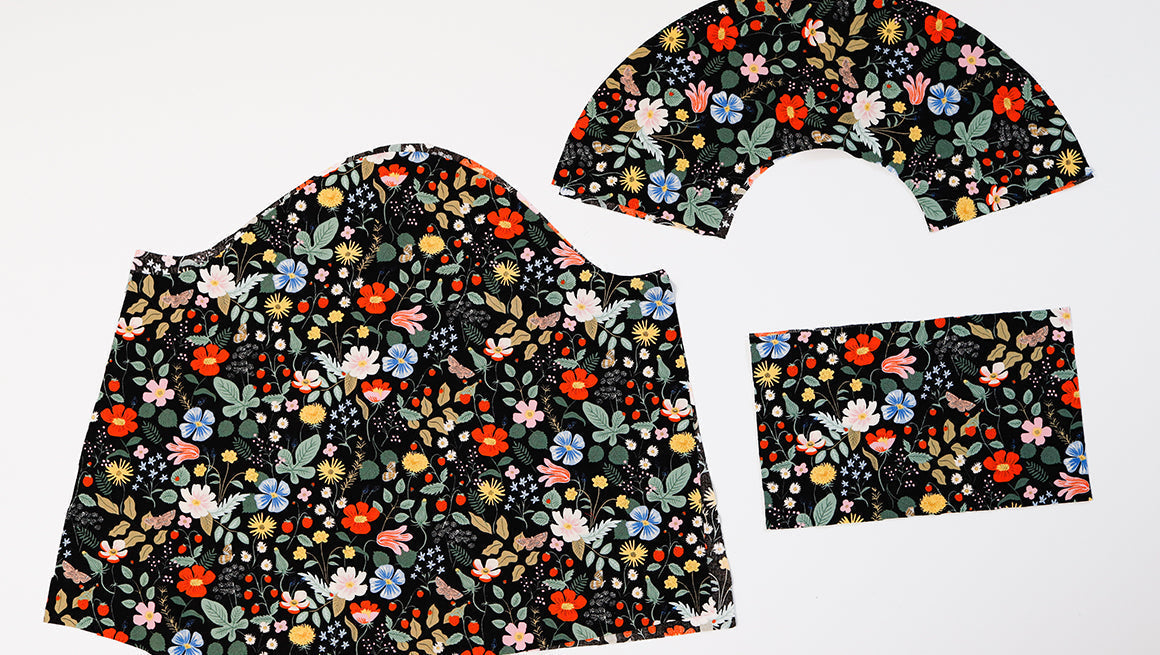
Wren Sew Along | Long Sleeves & Cuff
This post is for the longs sleeves and cuffs. If you are looking for the short sleeve instructions you can find the post here. The Mini Wren includes an elastic hem for the long sleeves so the shor...
Read more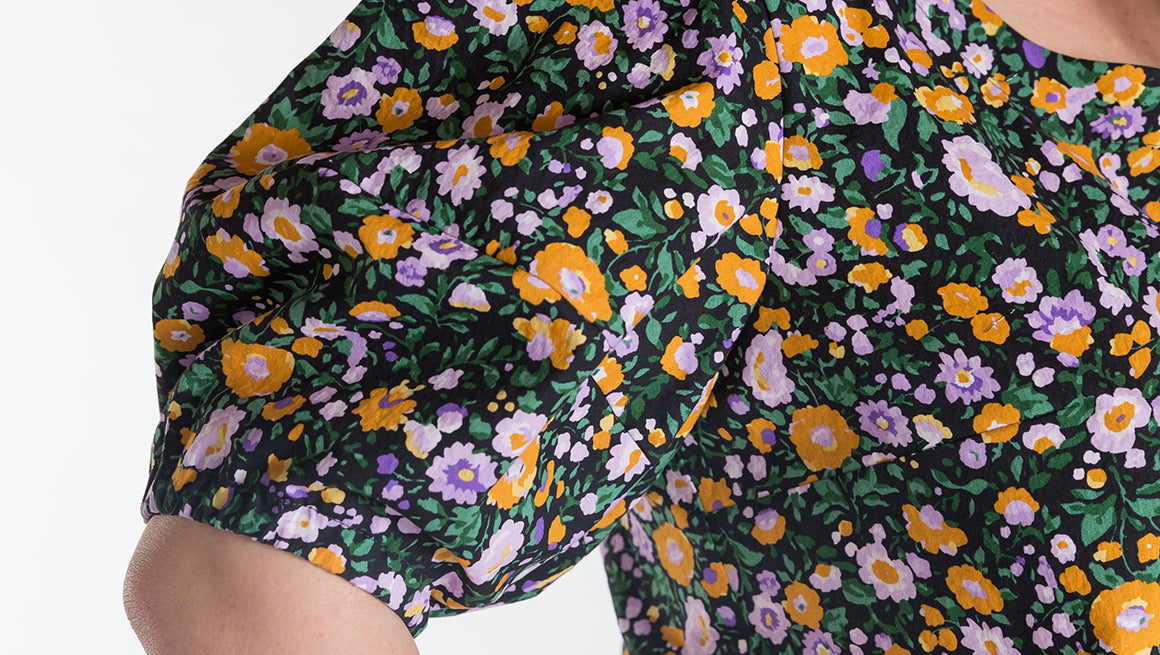
Wren Sew Along | Short Puff Sleeves
We are ready to sew the short puff sleeves (View A). The construction is the same for the Wren & Mini Wren for the short sleeve option. If you are sewing the Mini Wren long sleeves (View B), yo...
Read more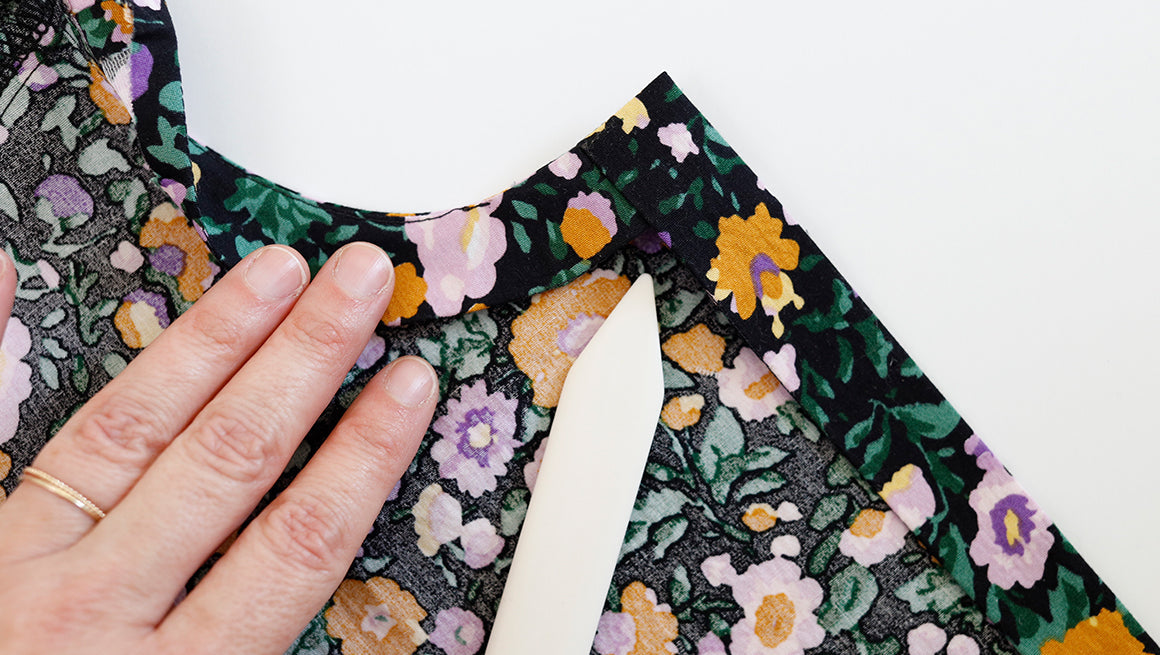
Wren Sew Along | Sew the Facing
Now we are ready to sew up the facing and create the fold-back placket. This might be a new construction method. Just follow along and trust that it will work out! We also filmed steps 8 through 11...
Read more
Wren Sew Along | Stay Stitching, Sewing Darts & Shoulder Seams
Now we are ready to start sewing! Stay stitching, sewing darts (the back darts are optional) and sewing the bodice shoulder seams are up first. STAY STITCHING NECKLINE Before handling your cut bod...
Read more
Wren Sew Along | Getting Started
We are excited to bring you a sew along for our latest release, the Wren Blouse & Dress. Throughout this sew along we will be sewing the Mini Wren for the Blouse (View A) and the Adult Wren for...
Read more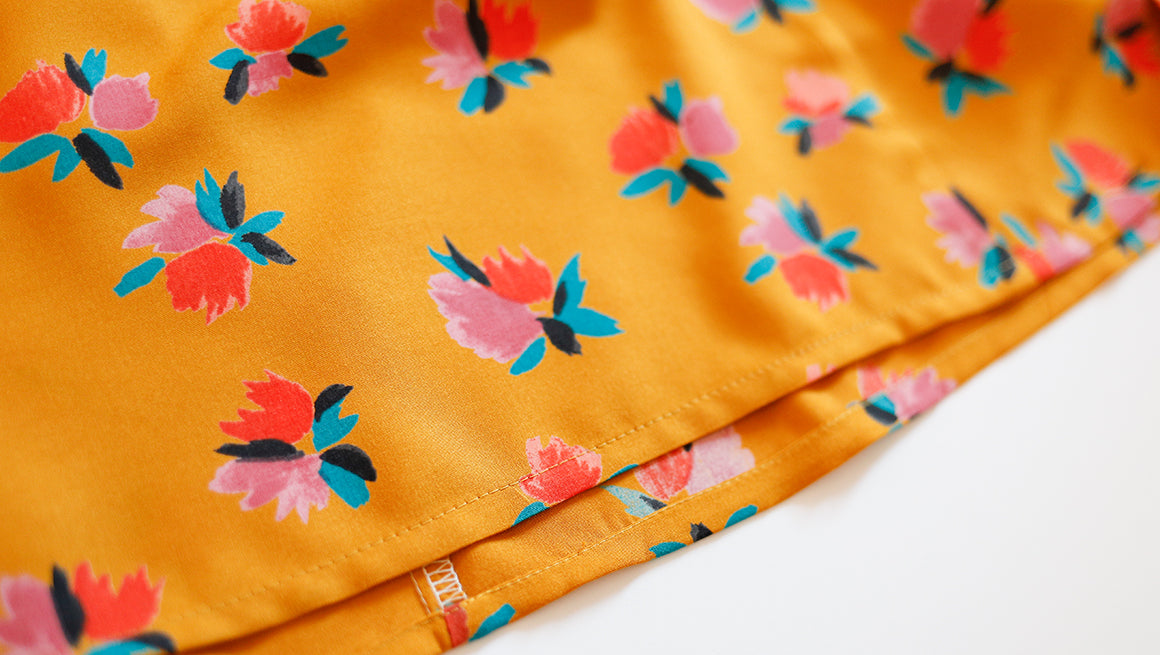
Marcel Sew Along | Hem
This is the final step before you can wear your Marcel. You can choose to hem with any method that you prefer. I like to use a stitch guide for pressing my double-turned hem. Watch our video or fol...
Read more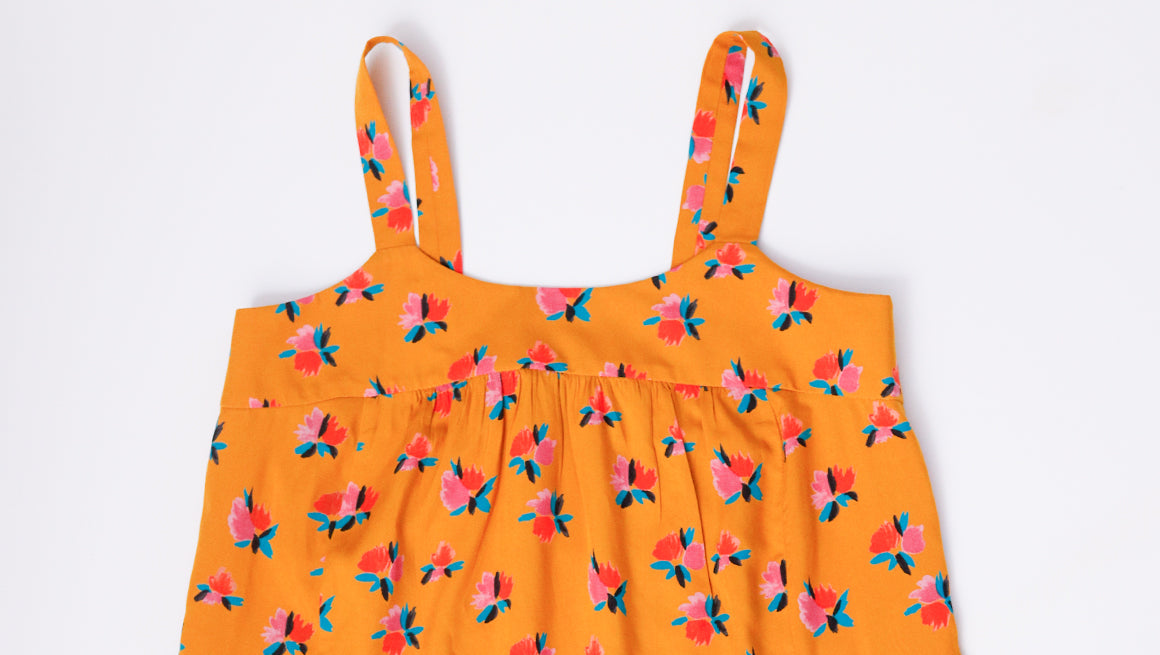
Marcel Sew Along | Sew the Bodice to the Dress or Tank
This is when your Marcel comes together! You are ready to sew and attach your bodice to your dress or tank top, the instructions are the same no matter what view you are sewing. Watch our video or ...
Read more
Marcel Sew Along | Sew the Dress or Tank
Sewing the dress side panels to the center front and center back is pretty simple and straight forward. If you are sewing the tank, this step will go even faster. Click the link below if you'd pref...
Read more
Marcel Sew Along | Sew the Side Panel Tiers
If you are sewing one of the dress views, it's time to sew the side panel tiers together. If you are making View A, the Midi length, this will be the step that takes the most time. Just be patient ...
Read more
Marcel Sew Along | Sew the Bodice
Now we are ready to sew up the bodice of the Marcel. This will be the same for any view. There is one additional step at the end if you are sewing the Mini Marcel (kids' version). You can watch the...
Read more
Marcel Sew Along | Stay Stitching & Sew Straps
Now we are ready to start sewing! Here's a link to the video sew along for the tier 1 stay stitching and sewing the straps. Feel free to watch the video for this step or follow along below. Befo...
Read more
Marcel Sew Along | Getting Started
We are excited to bring you a sew along for our latest release, the Marcel Dress and Tank Top. Throughout this sew along we will be sewing the women's View B (Mini Dress) in a mustard floral and th...
Read more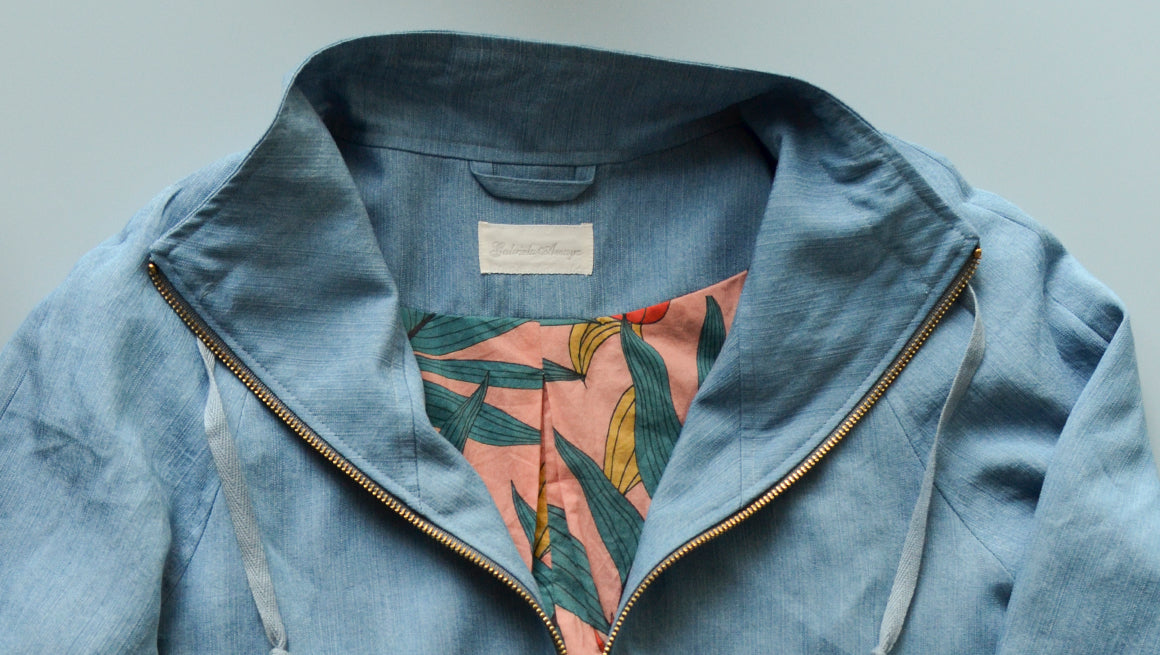
Joy Sew Along | Bag Lining & Finishing Details
This probably seems like the most intimidating step, but it comes together pretty quickly and it's really cool. Pulling the jacket right side out feels like magic! By the end of this post, you will...
Read more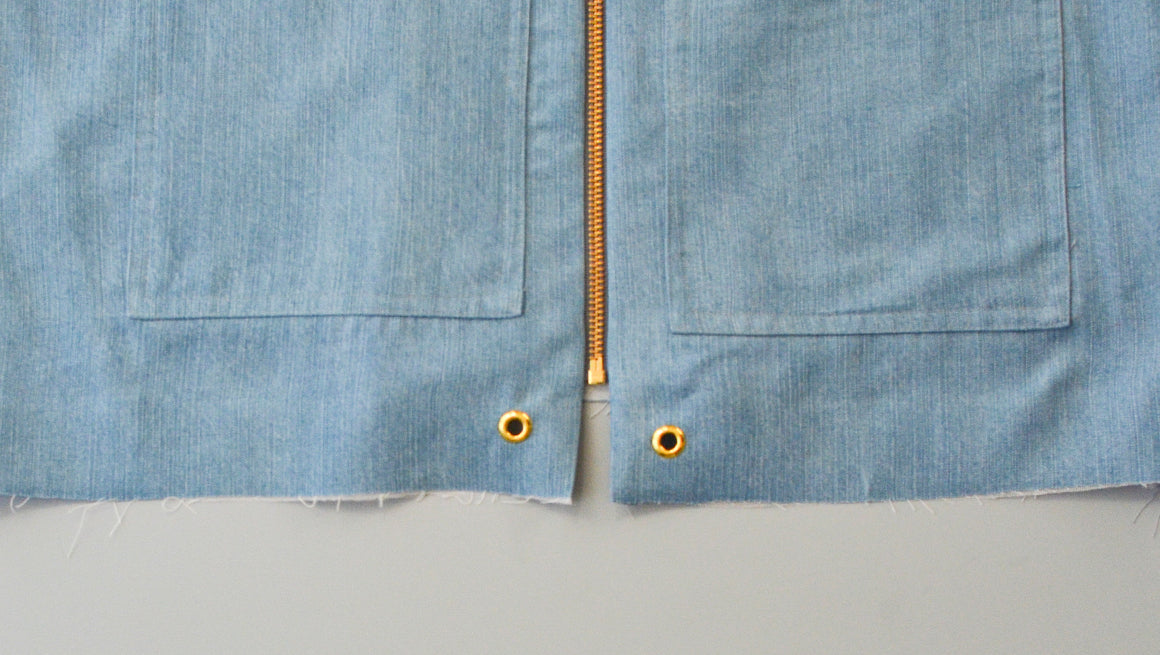
Joy Sew Along | Set Zipper & Add Grommets or Buttonholes
This post is all about adding the hardware. Don't let that word scare you, I promise it's not hard! PREP ZIPPER TABS & ATTACH ZIPPER Prep the zipper by folding back the tabs at an angle and s...
Read more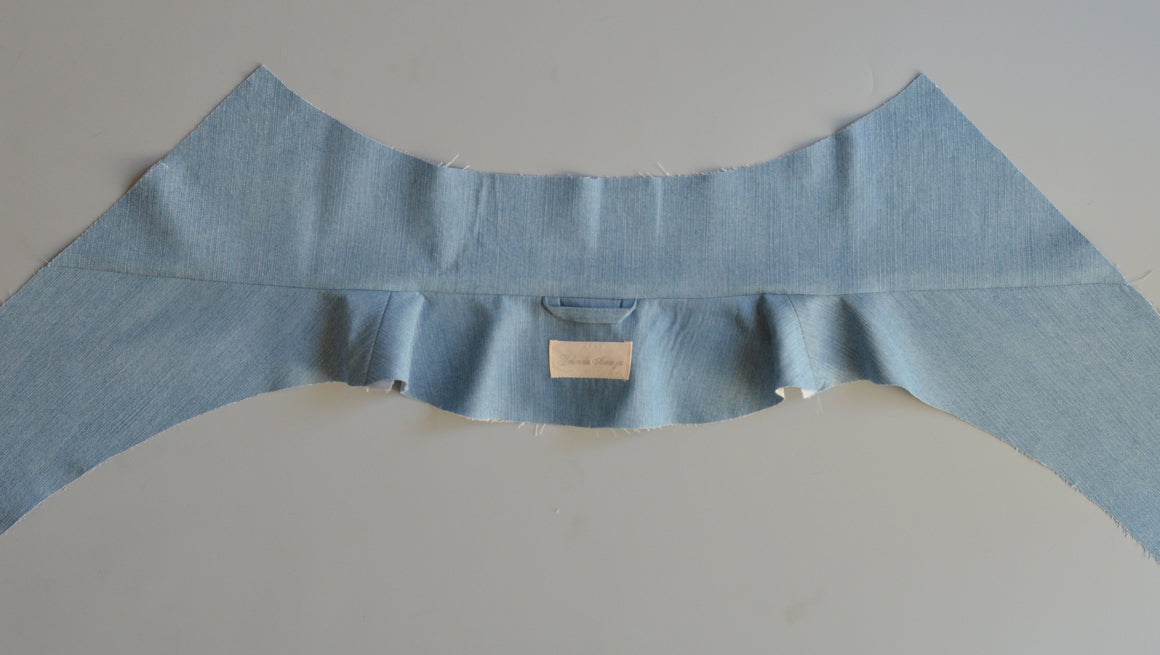
Joy Sew Along | Assemble Facing & Attach to Lining
Now we will be assembling the facing and attaching it to the lining. When you are finished with this post, the lining and facing will be complete. OPTIONAL: ADD GARMENT LABEL AND/OR HANGER LOOP &am...
Read more
Joy Sew Along | Assemble Lining
This post will guide you through assembling the lining and hem facing. As a reminder, if you made any adjustments to the main fabric sleeves or bodice length, you will need to make the same adjustm...
Read more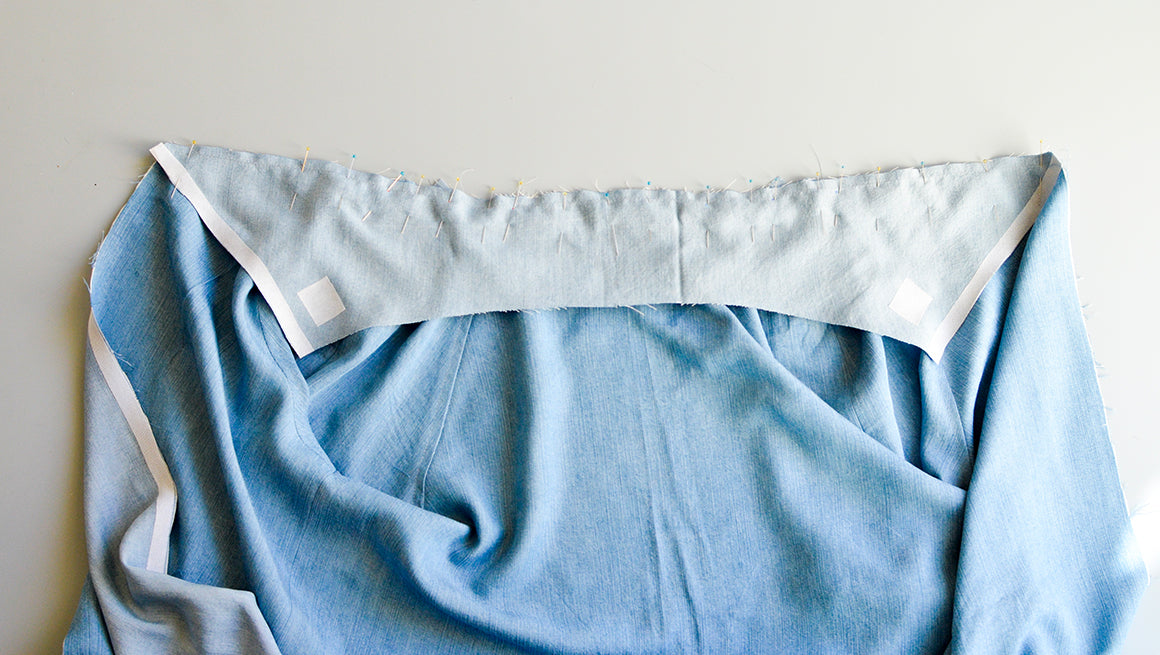
Joy Sew Along | Assemble Outer Main Fabric
Once you start to assemble the main fabric, things can move quickly and you will start to see your jacket taking shape. By the end of this post, you will be able to try on your outer shell. SEW SLE...
Read more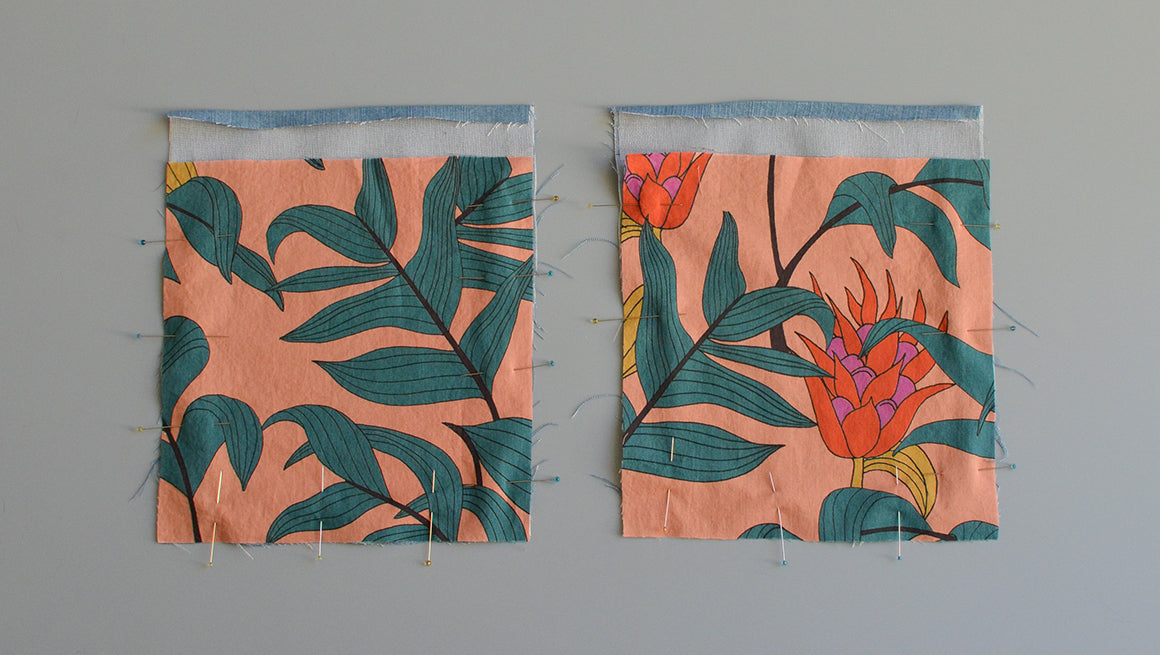
Joy Sew Along | Prepping Drawstring & Pockets
Now we get to start sewing! If you have premade drawstrings, I still suggest making the center back hanger loop out of your main fabric. I'll be showing photos of the drawstrings and center back lo...
Read more
Joy Sew Along | Cutting & Applying Fusible
Time to get cutting! Yes, there is a lot of cutting and fusible prep to get this pattern ready to sew, but don't let that stress you out. If you take your time with this part, you will set yourself...
Read more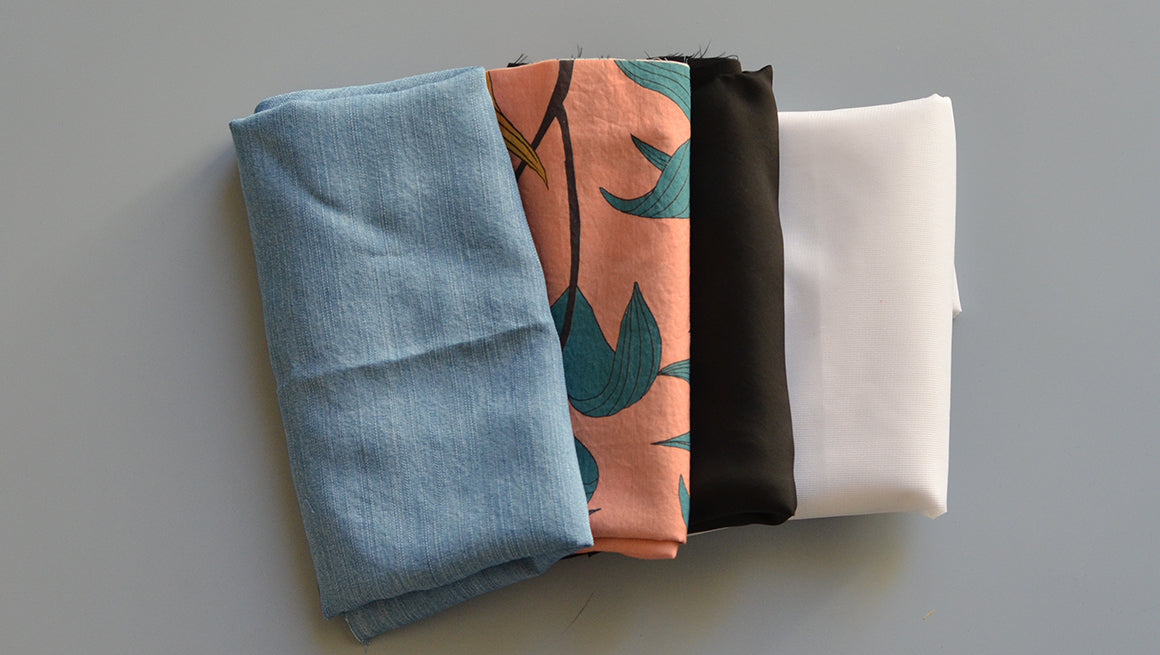
Joy Sew Along | Getting Started
Welcome to the Joy Jacket Sew Along! Over the next nine posts, you will find everything you need to sew your own Joy with extra tips and tricks along the way. Each step has a photo reference, and t...
Read more
Joy Fitting & Custom Adjustments
Deciding what size to sew for yourself can sometimes be confusing. Take some time to review the size chart and finished measurements below. Start with your bust measurement and confirm you have eno...
Read more