News
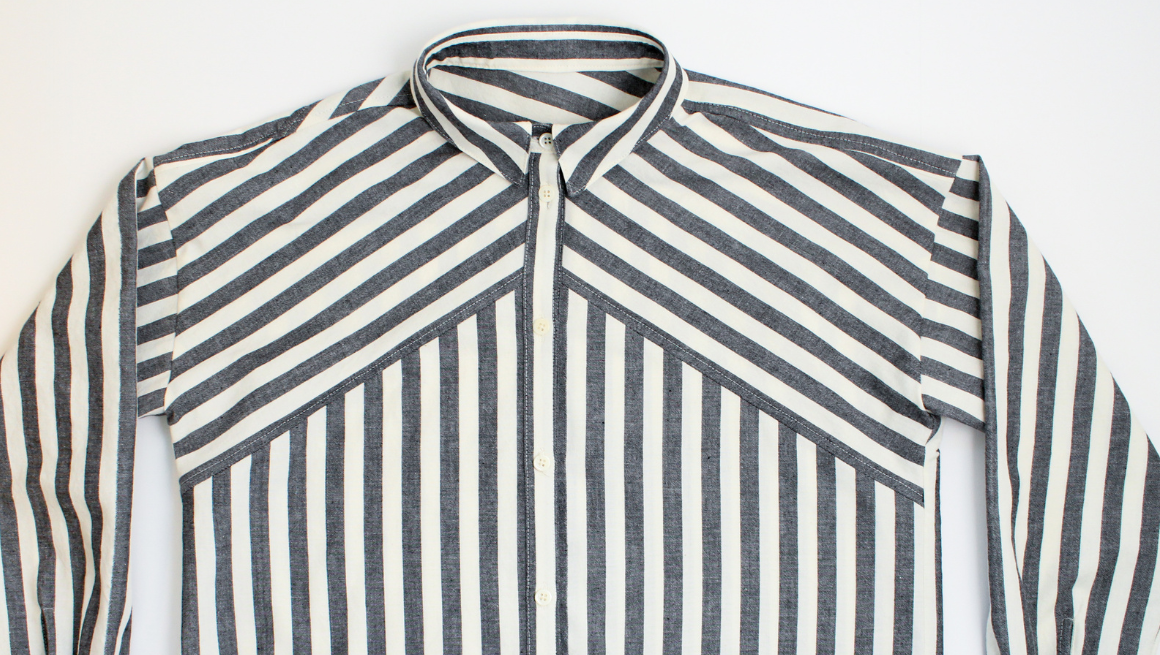
Rivi Sew Along | Hem & Sew Buttons
You are just about done with your Rivi! Prep the hem by stitching a fold guide at 1/4” (0.6 cm). Press the hem up 1/4” (0.6 cm), wrong sides together. Fold the hem up again at 3/8” (1 cm) and pi...
Read more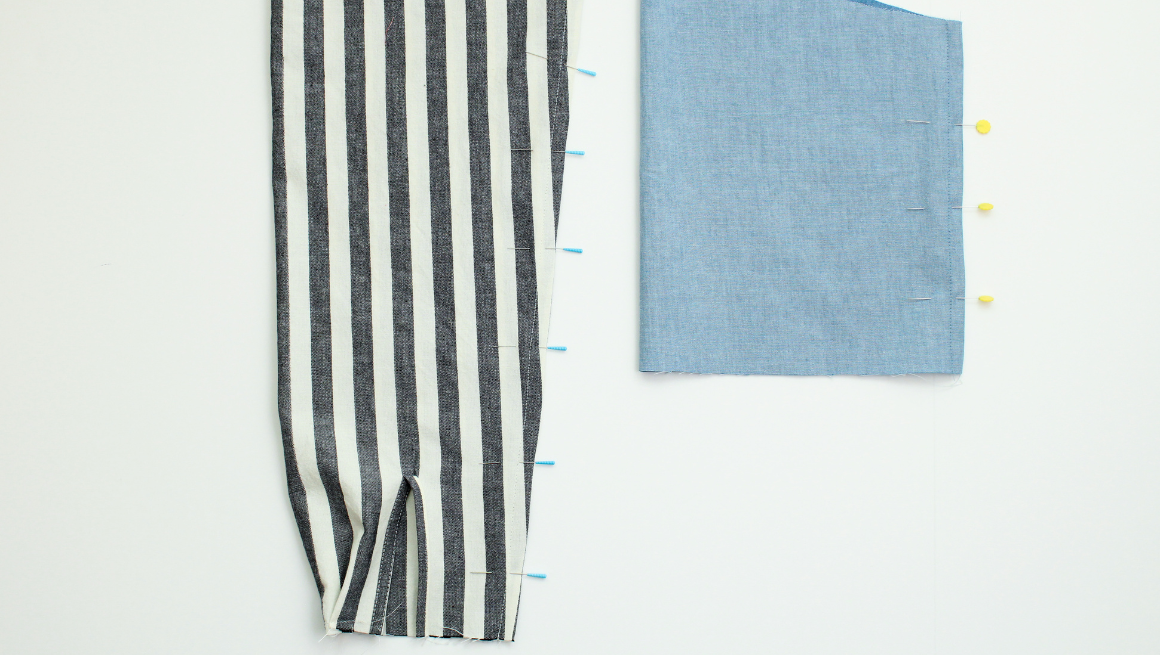
Rivi Sew Along | Sew the Sleeves
It's time to sew the sleeves. We will start with the long sleeves. If sewing the short sleeves, skip to sewing the sleeve underseam. Look for the steps below with the short blue chambray sleeves. I...
Read more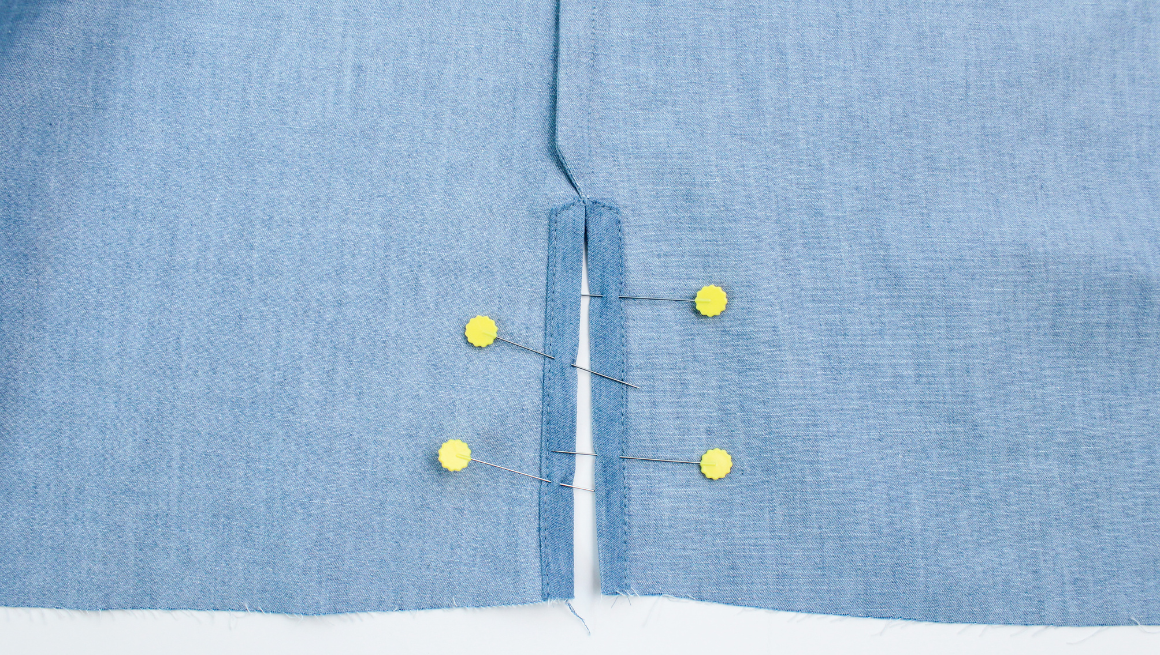
Rivi Sew Along | Sew the Side Seam Slits
In this post, we will be sewing the side seams with side slits, also with French seams. If you do not include side slits, skip this first step and sew the side seams with French seams. If you prefe...
Read more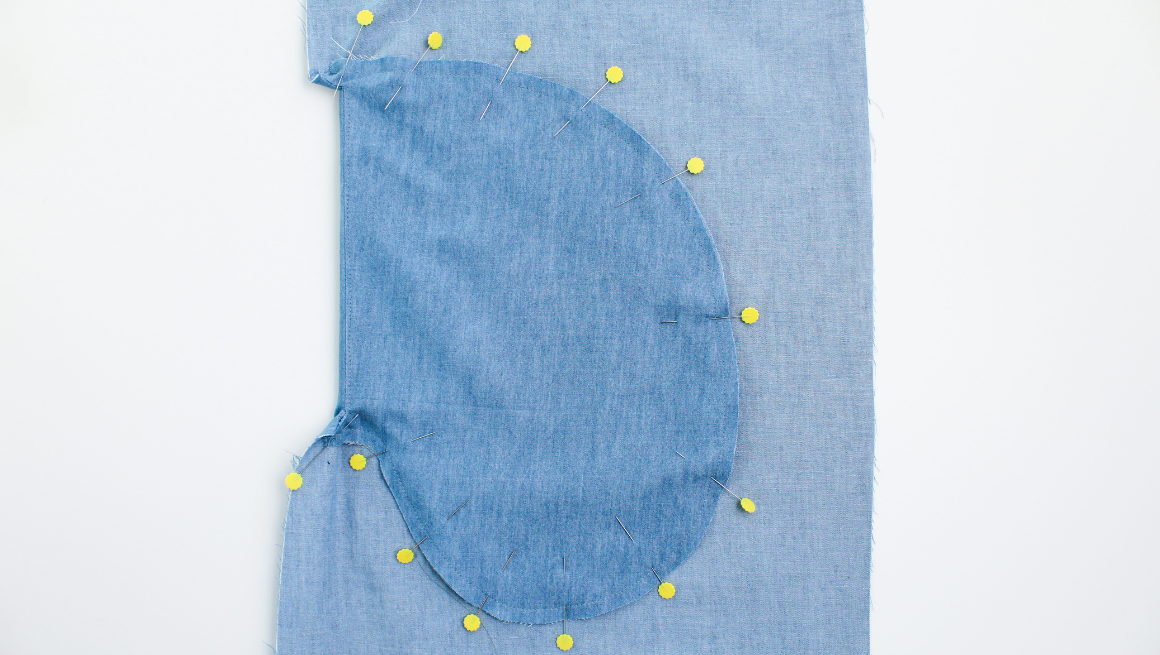
Rivi Sew Along | Sew the Pockets
In this post, we will go over adding pockets to the dress view. These are inseam pockets sewn with French seams. If you prefer a video tutorial, sewing the pockets (steps 23-26) can be found on you...
Read more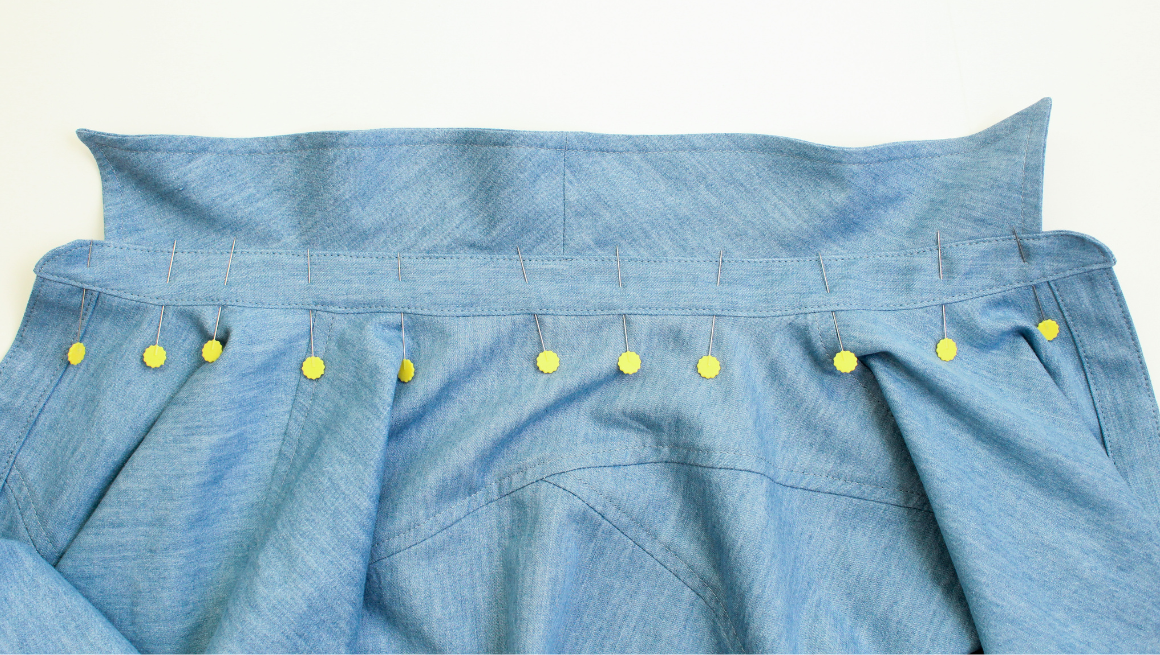
Rivi Sew Along | Sew the Collar & Collar Stand
There are a few ways to attach a collar to a collar stand. This is my favorite way to do it, and I hope you enjoy it. If you prefer a video tutorial, sewing the collar (steps 15-22) can be found on...
Read more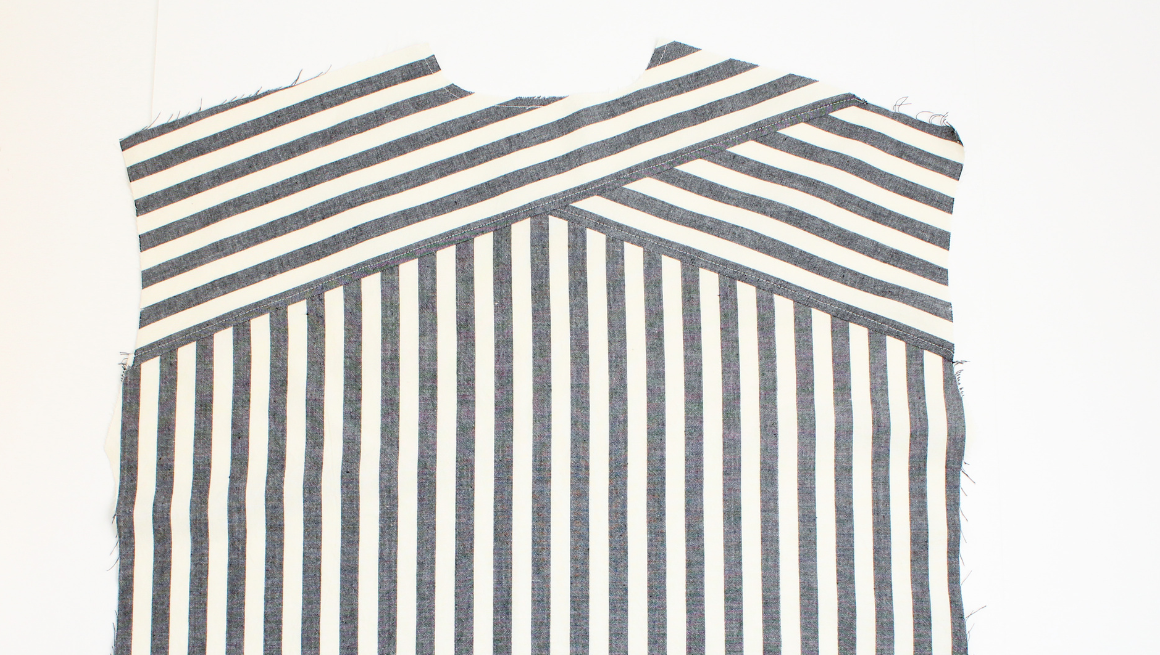
Rivi Sew Along | Assemble the Bodice & Placket
In this post, you will see the bodice come together. Each seam is sewn three times, so it is a bit tedious, but take your time; hopefully, you will find it satisfying. We are using a chambray with...
Read more
Rivi Sew Along | Stay Stitching, Fused Pattern Pieces & Sewing Darts
Just a note, our photo sew along will illustrate the blouse views; the instructions are the same when sewing the dress. The tutorial will illustrate sewing the joined seams with a French seam. It i...
Read more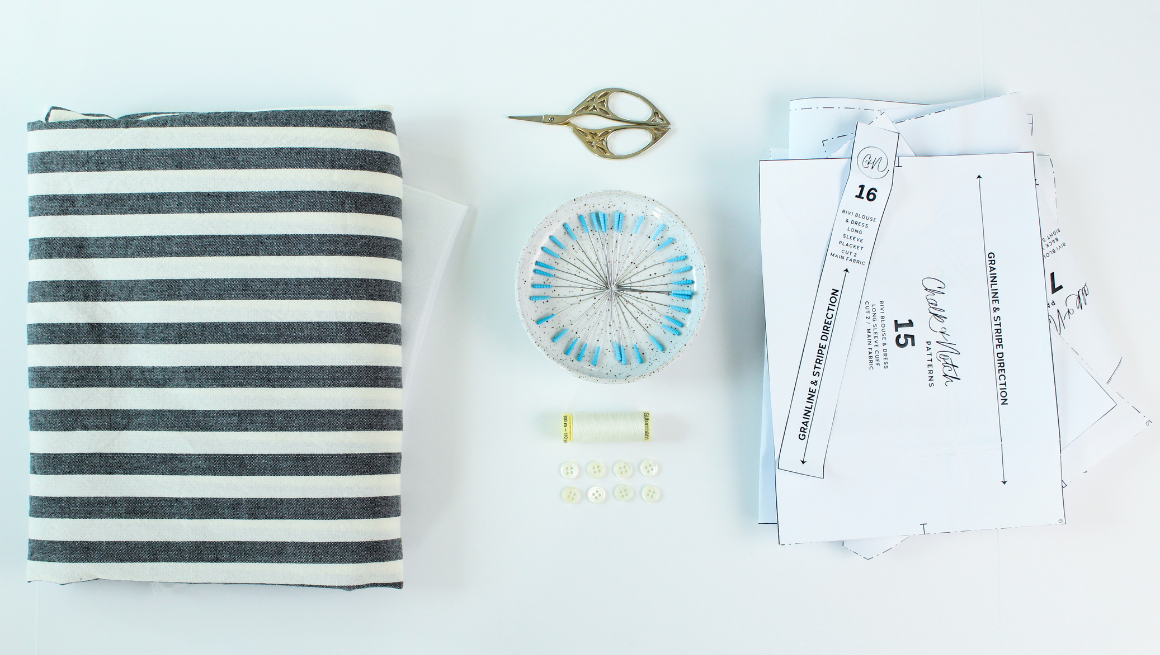
Rivi Sew Along | Getting Started
To help you in your sewing experience, we’re thrilled to share the Rivi Sew Along. This sew along features step-by-step photos for the entire sewing process! In addition to the sew along, we also h...
Read more
Tess Sew Along | Sleeve Hems or Armbands
In this installment of the Tess Sew Along, we’ll finish the dress or top by hemming the sleeves or attaching armbands for the tank view. Unless noted, the seam allowance included is 3/8″ (1 cm) for...
Read more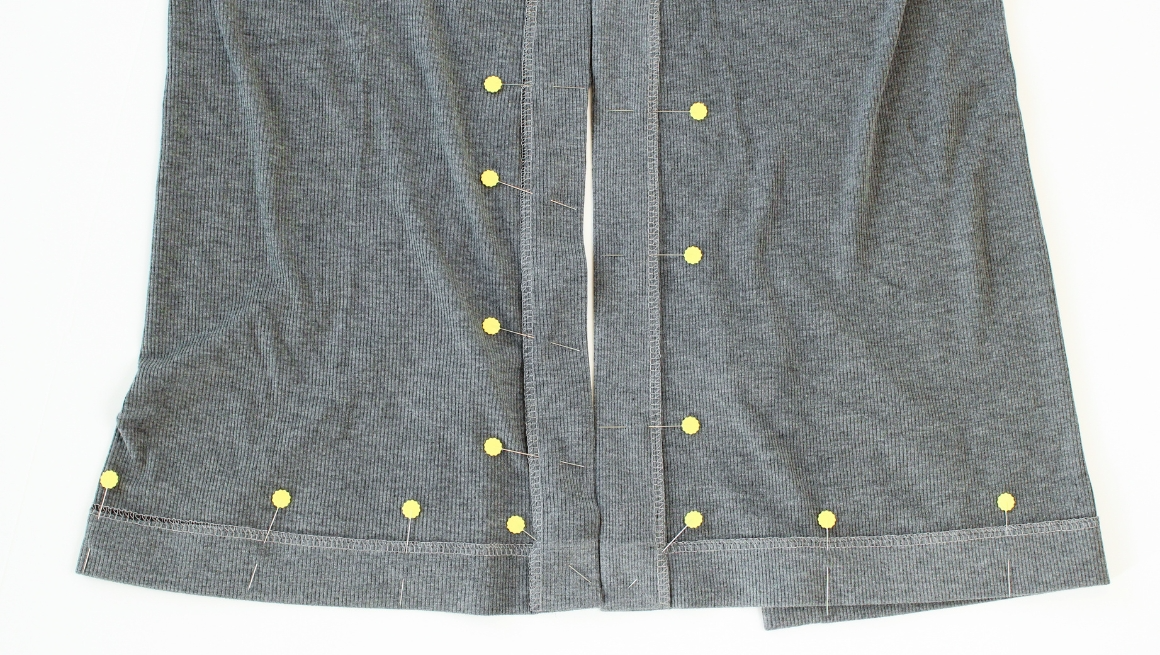
Tess Sew Along | Dress Side Seams, Slit, and Hem
In this installment of the Tess Sew Along, we’ll sew the side seams, slits, and hem for the dress view. Unless noted, the seam allowance included is 3/8″ (1 cm) for joined seams. SEW SIDE SEAMS &am...
Read more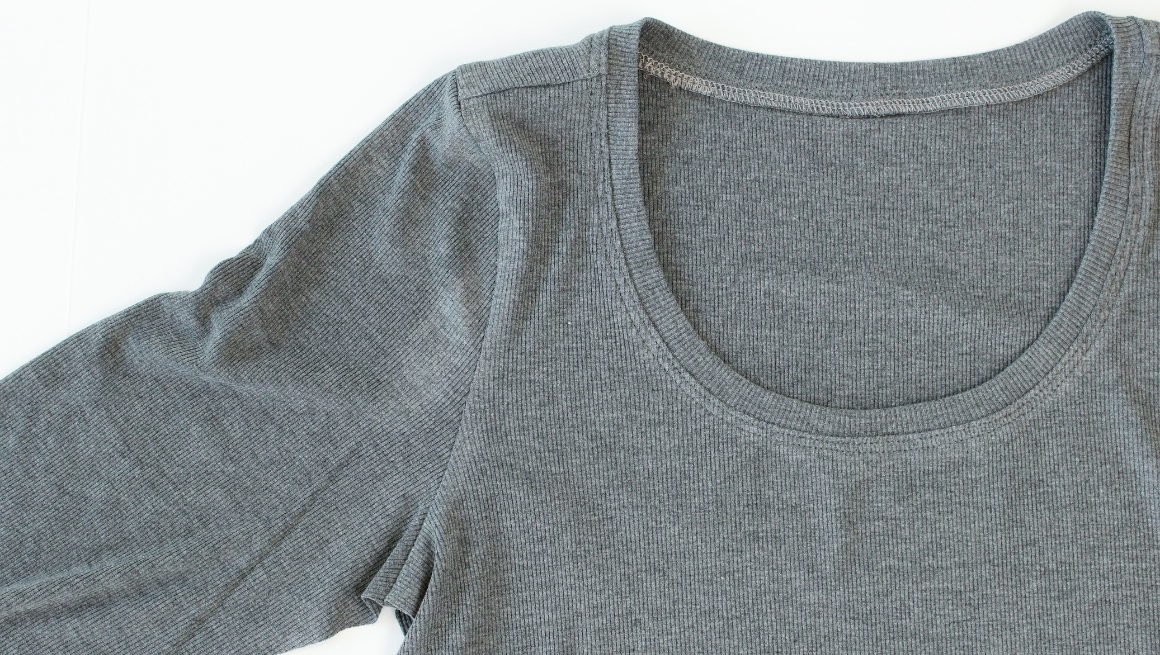
Tess Sew Along | Sleeves and Top Side Seams
In this installment of the Tess Sew Along, we’ll attach the sleeves for sleeved views and sew the top side seams. Our sew-along sample includes long sleeves, but the construction is the same for th...
Read more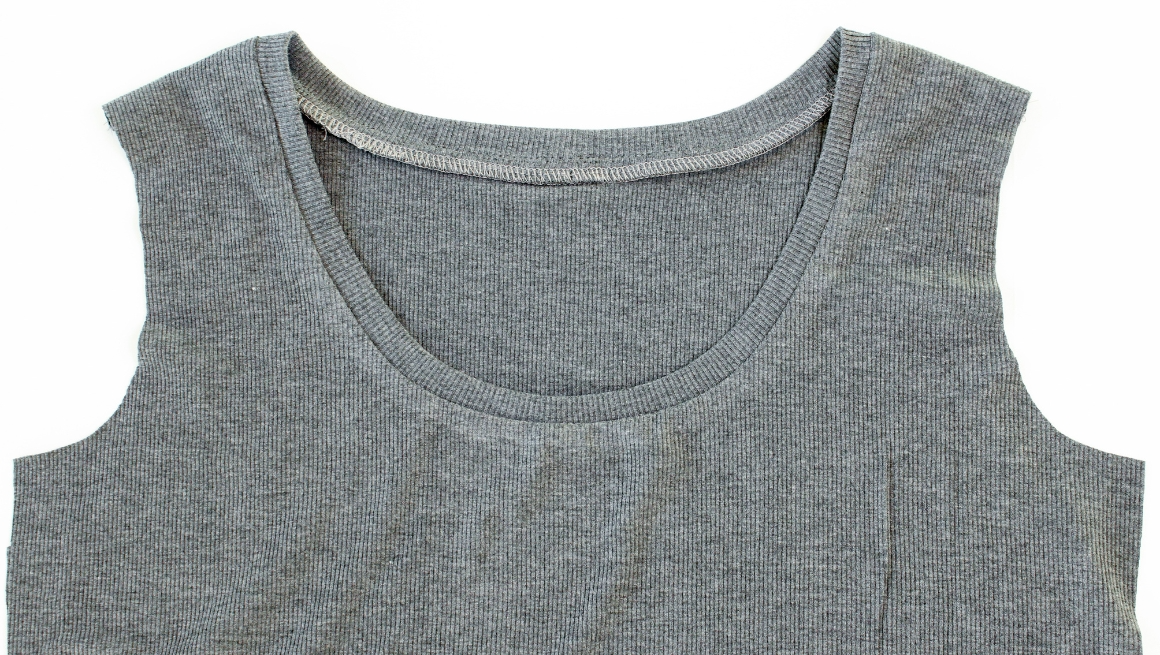
Tess Sew Along | Prepare and Sew Neckline
It’s time to begin the sewing portion of our Tess Sew Along, we’ll start by preparing our pattern pieces and sewing the neckline. Unless noted, the seam allowance included is 3/8″ (1 cm) for joined...
Read more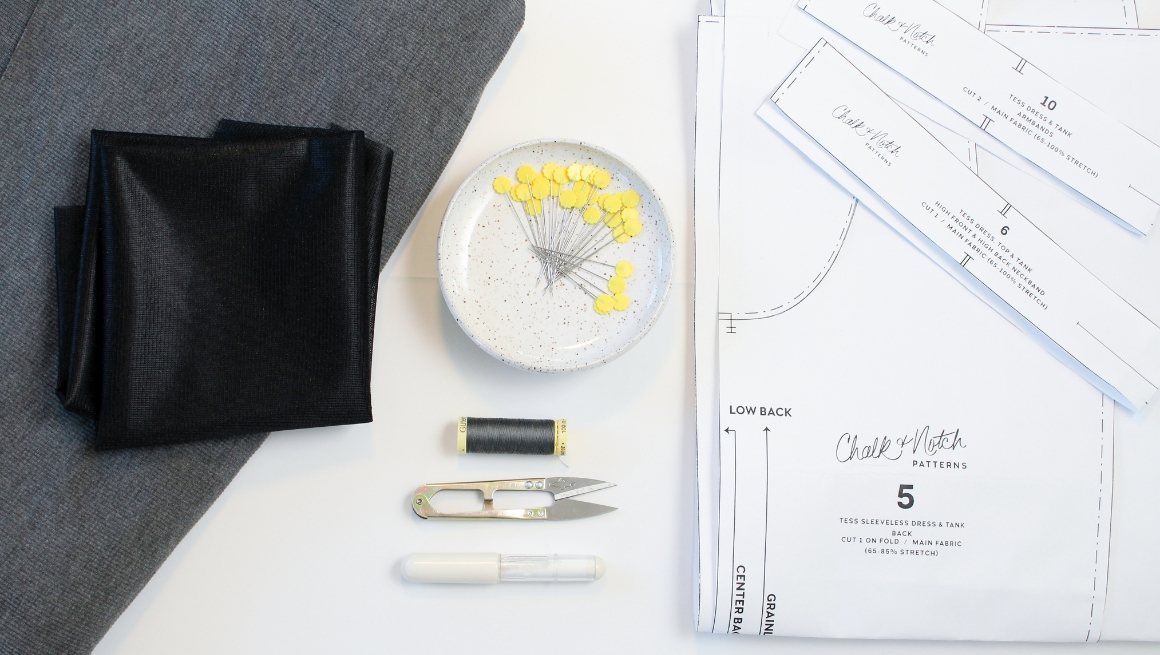
Tess Sew Along | Getting Started
To help you in your sewing experience, we’re thrilled to share the Tess Dress and Top Sew Along. This sew along features step-by-step photos for the entire sewing process! In addition to the sew al...
Read more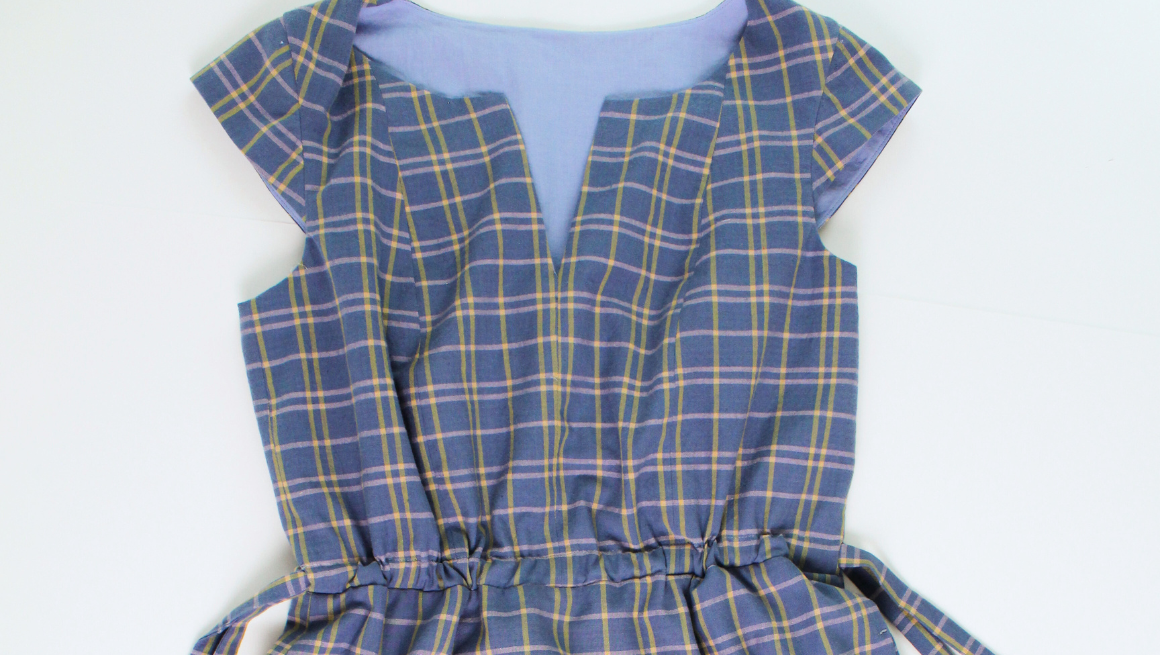
Hayes Sew Along | Finish Dress and Skirt Waistband
It's time to wrap up the Hayes Sew Along by attaching the skirt to the dress bodice and adding a waistband to the skirt. Let's get going. DRESS | SEW THE BODICE TO THE SKIRT If sewing the dress, wi...
Read more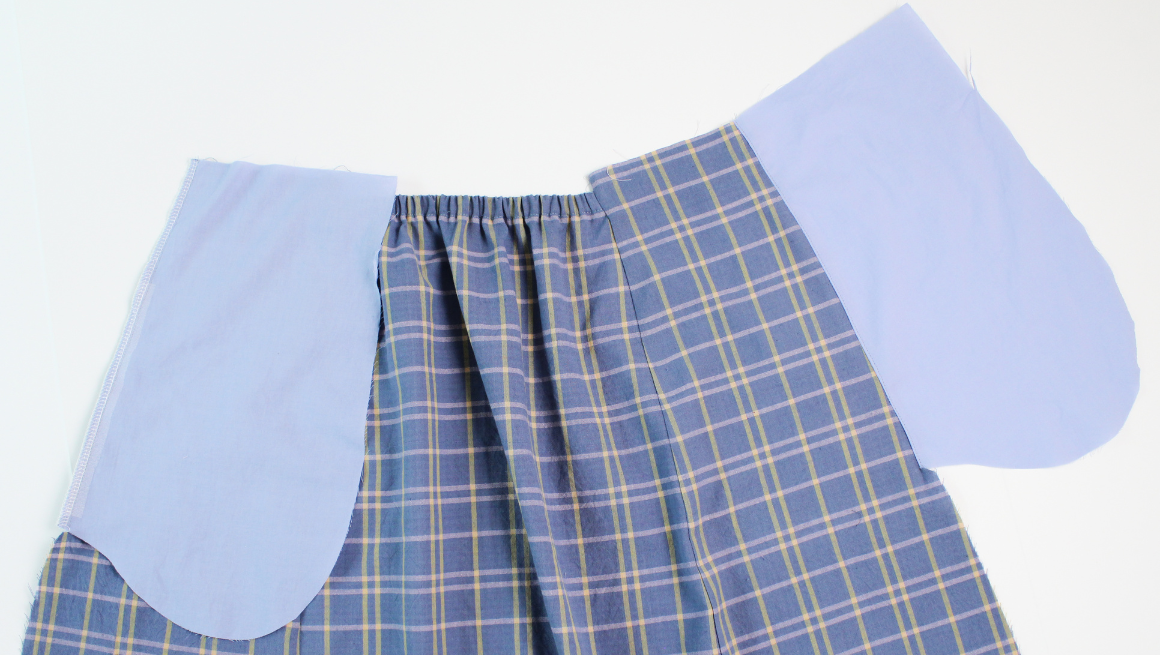
Hayes Sew Along | Assemble Skirt
It's time to put the skirt of the Hayes pattern together. Let's get started. OPEN BACK DRESS | SEW & UNDERSTITCH THE CENTER BACK CASING If sewing the open back, with the right sides together, s...
Read more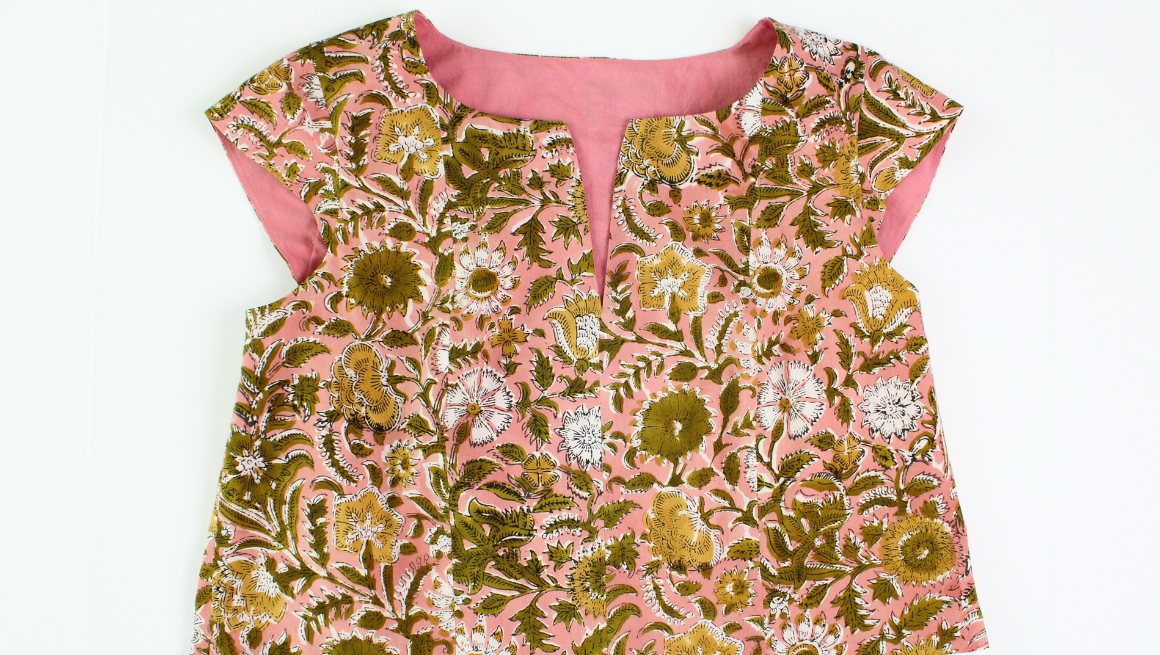
Hayes Sew Along | Finishing the Bodice
In this post we'll finish up the bodice for the Hayes Dress, getting it ready to attach to the skirt and hem the Hayes Top. OPEN BACK DRESS | SEW THE OPEN BACK If sewing the open back dress, turn t...
Read more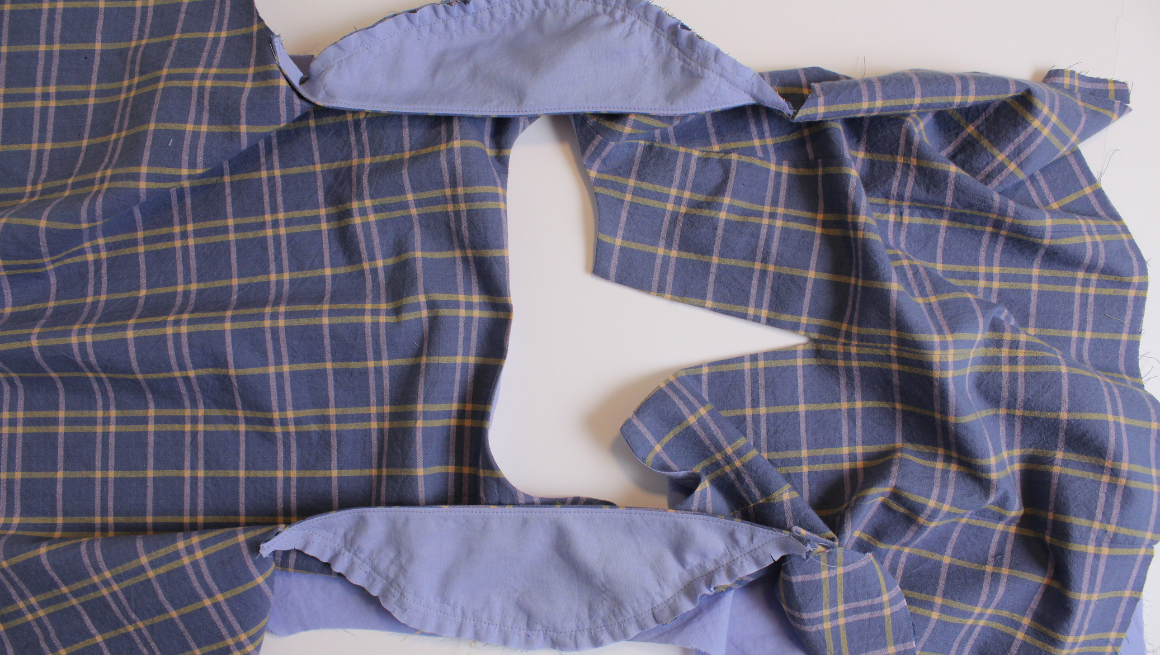
Hayes Sew Along | Attach Sleeves and Sew Sides
The bodice is starting to take shape, here we'll continue to put it together by attaching the sleeves and sewing the side seams. TOP & DRESS | SEW THE SLEEVE TO THE SLEEVE LINING With the right...
Read more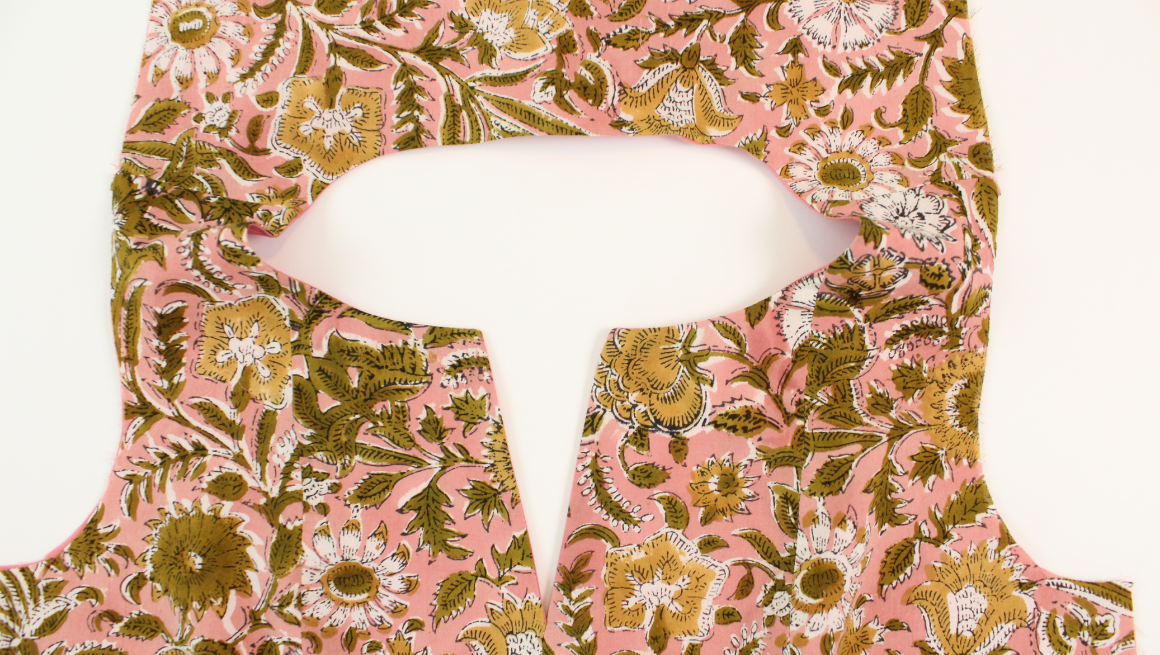
Hayes Sew Along | Assemble Bodice and Sew Neckline
Your Hayes will start taking shape as we begin assembling the bodice and sewing the neckline in this installment of the Hayes Sew Along. TOP & DRESS | FINISHING BODICE SEAMS The bodice will be ...
Read more
Hayes Sew Along | Staystitching, Interfacing, & Ties
Before we begin assembling your dress or set, there are a few things to prepare. We'll start with staystitching and adding fusible interfacing. Unless noted, the seam allowance included is 3/8" (1 ...
Read more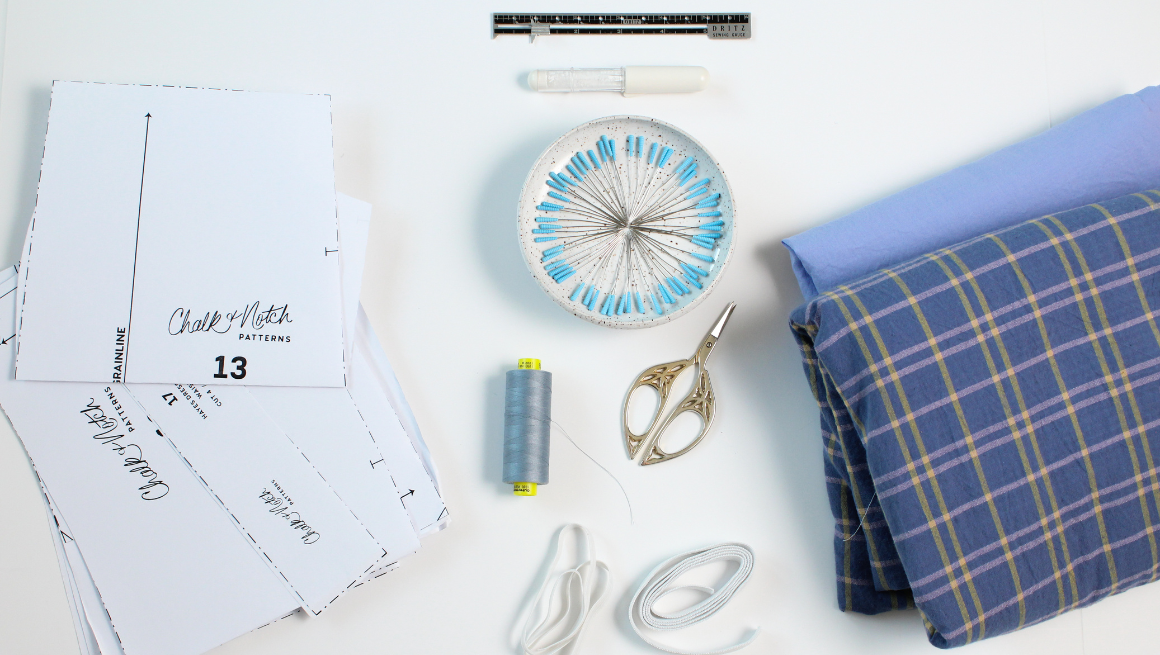
Hayes Sew Along | Getting Started
To help you in your sewing experience, we're thrilled to share the Hayes Sew Along. This sew along features step-by-step photos for the entire sewing process! In addition to the sew along, we also ...
Read more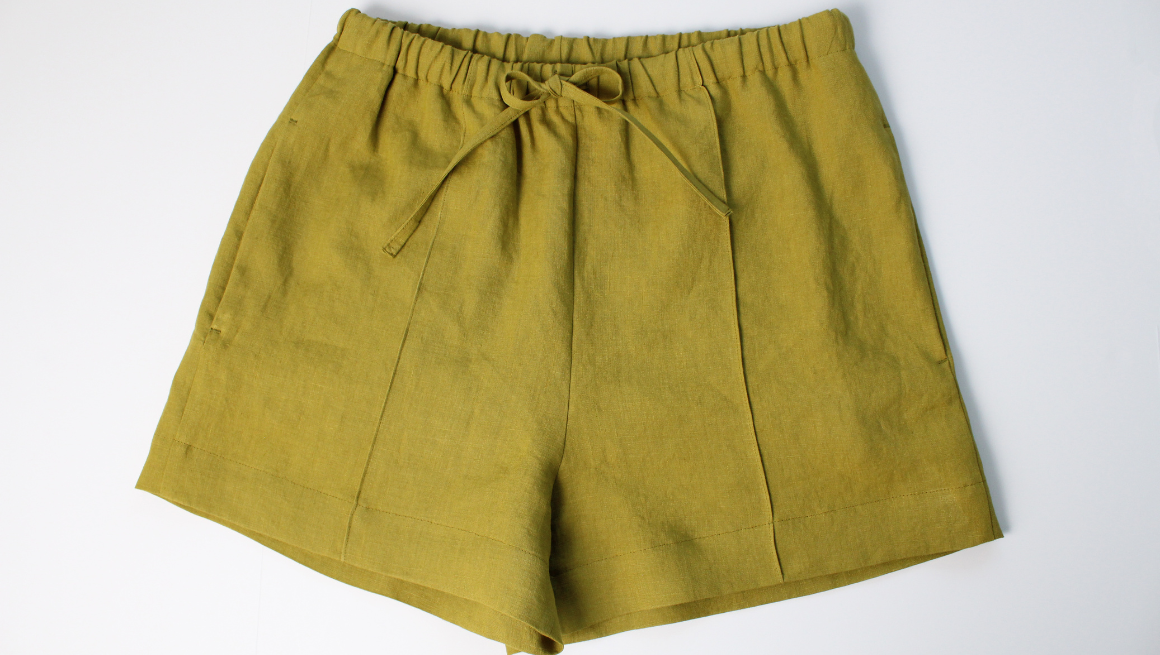
Reya Sew Along | Sew the Waistband & Hem
In this post, we will finish the Reyas by sewing the waistband and the hem! You are so close to finishing. PREP THE WAISTBAND CASING Prep the waist casing by stitching a fold guide just under 3/8”...
Read more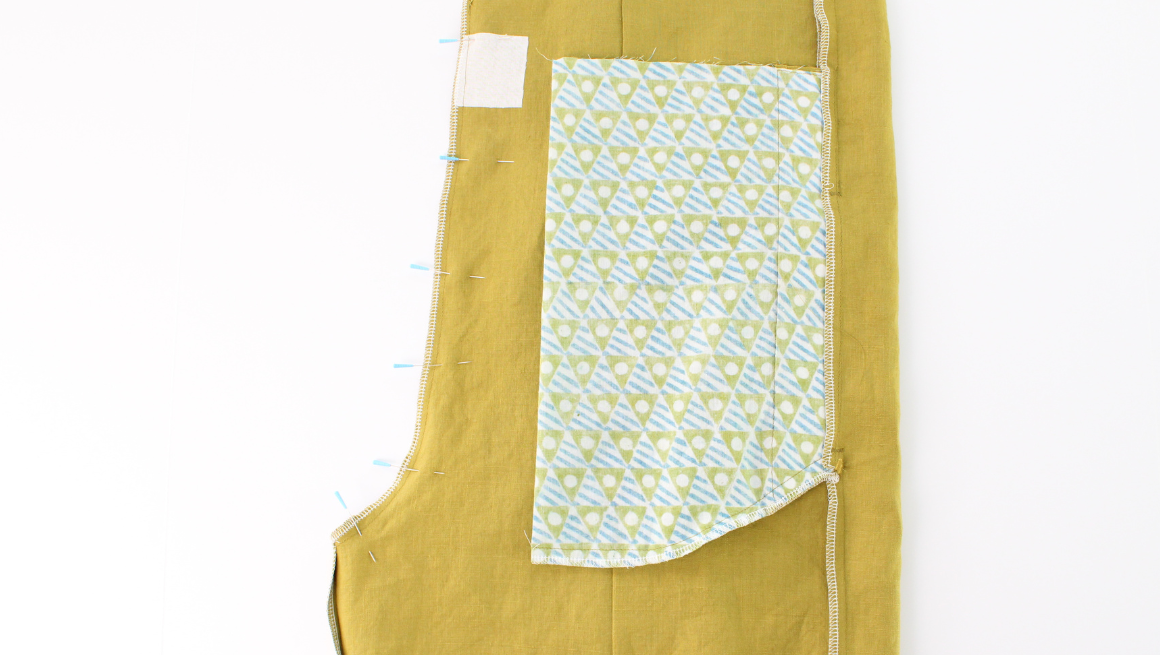
Reya Sew Along | Sew the Inseams & Rise
In this post, we will be sewing the inseam and the rise seams. SEW THE FRONT & BACK INSEAM With the right sides together, sew the front and back inseam at 3/8” (1 cm). Use the notches to match ...
Read more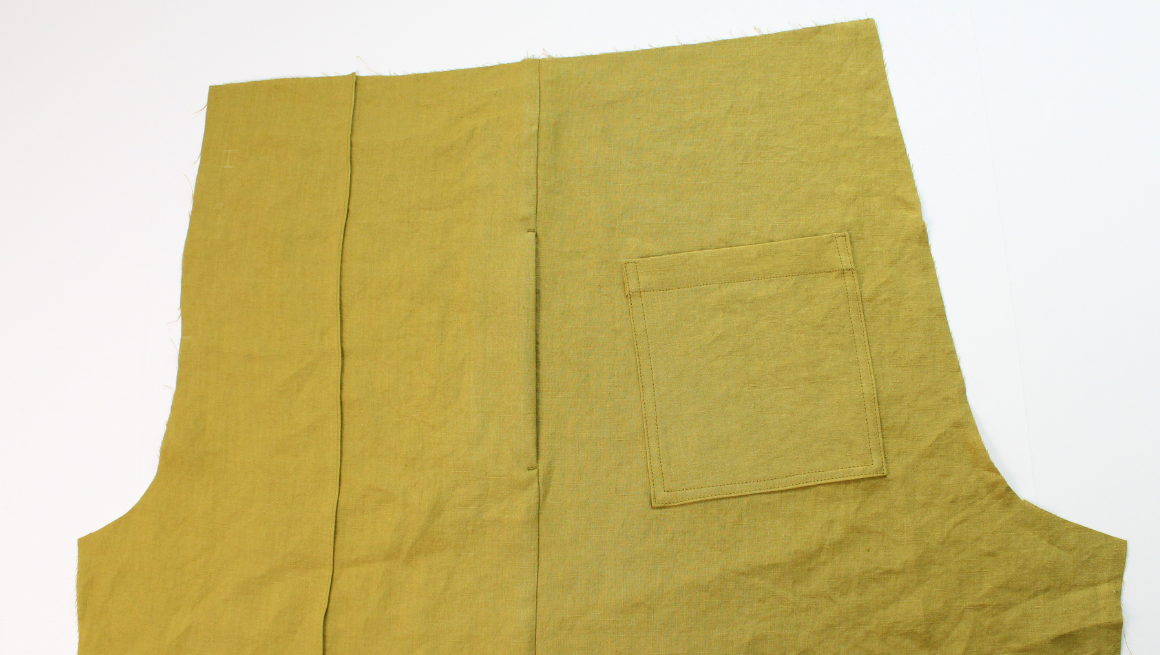
Reya Sew Along | Sew the Side Pockets & Side Seams
In this post, we will be sewing the side pockets and side seams. SEW THE SIDE SEAMS WITHOUT POCKETS If omitting the side seam pockets, sew the side seams right sides together at 1/2” (1.25 cm). Fin...
Read more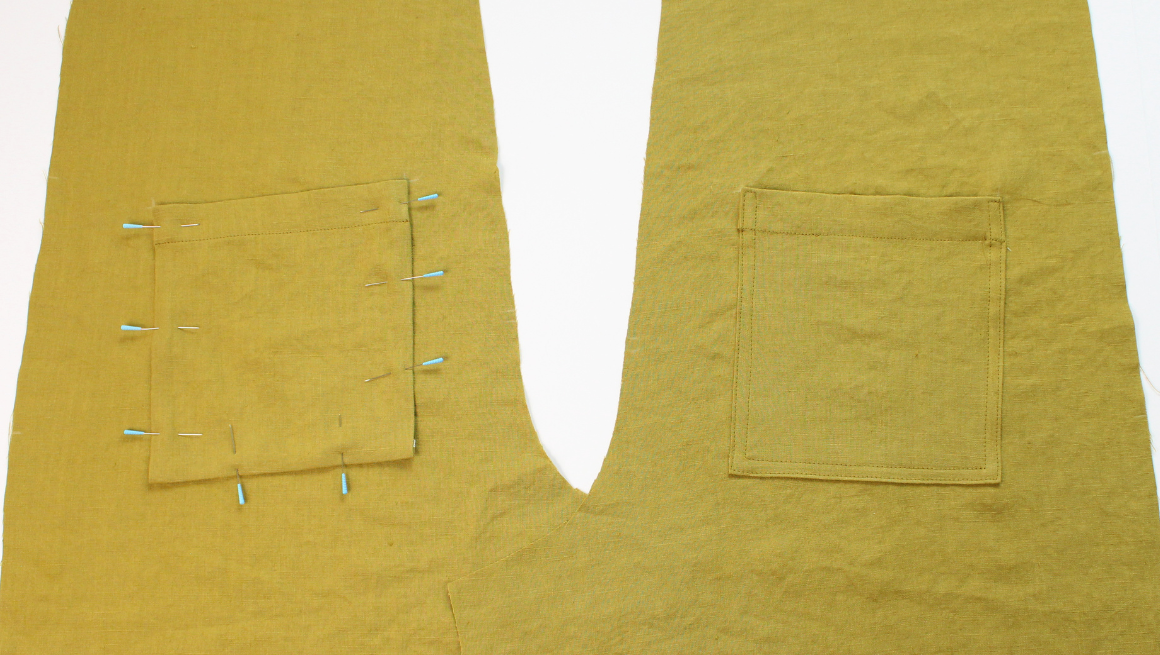
Reya Sew Along | Sew the Back Pockets
In this post, we will be sewing the back patch pockets. If omitting the back pockets, skip to this post here. PREP THE BACK POCKETS Finish the sides and bottom of the back pockets. Next press the t...
Read more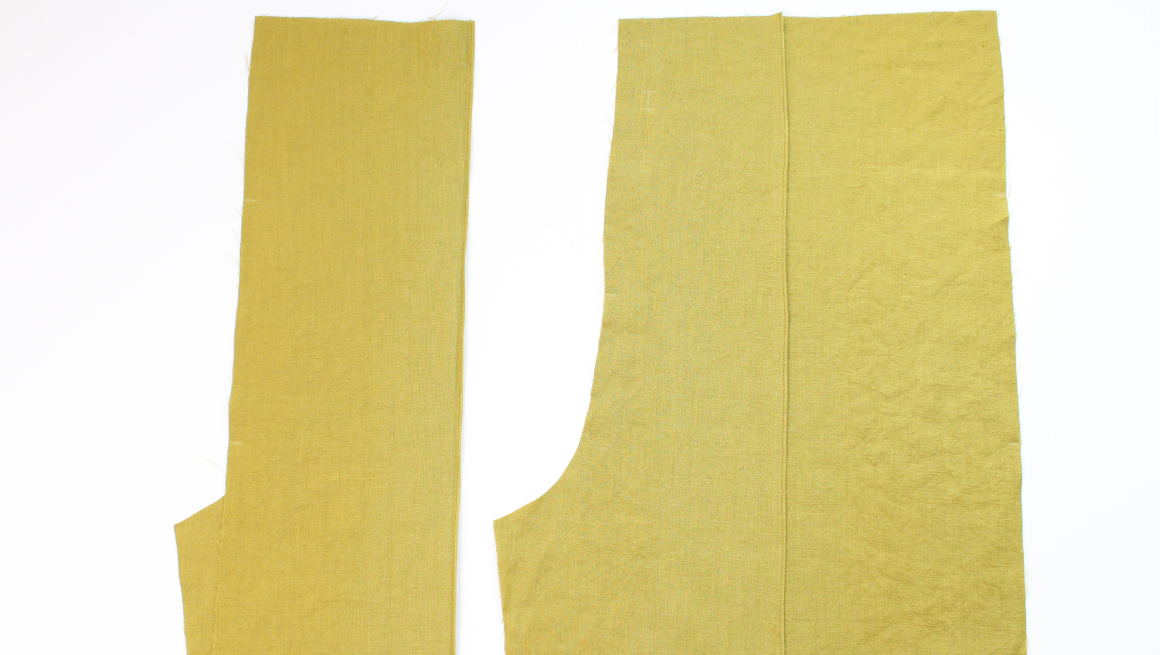
Reya Sew Along | Sew the Pin Tuck
In this post, we will be sewing the front pin tuck. This is the primary design element of the Reya pants, and I'm embarrassed to admit I have forgotten to sew it. So, I always try to sew it first....
Read more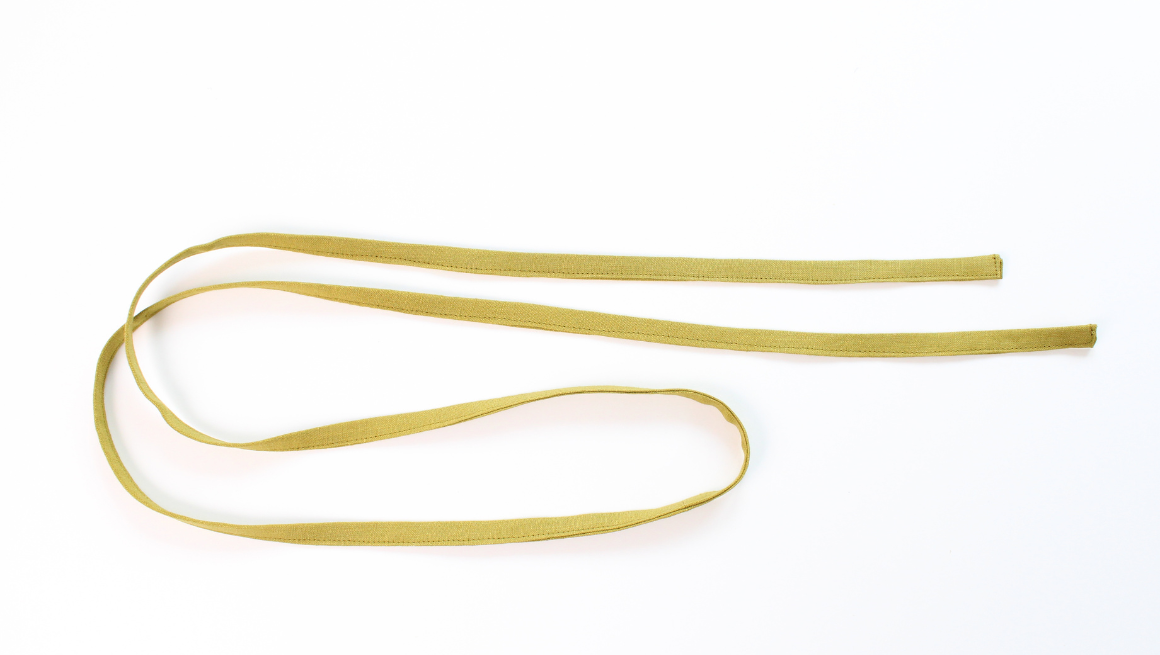
Reya Sew Along | Prep Pattern & Sew the Drawstring
In this post, we are going to prepare our pattern by marking our pattern, adding fusible, and sewing the drawstring. Sewing the drawstring is not hard, but it's not my favorite part, so I like to g...
Read more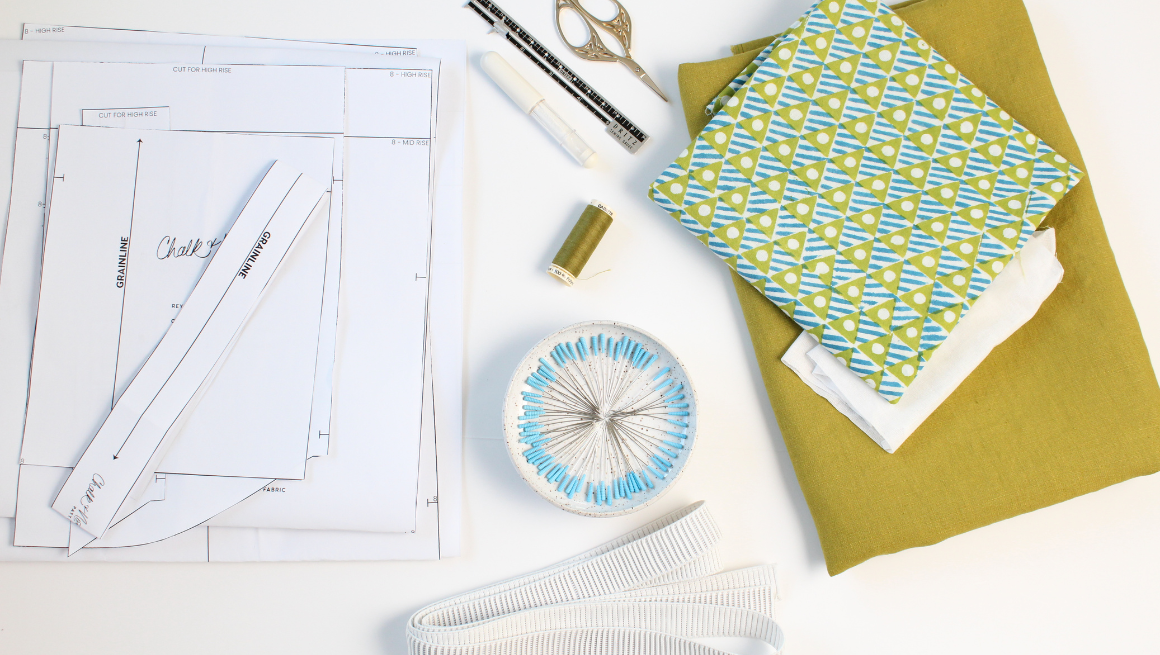
Reya Sew Along | Getting Started
When cutting your fabric and pattern, here are a few important notes to remember: Your fabric should be pre-washed the same way you plan to launder your garment. Read the information on each patte...
Read more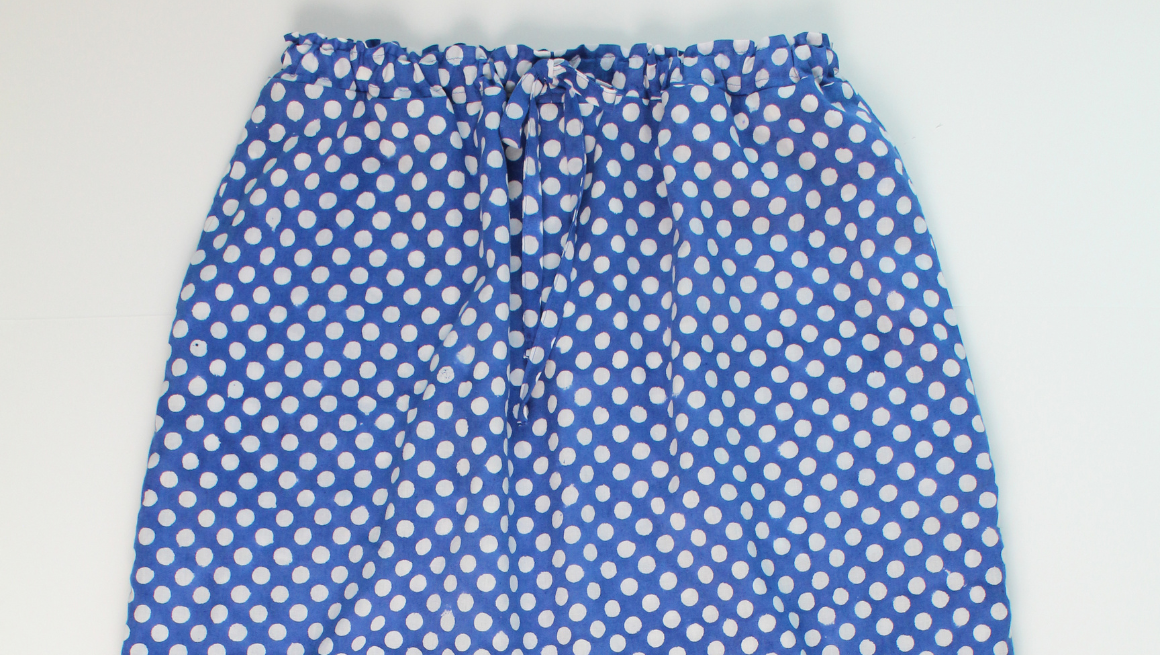
Ivie Sew Along | Sew the Skirt Ties & Skirt Waistband
In this post, we are going over our last steps to finish the Ivie Skirt. SKIRT | SEW THE SKIRT WAIST DRAWSTRING TIES With the wrong sides together, press the short ends in at 3/8” (1 cm). With the ...
Read more
Ivie Sew Along | Sew the Dress Waist Casing
In this post, we will sew the waist casing for the dress views. If you are finishing a set, you can finish the skirt here. DRESS | SEW THE BODICE TO THE SKIRT With the right sides together, sew the...
Read more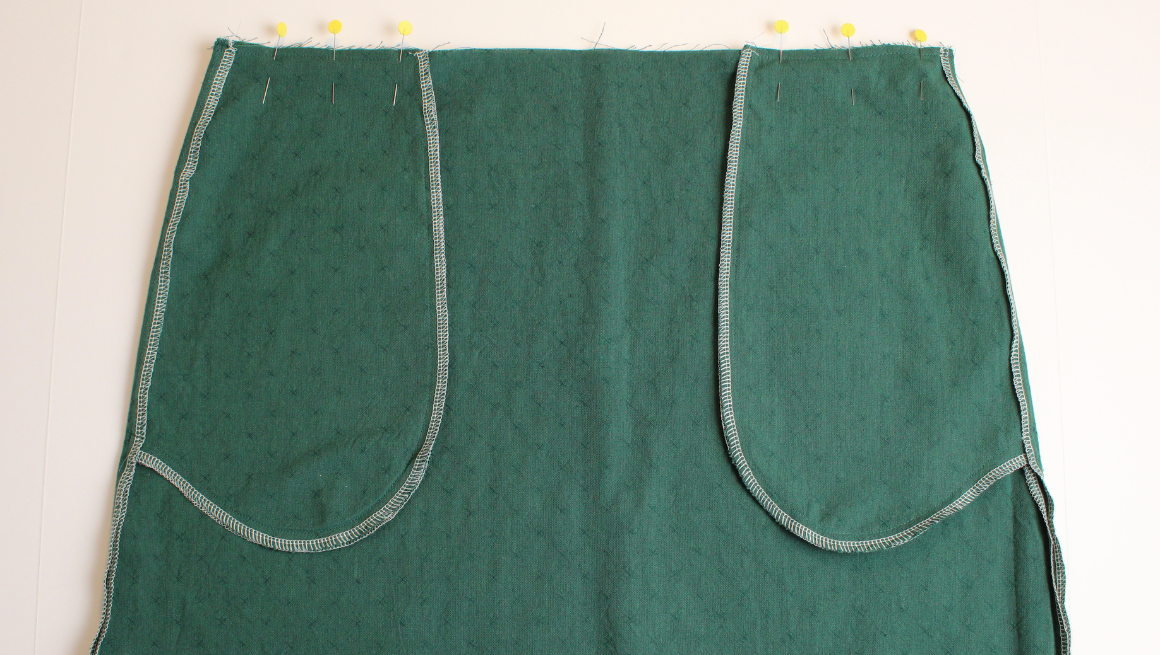
Ivie Sew Along | Sew the Pockets & Skirt Tiers
In this post, we will add the optional pockets and sew the skirt tiers if you are sewing the dress or skirt. SKIRT & DRESS | SEW THE SKIRT SIDE SEAMS WITHOUT POCKETS If omitting the skirt pock...
Read more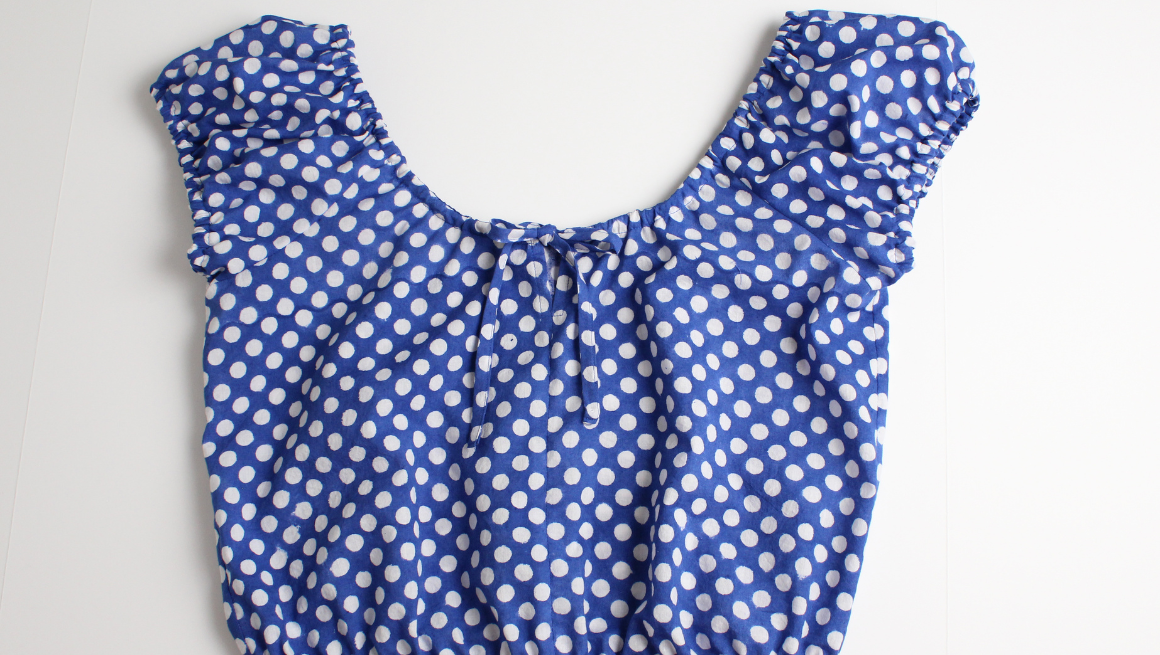
Ivie Sew Along | Sew Neckline & Hem Top Bodice
In this post, we are going to sew the neckline bias casing. This is the same construction for all views. Then, if you are sewing just the top, we will finish the hem. We have a video of the necklin...
Read more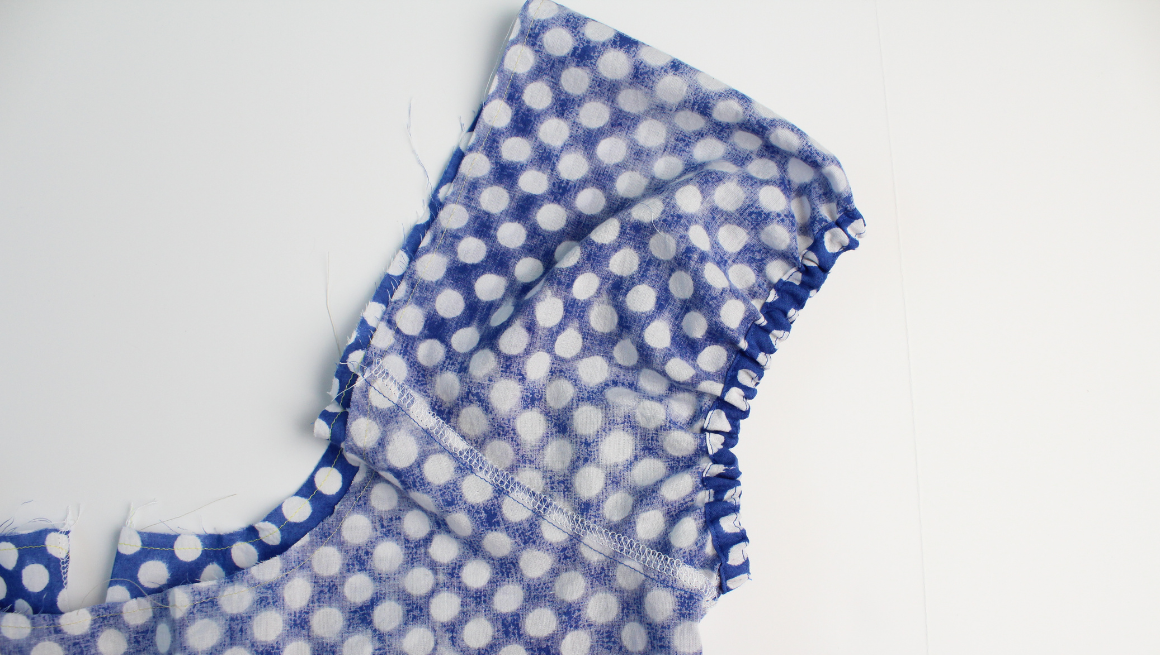
Ivie Sew Along | Sew Cap or 3/4 Sleeves
In this post, we will be sewing the cap sleeves but the sewing instructions are the same if sewing the 3/4 sleeves. If sewing the tank view, you can find that post here. TOP OR DRESS WITH SLEEVES |...
Read more
Ivie Sew Along | Sew Tank Sleeve
In this post, we will be sewing the tank top or dress ruffle sleeves. If sewing the cap or 3/4 sleeves skip to this post here. TANK OR TANK DRESS | HEM THE RUFFLE SLEEVES Prep the hem (the longer s...
Read more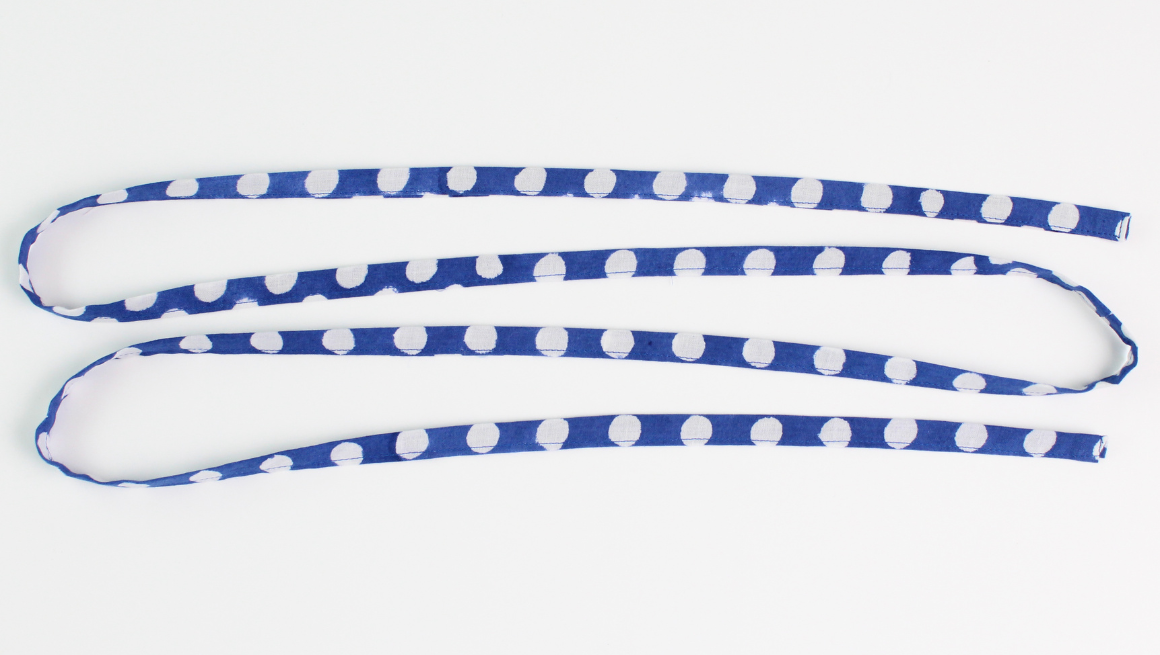
Ivie Sew Along | Prep Pattern, Sew Drawstrings & Bodice
In this post, we are going to prepare our pattern by marking our pattern, finishing a few seams, adding a bit of fusible, and making our neckline drawstring. SEAM ALLOWANCE, MARKINGS Unless noted, ...
Read more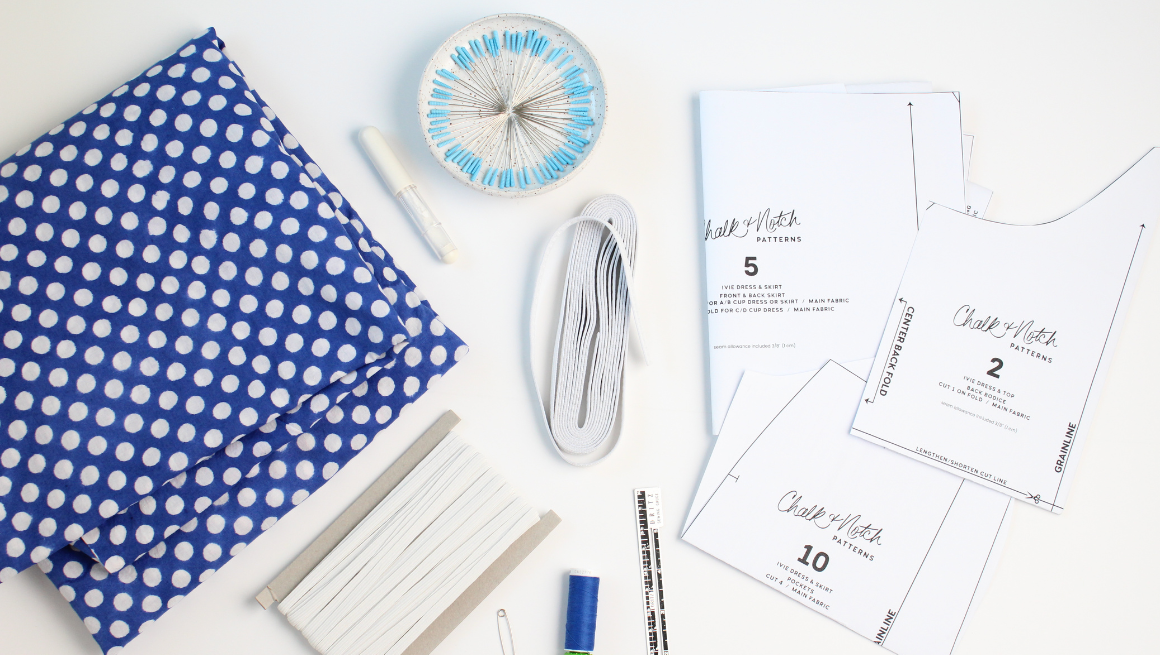
Ivie Sew Along | Getting Started
To help you in your sewing experience, we're thrilled to share the Ivie Sew Along. This sew along features step-by-step photos for the entire sewing process! In addition to the sew along, we also h...
Read more
Den Sew Along | Sew Yoke, Shoulders, and Sleeves
SEW THE BACK YOKE TO THE BACK With the right sides together, pin and sew the back yoke to the back. Finish and press the seams up. Optional: Topstitch the seam at 1/4" (0.6 cm) from the seam edg...
Read more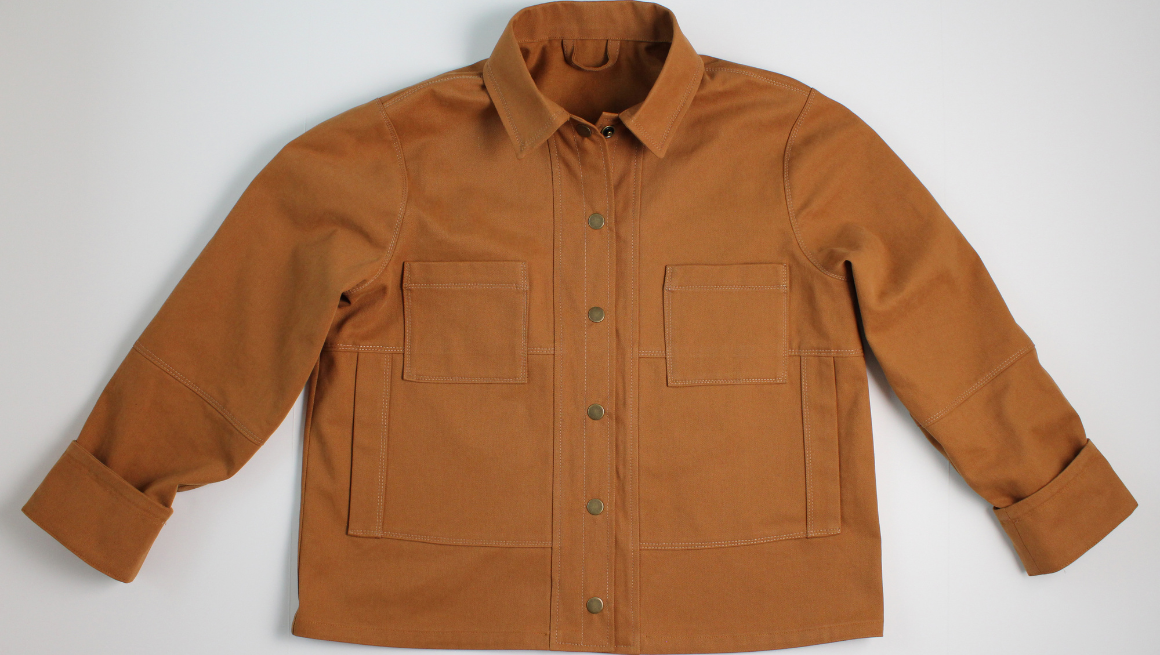
Den Sew Along | Add Buttons or Snaps
ADD BUTTONS OR SNAPS TO THE CENTER FRONT Try on the jacket to mark the buttonholes/snaps before sewing. The center front is 5/8" (1.5 cm) from the front edge. The pattern is designed for 1/2" (1...
Read more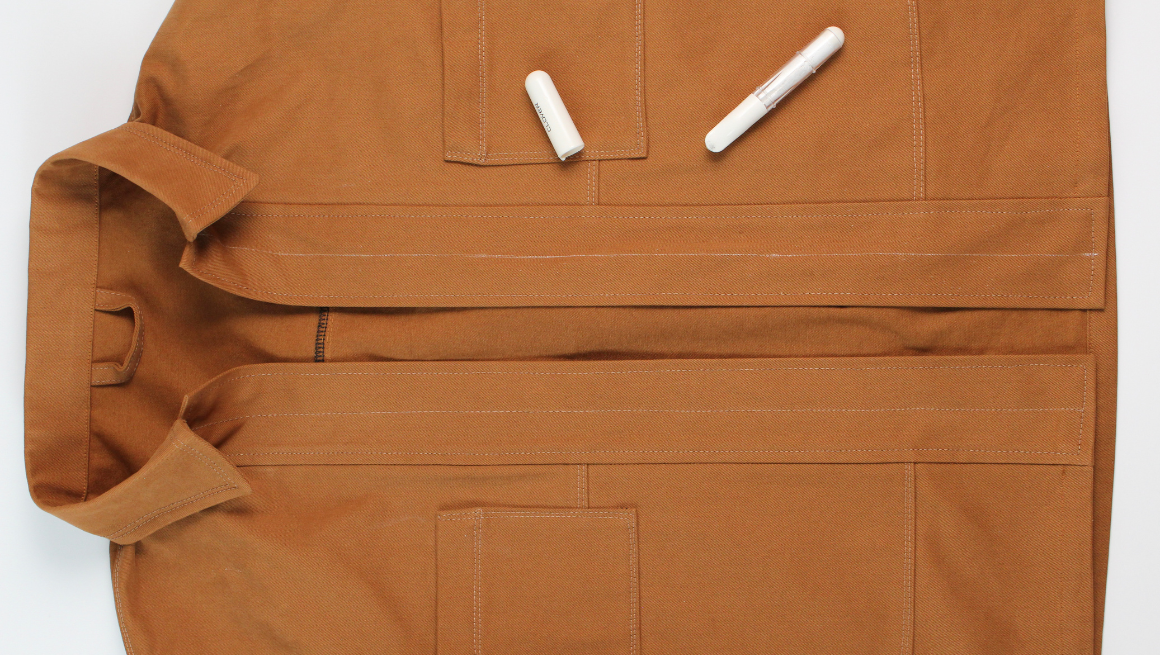
Den Sew Along | Attach Collar and Topstitch Placket
ATTACH THE UNDER COLLAR Starting at the front neckline, pin the right side of the under collar to the right side of the neckline where the extension begins. Match the notches along the neckline. ...
Read more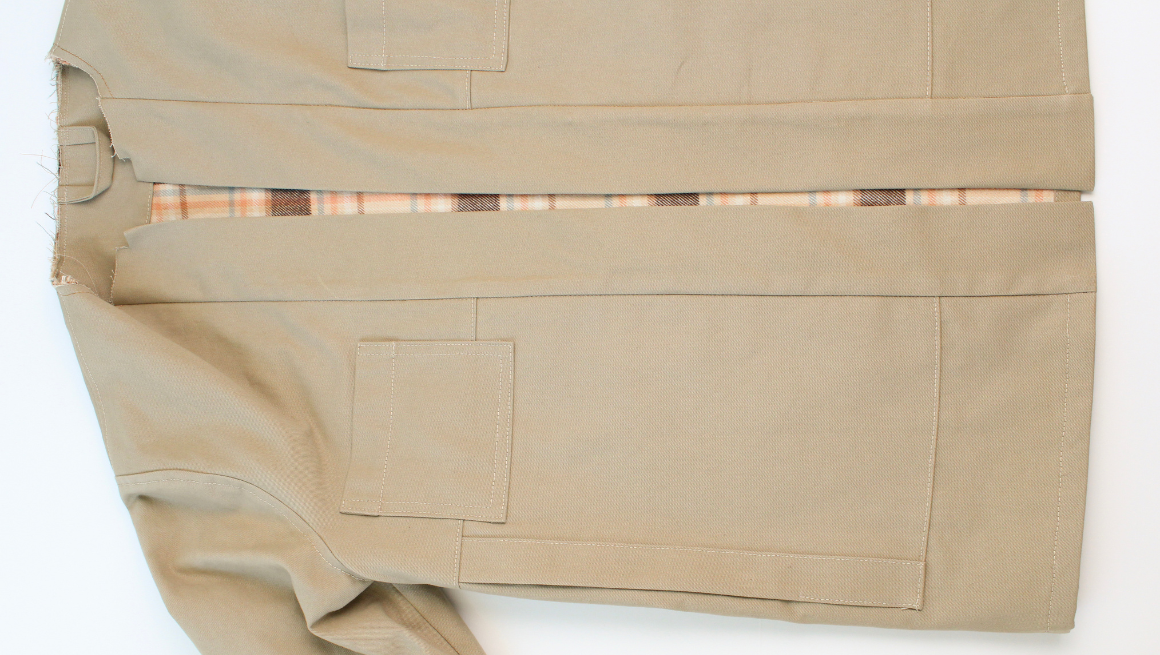
Den Sew Along | Sew Front Placket and Hem
The following steps are for the jacket lining only. If you aren't lining your Den Jacket, skip to the next post: Sew Front Placket and Hem UNLINED ONLY | ADD THE SLEEVE CUFF FACING TO THE HEM This ...
Read more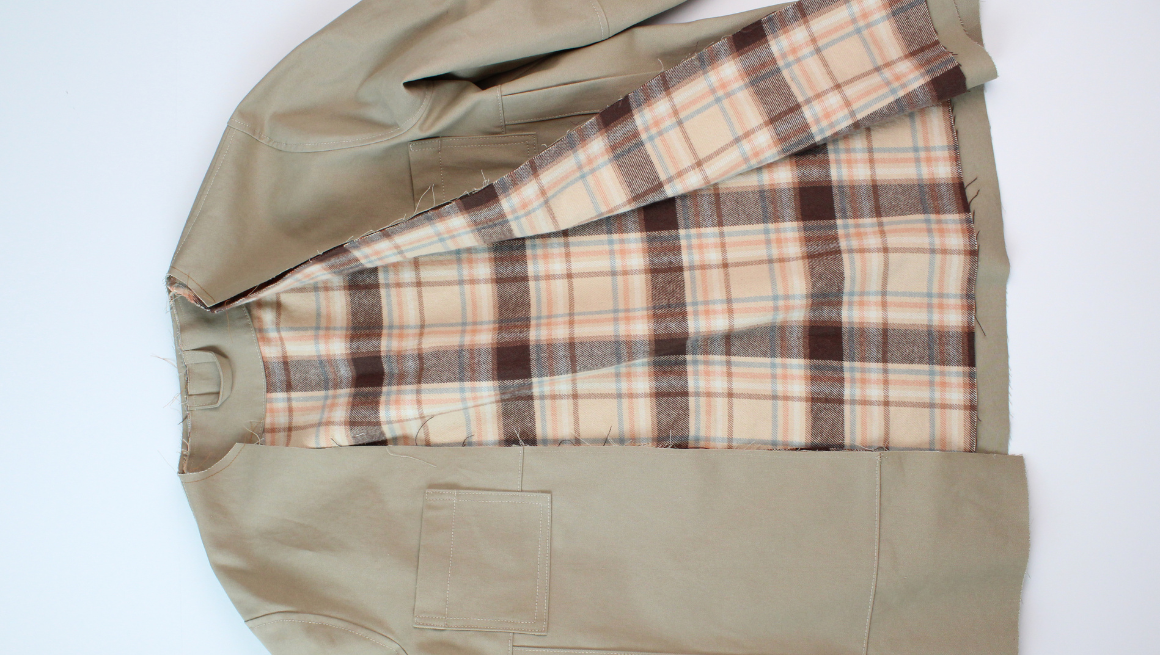
Den Sew Along | Prepare and Sew Jacket Lining
The following steps are for the jacket lining only. If you aren't lining your Den Jacket, skip to the next post: Sew Front Placket and Hem PREP THE BACK NECK FACING If you're adding a lining, now i...
Read more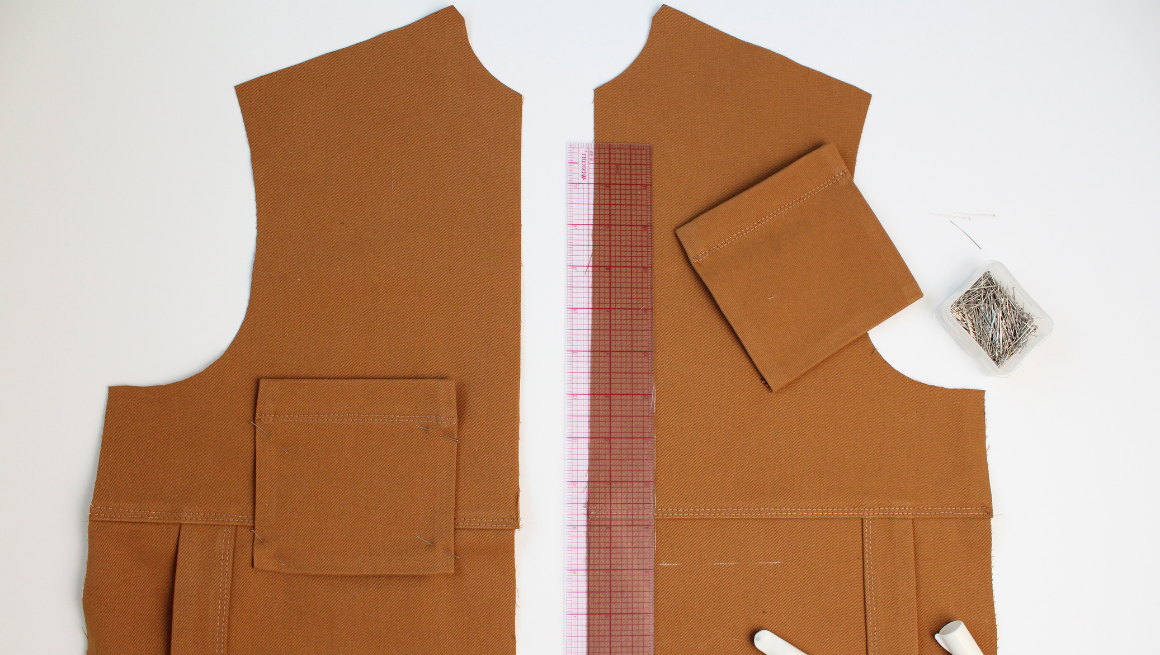
Den Sew Along | Sew and Attach Pockets
PREP THE SIDE POCKETS Sew a fold guide on the side pocket facing on the long side without notches, just under 3/8" (1 cm). Press the edge in 3/8" (1 cm), wrong sides together. The pocket facing ...
Read more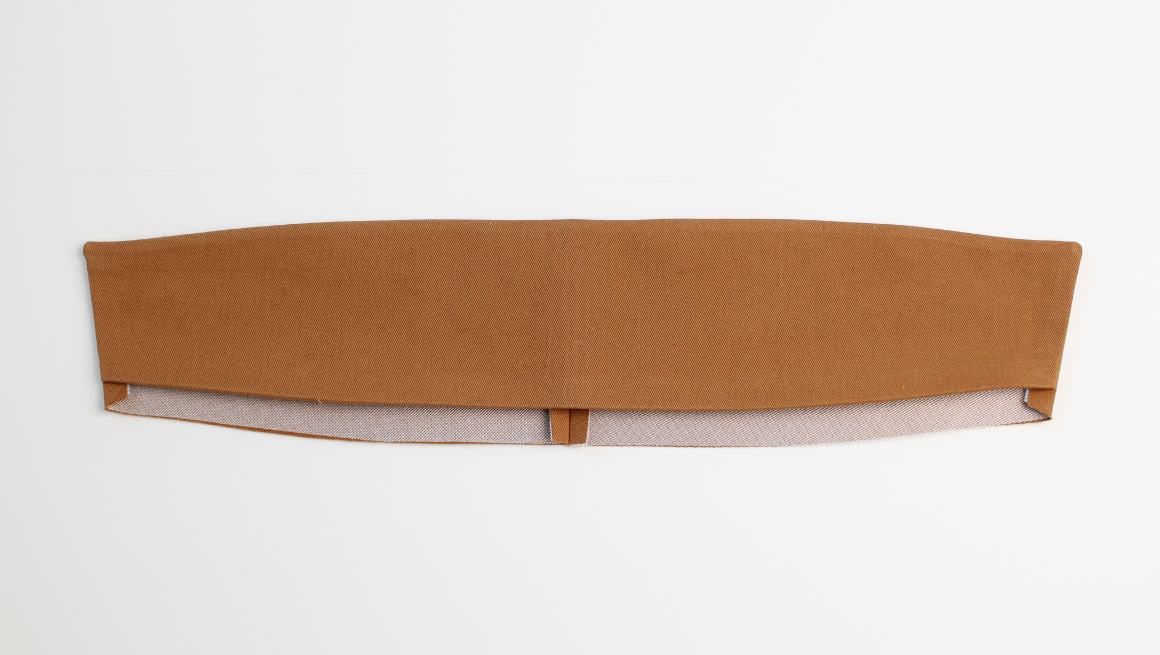
Den Sew Along | Staystitching, Interfacing, and Collar
SEAM ALLOWANCE, MARKINGS & NECKLINE STAYSTITCHING Unless noted, the seam allowance included is 3/8" (1 cm) for joined seams. Clip or mark the notches. Notches are indicated on the pattern by "T...
Read more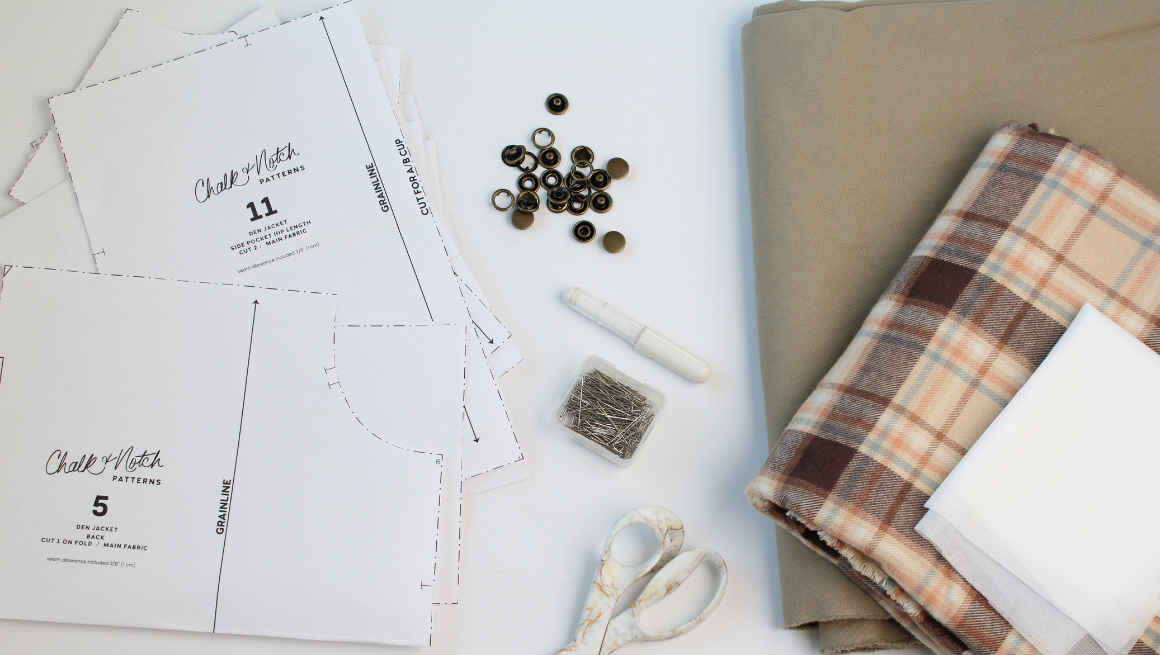
Den Sew Along | Getting Started
To help you in your sewing experience, we're thrilled to share the Den Sew Along. This sew along features step-by-step photos for the entire sewing process! In addition to the sew along, we also ha...
Read more
Crew Sew Along | Sew Inseam and Rise
SEW INSEAMS With the right sides together, sew the inseams with a 3/8" (1 cm) seam allowance. Finish the seams together and press towards the back. Repeat for the other side. SEW RISE Put one le...
Read more