
Hi! Nicole here. I’ve had a pair of Isle Shorts in my mind since first sewing the pattern back in January, and I can’t believe it’s taken me halfway through summer to make it happen. Inspired by high waisted vintage shorts, this Isle Jean Short Tutorial is an easy way to make comfortable, cute shorts to keep you cool all summer long! Keep reading for all the details.

Inspiration
I pinned a few of my favorite inspiration photos for this hack to our Isle Jeans Pinterest board. You can check them out here.

Tutorial
With about five minutes of pattern alterations, you’ll be on your way to a new pair of shorts. For this tutorial, making sure to use the wide leg view will give you the simplest starting point.
What You Need:
- The Isle Jeans pattern, in the Wide Leg view.
- Pattern paper, ruler, and marking tool for pattern alterations.
- Fabric, pins, and the notions needed to make the Isle Jeans. We have a kit for sale here.
Pattern Adjustments
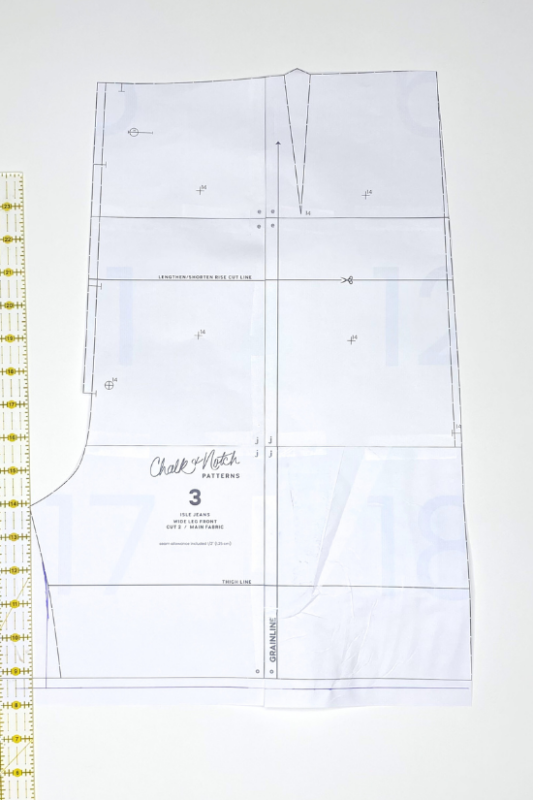
Trace or print the Isle Wide Leg front (#1) and back (#2) pattern pieces. You only need a few inches past the thigh line, so if you’re printing it, you won’t need any of the pattern below that. Determine your desired inseam length. Personally, I prefer a 3-4″ (7.6-10.2 cm) inseam, so I decided on a 3.5″ (8.9 cm) finished inseam. To achieve this, grab your wide leg front (#1), line up your ruler along the thigh line, and draw a horizontal line 3″ (7.6 cm) below it. This will be your new cut line.
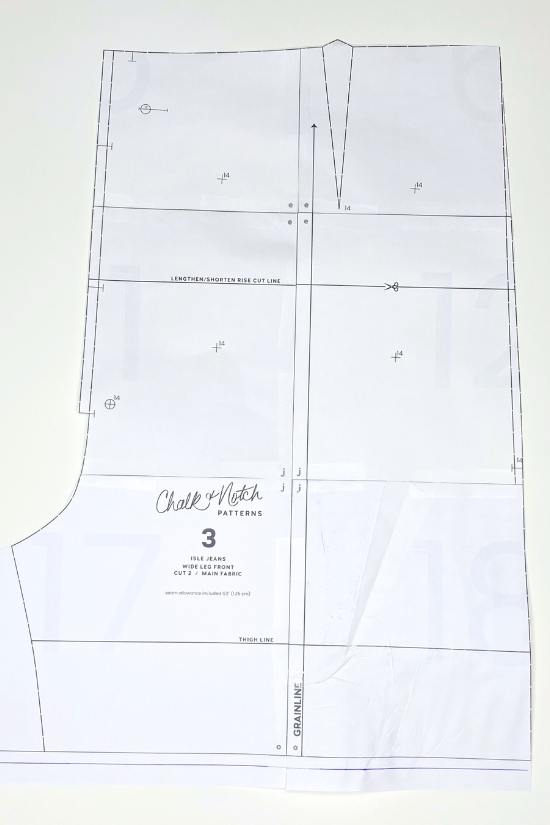
Starting at the thigh line, draw a line straight down, perpendicular to the new cut line. Carefully re-draw your new inseam line, smoothing the angle created at the thigh line. A curved drafting ruler can come in handy here, but I just eyeballed it.

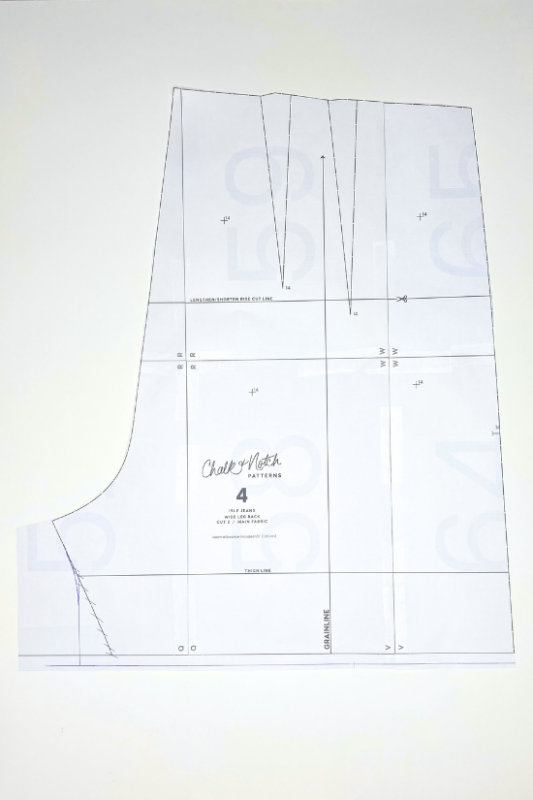
Repeat these steps for the Wide Leg Back (#2).
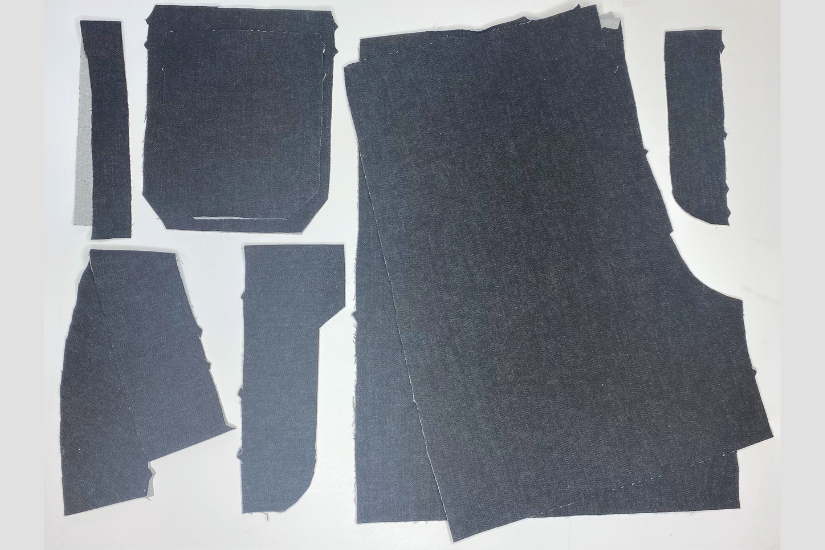
That’s it! You are ready to cut your fabric using your new front and back pieces along with your other Isle pattern pieces.
Sewing
Sew the Isle Jeans pattern according to instructions until it’s time to hem your shorts. I love to keep the Isle Sew Along up on my computer or phone as a reference while sewing.
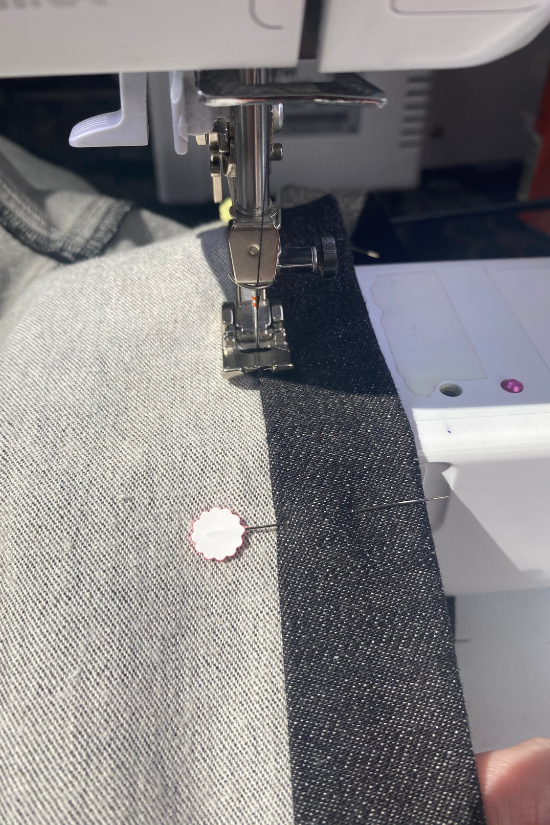
To finish the hem, first turn your shorts inside out. Press fabric 1/2″ (1.27 cm) toward the wrong side at the hem.
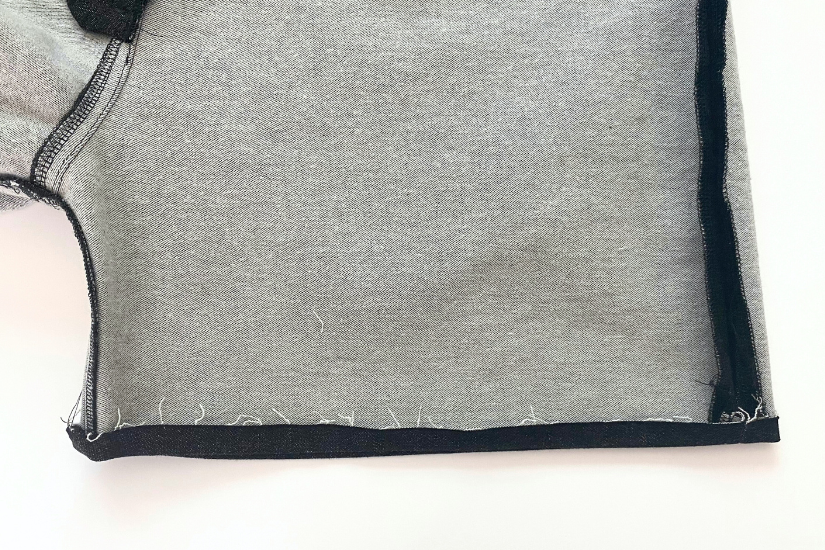
Press again, this time pressing at 1″ (2.54 cm). Pin hem.
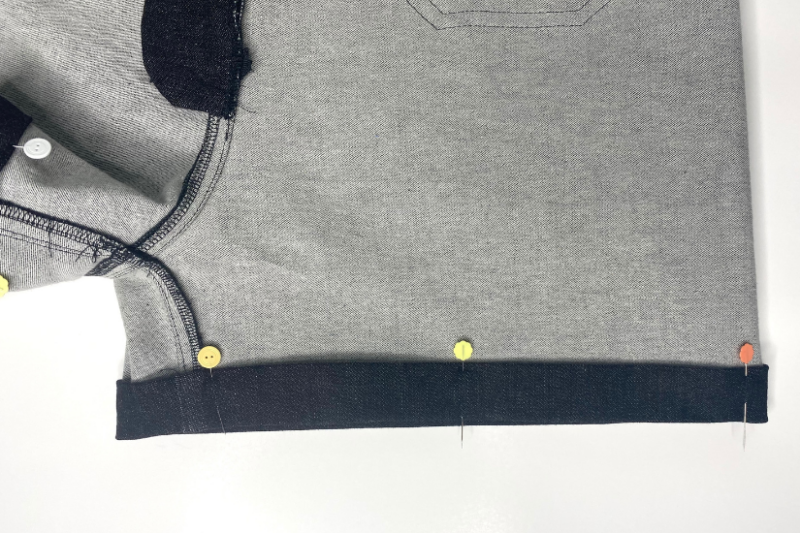
Edgestitch hem in place.
The Final Look
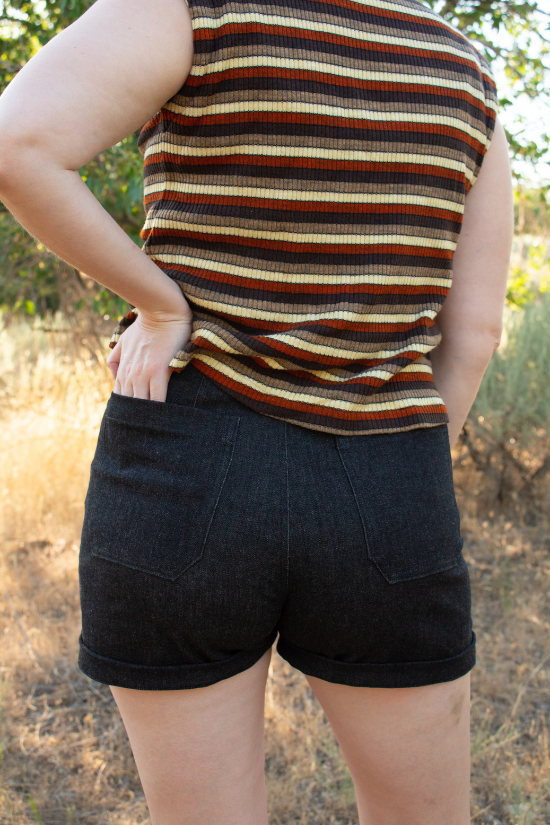
That’s it! Wear your new shorts proudly. If you use this tutorial, be sure to tag @chalkandnotch and add the hashtags #cnisle and #cnisleshorts so we can see what you create.
I’ve styled my Isle shorts by rolling up the hem once to create a cuffed effect and paired them with a retro striped Max Tee.


