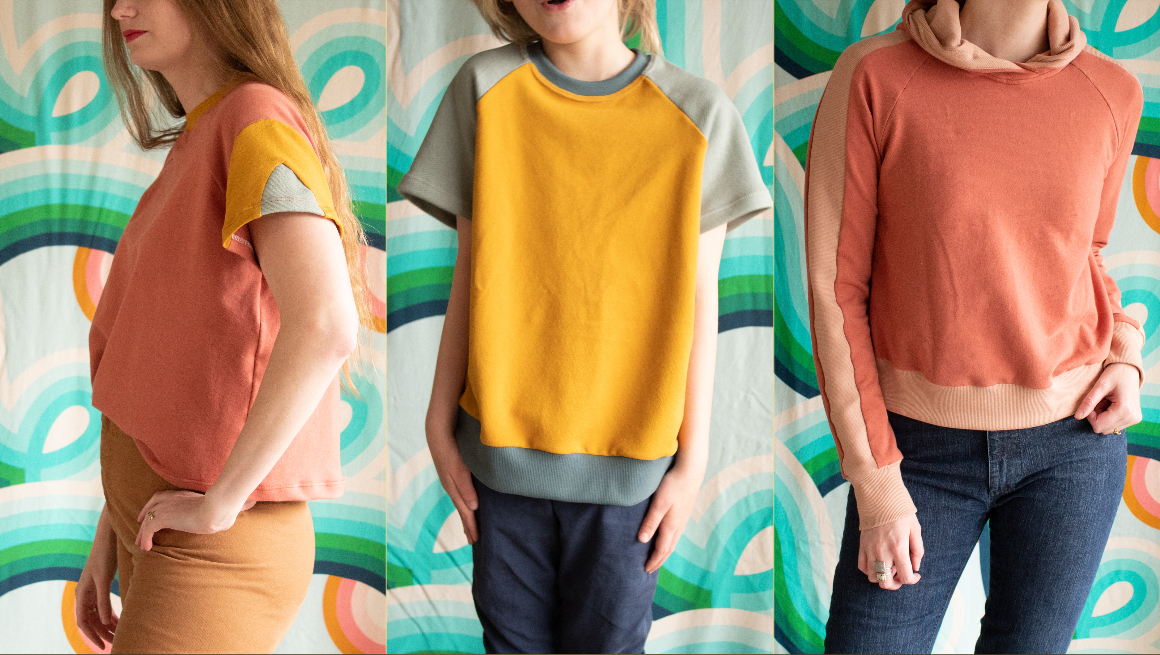
Hello! Nicole here. I’ve been working behind the scenes with Chalk and Notch as Marketing Coordinator for a few months now and it’s been a dream. As a result, I was fortunate to see the Page Hoodie throughout the development process, giving me plenty of time to dream of sewing up my own versions. After sewing up my first few Page Hoodies, I decided to use my scraps and have a little fun with color blocking. Read on for inspiration and some mini Page Hoodie color block tutorials.
Inspiration
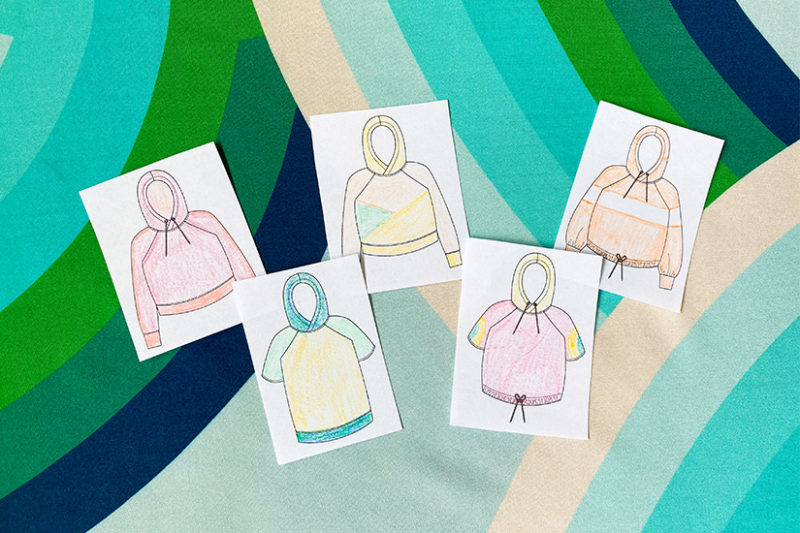
I went on a bit of a Pinterest deep dive looking for inspiration which led me to planning at least ten color blocked Page Hoodies. If you’re looking for more color block ideas, check out the RTW Inspiration section of our Page Hoodie Pinterest board. When planning each color block version, I printed the line drawings from the pattern details page and grabbed some colored pencils. This turned out to be a great way to visualize my ideas and narrow them down.
Fabric
All the finished projects shown in this post were made with fabrics purchased from Isee Fabric. They’re a mixture of cotton french terry, and cotton ribbing. Color blocking your Page is a great way to use up those knit scraps that are too small for a full project but not quite small enough to discard. The only note I have here on fabric is to make sure that the fabrics you’re using all have a similar fiber content. This will ensure that the fabrics behave similarly (shrinkage, etc.) after washing and wearing. If you’re in need of fabric suggestions, then you can check out our Page Hoodie Sewing Supplies and Recommendations post.
Basic Color Block Page
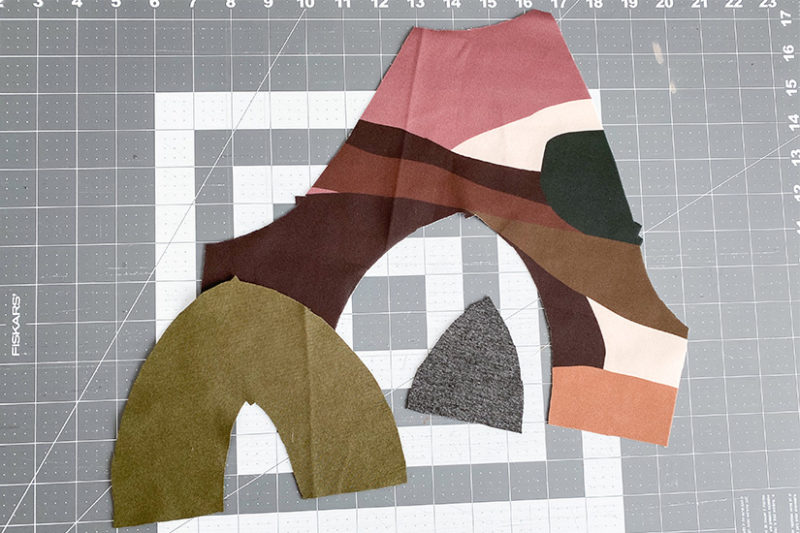
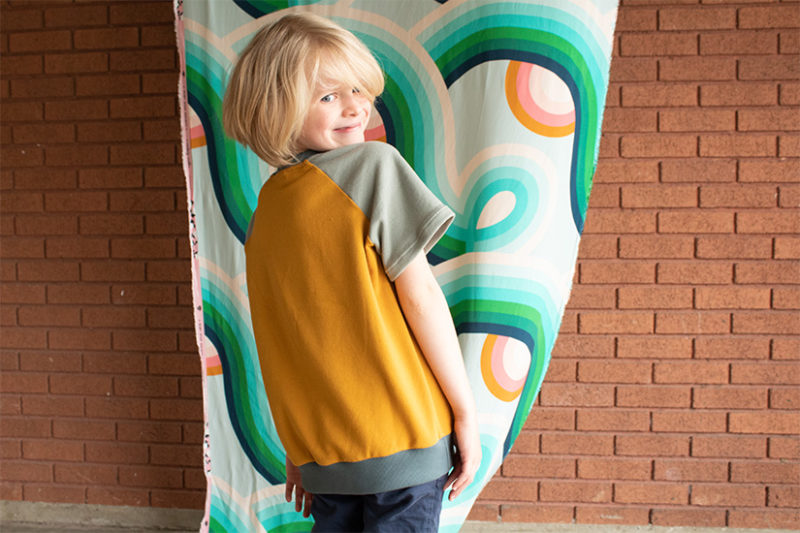
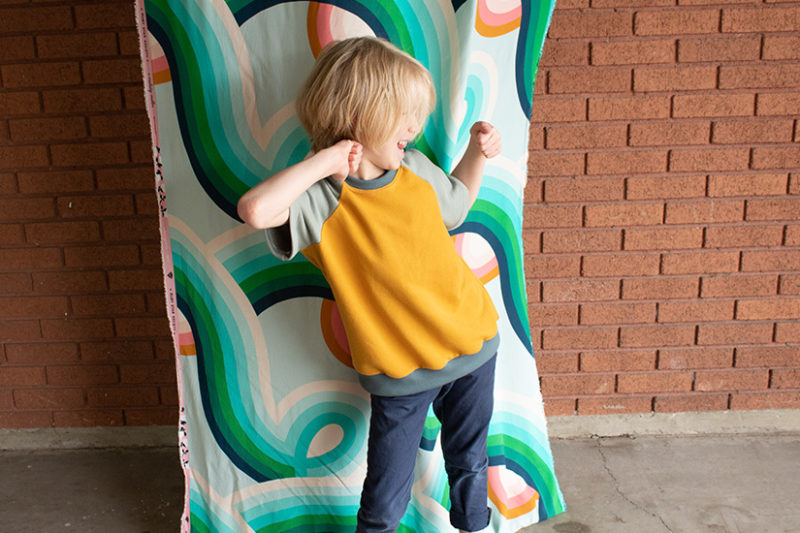
First up, I sewed up a quick and basic color blocked Mini Page for my son. The free Page Neckband add on and tutorial were used in place of a hood. This option is great for large oddly shaped fabric scraps. Simply cut each piece from a different fabric and then sew as directed in the pattern. Here, I used ochre french terry for the front and back, pistachio french terry for the sleeves and spruce rib knit for the neckband and bottom band.
Note: My son is wearing a Mini Page in size 8 view C. He’s actually closer to a size 7 but I decided to size up in the hopes that it will last through his next growth spurt.
Rainbow Sleeve Tutorial
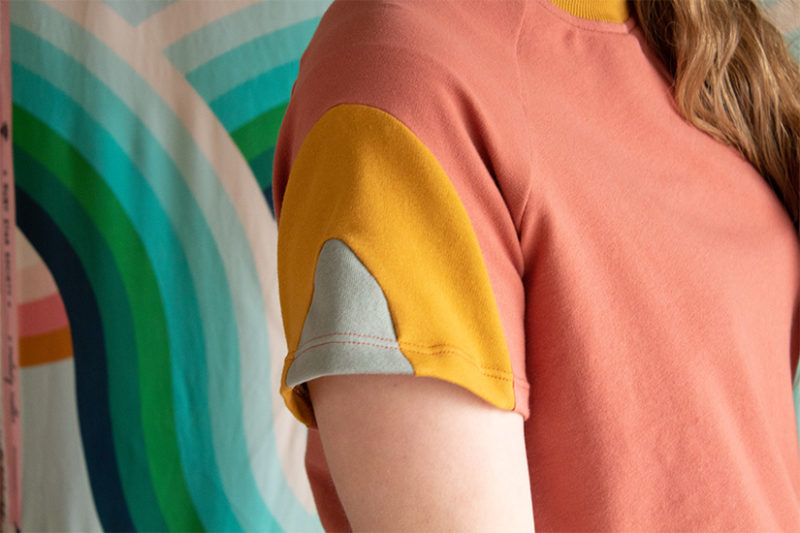
This color block version was inspired by a rainbow sleeve top you can find on the Page RTW inspiration board here. Again, I opted to use the Page Neckband. I cut view B then opted to leave out the drawstring, simply hemming it. Generally, I grade out two to three sizes for the hips but didn’t because of the generous ease in the Page. Fabrics used here were french terry in terracotta, ochre, and pistachio. The rib knit is ochre. Ready to make your own. Read on below.

Pattern Adjustments
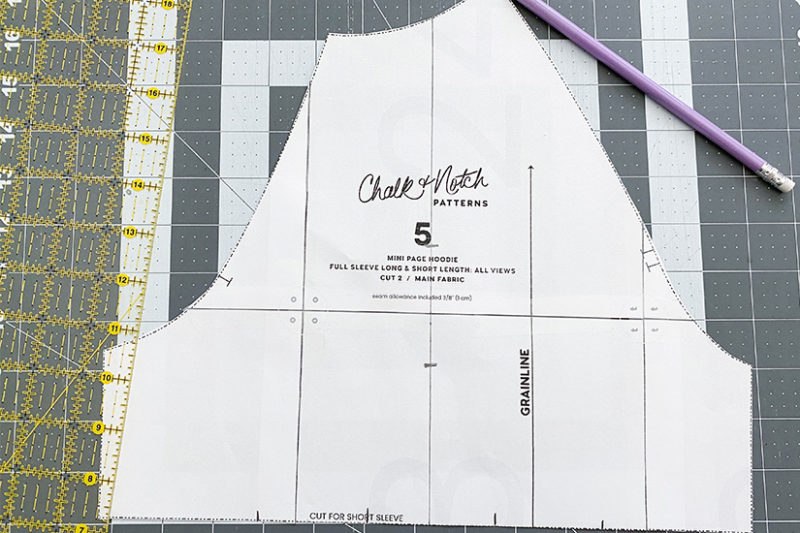
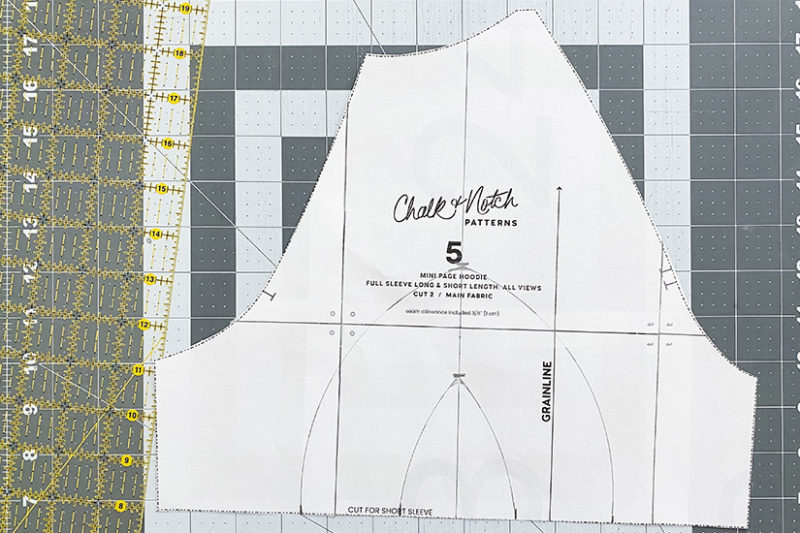
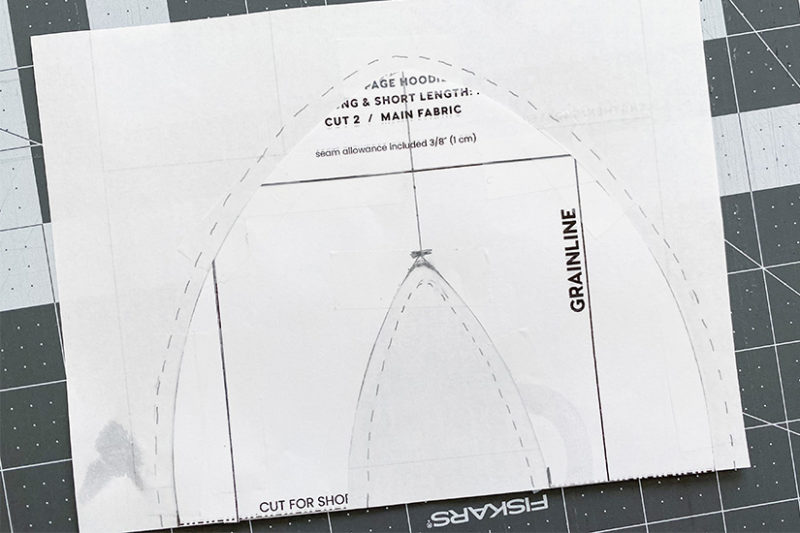
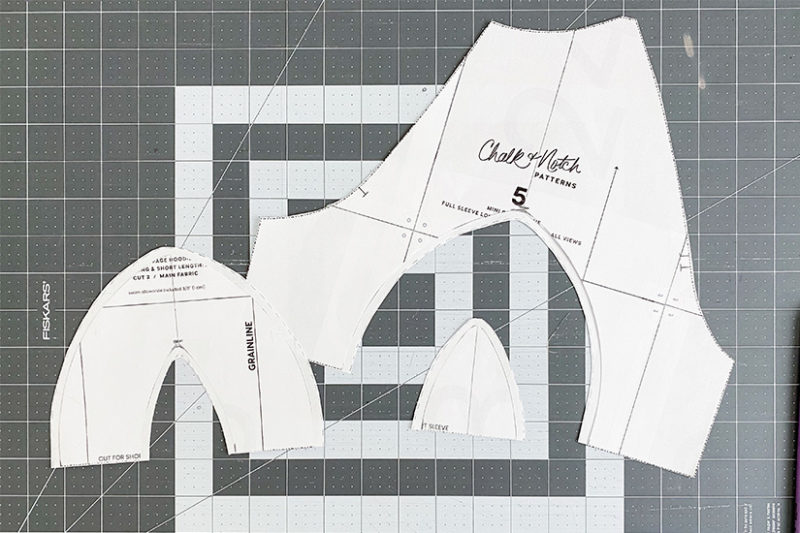
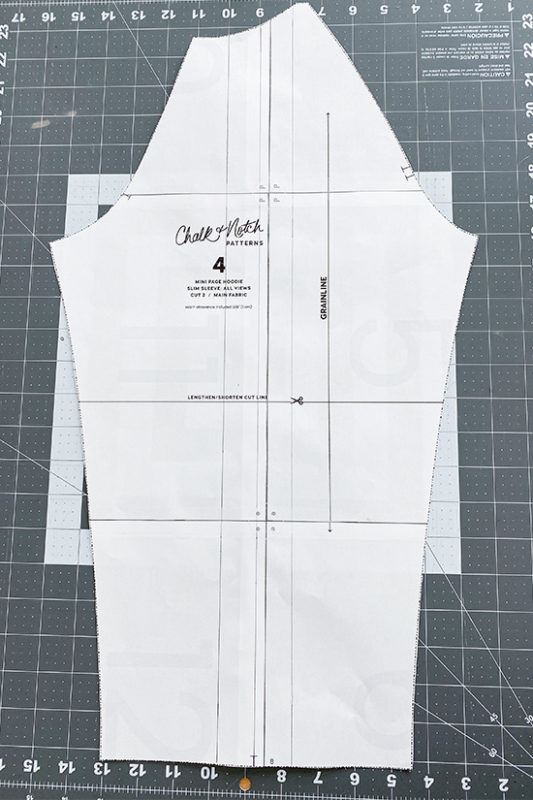
Grab your short sleeve Page pattern piece. Find sleeve center. Using a pencil, draw a vertical line parallel to the grainline from top to bottom of sleeve center. Now, Here’s where we’ll do a bit of math. It’s not bad, but grab your ruler and calculator. If you don’t want to do the math, skip steps 1-6 below and draw your curves free hand. I drew mine free hand before determining that I liked the look of these sizes. First, measure height of the vertical line you drew in step 1. We’ll refer to this as center height for the next steps.
Calculating Curve Sizes
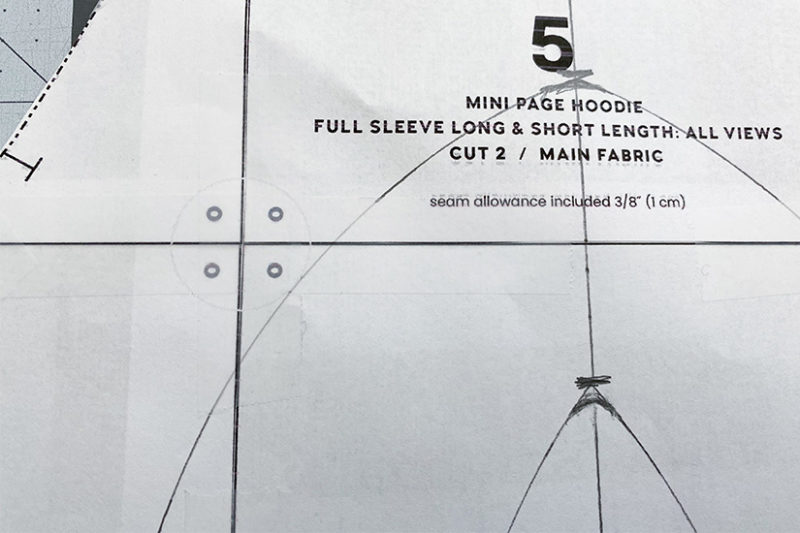
- To determine the height of your large curve, multiply the center height by 0.52 (center height x 0.52 = large curve height). Measuring up from the bottom of sleeve, mark your large curve height on the center vertical line. I rounded to the nearest 1/8″ when marking my line. No need to be 100% accurate.
- Determine the height of your small curve, multiply the center height by 0.28 (center height x 0.28 = small curve height). Again measuring up from the bottom of sleeve, mark your small curve height on the center vertical line. Remember, it’s fine to round up or down to the nearest 1/8″
- Now, you’ll be determining the width of your curves. First, measure the bottom width of your sleeve. Divide this by 2. We’ll call this your half sleeve width (bottom sleeve width/2 = half sleeve width). Note: I didn’t bother to remove the 3/8″ seam allowance included in each side from this measurement, but if you’re using one of the smaller Mini Page sizes, consider removing 3/4″ total from your bottom sleeve width to account for seam allowances.
- To determine the half width of your large curve, multiply your half sleeve width by 0.53 (half sleeve width x 0.53 = half large curve width). Measure from your center line and mark your half large curve width on either side.
- Determine the half width of your small curve by multiplying your half sleeve width by 0.2 (half sleeve width x 0.2 = half small curve width). Measure from your center line and mark your half small curve width on either side.
- Using the curved edge of a plate or a curved ruler, connect your large curve height marking to your half large curve width markings on either side. Repeat for small curve height and half small curve width markings.
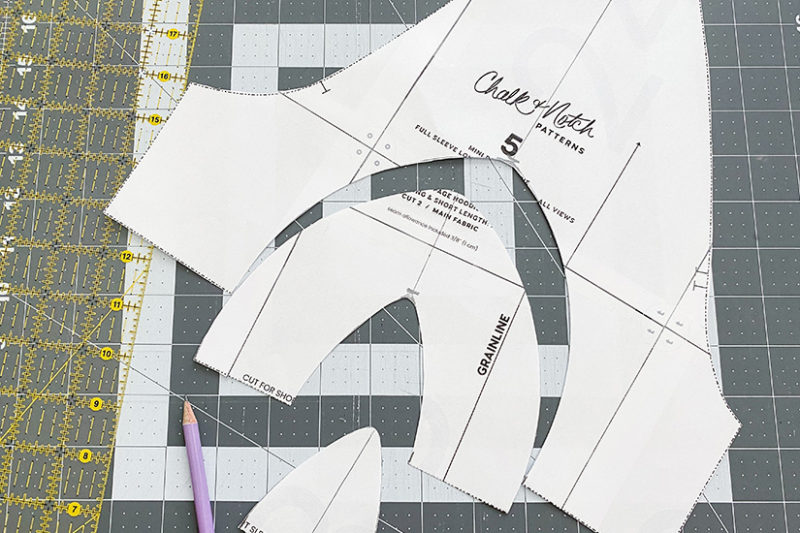
- Cut out curves, then add a 1/4″ seam allowance to the bottom curve of your top sleeve piece, to the top and bottom curves of your middle sleeve piece, and to the top of your bottom sleeve piece.
Construction
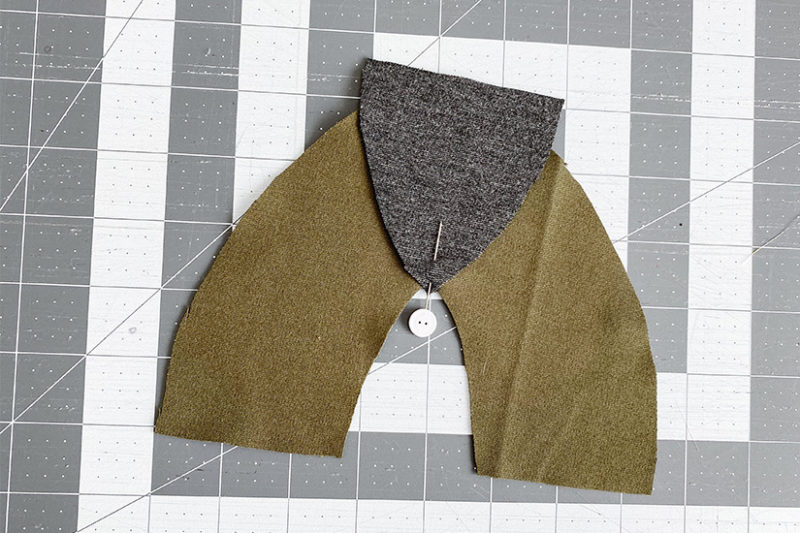
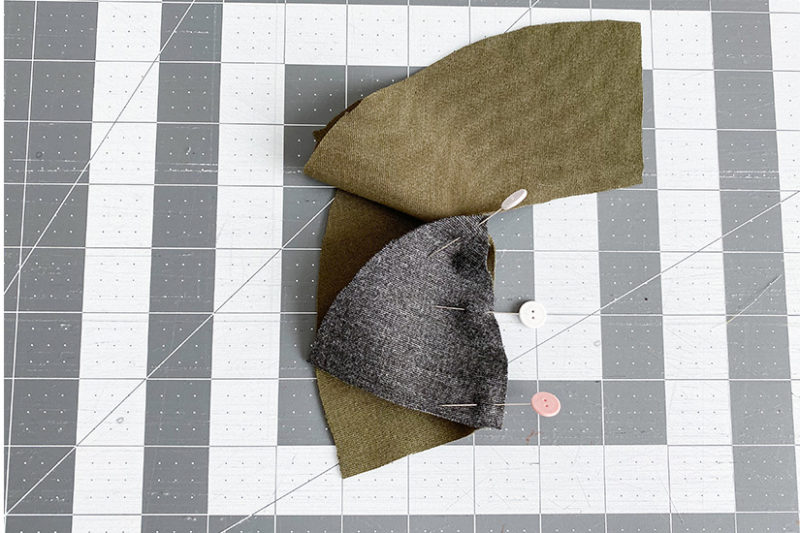
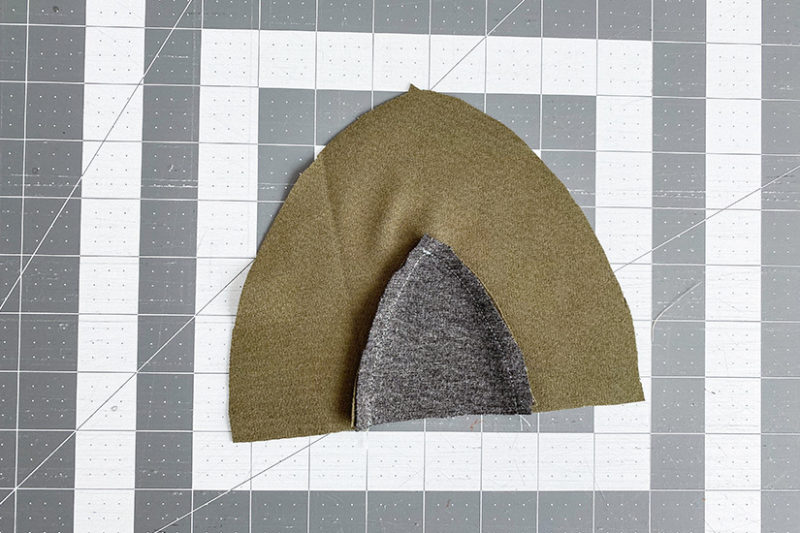
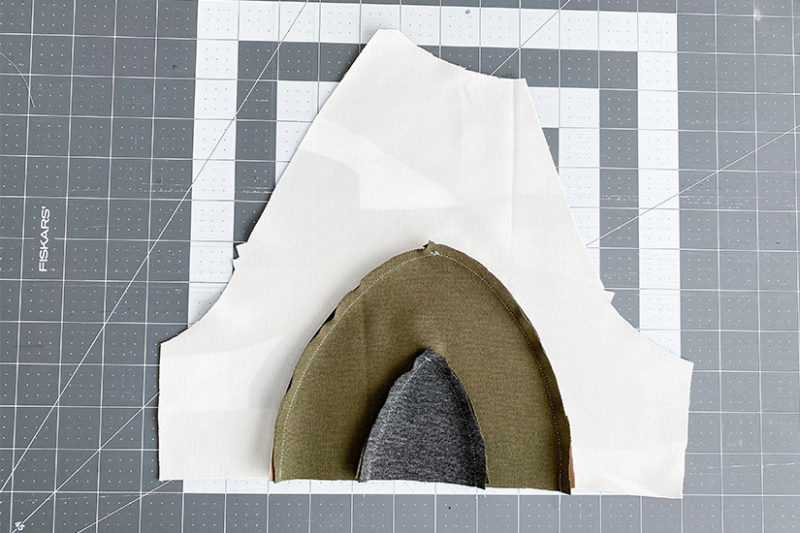
- Grab your middle sleeve piece and bottom sleeve piece. Right sides together, pin bottom sleeve piece to the inside of middle sleeve piece at center notch.
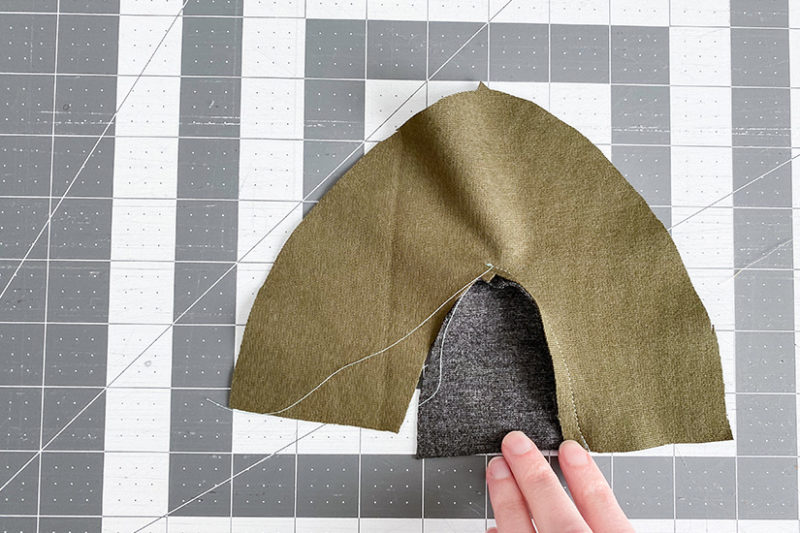
- Starting at center notch. Pin left sides of the curve together. Starting at the center notch, and using a straight stitch, sew left side of curve together with 1/4″ seam allowance. Be sure to backstitch at both ends.
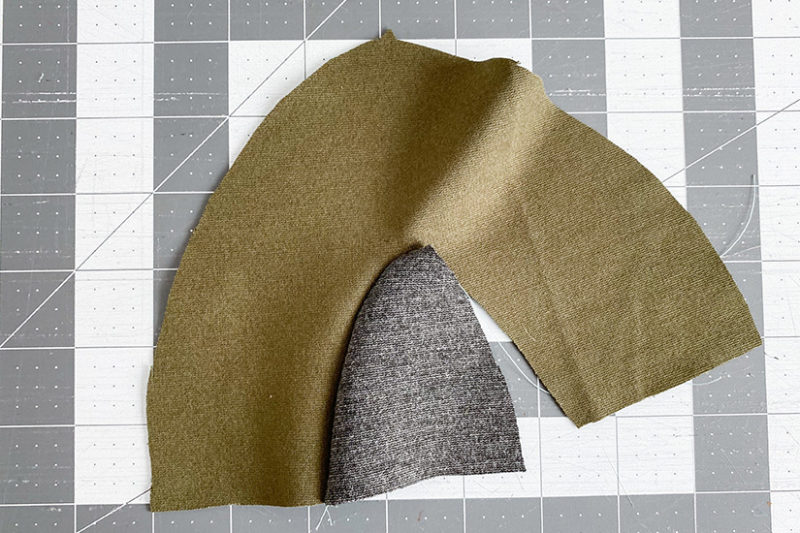
- Repeat step 2, this time pinning and stitching the right side of the curve together starting at the center notch. Press seam allowance out towards larger curve.
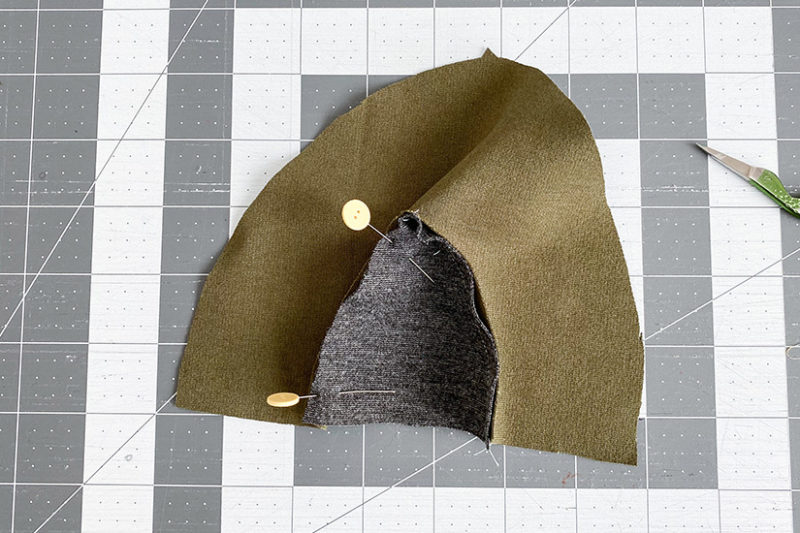
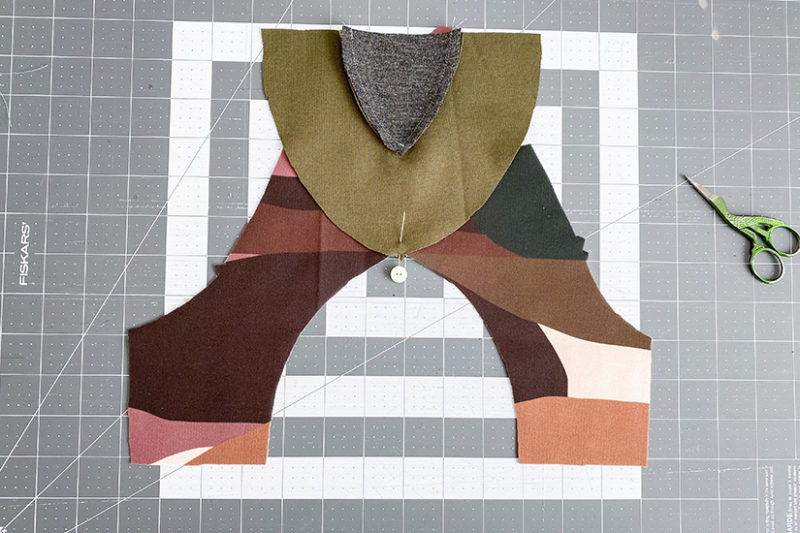
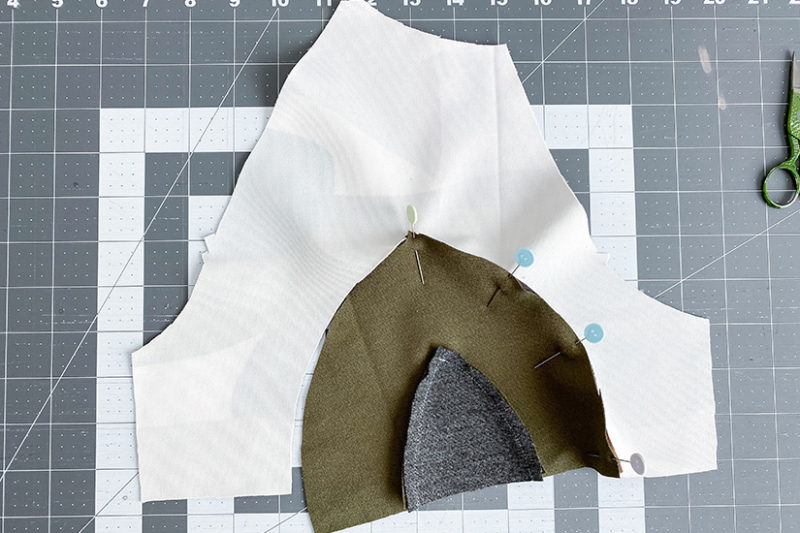
- Now that your middle and bottom pieces are sewn together, grab your sleeve top. Place the top of middle sleeve piece right sides together on inside of sleeve top. Pin at center notch.
- Starting at center notch. Pin left sides of the curve together. Starting at the center notch, and using a straight stitch, sew left side of curve together with 1/4″ seam allowance. Be sure to backstitch at both ends.
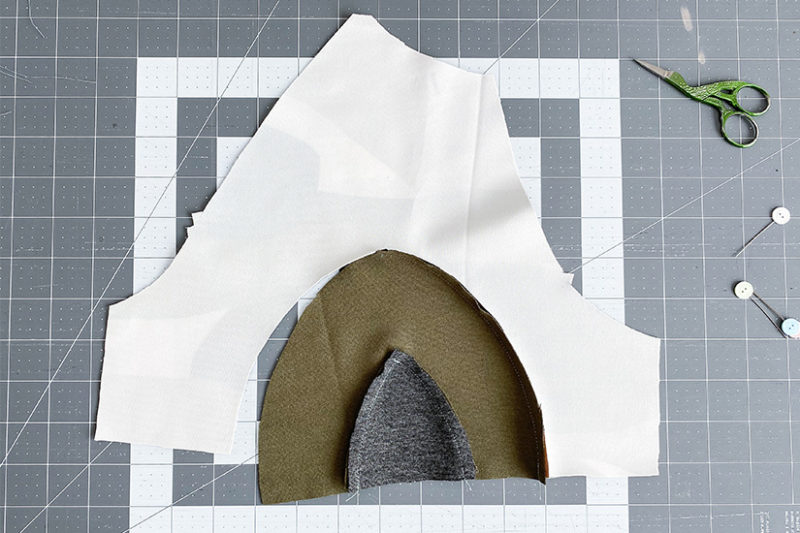
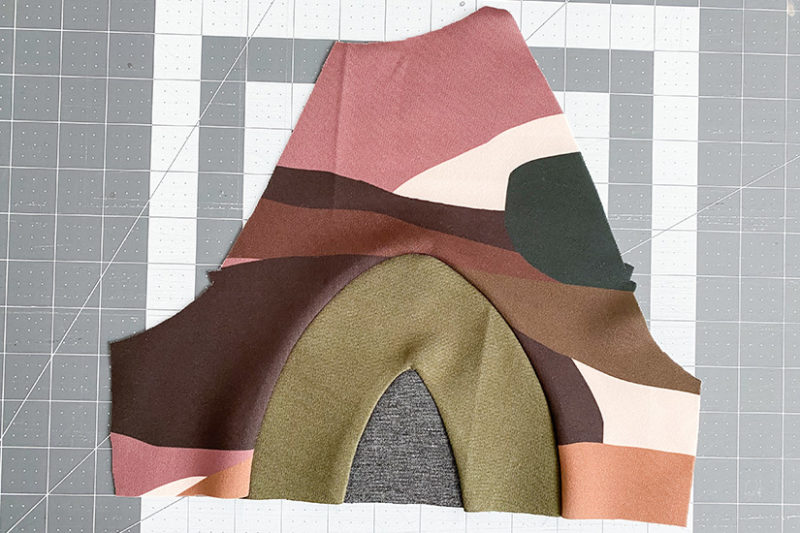
- Repeat step 5, this time pinning and stitching the right side of the curve together starting at the center notch. Press seam allowance out towards larger curve.
- Finally, your rainbow sleeve is ready. Follow Page Hoodie pattern instructions for the remainder of construction.
Sleeve Stripe Tutorial
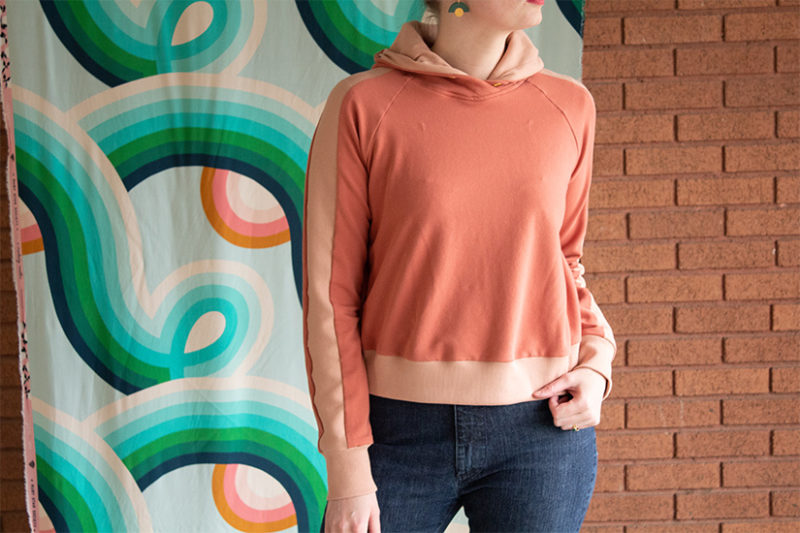
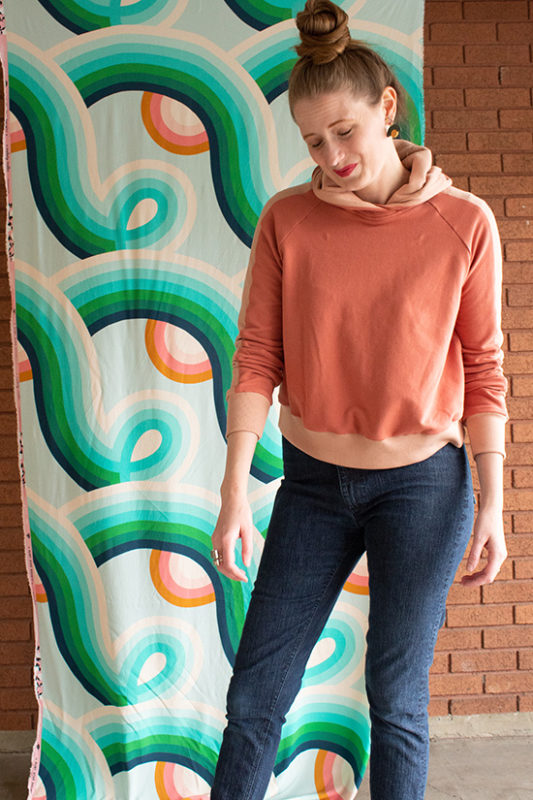
Finally, I ‘ve got one last mini tutorial for you. This sleeve stripe hoodie was born partially out of necessity. When I ordered the terracotta french terry from Isee fabric, the terracotta ribbing was sold out. As a result, I ended up with the rose clay ribbing instead. I spent a few weeks thinking on how best to combine the two and decided that a racer style stripe down the sleeve would make the combination seem fresh and intentional. Read on for all the details.
Pattern Adjustments
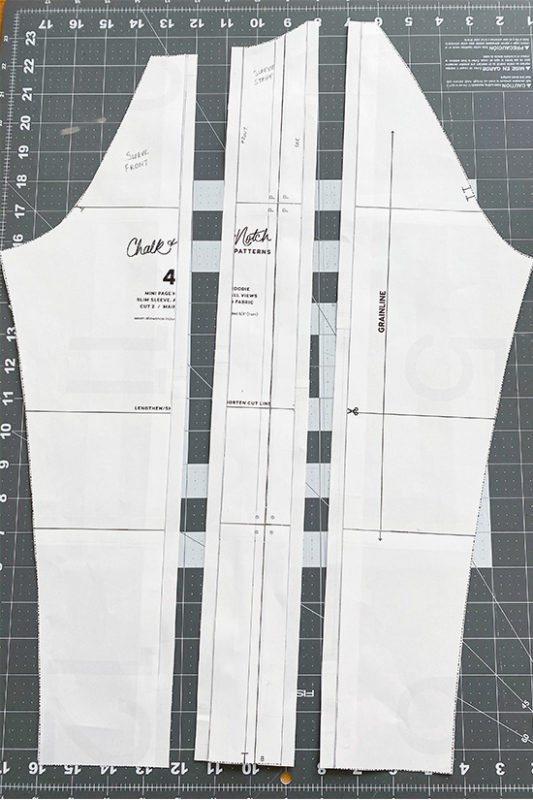
Grab your slim or full sleeve pattern piece. Using a pencil, draw a vertical line parallel to the grainline from top to bottom of sleeve center. Now, we’ll move on to some basic math.
Calculating Stripe Width
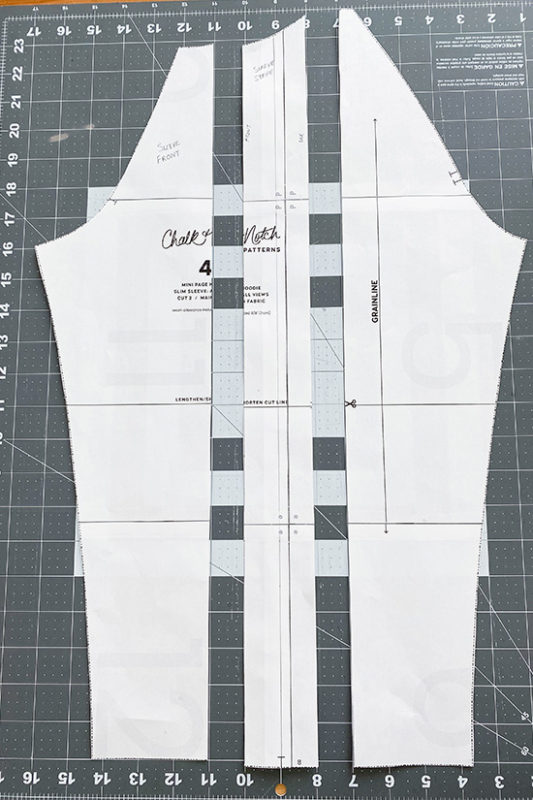
- Measure the width of your sleeve along the bottom and then, divide this by 2 (sleeve width/2 = half sleeve width).
- Now, multiply your half sleeve width by 0.24 (half sleeve width x 0.24 = half stripe width).
- Then, start at your center line, measure your half stripe width to the right and draw a line parallel to center line from top to bottom. Repeat for left side of center line.
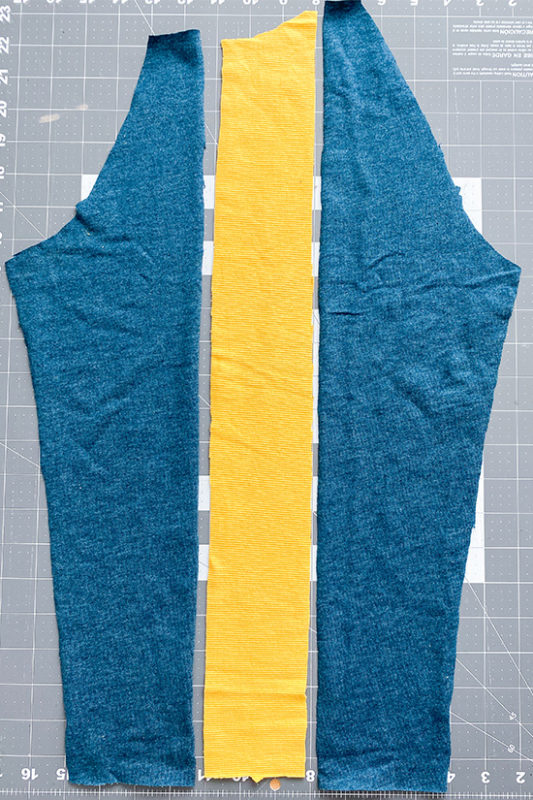
- Cut along lines you just drew on either side of your center vertical line.
- After that, add 3/8″ seam allowance to cut edges of your new sleeve pieces.
Construction
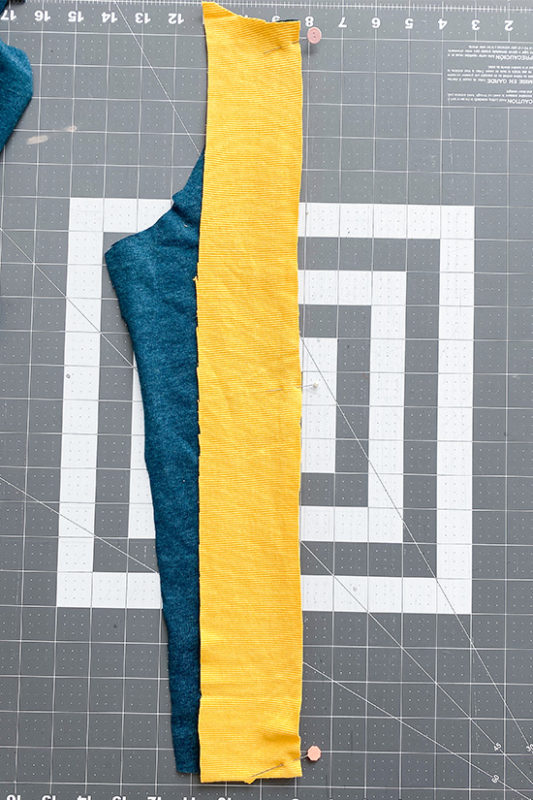
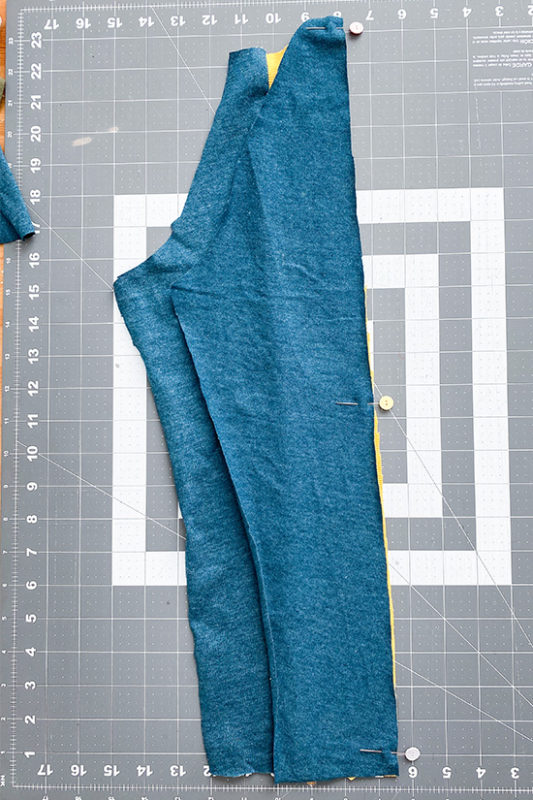
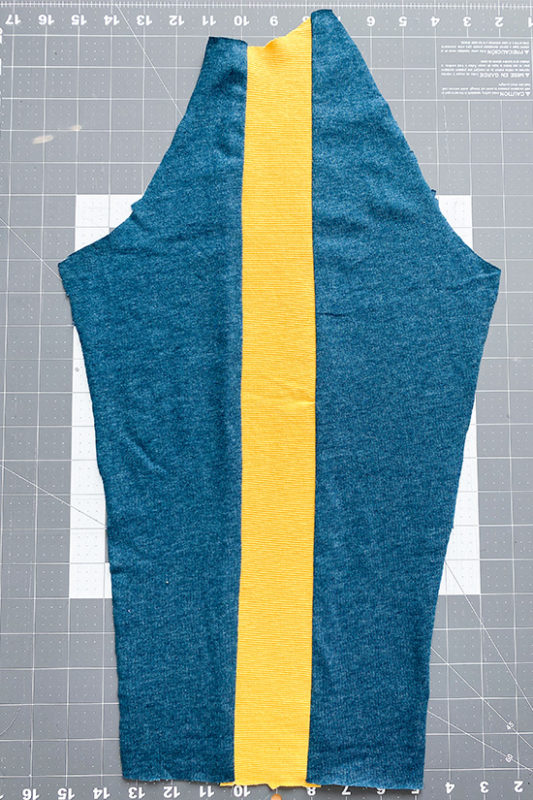
- Place front of stripe right sides together along inside of front sleeve. Stitch at 3/8″ using a lightning stitch, small zig zag, or longer straight stitch. Press seam away from stripe. Repeat for other sleeve.
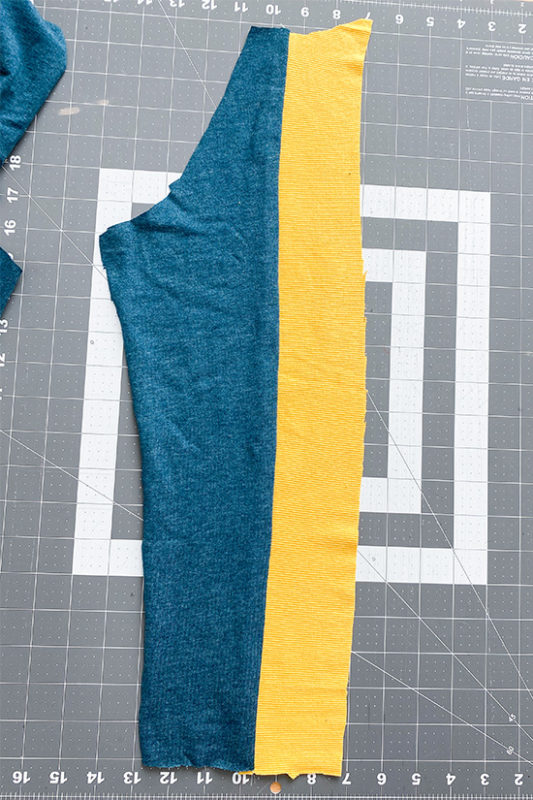
- Now, place the back of stripe piece (with front sleeve now attached) right sides together along the inside of back sleeve. Stitch at 3/8″ using a lightning stitch, small zig zag, or longer straight stitch. Press seam away from stripe. Repeat for other sleeve.
- That’s it. Your stripe sleeves are ready. Follow Page Hoodie pattern for remaining construction.
The Final Looks
Well, there you have it, color blocking the Page Hoodie three ways. I love the way each of these versions changed the look of the pattern. In fact, they almost look as if they’re made from separate patterns. Color blocking is a simple way to get more mileage from your pattern. Draw or draft up your own ideas, add seam allowances and you’ve got an entirely new view.
If you decide to color block your Page Hoodie, we’d love to see it. Get creative, use up those scraps then, feel free to share using the hashtags #pagehoodie and #chalkandnotchpatterns.
Thanks for reading!

