The last steps on our Waterfall Raglans are to attach the neckband and hem the ruffles. Let’s finish our new tops and dresses!
SEW NECKBAND
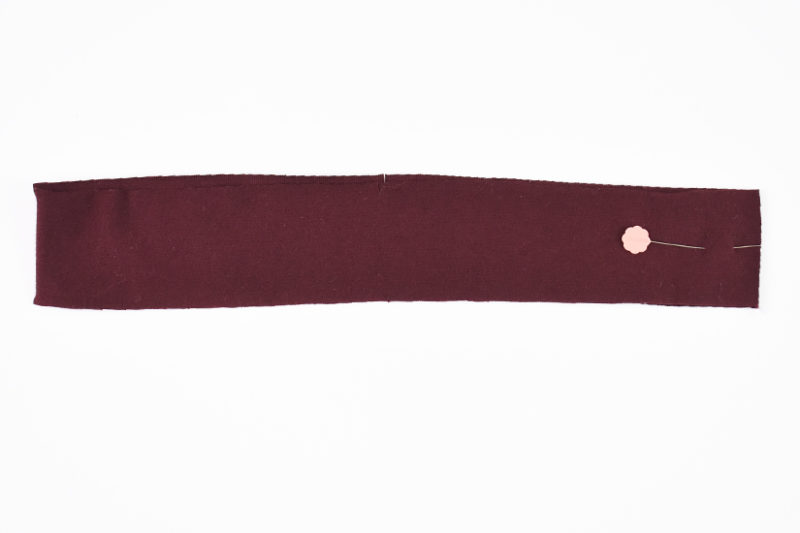
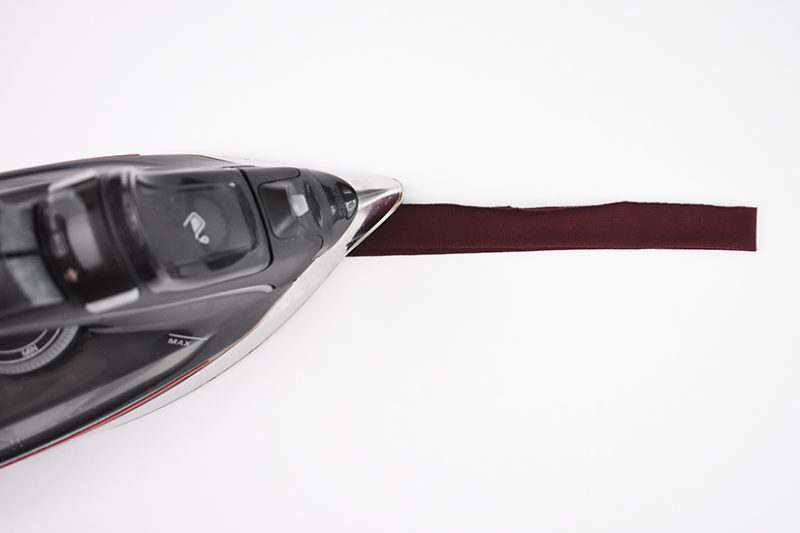
With the right sides together, sew the neckband at the short end. Press the seam open. Fold the neckband in half with the wrong sides together and press.
FIND NECKLINE QUARTER MARKS
There should be a notch at the center front, a double notch at the center back and notches on the sleeve neckline.
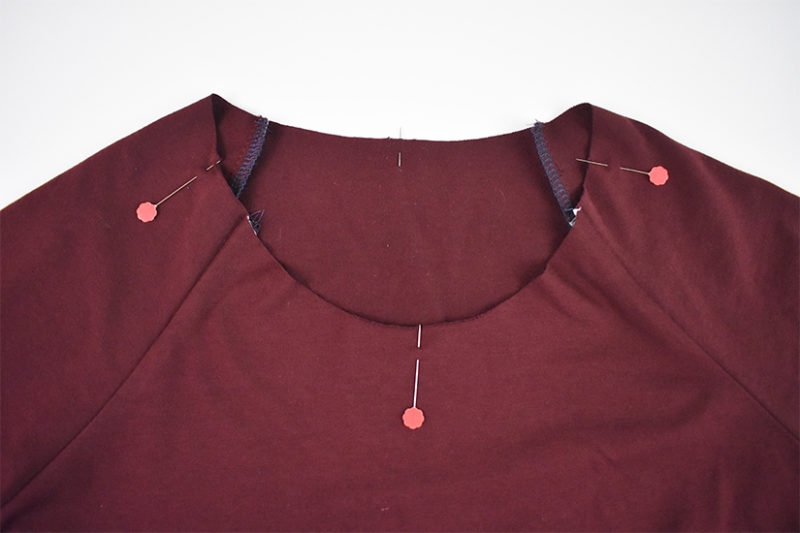
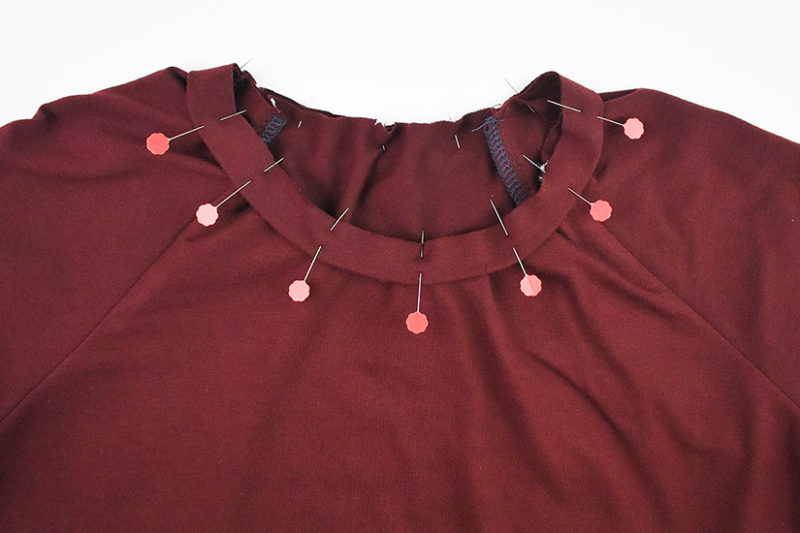
SEW NECKBAND TO BODICE
Line up the neckband seam with the center back double notches. Continue to pin the rest of the neckband around the neckline, matching the notches, while evenly stretching the neckband slightly. Do not stretch the garment. Stitch with a stretch stitch or overlock. Finish and press the seams towards the bodice.
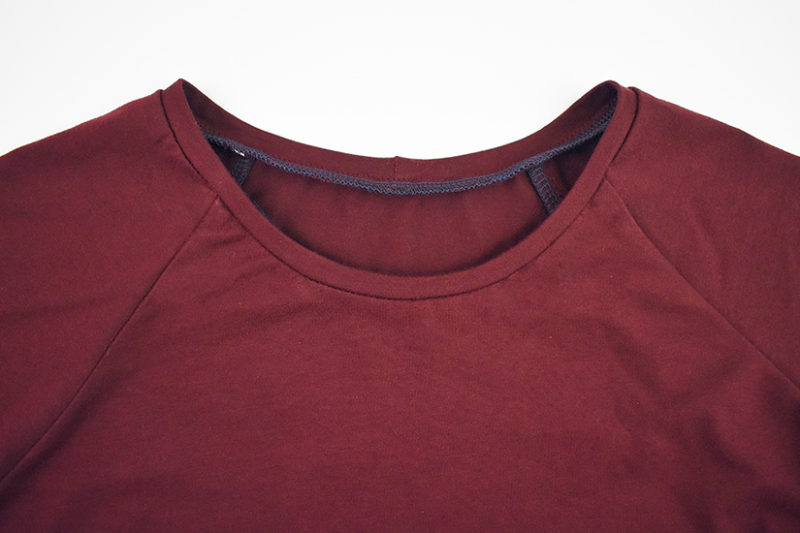
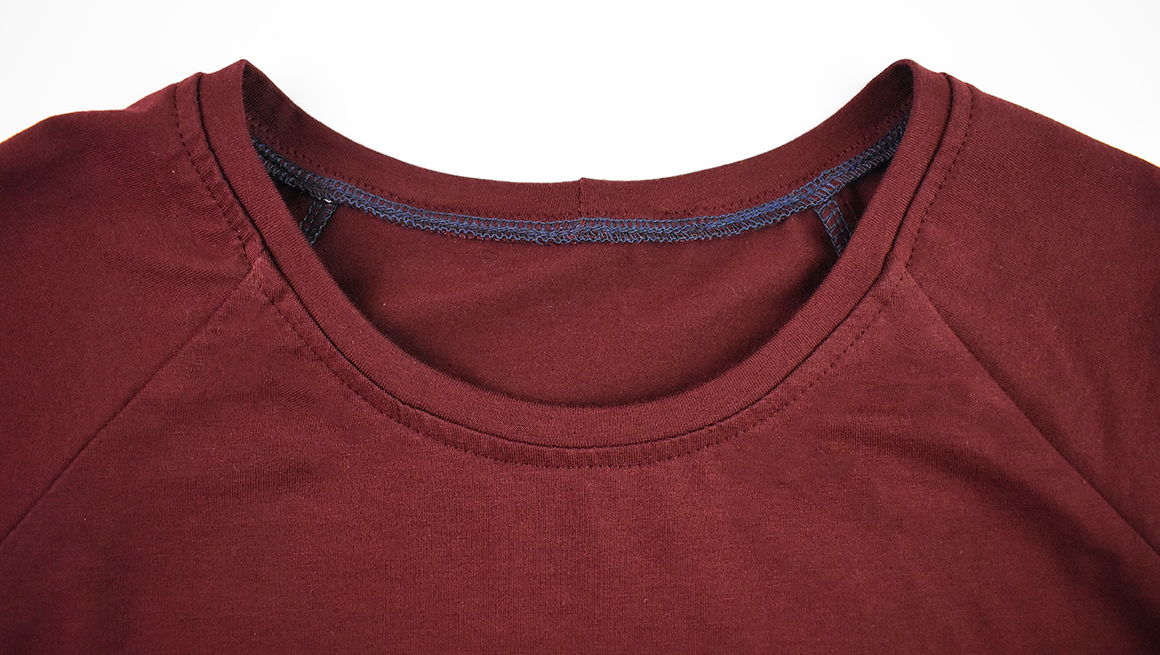
OPTIONAL TOPSTITCHING
Topstitch the neckline at 1/4” (0.6 cm) or 1/8” (0.3 cm) based on your preference, to hold the seam allowance in place.

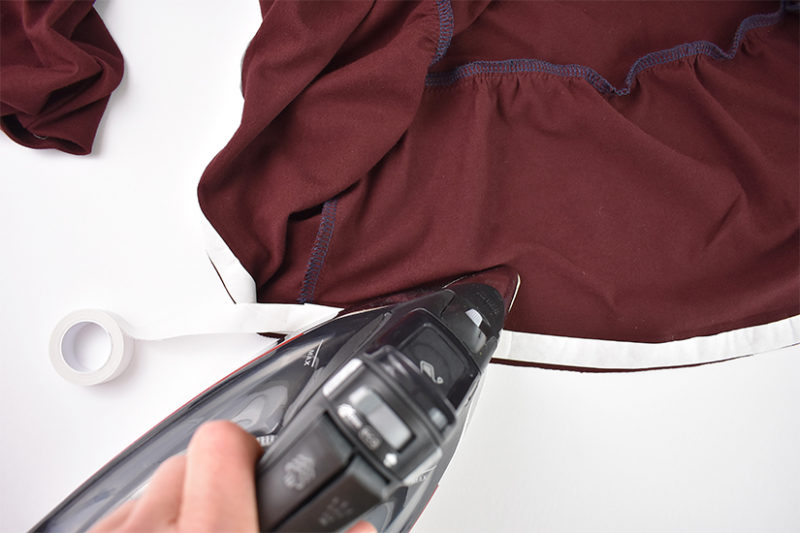
OPTIONAL HEM TAPE OR OVERLOCK
You may find it helpful to use 3/4” (2 cm) fusible knit stay tape to help stabilize your fabric while hemming. If so, apply to the hem. You can also finish the hem edge before hemming.
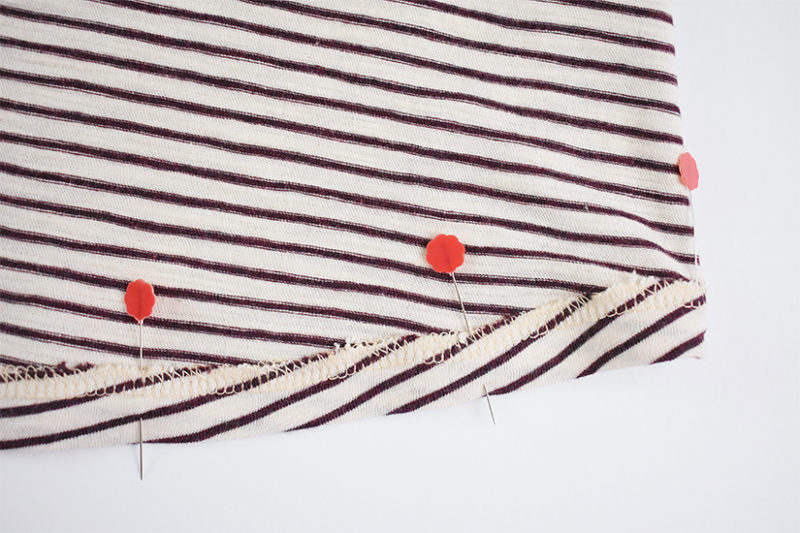
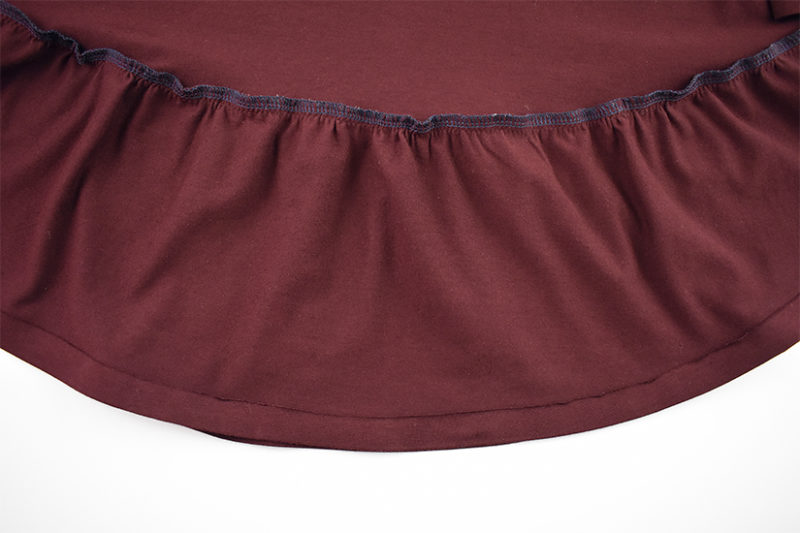
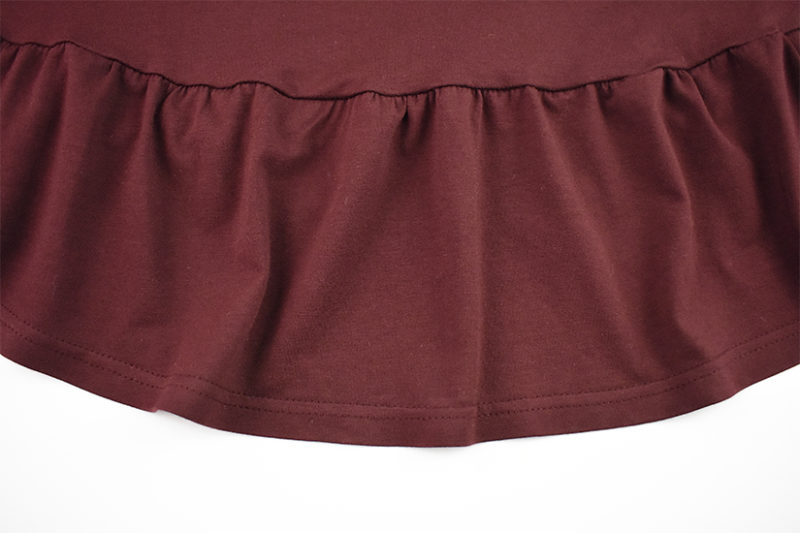
SEW THE HEM
Press the hem (all views), wrong sides together, at 3/4” (2 cm). Topstitch the hem using a regular straight stitch or stretch stitch.
FINAL PRESS
Give your Waterfall Raglan a final press and you are done!

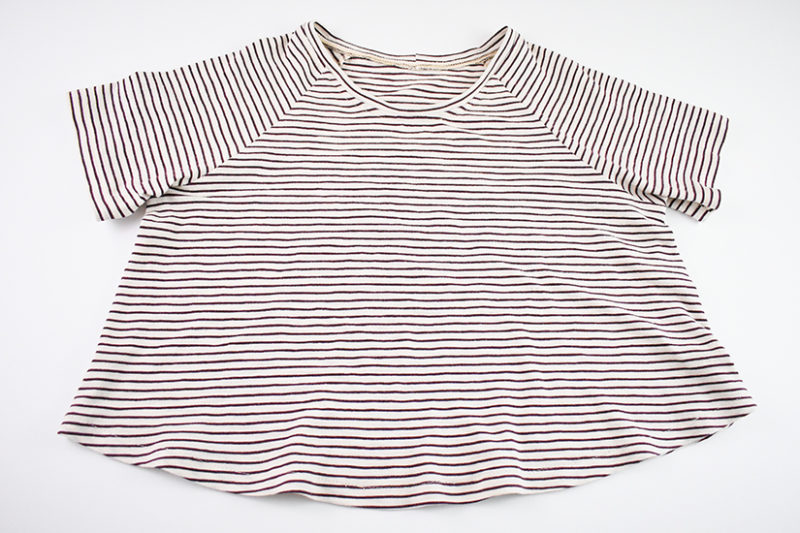
We hope you enjoy wearing your new Waterfall Raglan!
Waterfall Raglan Sew Along Posts: Getting Started | Gathering & Attaching Ruffle | Sew Sleeves & Side Seams | Attach Neckband & Hem Ruffle