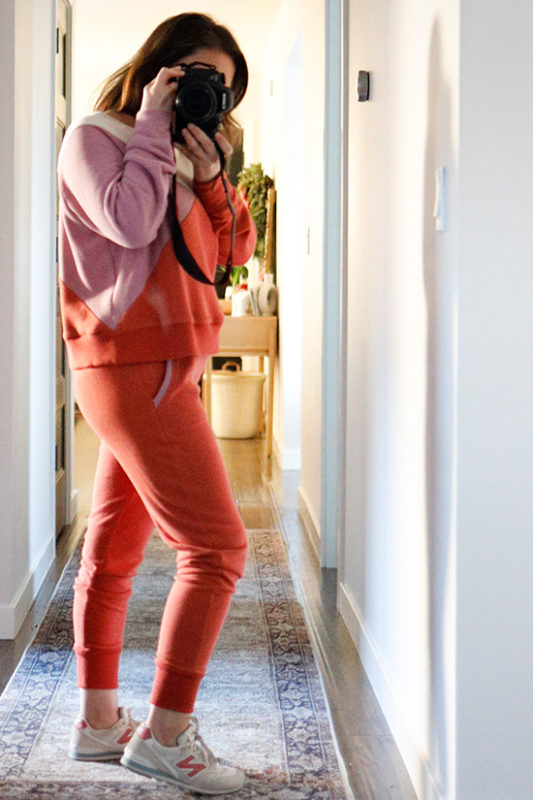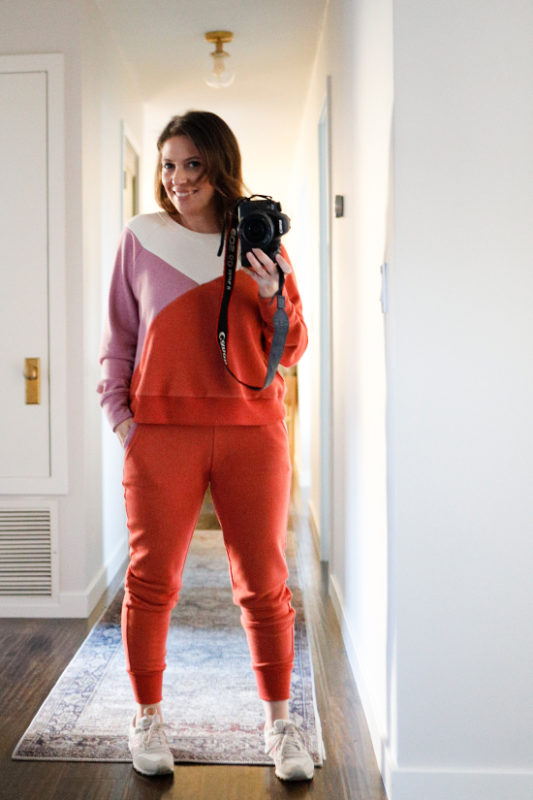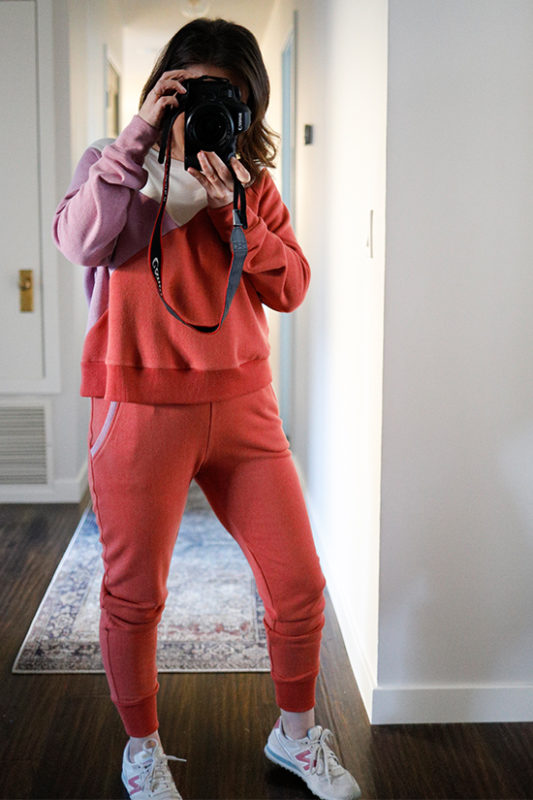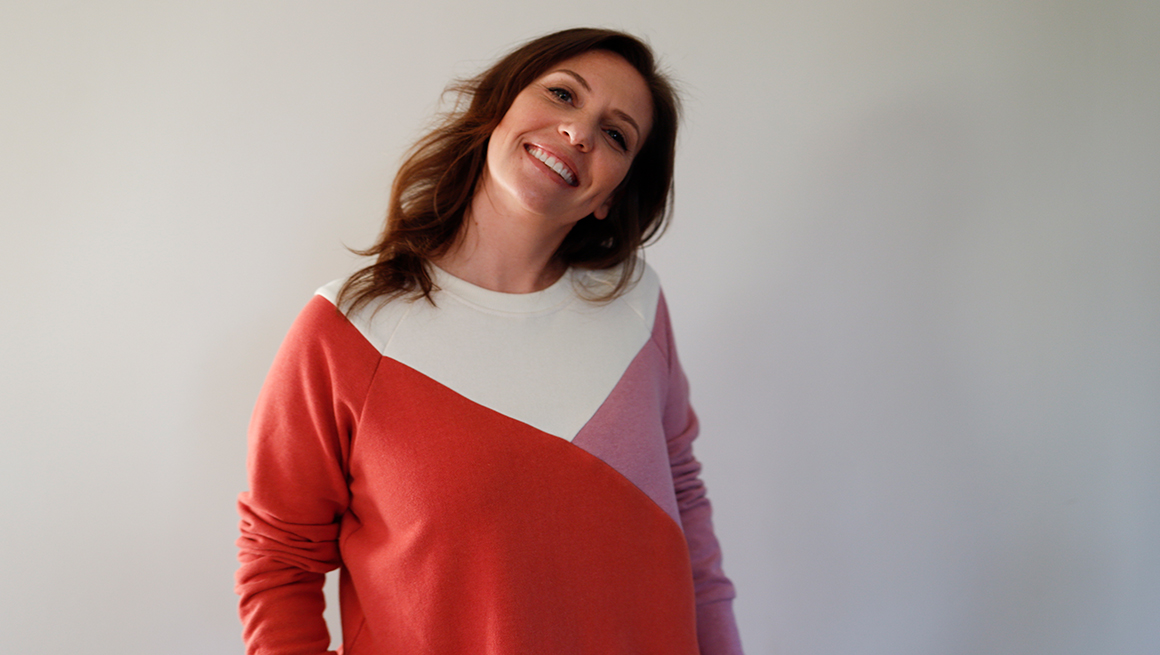
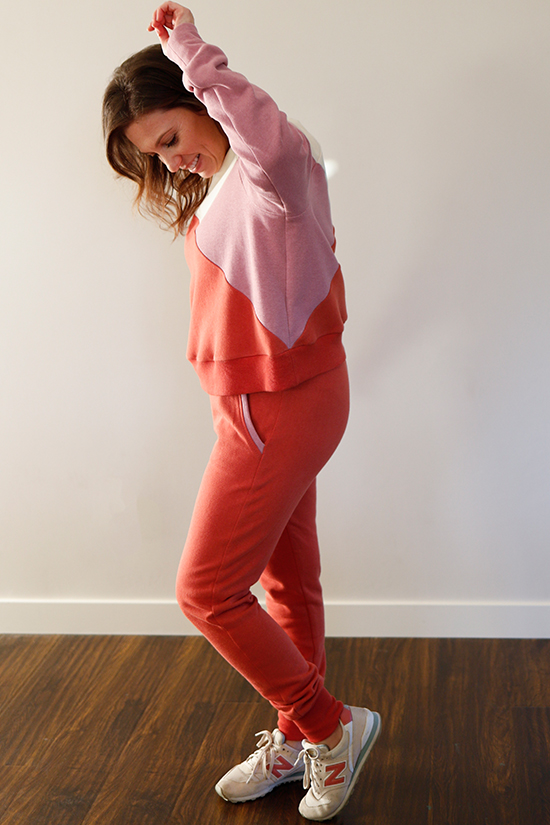
A matching lounge sweatsuit seems like the 2020 outfit I keep seeing everywhere! Kelli of True Bias and I have seen so many of your Page and Hudson combos. We thought it would be fun to share our versions. As I was sharing my plans for a color-blocked version on Instagram stories, I had requests for a more in-depth tutorial, and I’m happy to share!
I used the Page Hoodie pattern (with the free crew neckband) for this tutorial. Throughout the tutorial, I’ll be going over basic color-blocking principles that you can use on any pattern. However, this isn’t the first time we’re sharing a Page color-blocking tutorial. You can check out more Page color-blocked versions here.
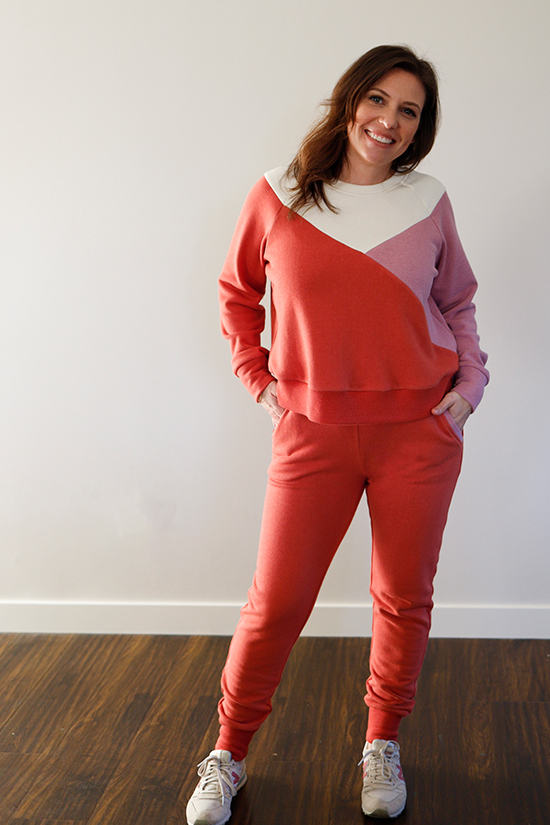
The Page & Hudsons make the perfect lounge set! To add a bit of color-blocking to my Hudson’s, I added a contrasting color to the pocket band and 2″ to the rise using Kelli’s tutorial here.
Inspiration
I did a quick search on Pinterest for a color-blocked sweater and found a few examples that stood out to me. I used these images to test out a few options for both the color-blocking cut lines and color combos.
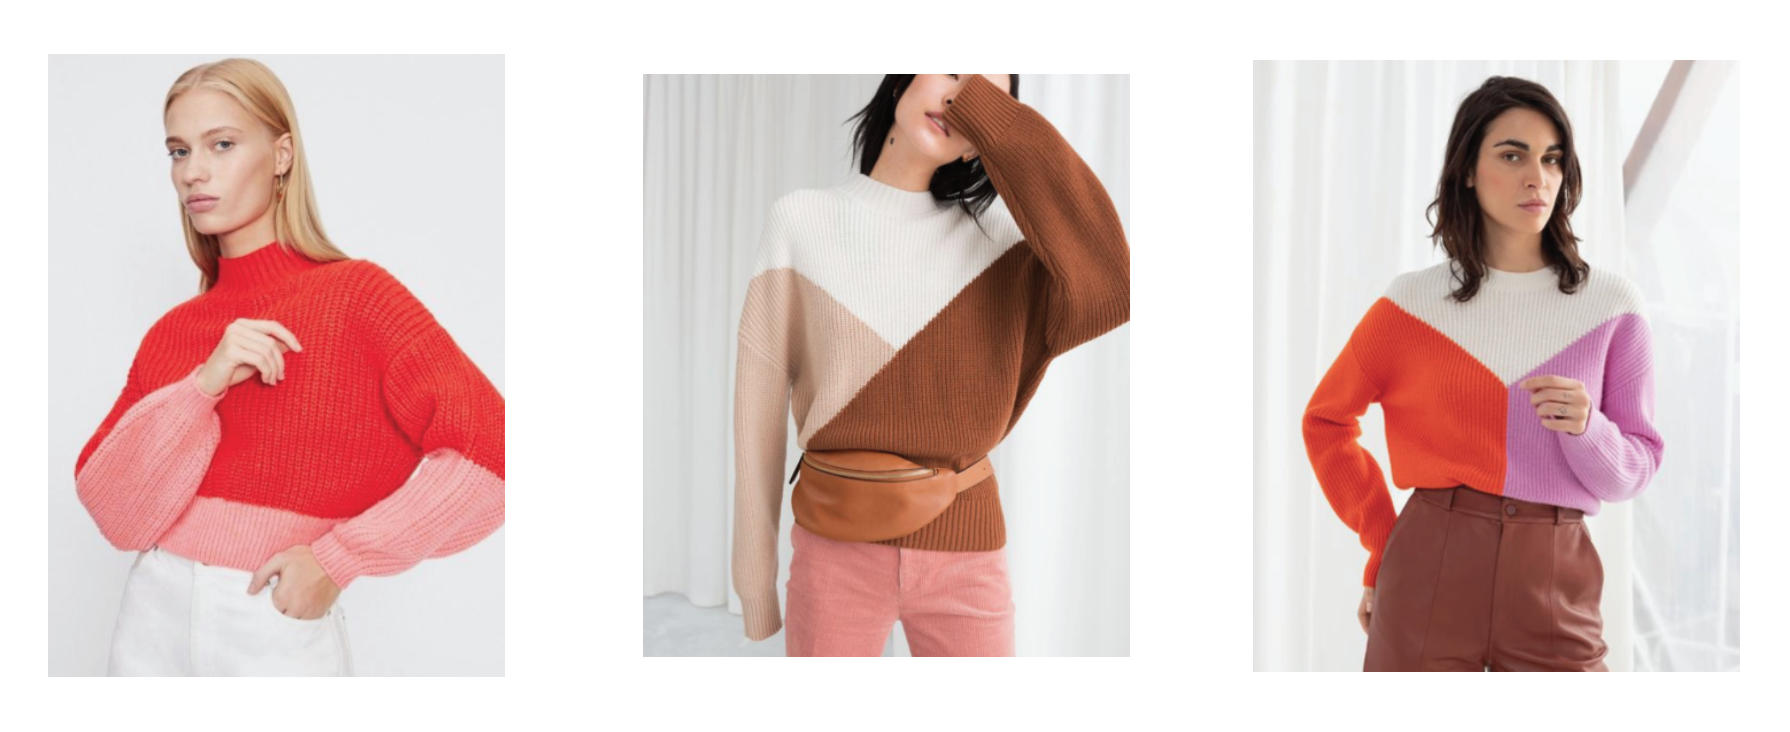
Then I put the Page flat images in Illustrator to draw in the cut lines. If you are interested in playing around with some ideas, here are flat sketches that you can use; right-click to save or download.
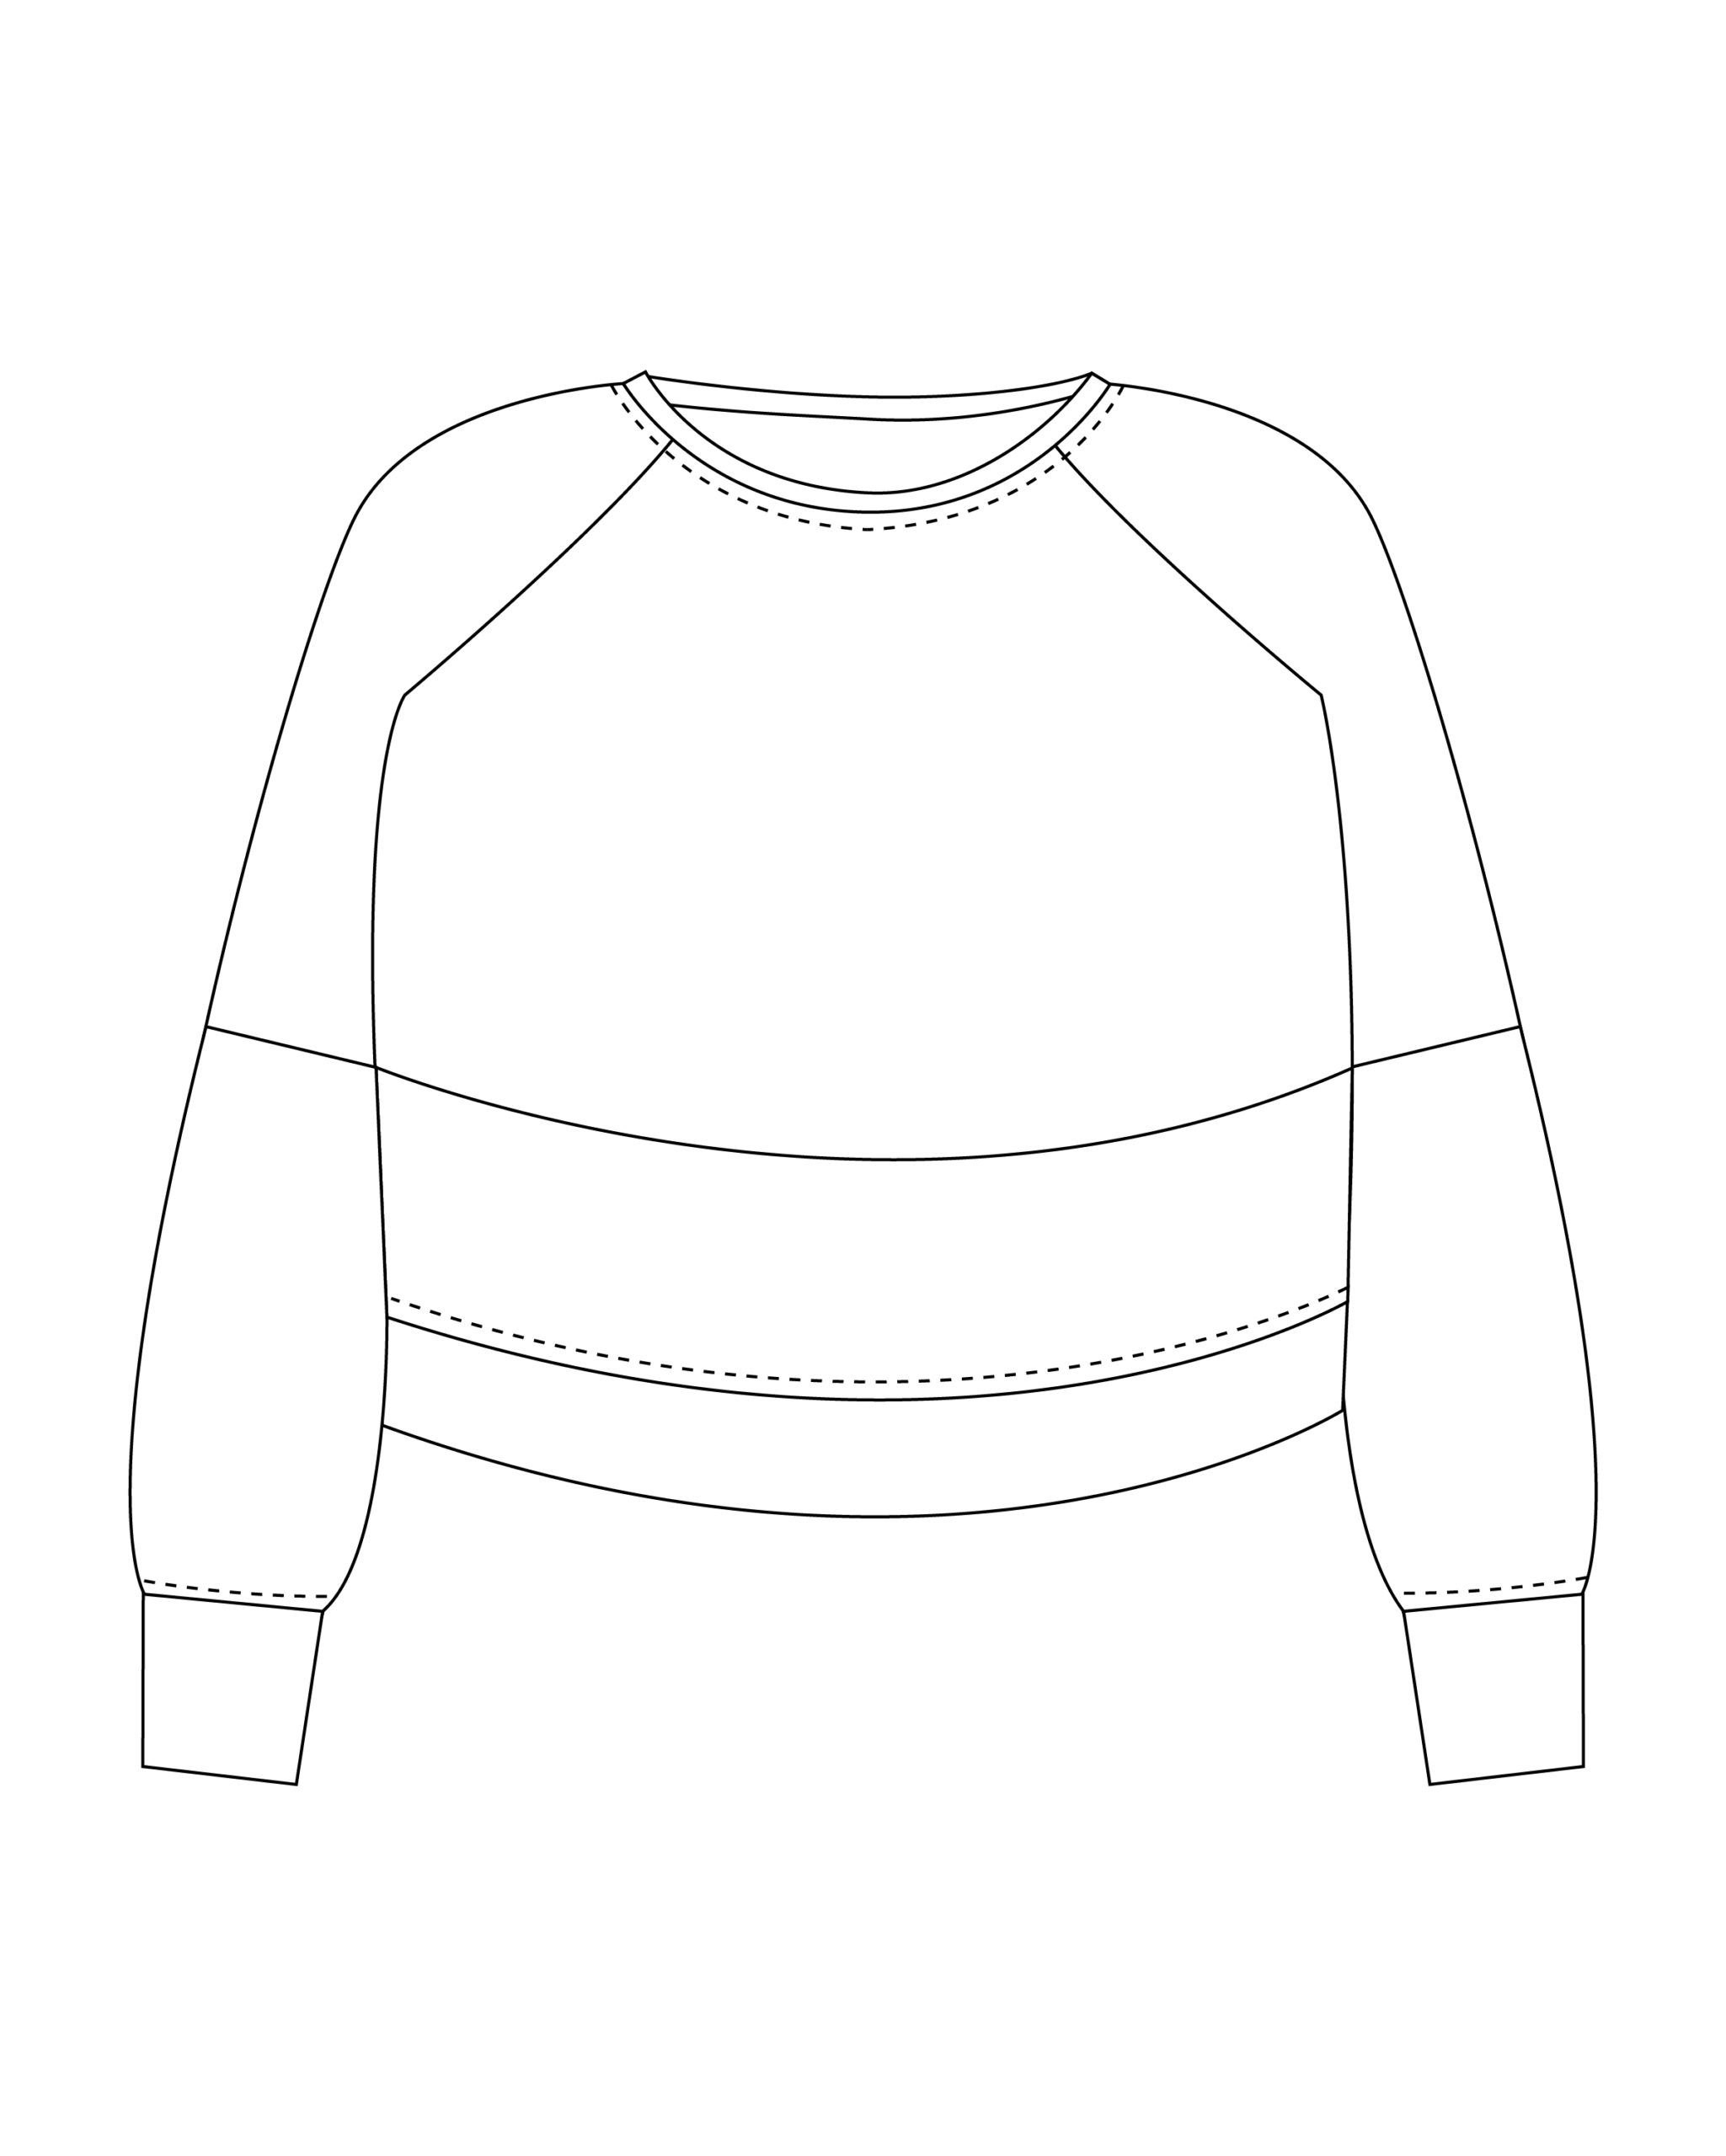
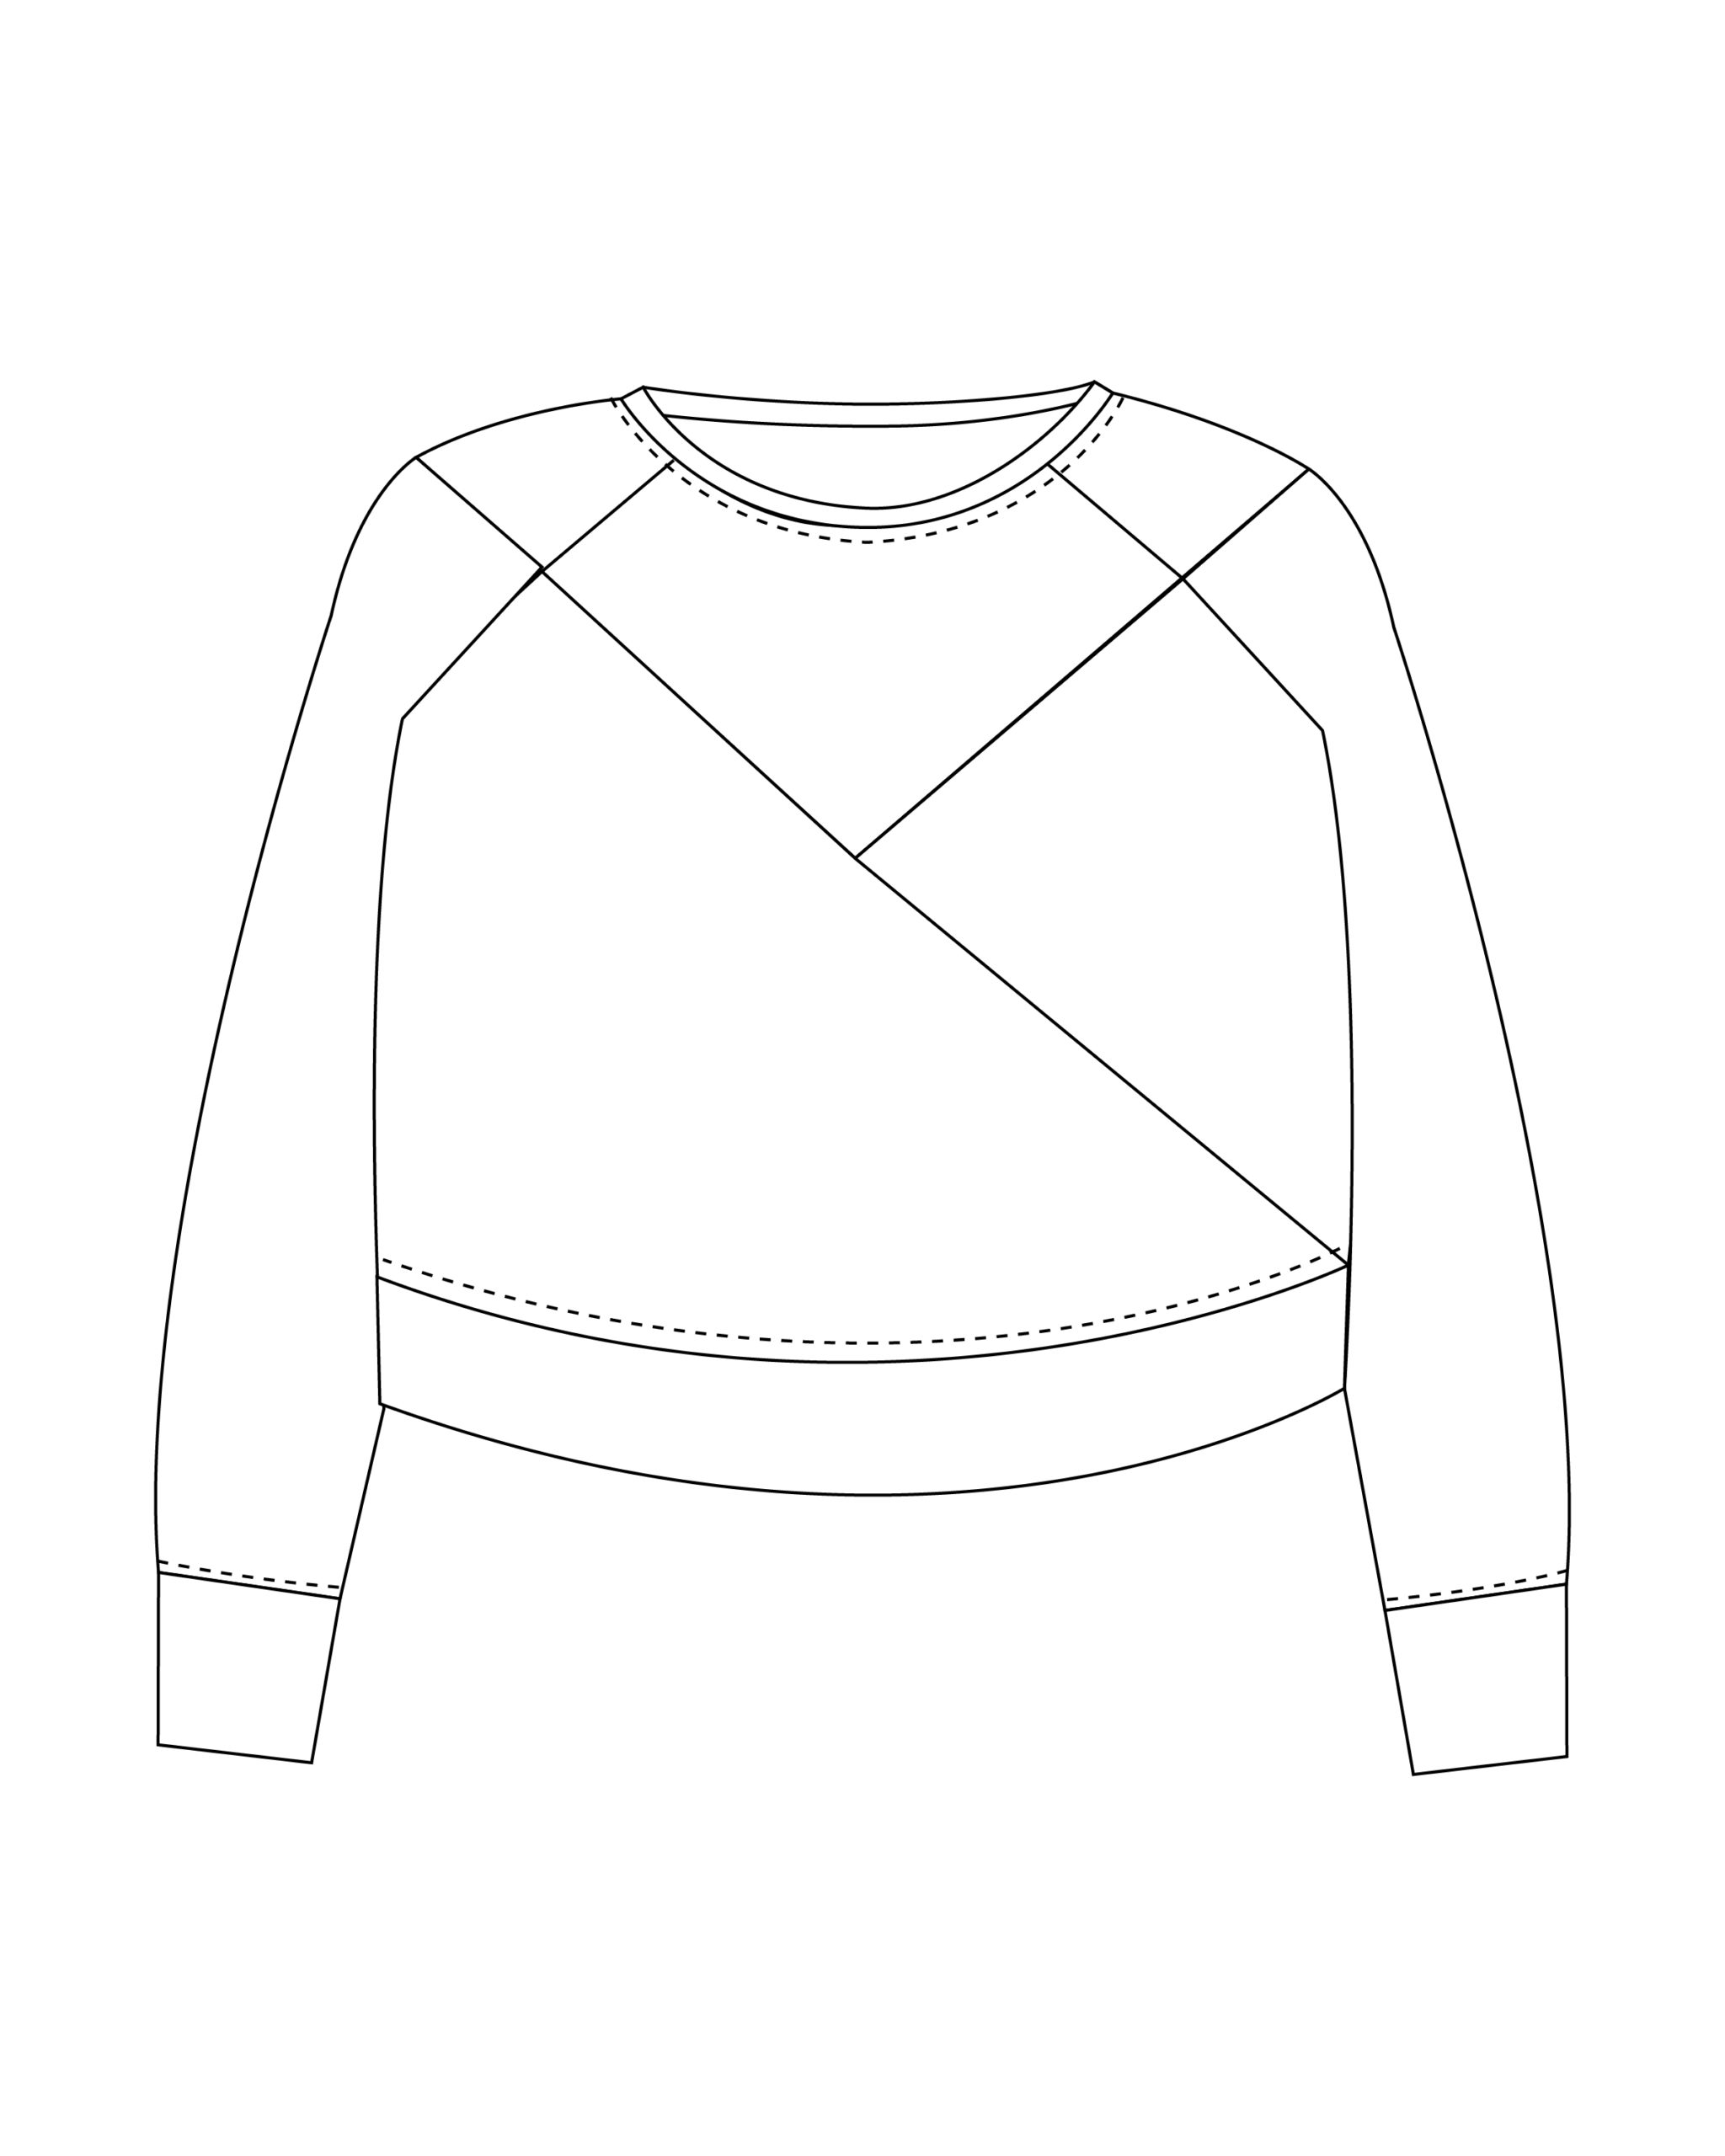
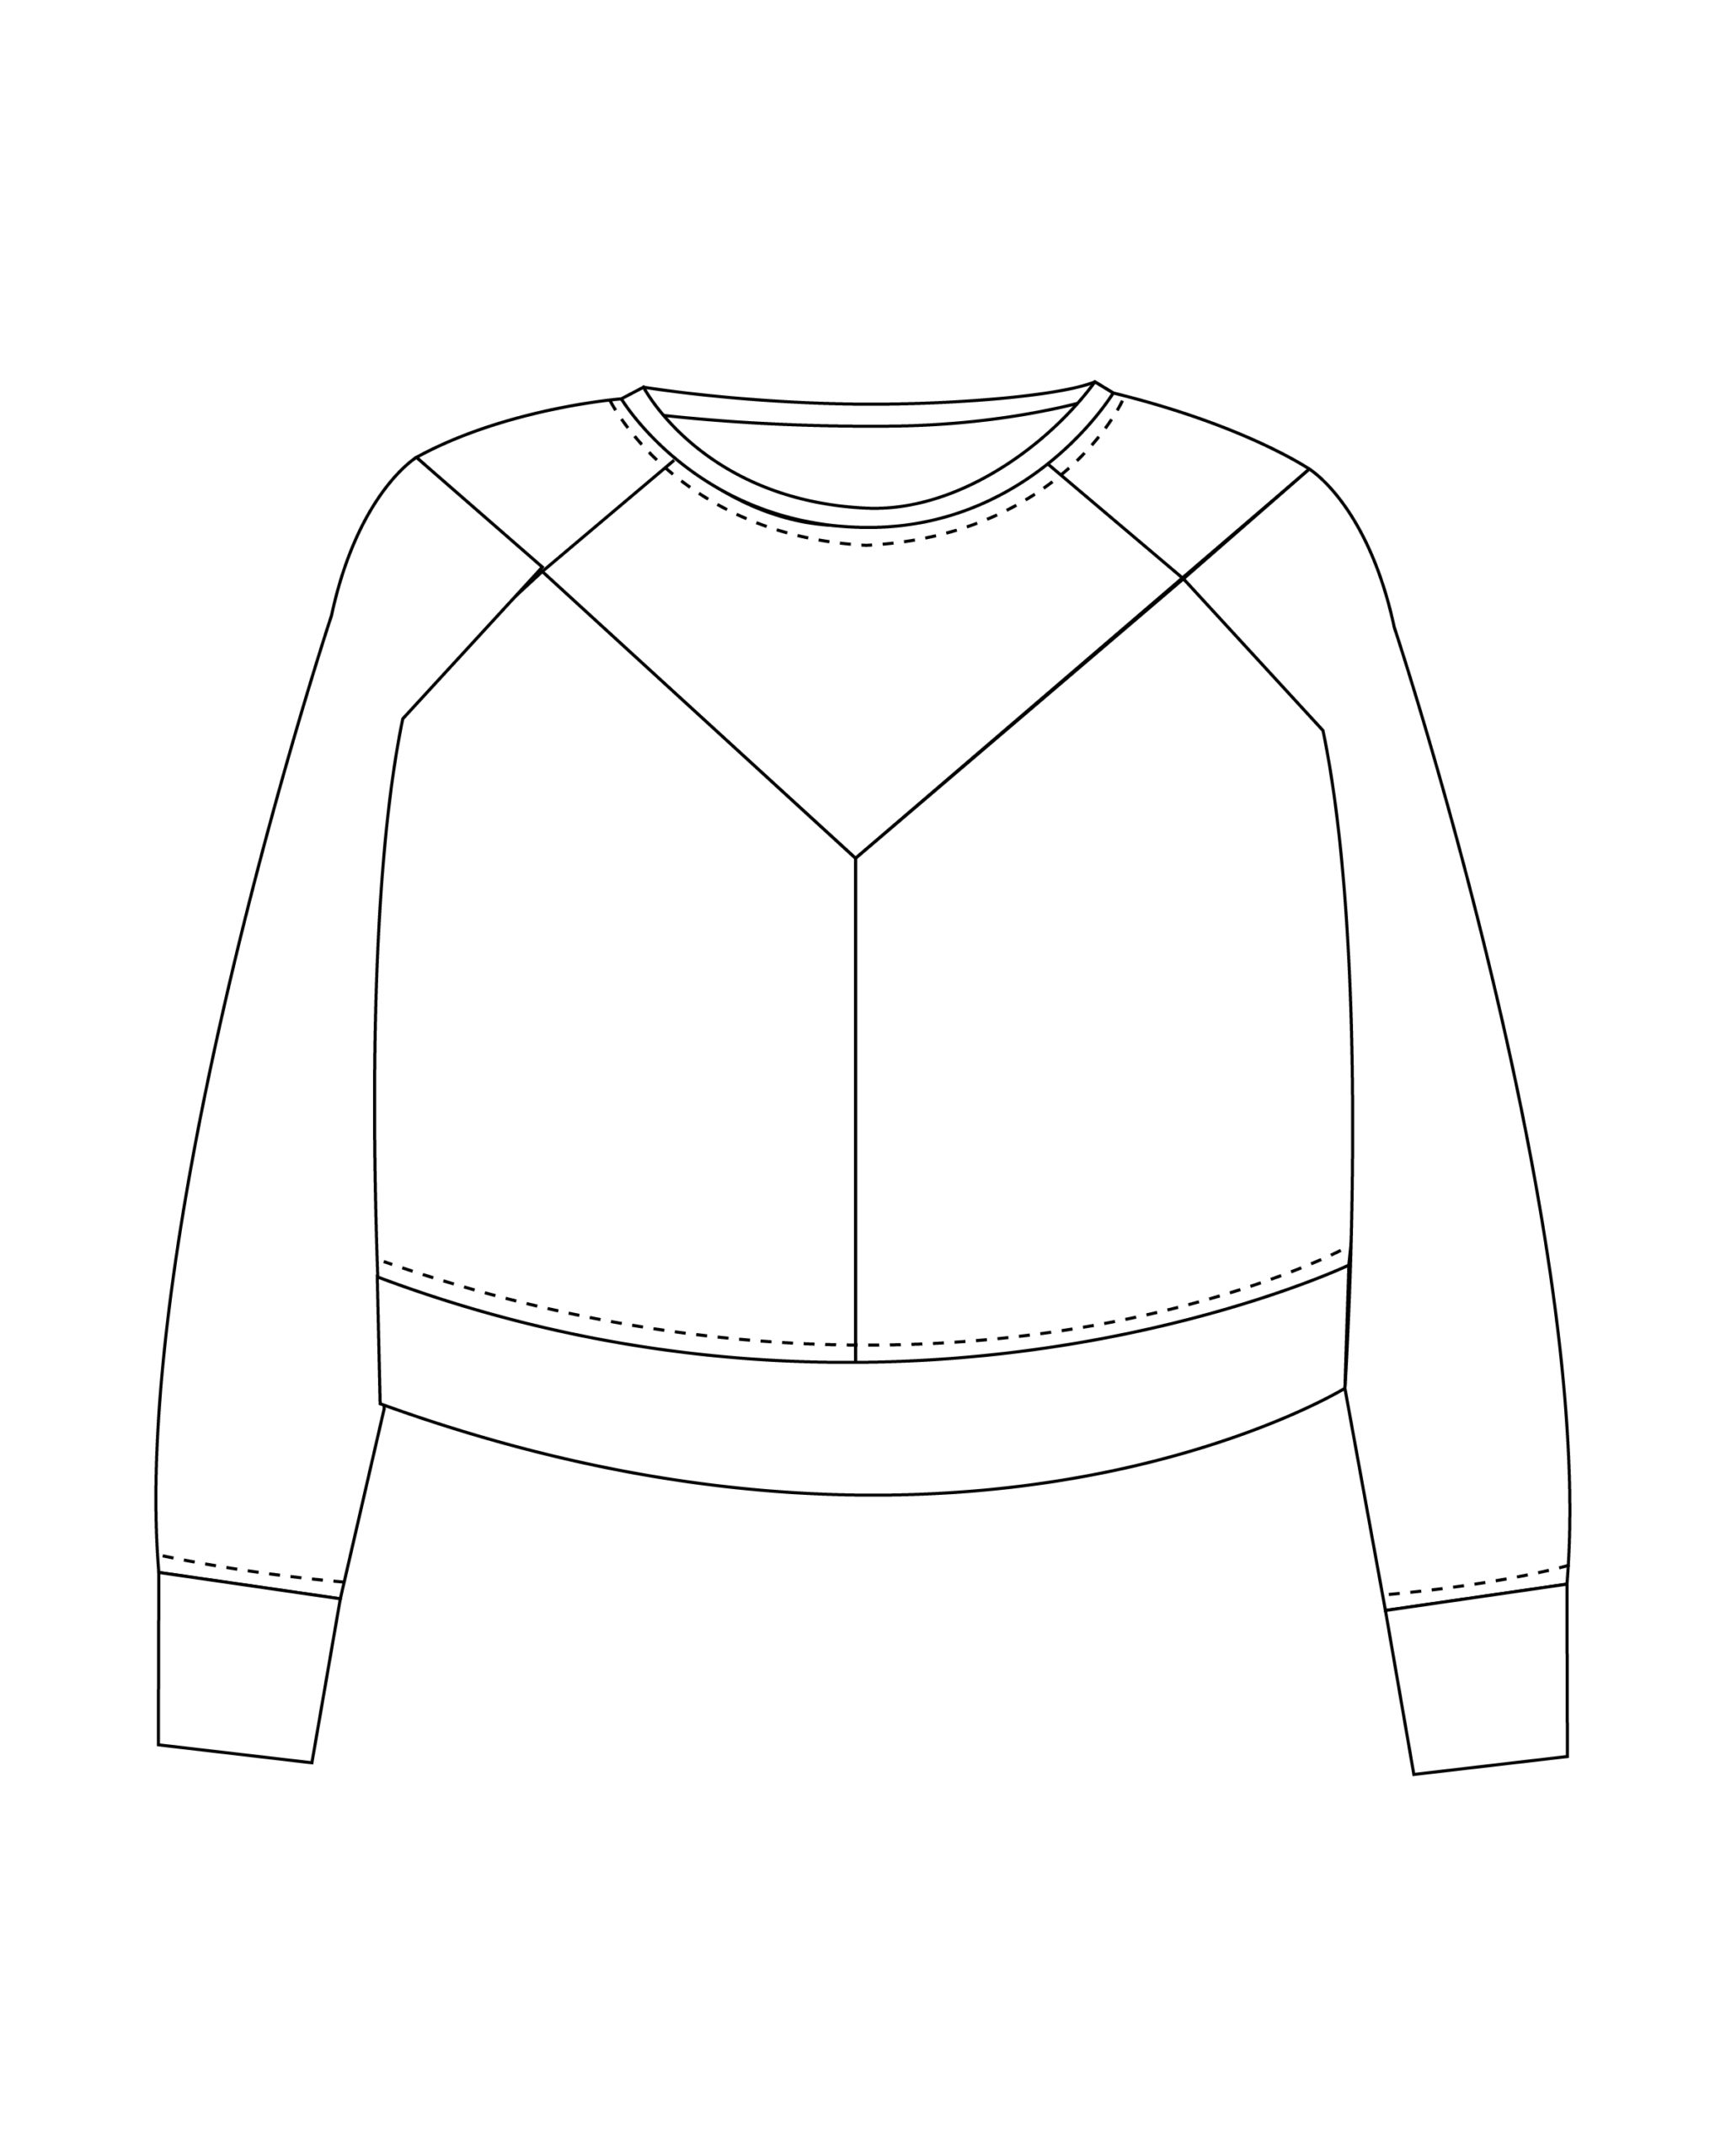
I liked all three of these options, so I posted them on Instagram stories to get your feedback. The middle option was the clear winner and what I was leaning towards, too. I like the simplicity of the first option, and I’d like to try that variation next.

Fabric
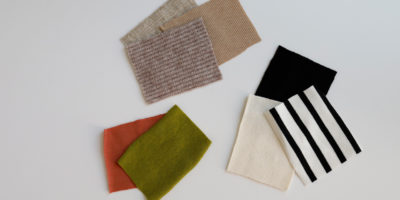
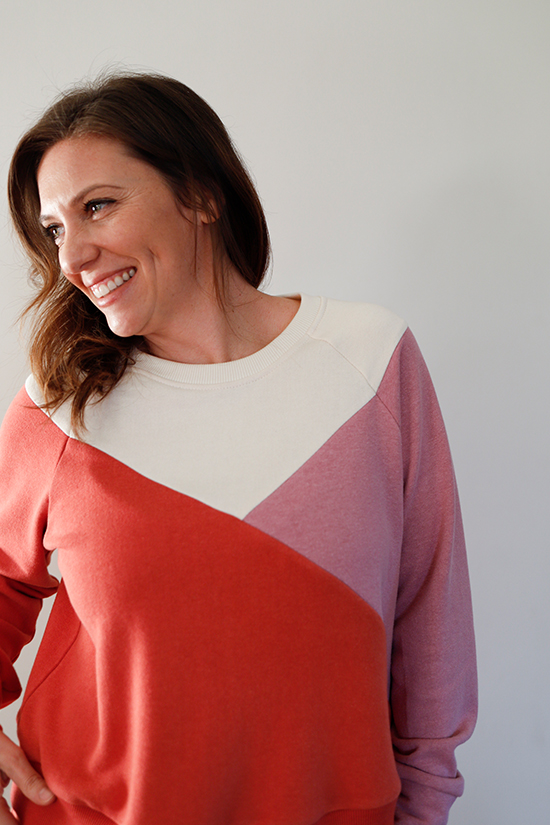
Along with the cut lines, figuring out the color combo is super fun, but I didn’t want to add colors arbitrarily and wanted to make sure I was working with fabric and colors that were available. I searched for my favorite fleece and rib: the Telio Cloud Bamboo Rayon Sweatshirt Fleece and matching rib (a bunch of indie fabric stores carry it). I found several colors in the color palette I was looking for at Stonemountain Fabrics. Then, I took screenshots and was able to add the colors in my digital mock-ups getting a pretty close color representation. You could also use colored pencils to test out color combos.
Here are links to a few shops that carry the same or similar Bamboo/Rayon sweatshirt fleece and matching rib if you are looking for fleece fabric.
Blackbird Fabrics | Melanated Fabrics | Stonemountain Fabric | Style Maker Fabrics
Tutorial
Color blocking is pretty straightforward; it can be done on any pattern by adding cut lines or using the existing pattern pieces to create a color blocking pattern. You’ll want to figure out what design you want to create with your cutlines. Draw in your cut lines, add notches to help sew everything back together, and add seam your allowance.
What You Need To Make Pattern Adjustments:
- Page or Mini Page Pattern & the new Neckband Pattern (or any other pattern)
- Pattern paper, ruler, and marking tool
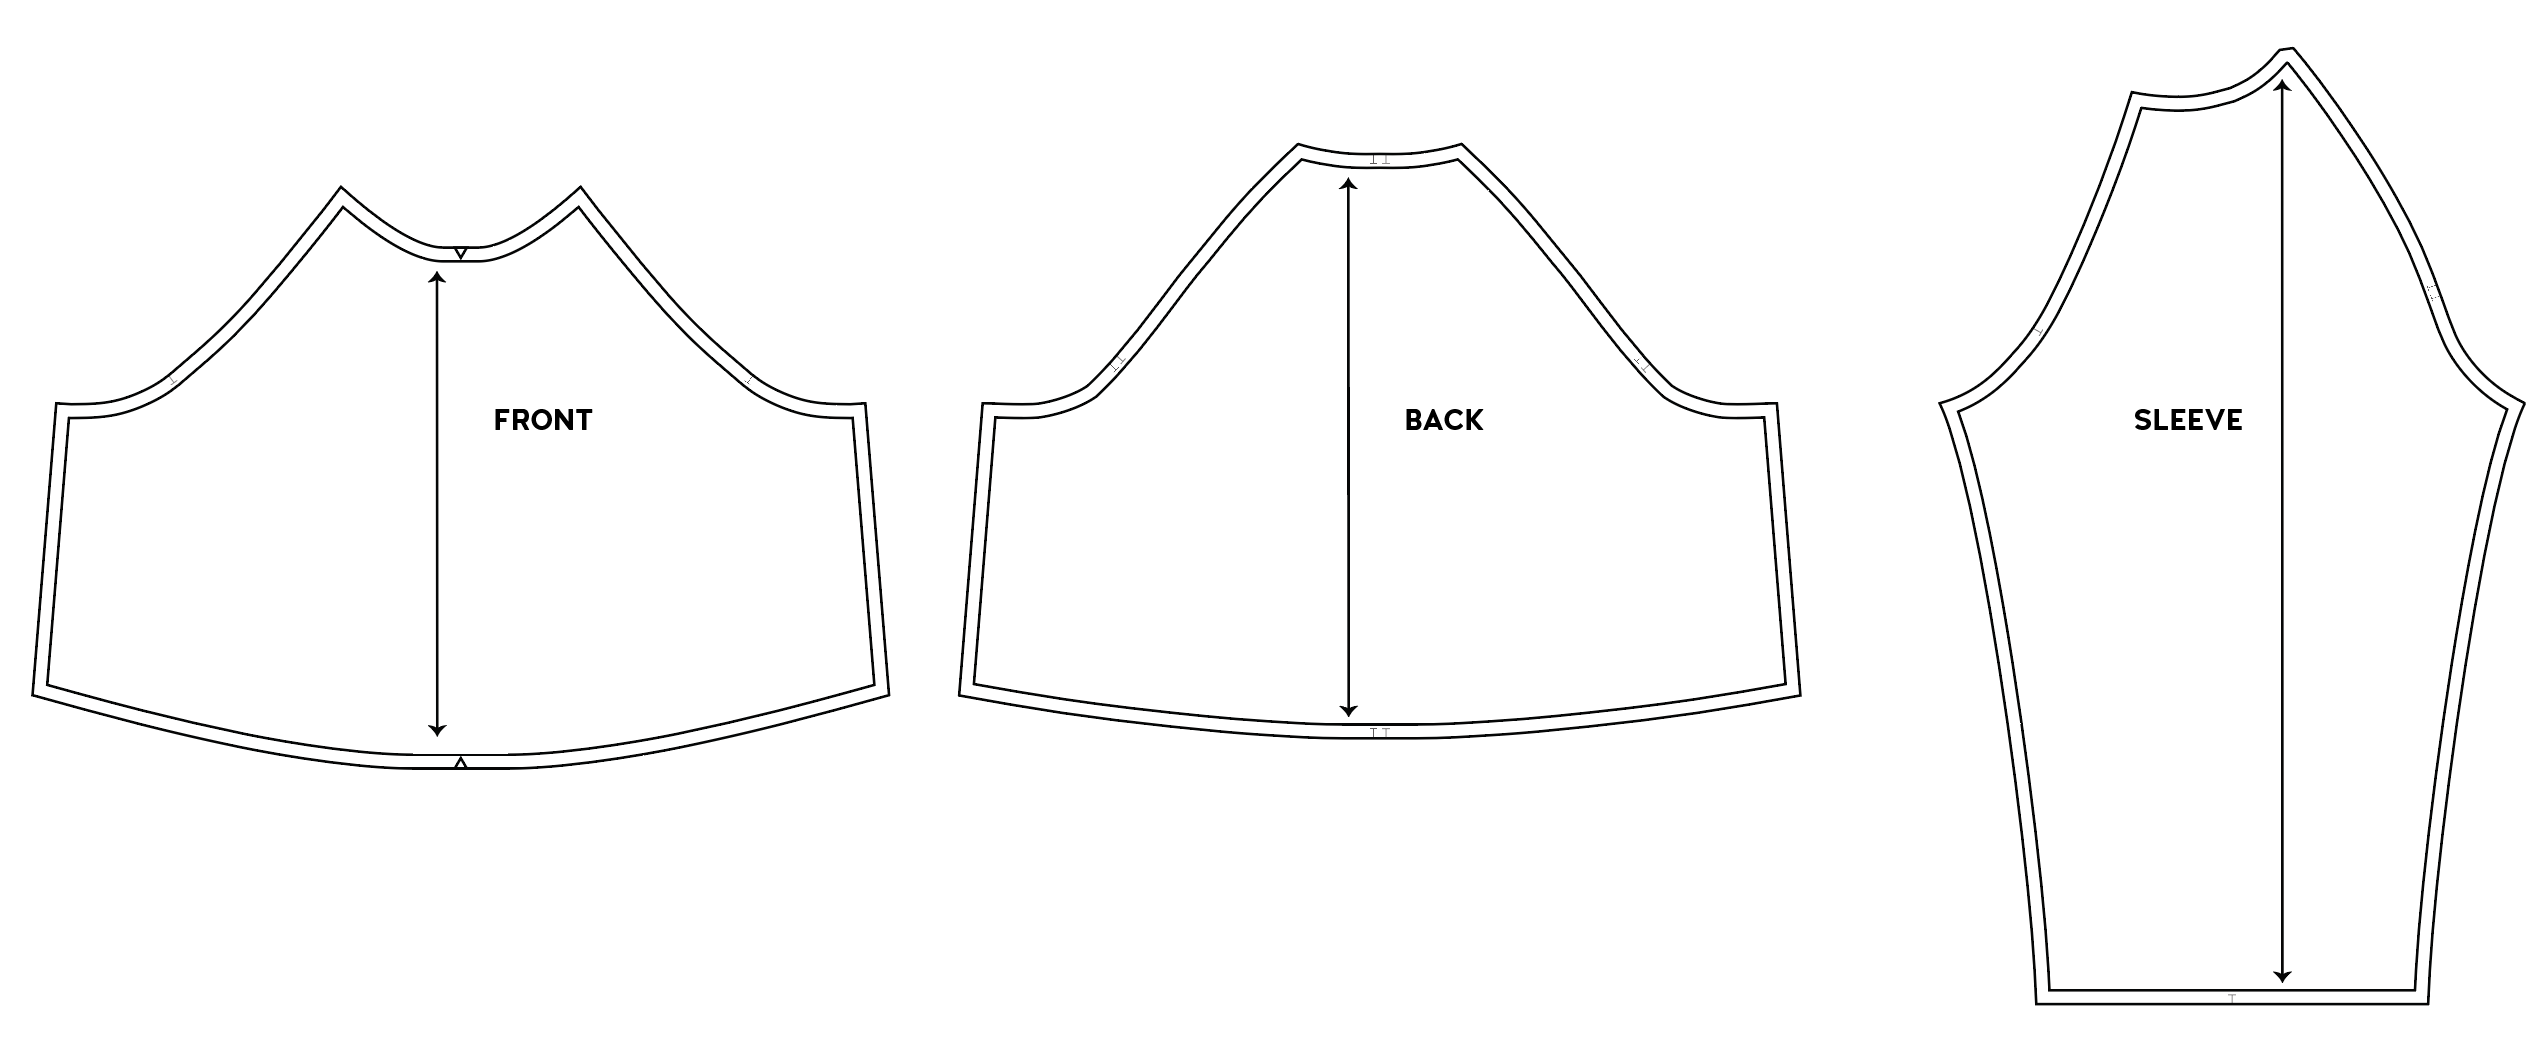
Pattern Adjustments
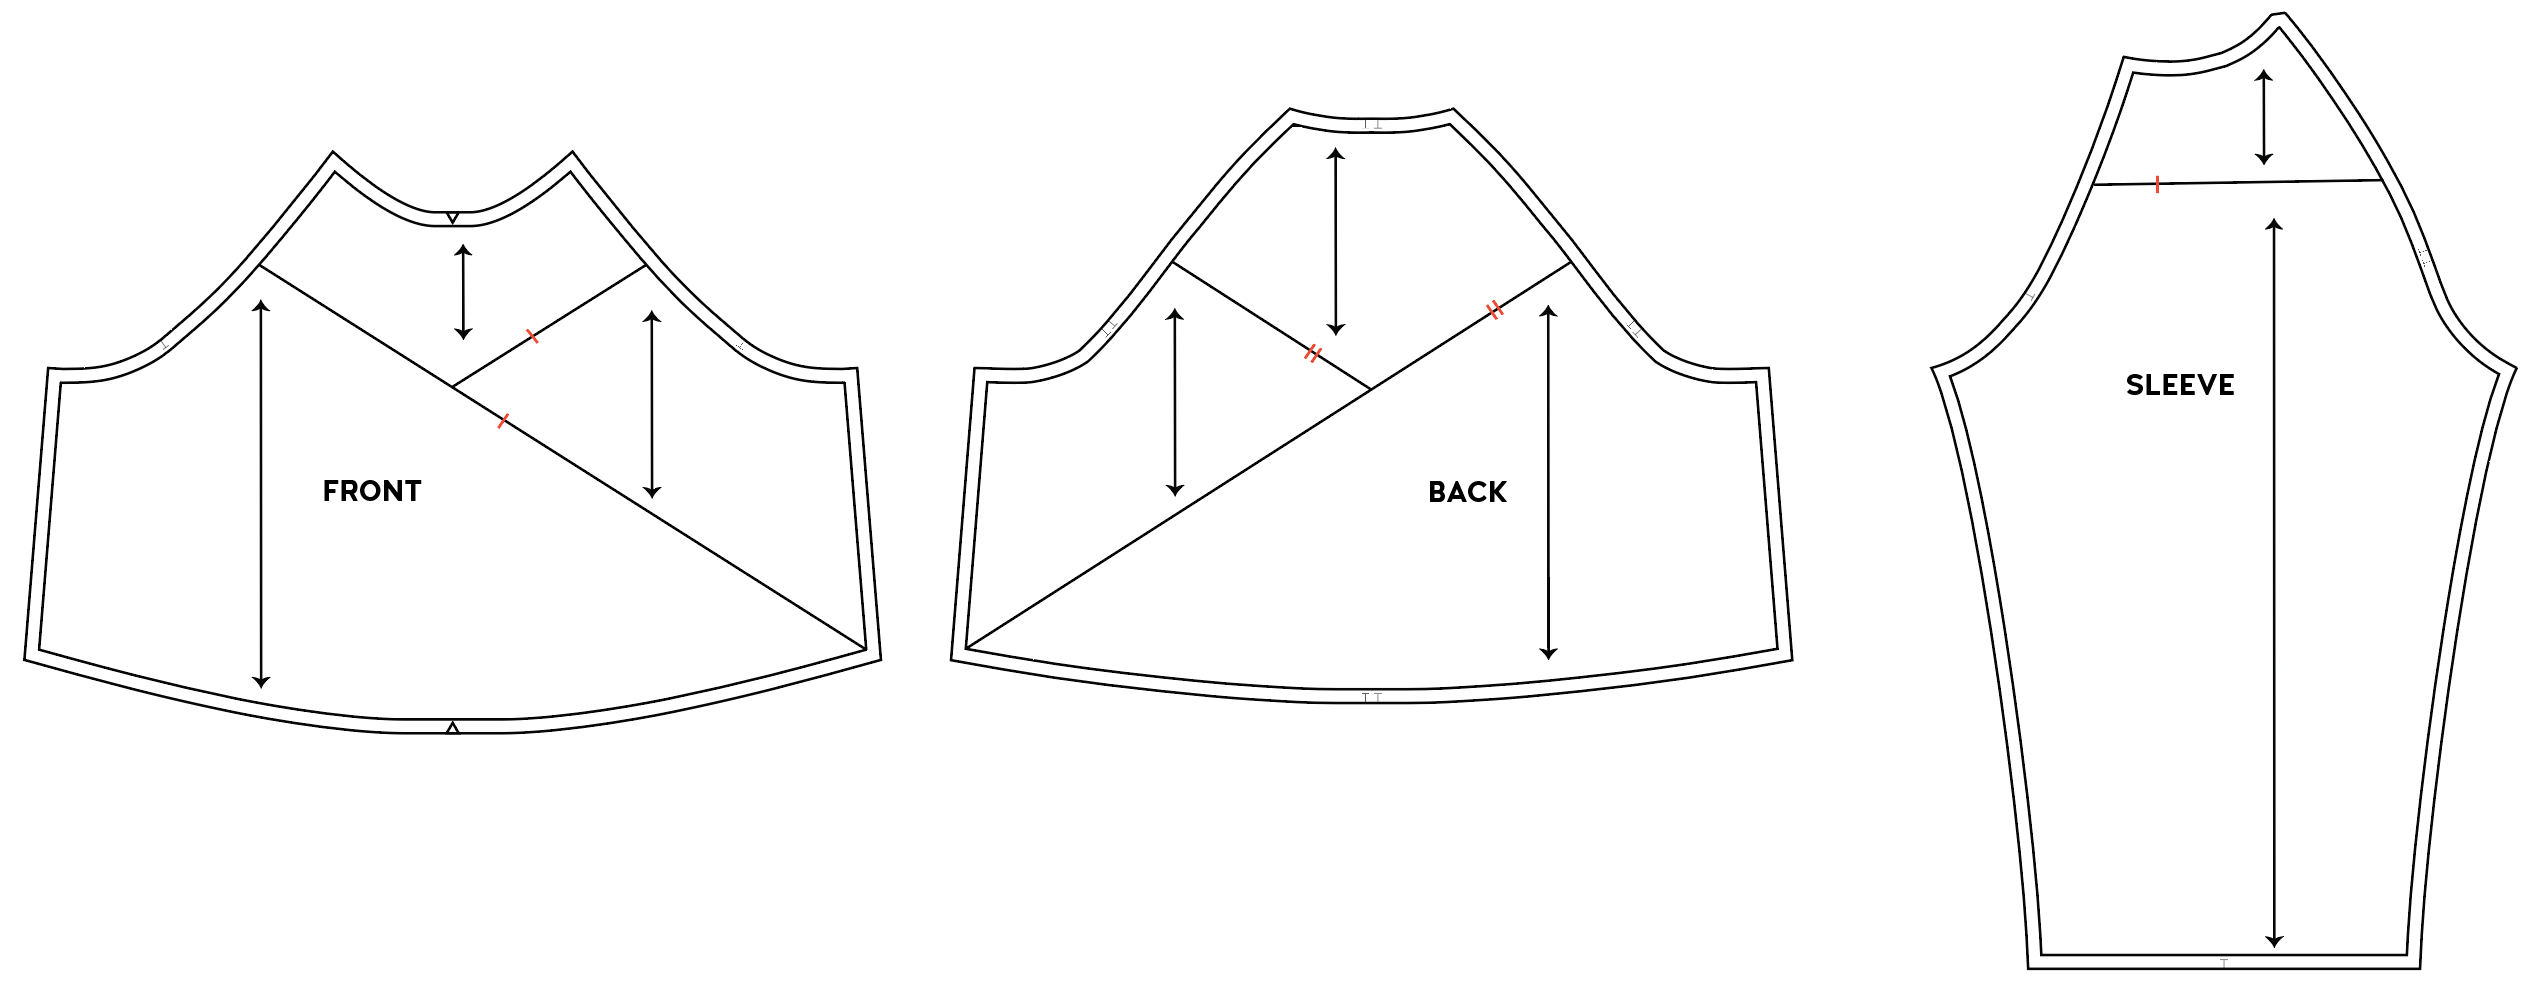
Since I was working with an asymmetrical design, I traced the full front and back bodice pieces. The sleeve pattern is the same for both sides, but I had to be sure to flip the pattern and cut different colors. I added in the seam allowance on all of the seams where I would be adding cut lines. By doing this, it’s easier to see where the seams will join once sewn.
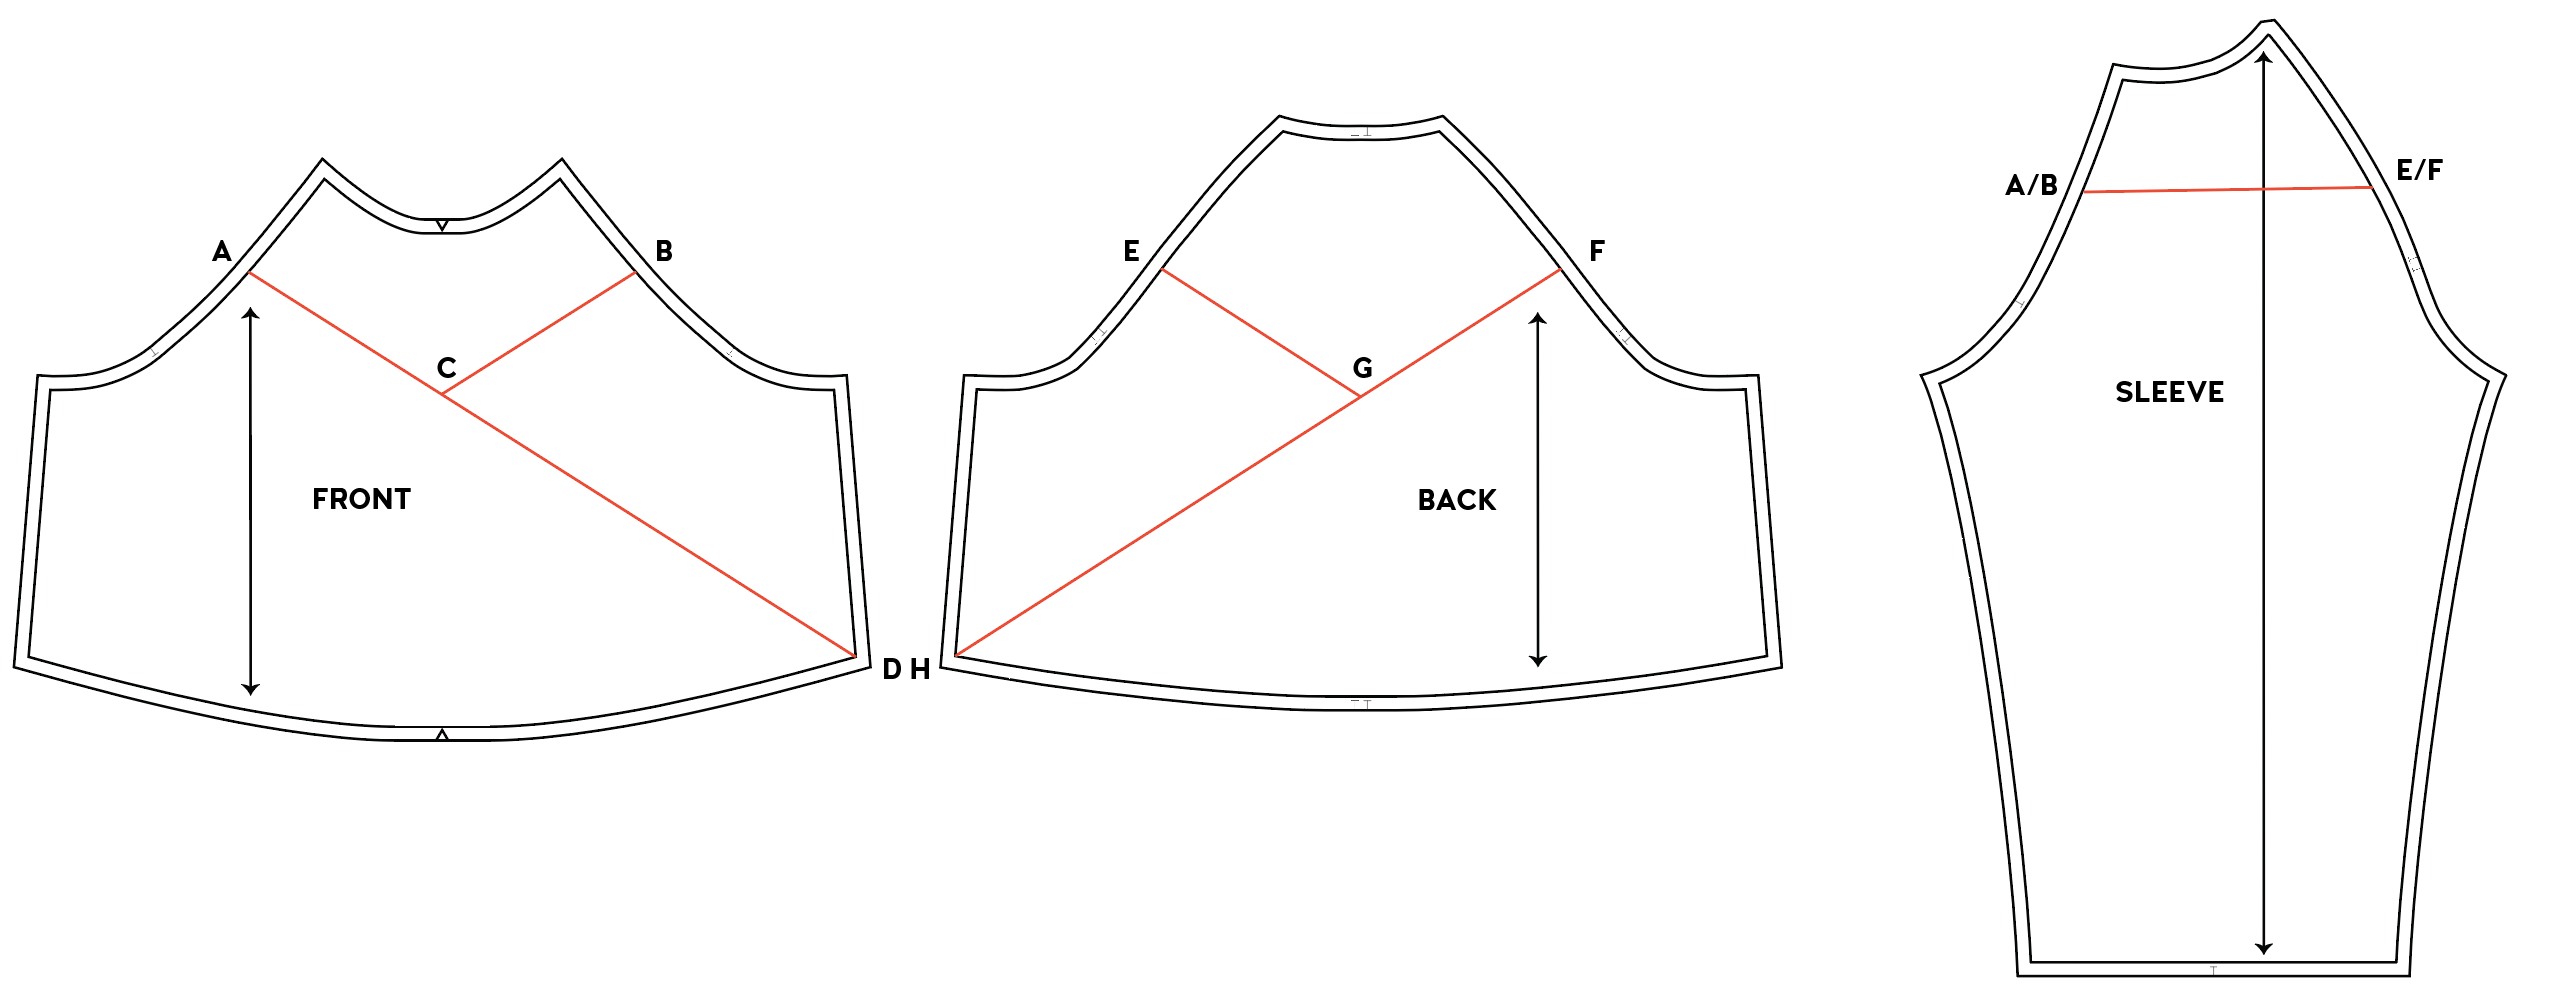
Then I started drawing in my lines while referring to my flat sketch. I made sure that A & B and E & F points on the front and back bodice pieces were parallel to meet at the same point on the front and back of the sleeve. When adding lines on the sleeve, make sure to measure check the length of the sewing lines to match the bodices pieces. Points C and G are centered on the bodice pieces. Points D & H meet at the hem corner.
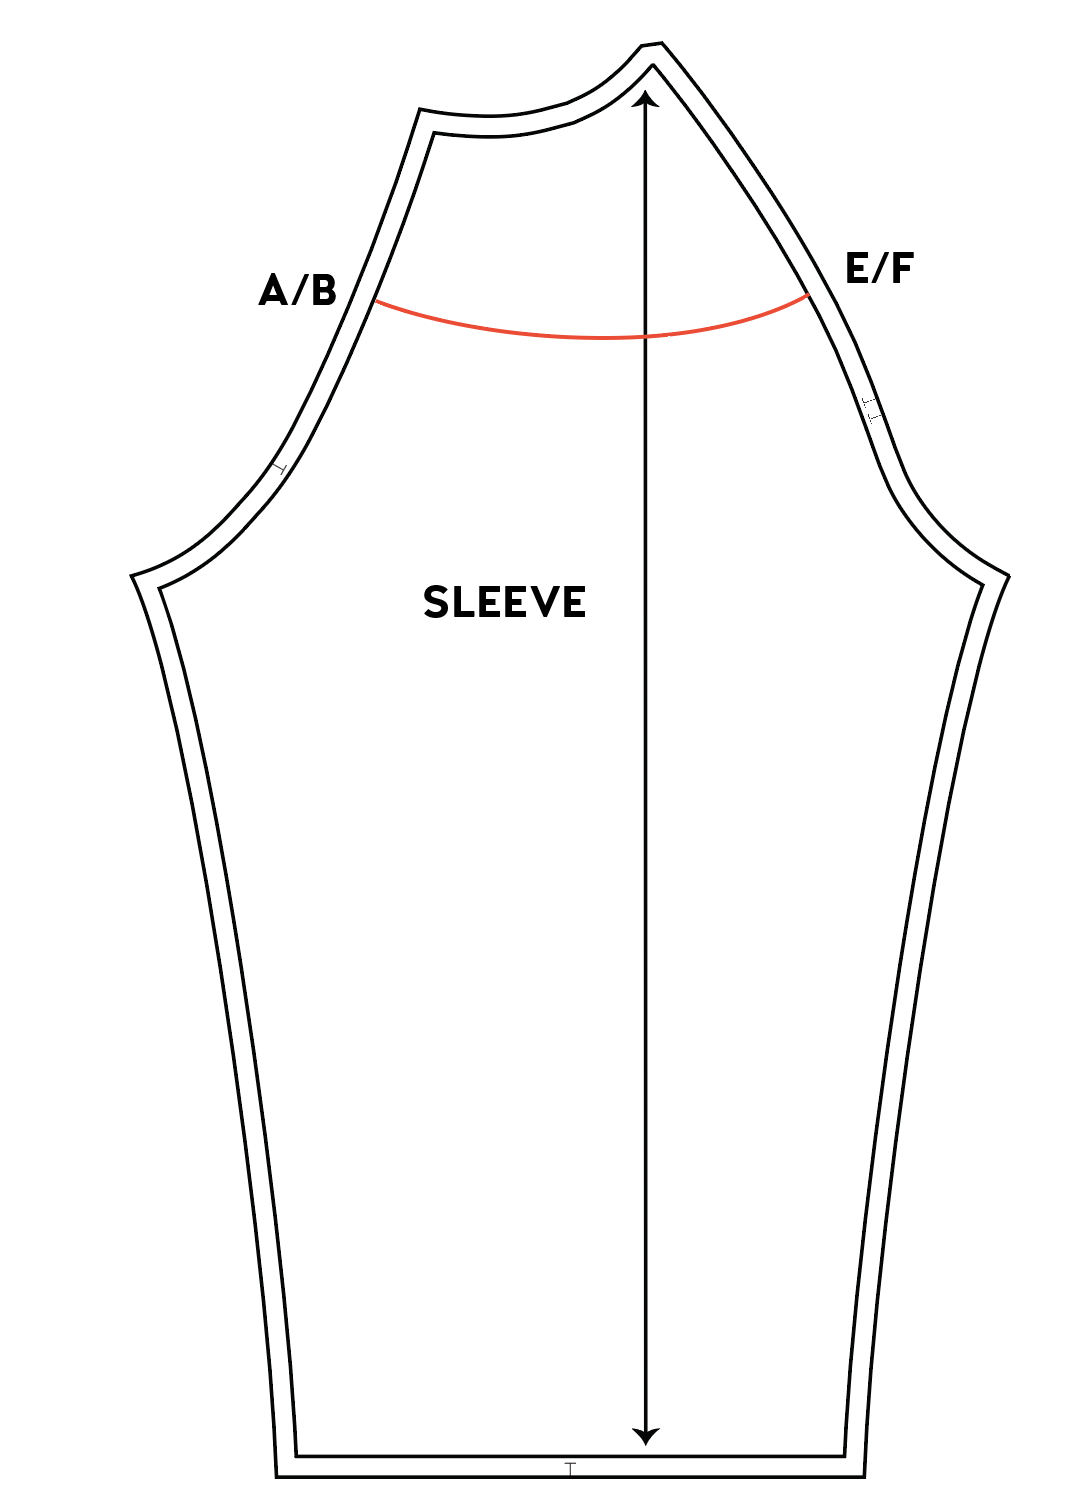
If I were to make this again, I would have added a curve to the sleeve seam. In my photos, you can see that the angle would have looked better if I made this adjustment.
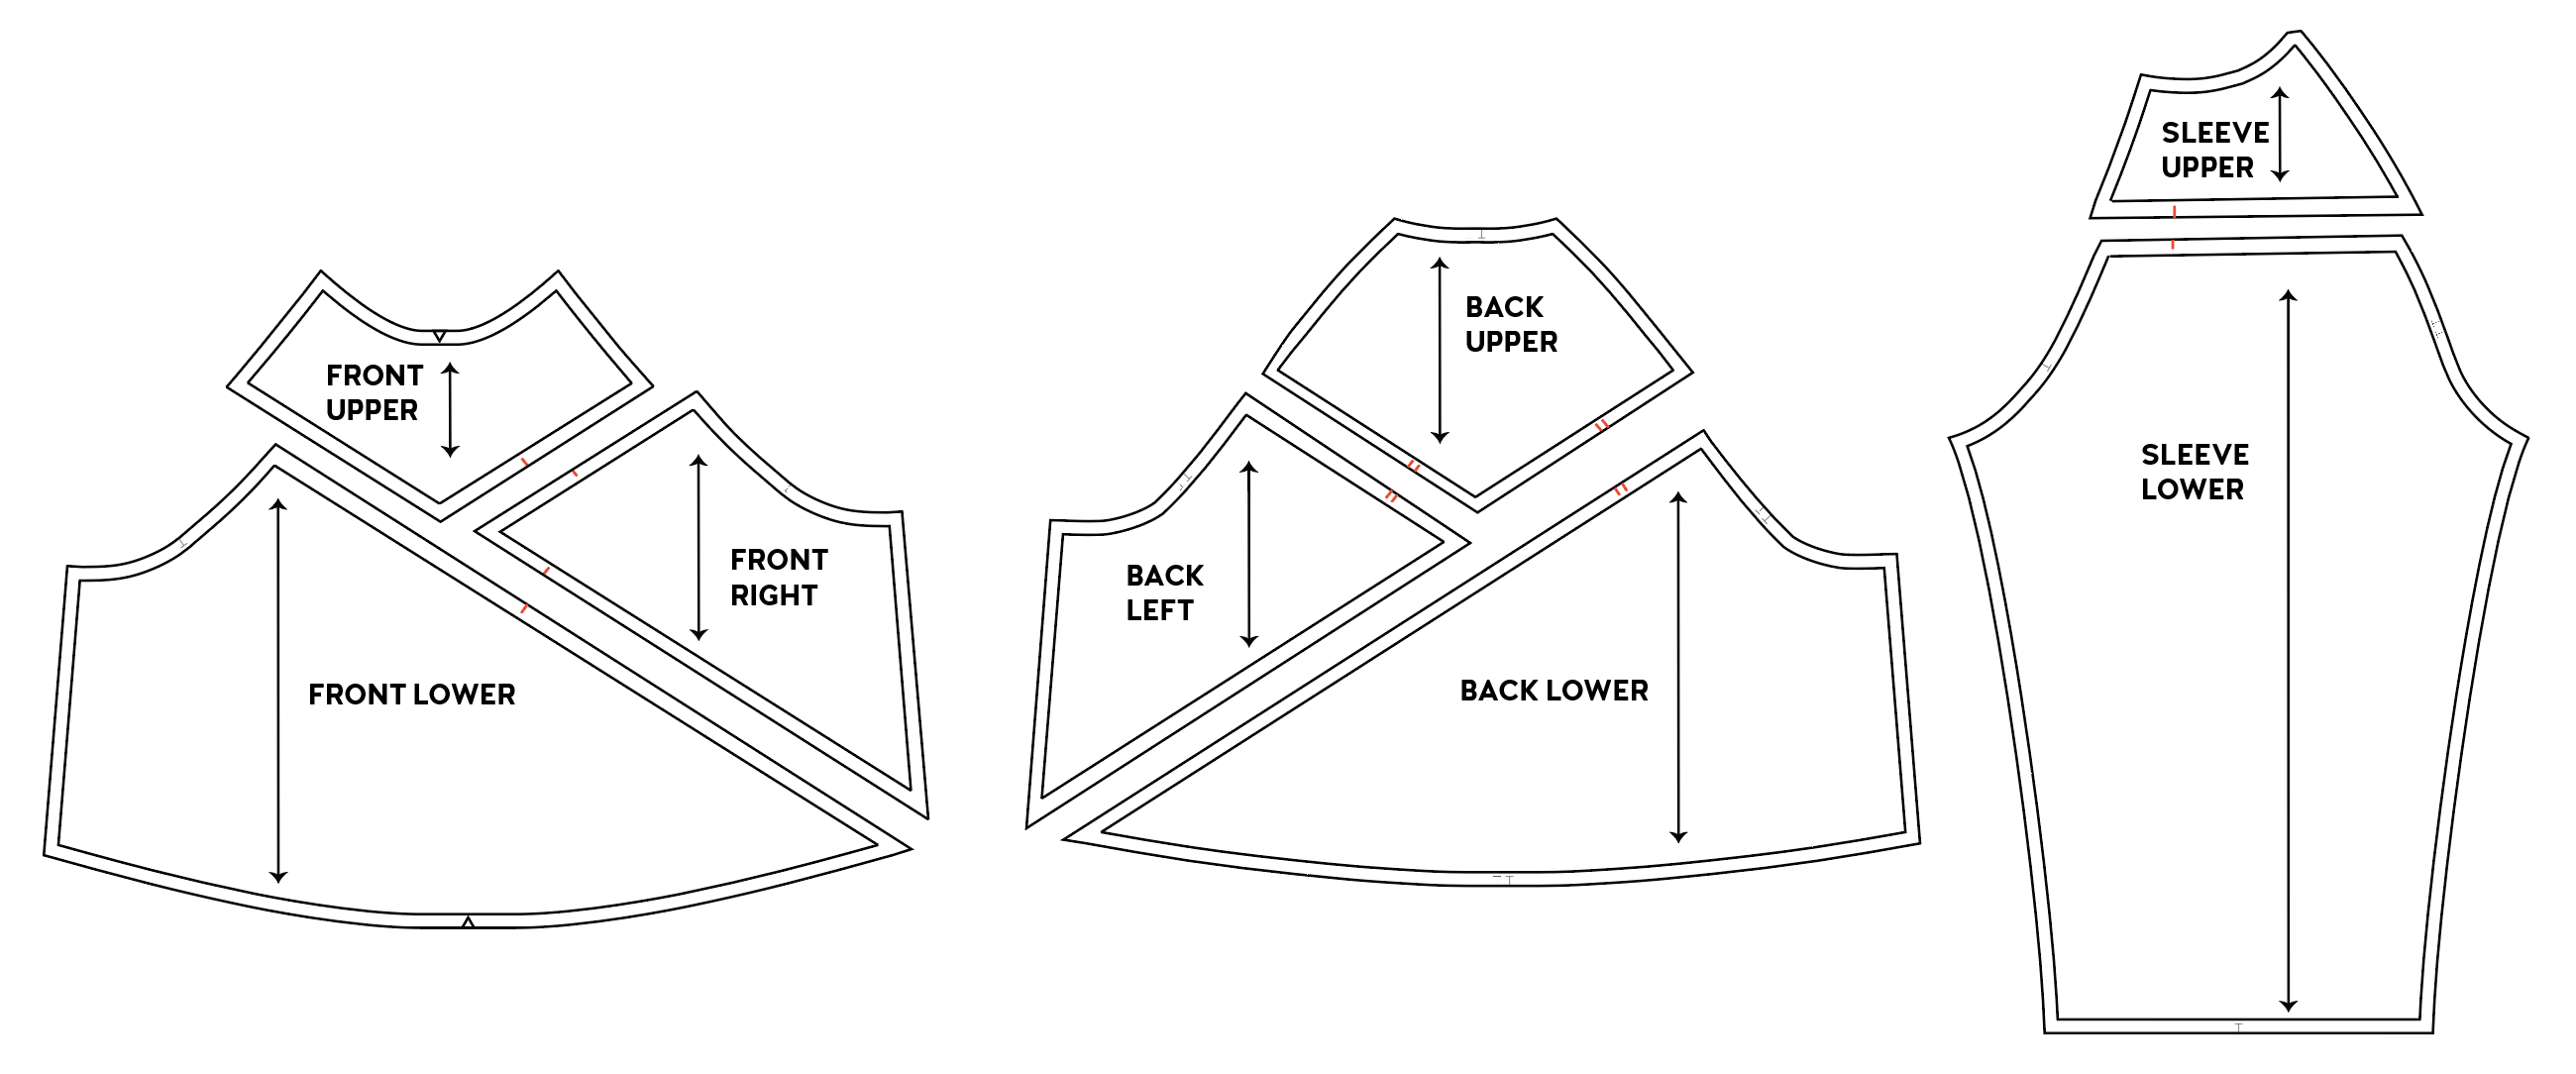
Now it’s time to add notches and more grainlines. Add a line that crosses both pattern pieces, which will eventually be cut up. I like to add single notches to my front pattern pieces and double notches to my back pattern pieces. Now is a good time to add a grainline to each pattern piece.
Separate the pattern pieces, add back the seam allowance, and label all of your pieces. I added a 3/8″ (1 cm) seam allowance since that’s what the Page (and most C+N patterns) calls for, but if you are using a different pattern with a different seam allowance, feel free to add the same seam allowance as your pattern. Don’t forget to extend your notches to the pattern cut line and make sure the notch depth does not exceed the seam allowance. Label your pattern pieces since it might be hard to remember what’s what once your pattern is all cut apart.
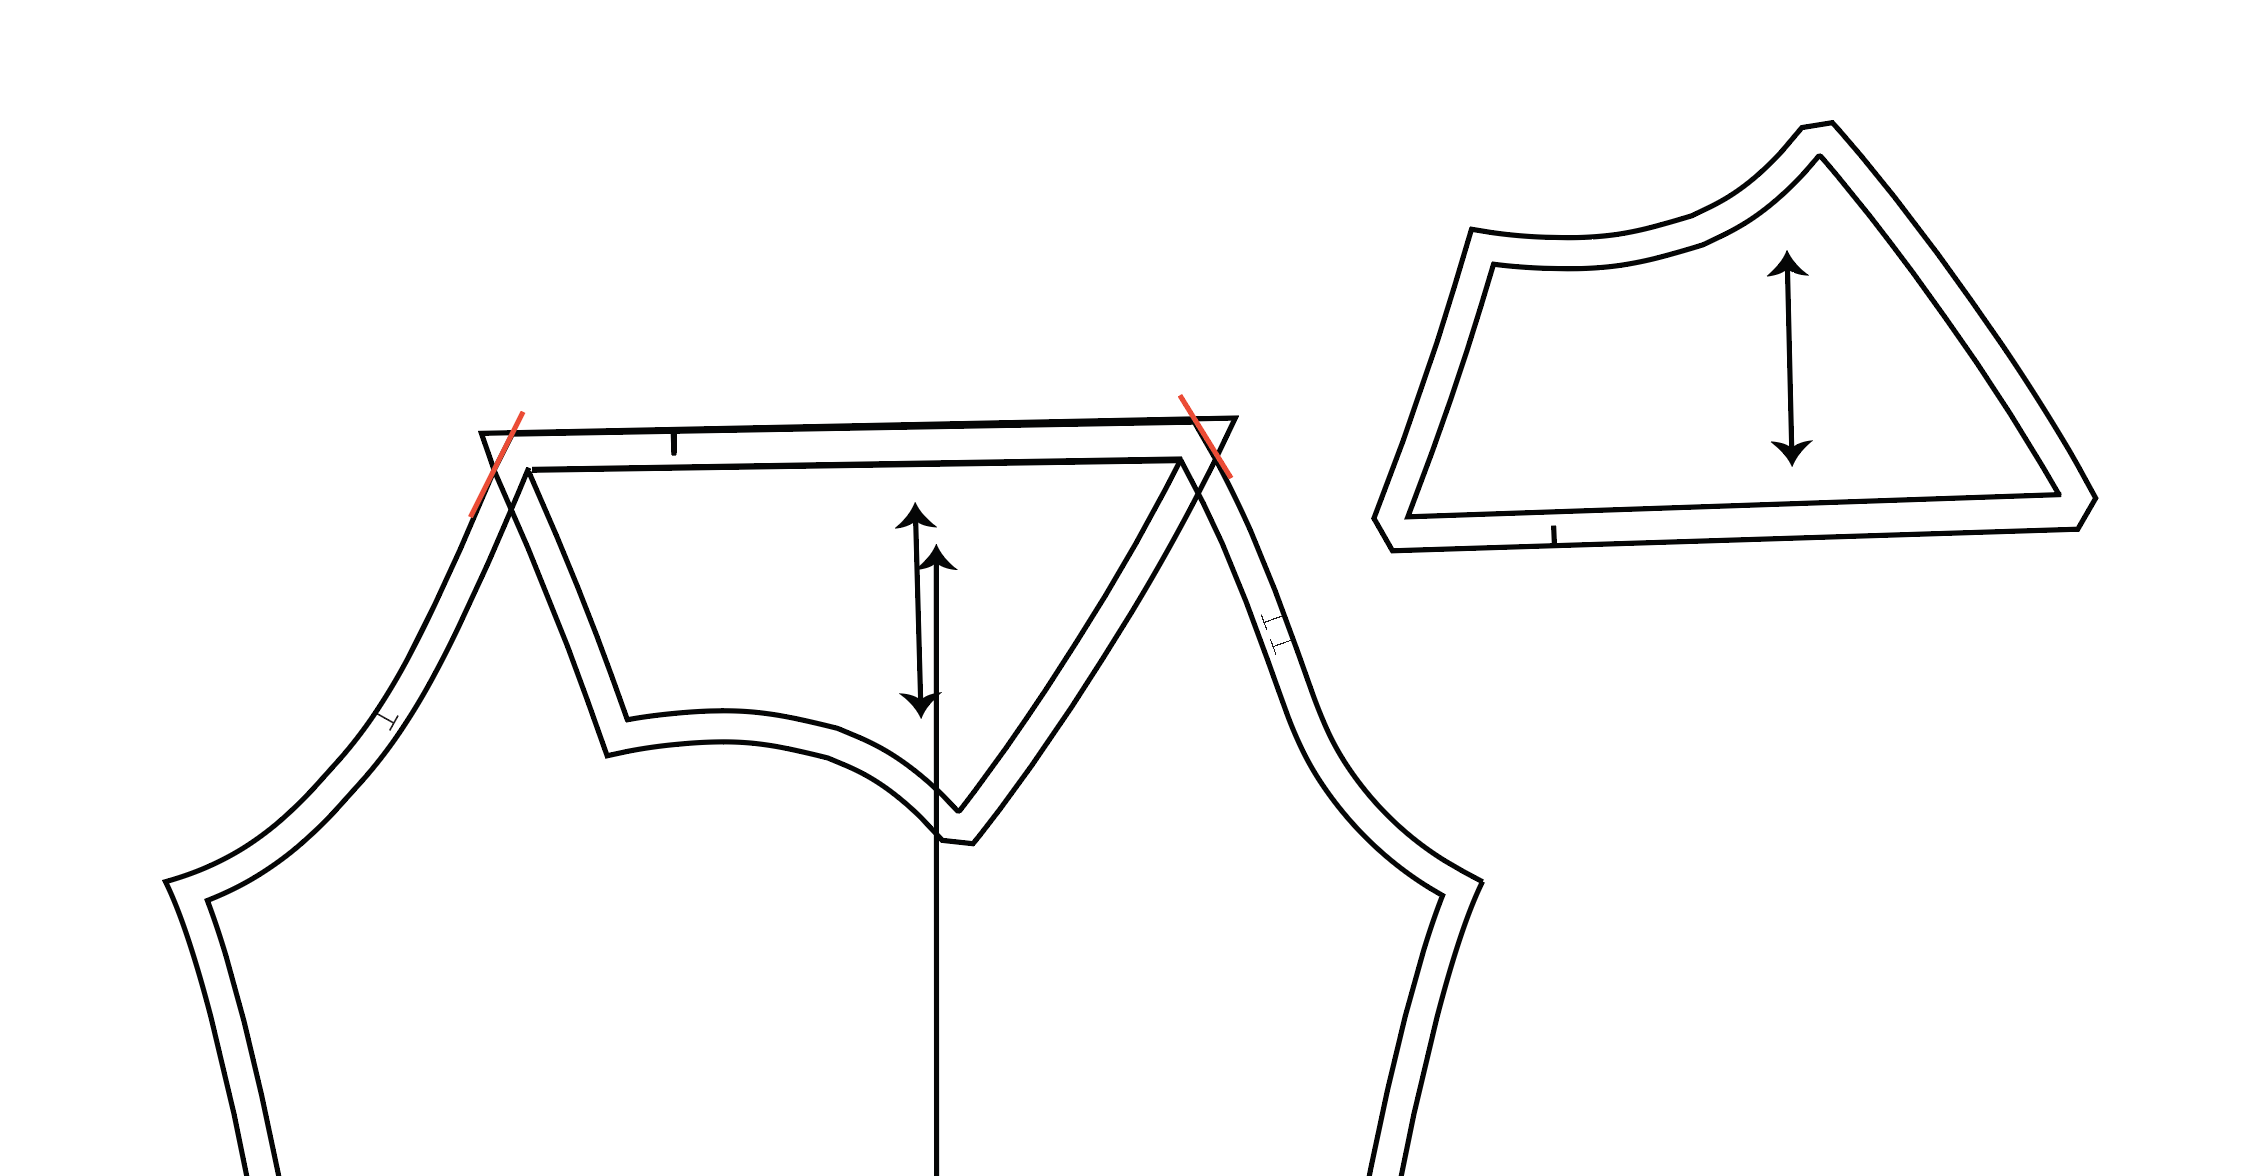
You can also “true” up any seams by placing them right sides together and trimming the edges. As long as you add in notches, you can match those, and it won’t matter if the corners line up.
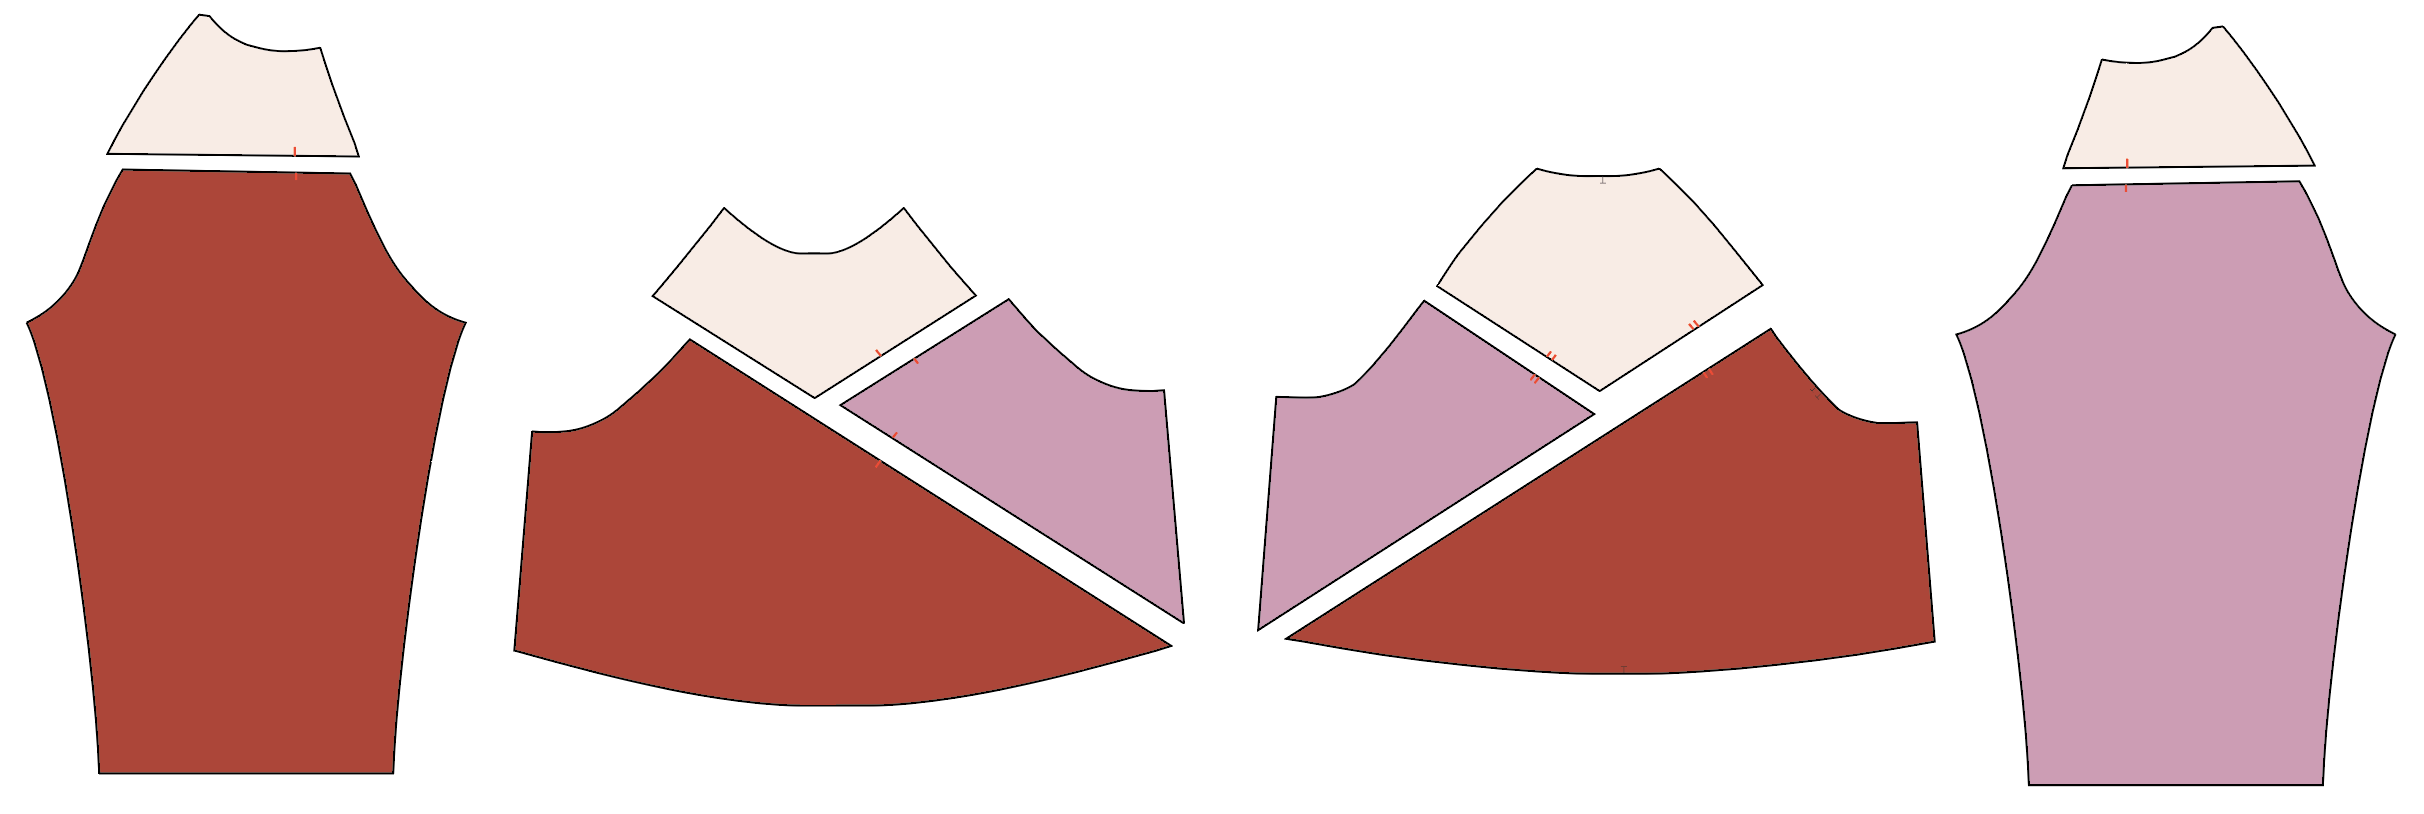
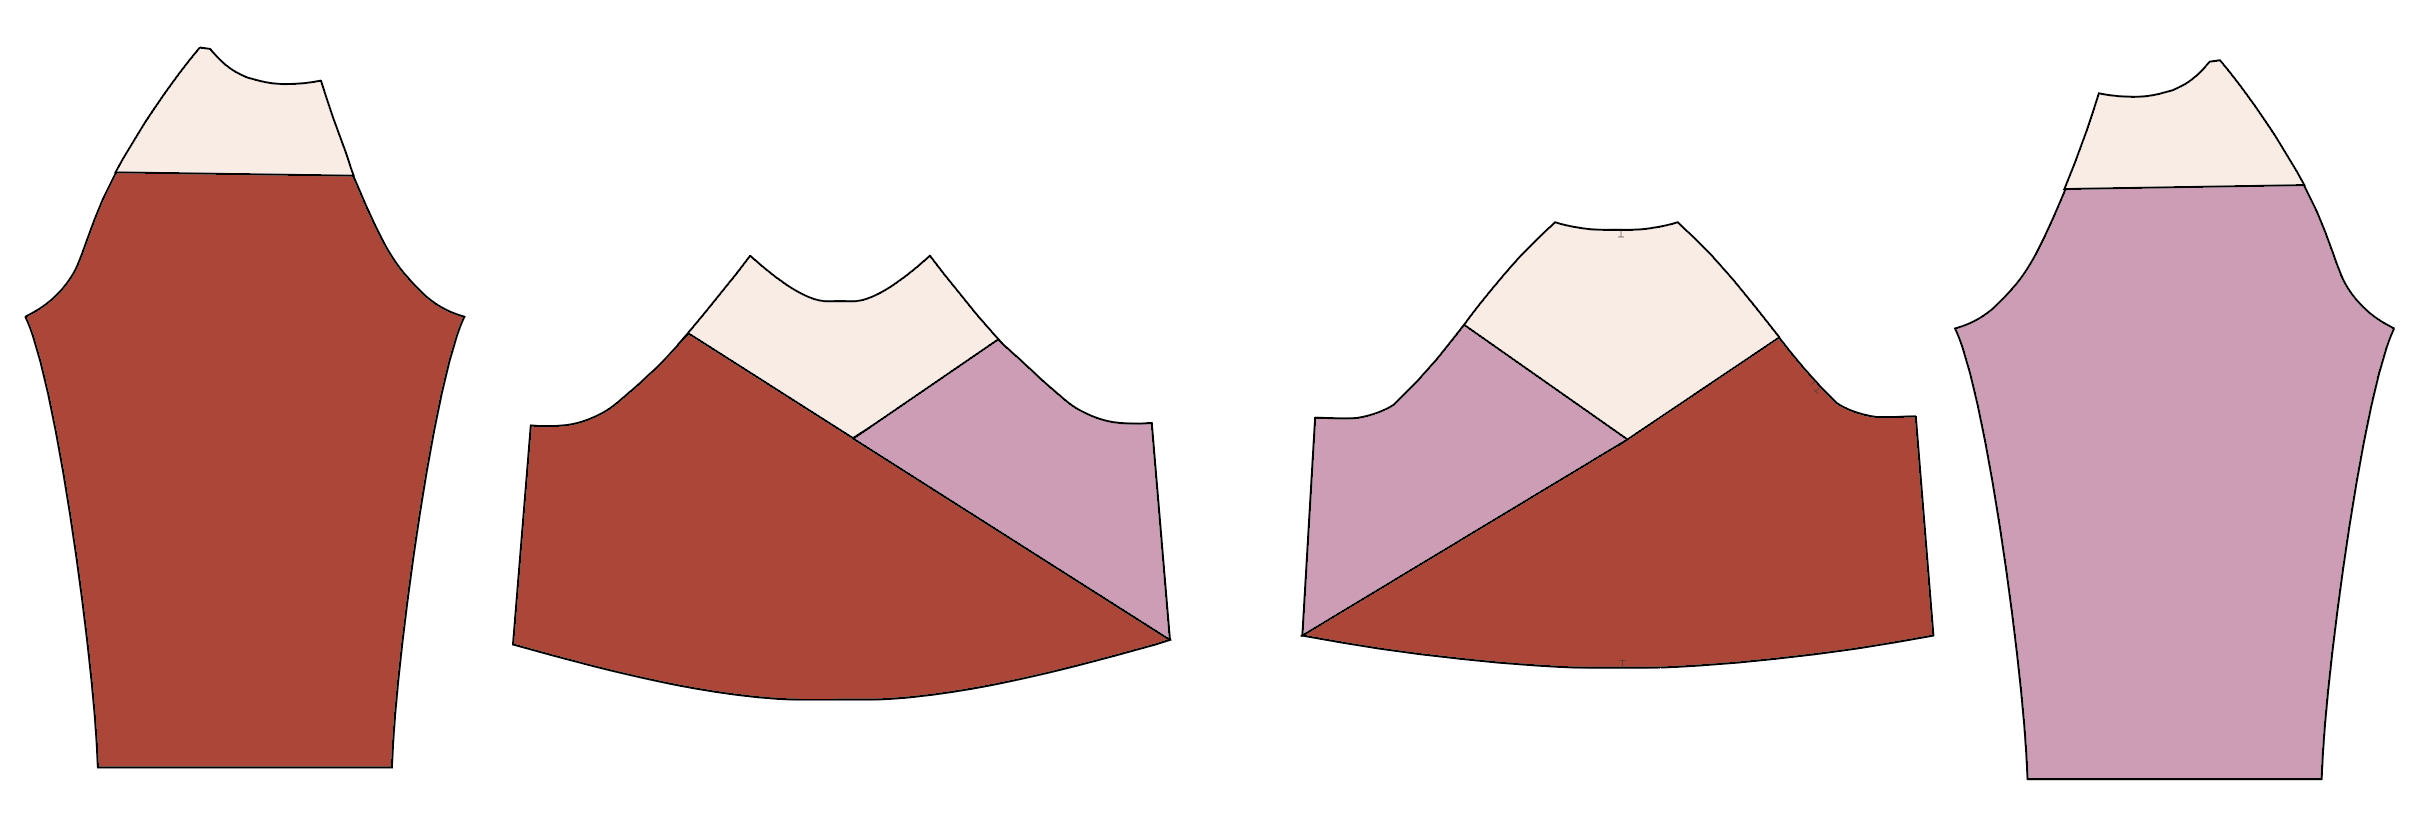
This is what all of my pattern pieces looked like (other than the cuffs, hem bands, and collar pieces) once I cut everything out.
Construction Adjustments
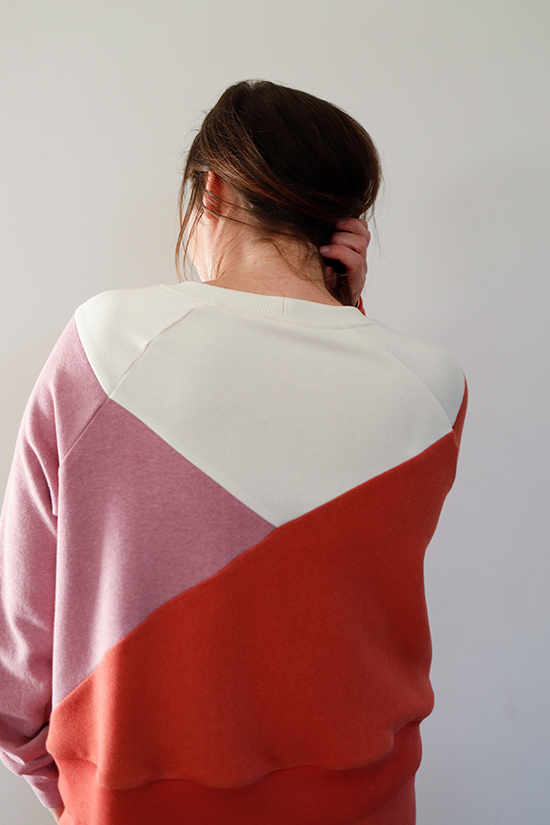
Now it’s time to get these pieces sewn back together (always sewing right sides together). It helps to sew the bodice upper and side pieces first so that you don’t have to sew a “v” corner at the center front and center back panels. This way you can piece the color-blocked pieces back together with straight seams.
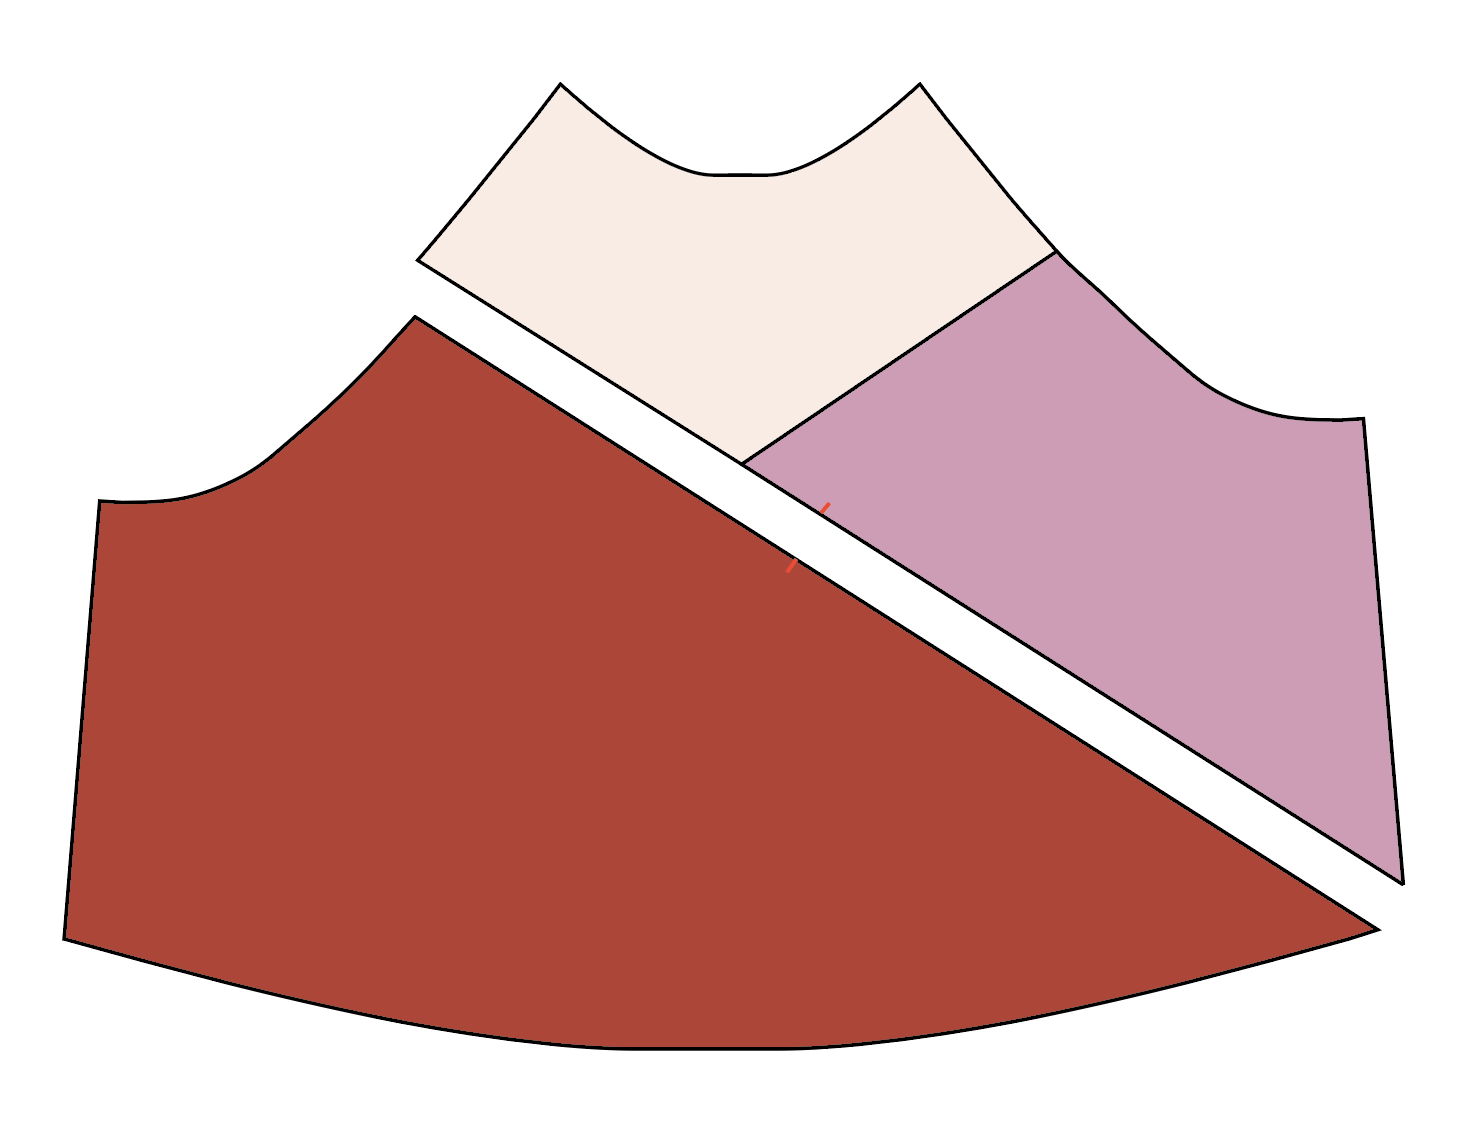
Once you have all of the color-blocked pieces sewn together, you can refer to the full sewing tutorial.
The Final Look
I hope this helped make color-blocking seem pretty straightforward and that you are excited to try it. If you have any other questions, please let me know! Make sure to tag @chalkandnotch and your makes so we can see when you use this tutorial! Happy Sewing!

