SEAM ALLOWANCE & MARKINGS
Unless noted, the seam allowance included is 3/8″ (1 cm) for joined seams. The side seams have a 3/4″ (2 cm) seam allowance to allow for the side seam lapped zipper. Transfer all notches, pleats, darts, and zipper placement on the wrong side of the fabric with chalk or fabric marker.
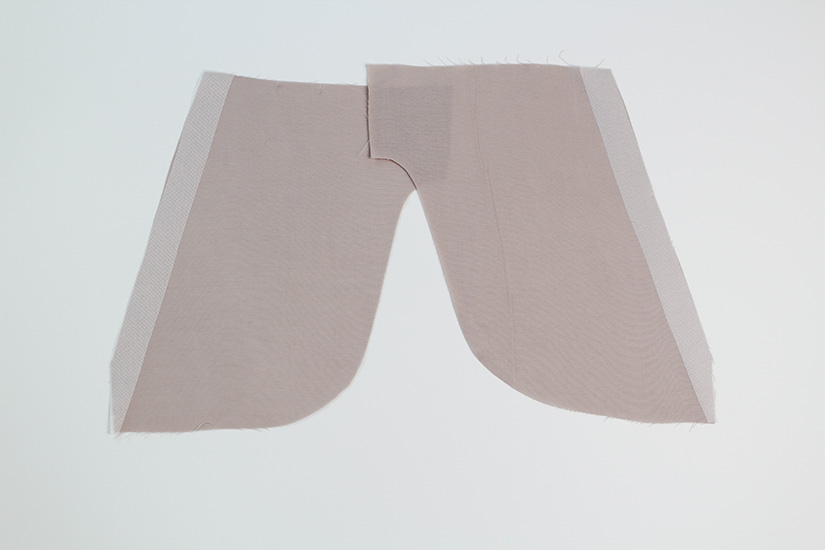
ADD FUSIBLE INTERFACING
Attach the fusible interfacing to the wrong side of the upper pocket lining.
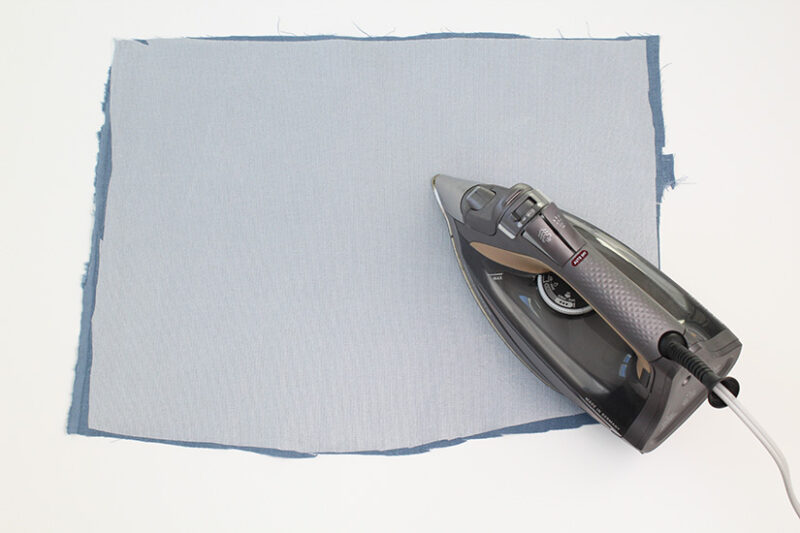
Block fuse a piece of fabric for the waistband and waistband facing pieces. For reference, the waistband facings have 1/8″ (0.6 cm) trimmed from the top edge and notches on the bottom edge. Tricot fusible interfacing is recommended but you can use any lightweight fusible interfacing. If your fusible is too thick, only add the fusible to one layer of the waistband (the waistband facing).
OPTIONAL BELT LOOPS
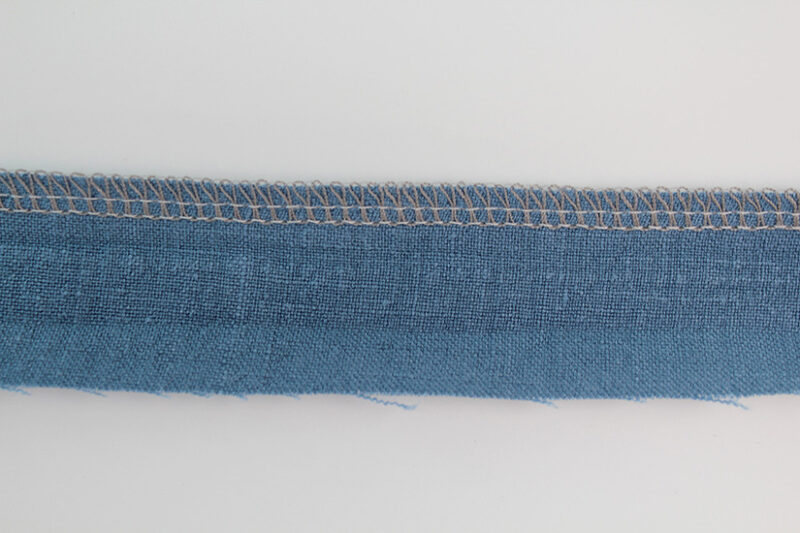
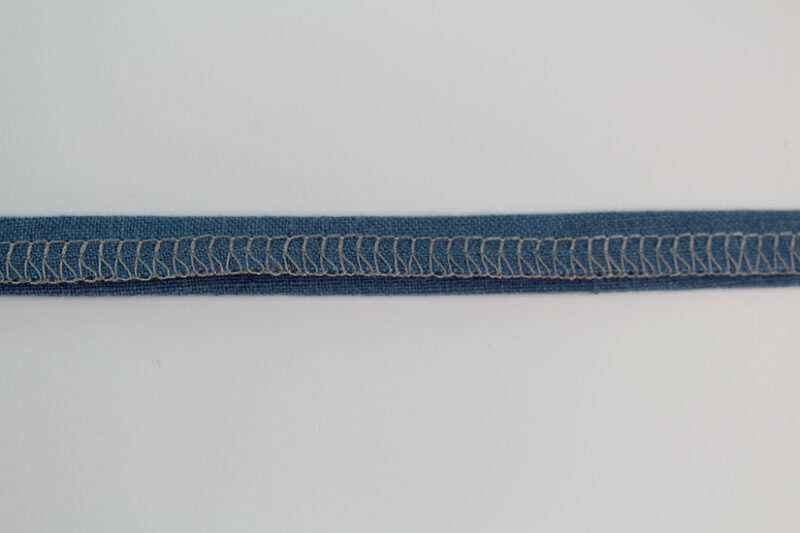
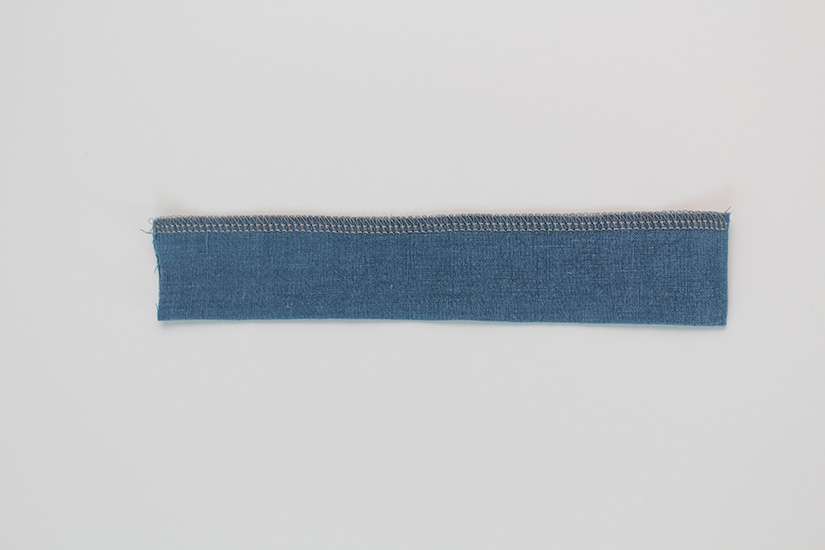
Finish one edge of the belt loops.
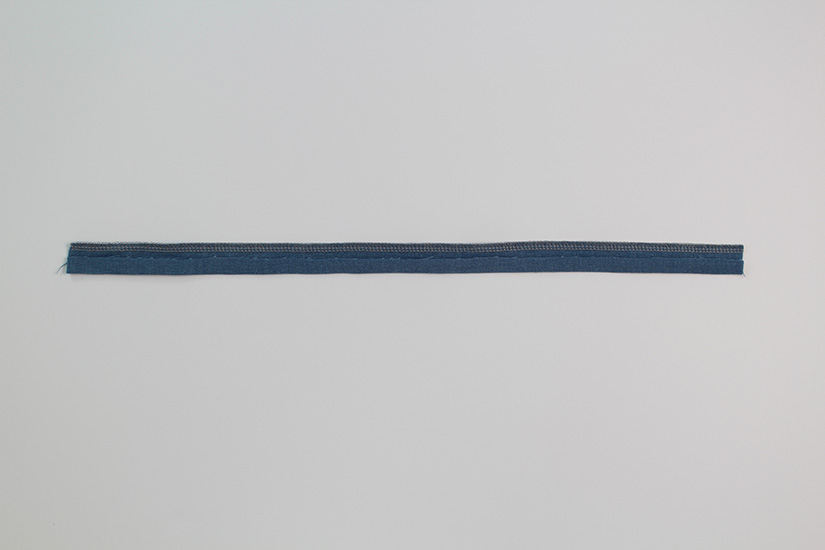
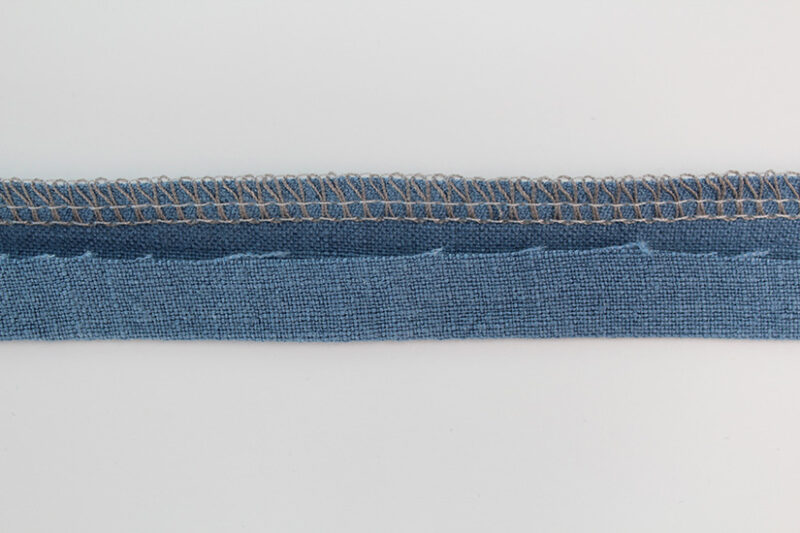
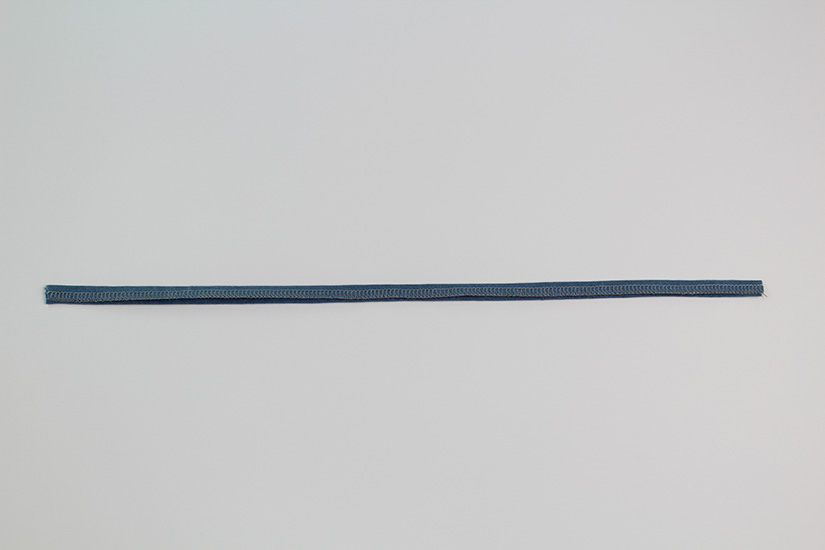
Fold the belt loops in thirds. First fold in the side with a raw edge in, wrong sides touching. Then fold in the finished edge to cover the raw edge. Press in place and then topstitch with two rows 1/4″ (0.6 cm) apart. Press.
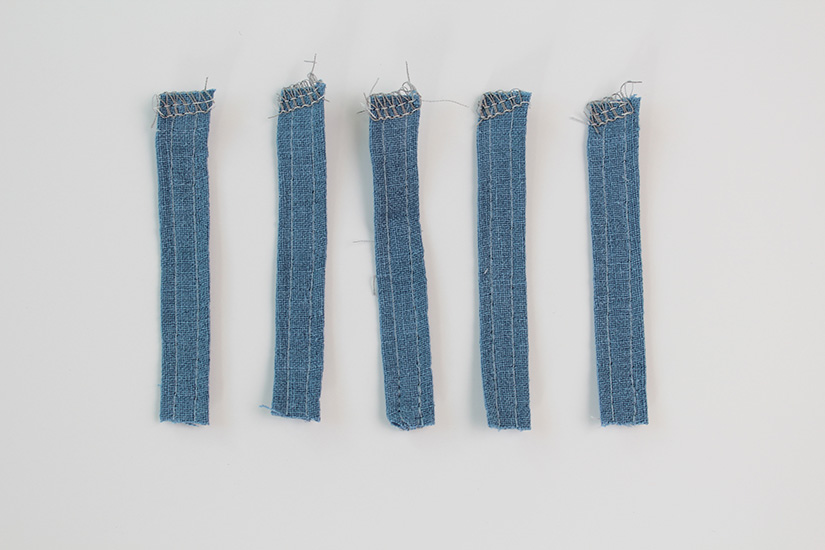
TRIM BELT LOOPS
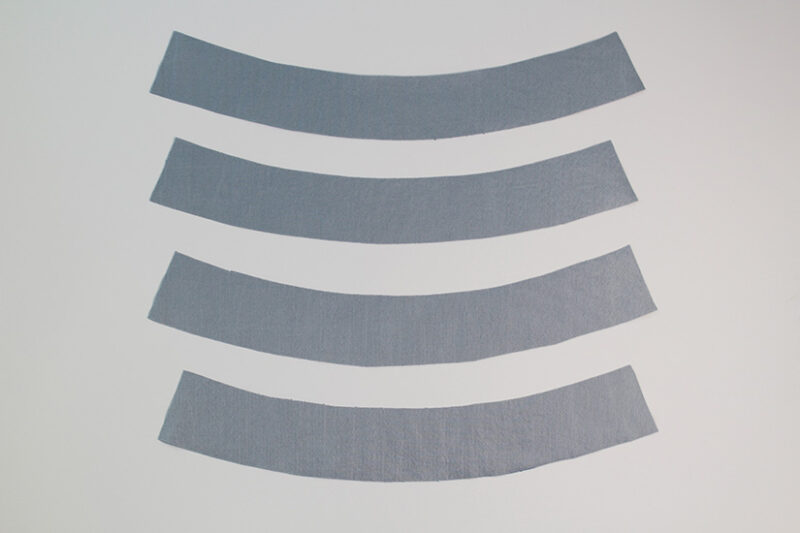
Cut the five belt loops in 3″ (7.5 cm) pieces. Finish one side of the cut edge. Set aside.
OPTIONAL BELT
With the right sides together, sew the center back seam and press open.

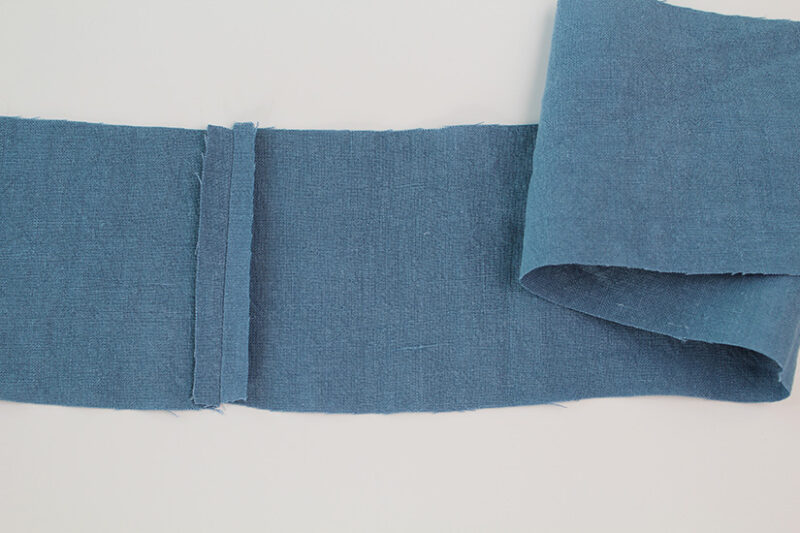
With right sides together, fold the belt in half lengthwise. Pin.
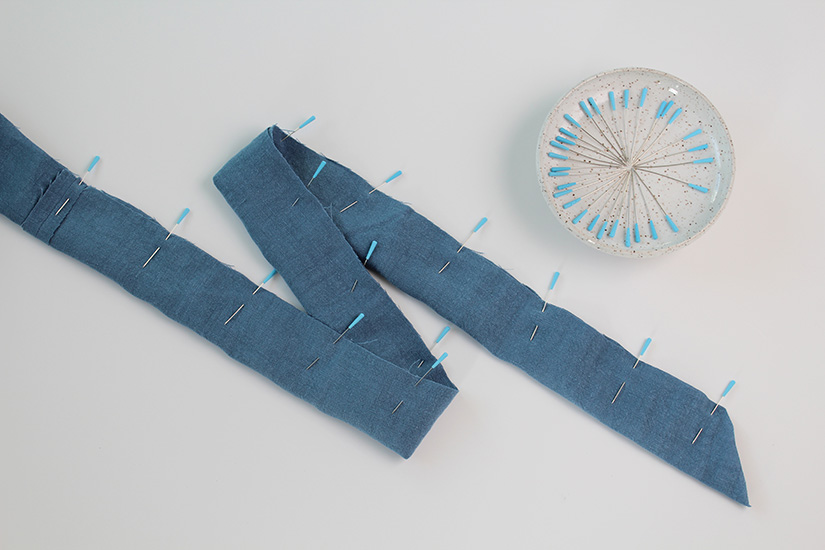
Reduce the stitch length to get a sharp corner. Stitch around 3 sides, leaving a 4″ opening. Trim the corners and seam allowance to 1/4″ (0.6 cm).
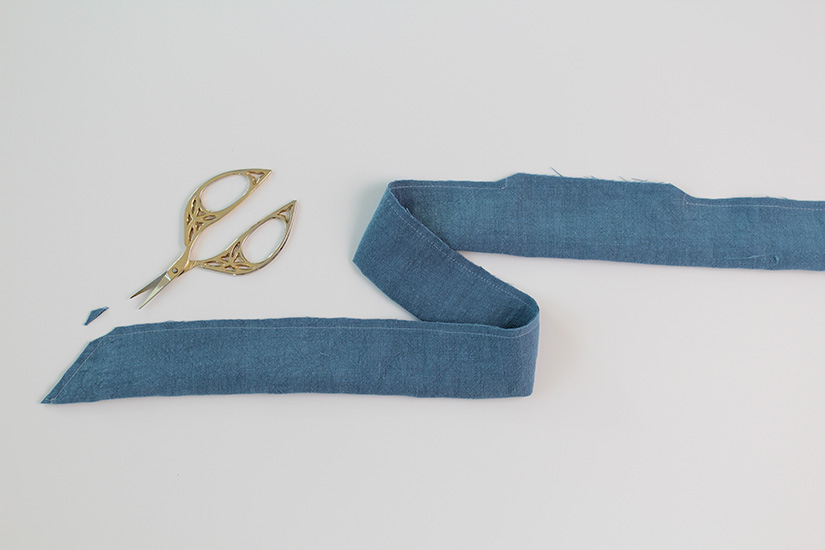
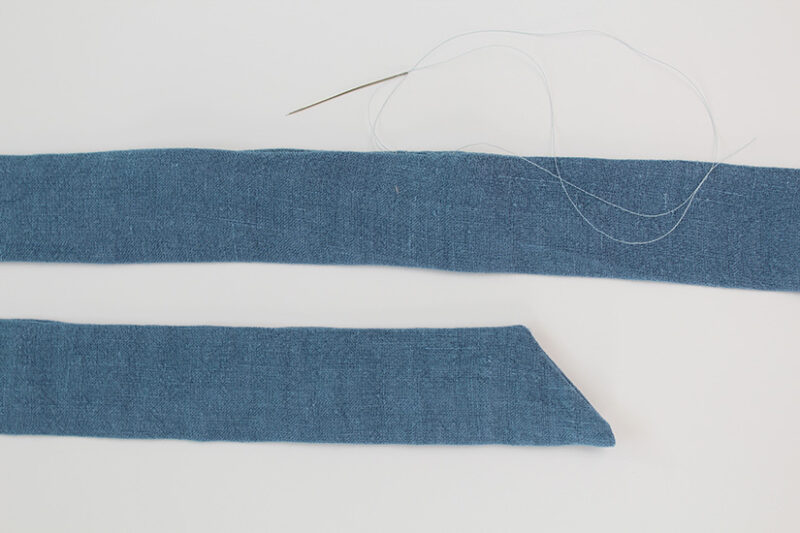
Turn right side out and press, making sure the corner angles are sharp. Edgestitch the opening closed by hand or machine. Set aside.

OPTIONAL ZIPPER SHIELD
With the right sides together, fold the zipper shield lengthwise. Sew the bottom short end.
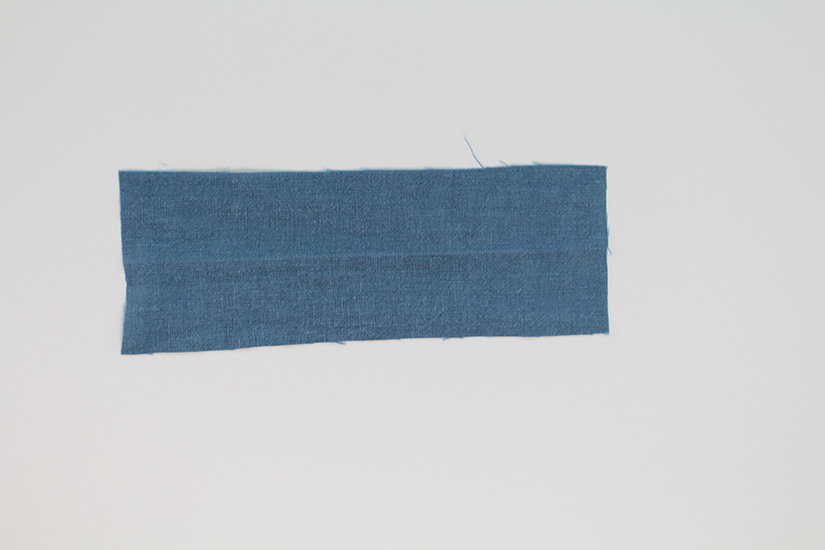
Trim the corner, turn right side out and finish the raw edge. Set aside.
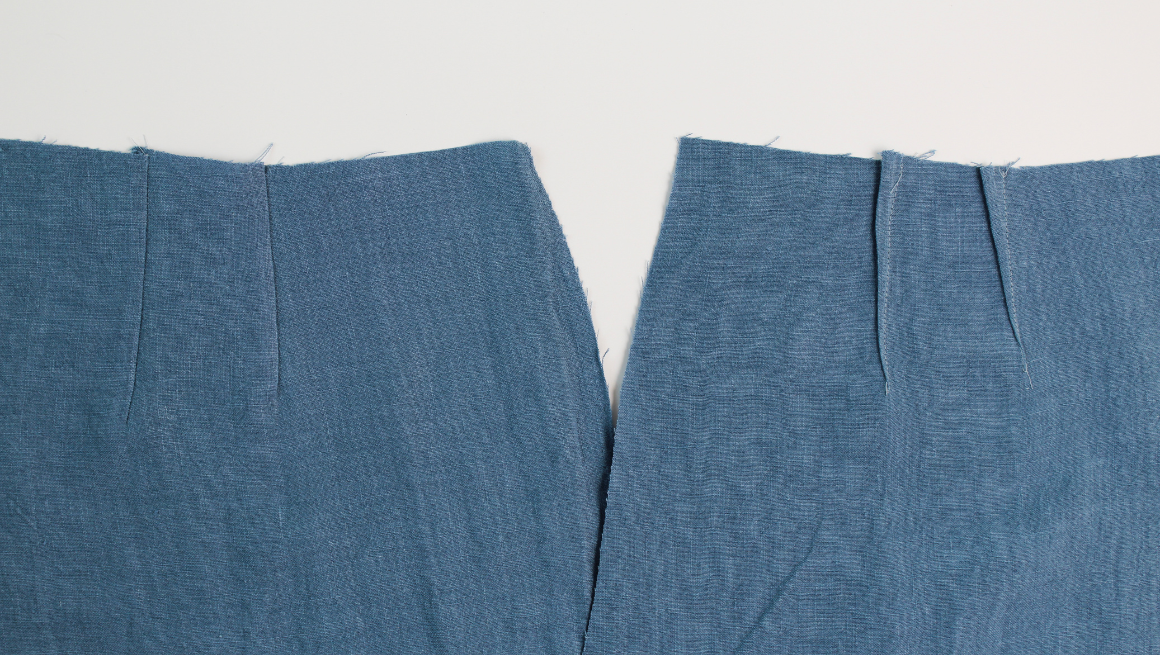
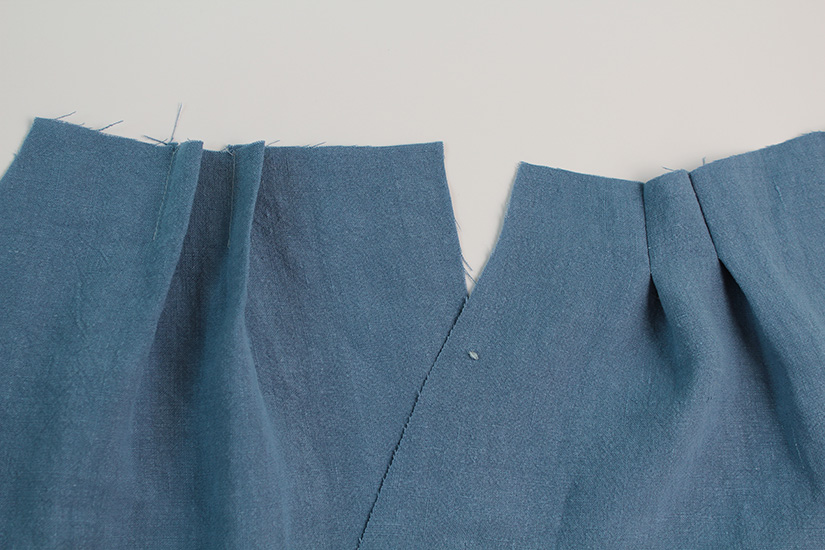
SEW PLEATS
There are two pleats on each front piece (4 pleats total). The pleats are inverted pleats. With right sides together, stitch on the wrong side of the fabric from the top down 1.5″ ( 4 cm). When sewing the pleats, make sure to back stitch at the ends and make them all the same length.
Press pleats with equal parts of the fabric on either side of the pleat.
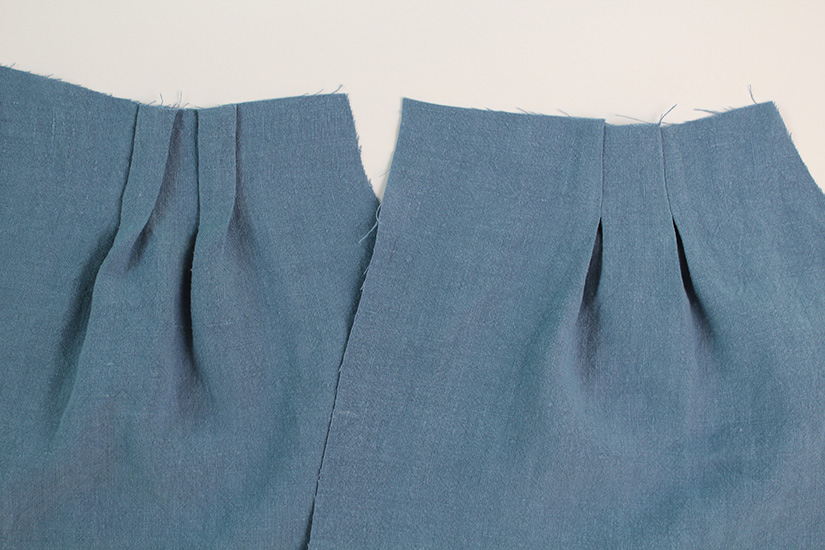
Optional step: You can secure your pleat in place by stitching a line 1/4″ (0.6 cm) away from the top edge.
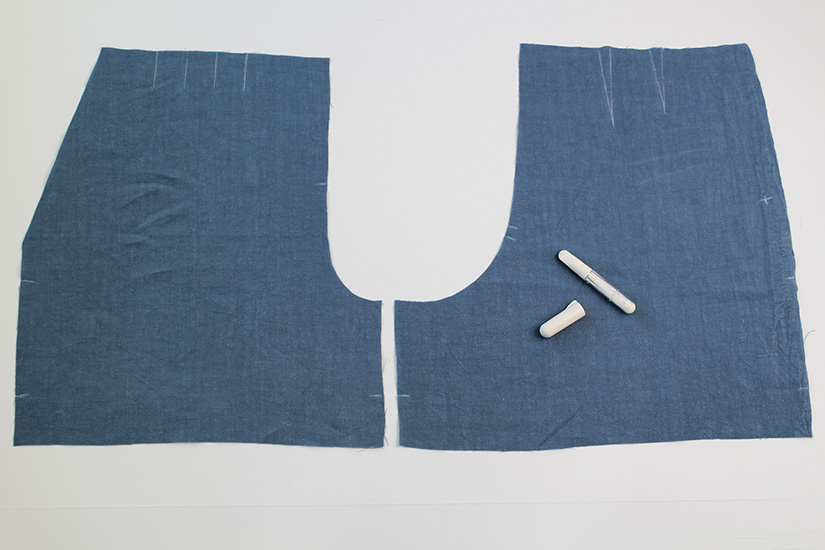
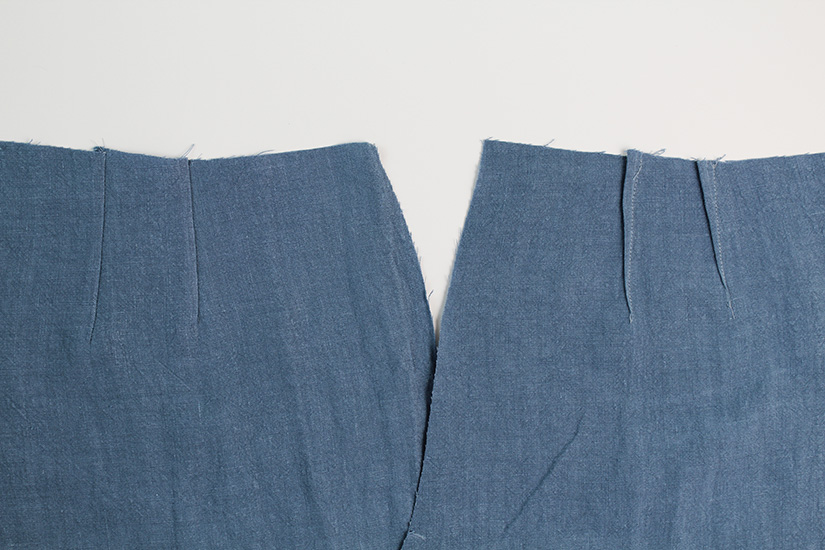
SEW DARTS
There are two darts on each back piece (4 darts total). Sew the back darts and press them towards the center back. If you’d like more tips on sewing darts, check out our How to Sew Darts blog post here.
Crew Sew Along Posts | Getting Started | Interfacing, Pleats, and Darts | Prepare Pockets | Sew Zipper and Side Seams | Sew Inseam and Rise | Waistband | Hem and Finishing

