
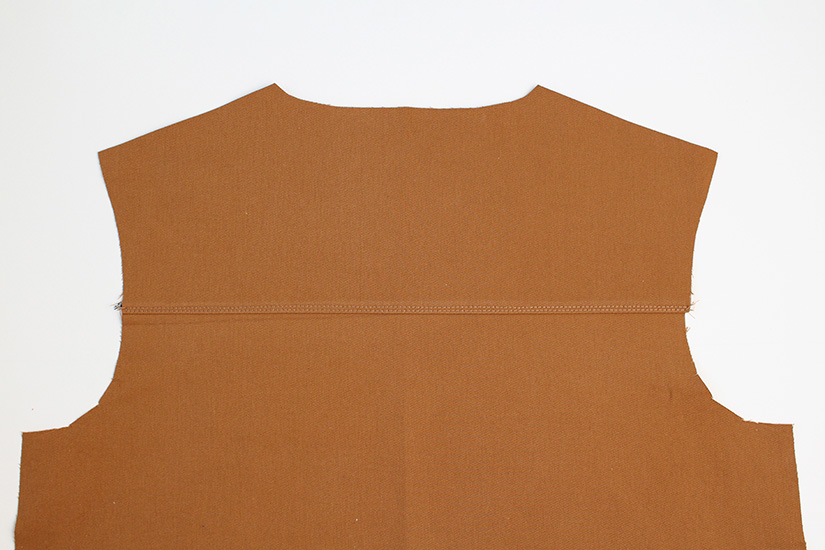
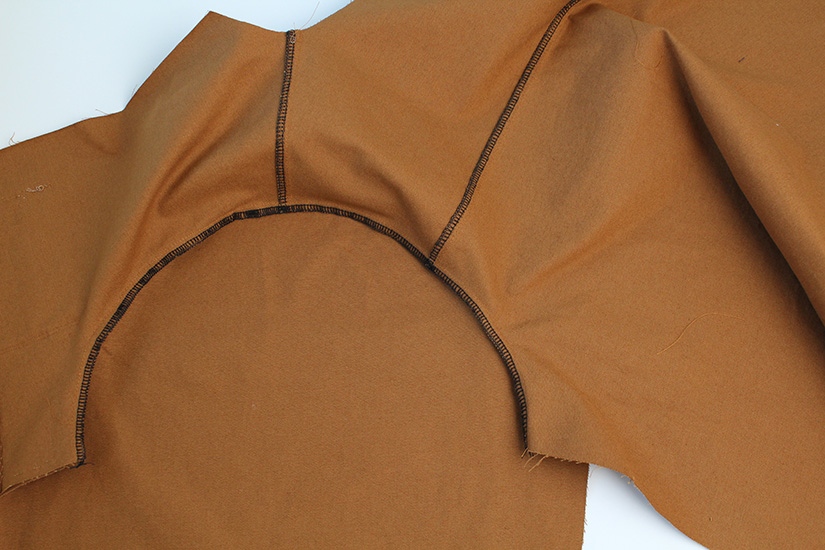
SEW THE BACK YOKE TO THE BACK
With the right sides together, pin and sew the back yoke to the back.
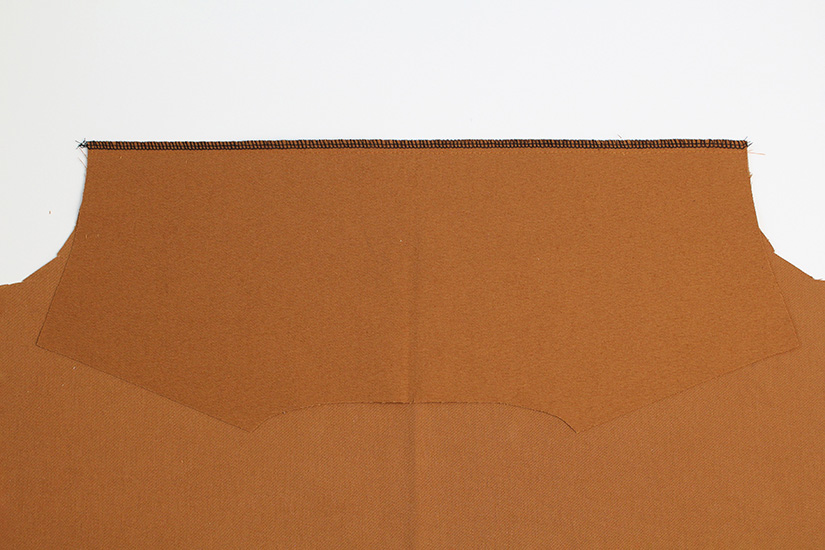
Finish and press the seams up. Optional: Topstitch the seam at 1/4″ (0.6 cm) from the seam edge.
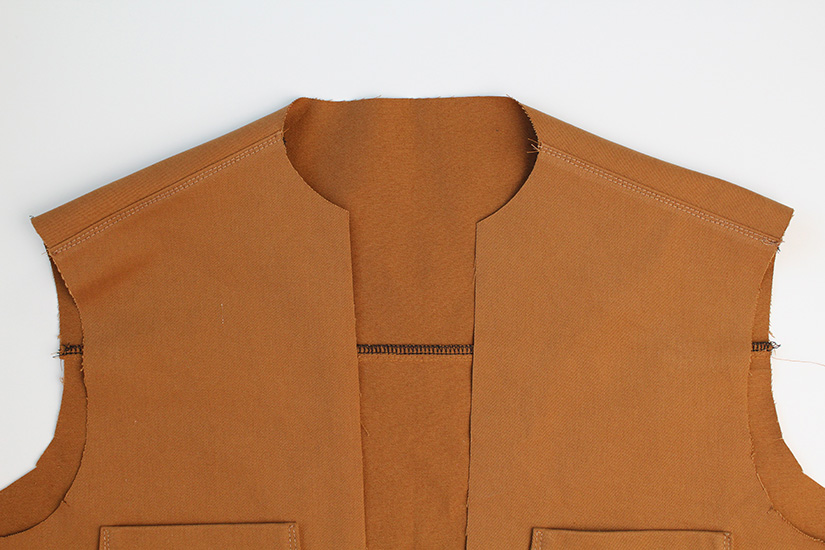
SEW THE SHOULDER SEAMS
With the right sides together, sew the front and back together at the shoulder seams.
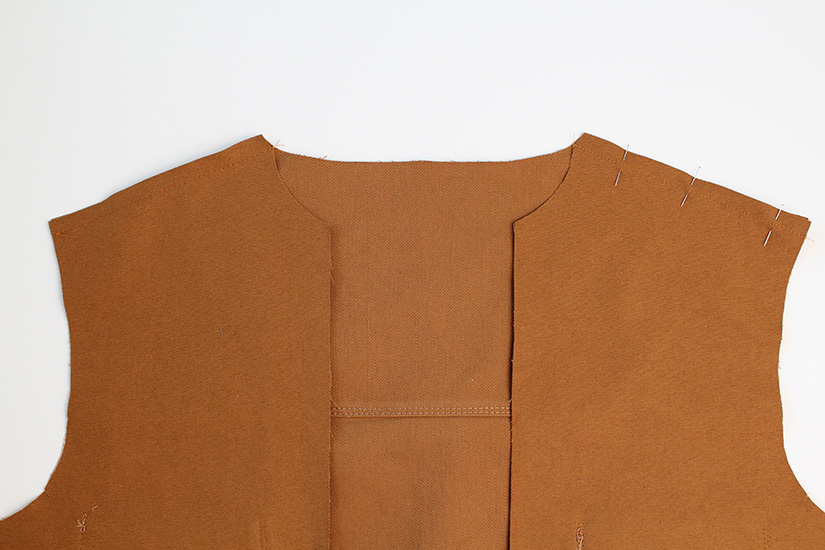
Finish and press the seams to the front. Optional: Topstitch the seam at 1/4″ (0.6 cm) from the seam edge.
SEW THE UPPER SLEEVES TO THE LOWER SLEEVES
With the right sides together, pin and sew the upper sleeves to the lower sleeves.
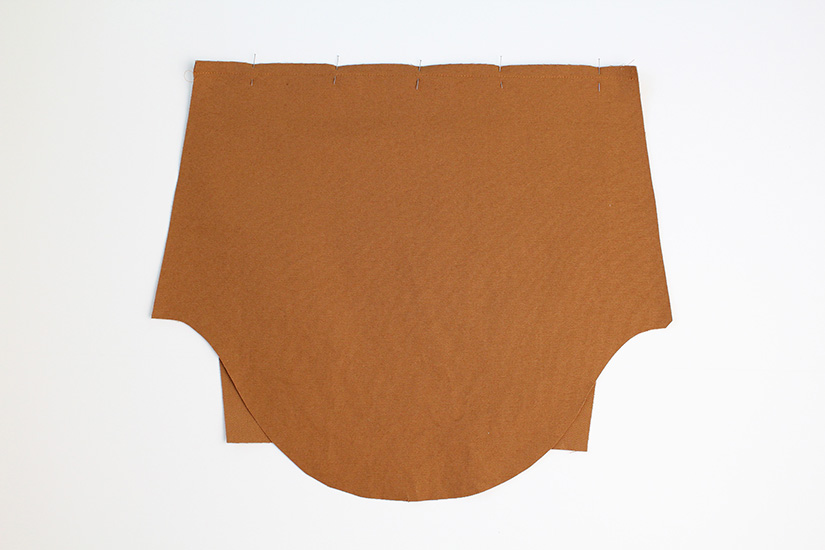
Finish the seam and press the seams up. Optional: Topstitch the seam at 1/4″ (0.6 cm) from the seam edge.
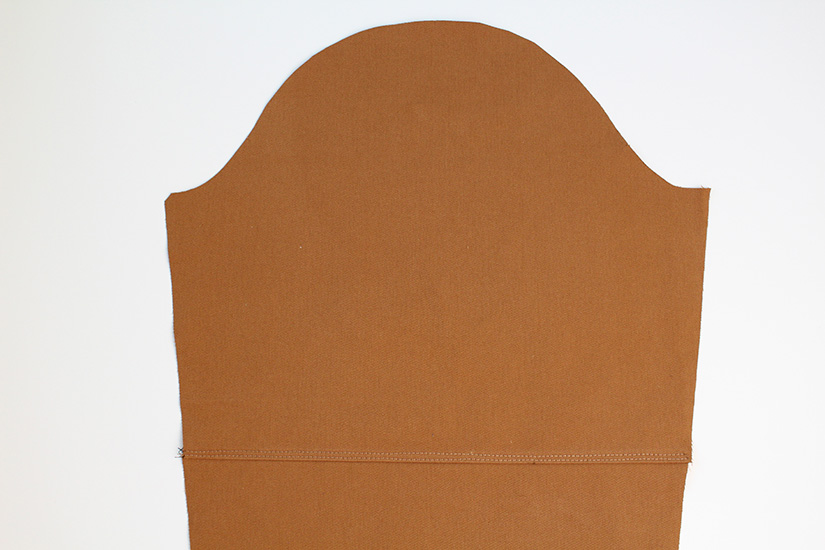
PREP THE SLEEVE CAP
To prep the sleeve cap, change your stitch length to the longes possible length. Sew two parallel baste stitch lines at the cap between the notches. Maker sure not to backstitch at the beginning or end of your stitch lines and leave long ends to your threads.
- The first line is 1/4″ (0.6 cm) away from the fabric edge.
- The second line is 1/2″ (1.25 cm) away from the fabric edge.

Pull the bobbin threads to slightly gather the sleeve cap. This will help you set the sleeves.
ATTACH THE SLEEVES
With the right sides together, pin the sleeve to the armhole, matching the notches.
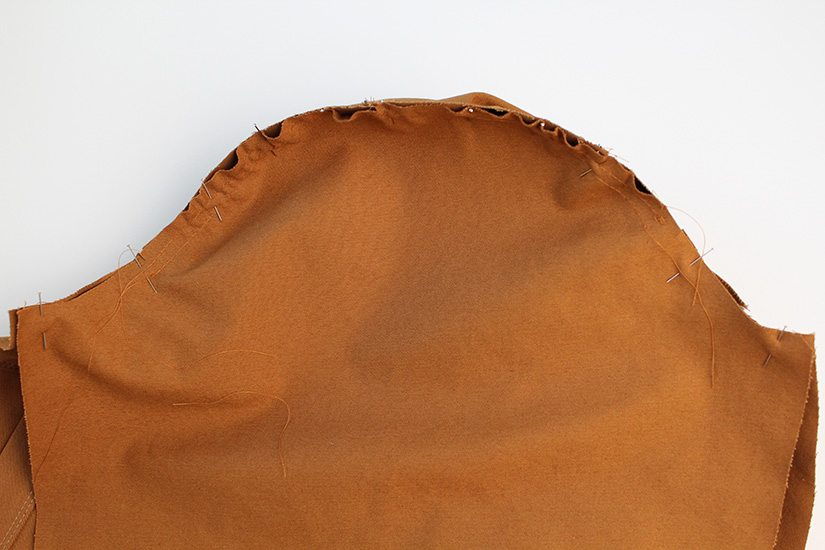
Sew the sleeve to the bodice.
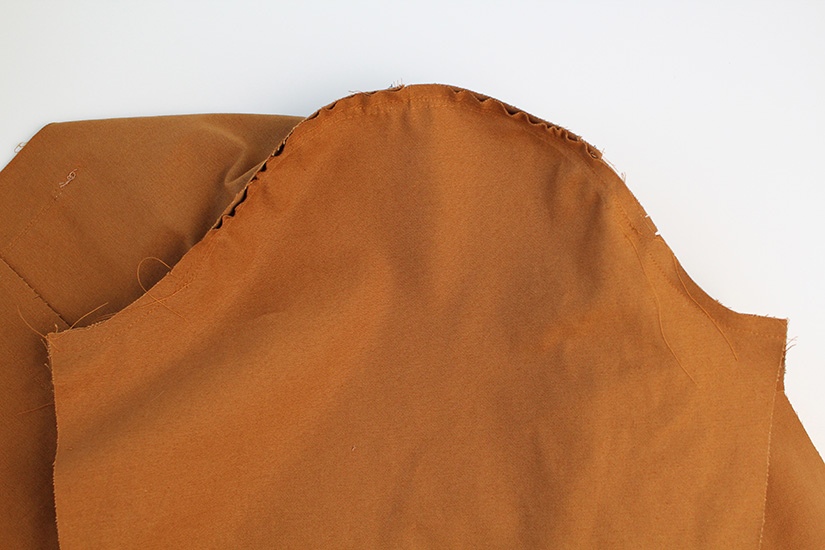
Finish the seam, remove any visible basting stitches and press the seam towards the sleeve.
Optional: topstitch the seam at 1/4″ (0.6 cm) from the seam edge.
SEW THE SIDE SEAMS
With the right sides together, sew the side seams. Start from the sleeve hem and sew towards the bodice hem.

Finish the seam and press to the back. Now is a good time to try on your jacket to confirm the bodice and sleeve lengths. Remember the sleeves are meant to be folded up.
Den Sew Along Posts | Getting Started | Staystitching, Interfacing, and Collar | Sew and Attach Pockets | Sew Yoke, Shoulders and Sleeves | Prepare and Sew Optional Lining | Sew Front Placket and Hem | Attach Collar and Topstitch Placket | Adding Snaps or Buttons