The following steps are for the jacket lining only. If you aren’t lining your Den Jacket, skip to the next post: Sew Front Placket and Hem
UNLINED ONLY | ADD THE SLEEVE CUFF FACING TO THE HEM
This step is for the unlined jacket only. If sewing the lined version, skip to the next step.
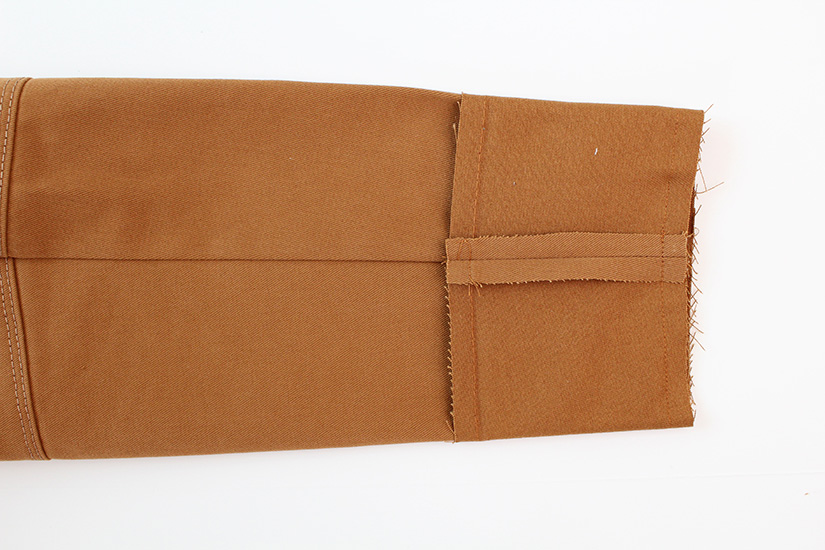
If you are not including a lining, hem your sleeves with the sleeve cuff facings. Sew a fold guide on the top, longer edge, just under 3/8″ (1 cm) of the cuff facing.
Press the edge in 3/8″ ( 1 cm), wrong sides together, unfold.
Sew the short ends and press open.
Withe the right sides together, sew the cuff facing to the sleeve hem.
Turn right side out and press the seam allowance towards the sleeve.
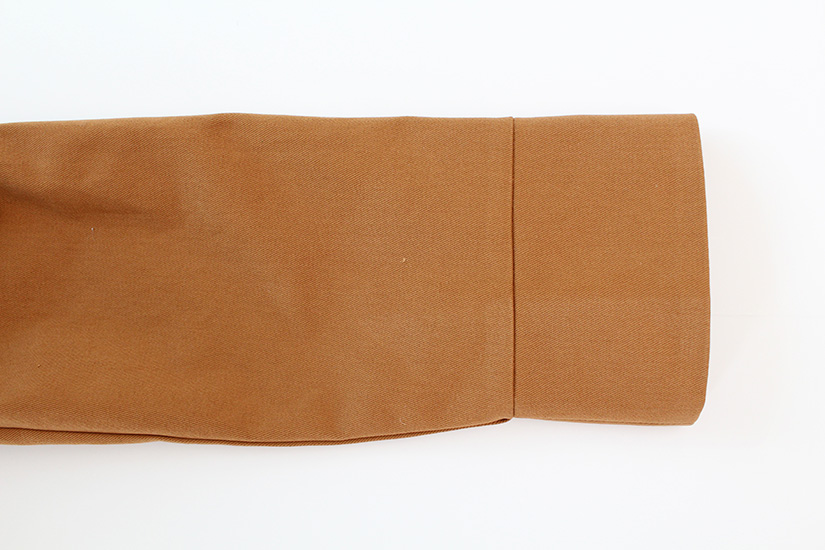
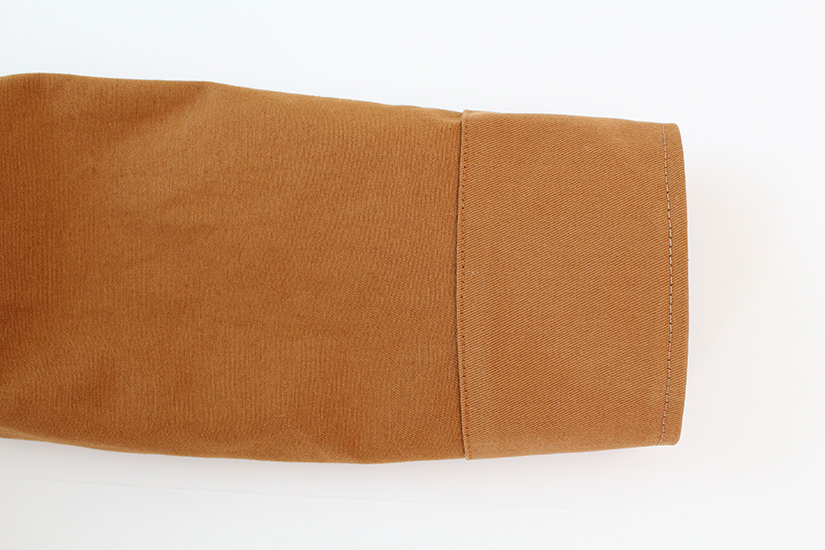
Place the sleeve cuff inside the sleeve and pin in place. Sew two rows of stitching from inside of the sleeve opening.
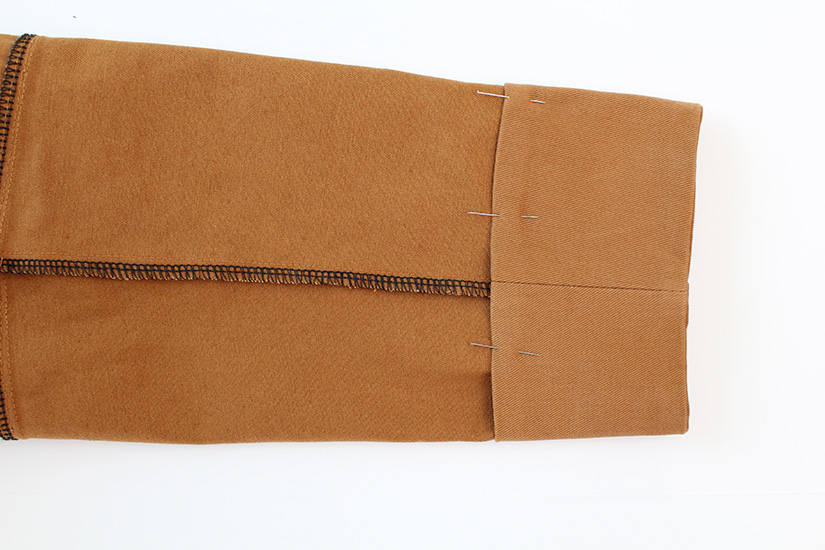
Edgestitch the hem of the sleeve cuff and topstitch seam at 1/4″ (0.6 cm) from the seam edge. The sleeves are meant to be folded up, and the sleeve facing will act as a cuff.
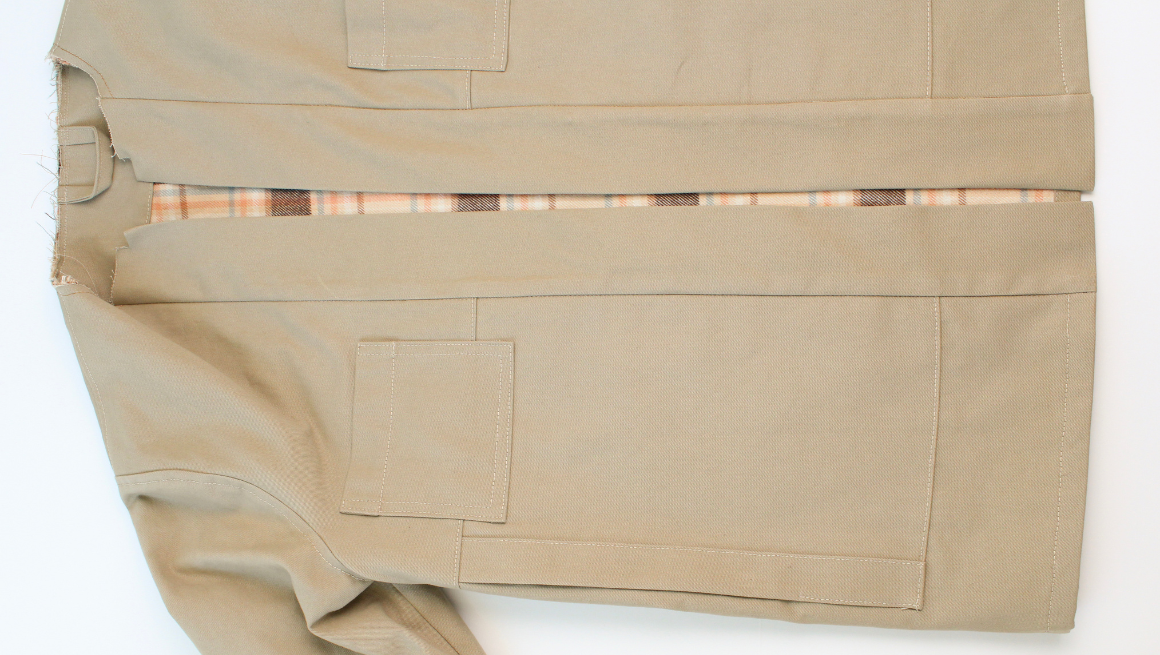
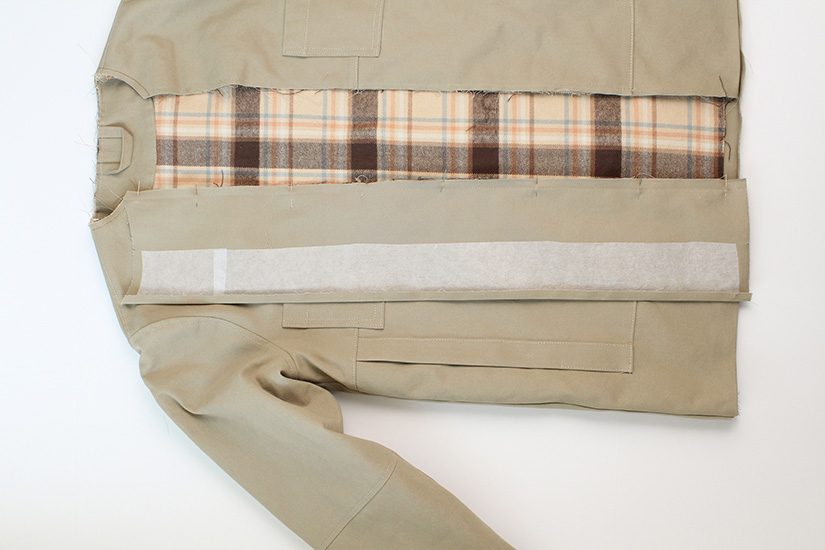
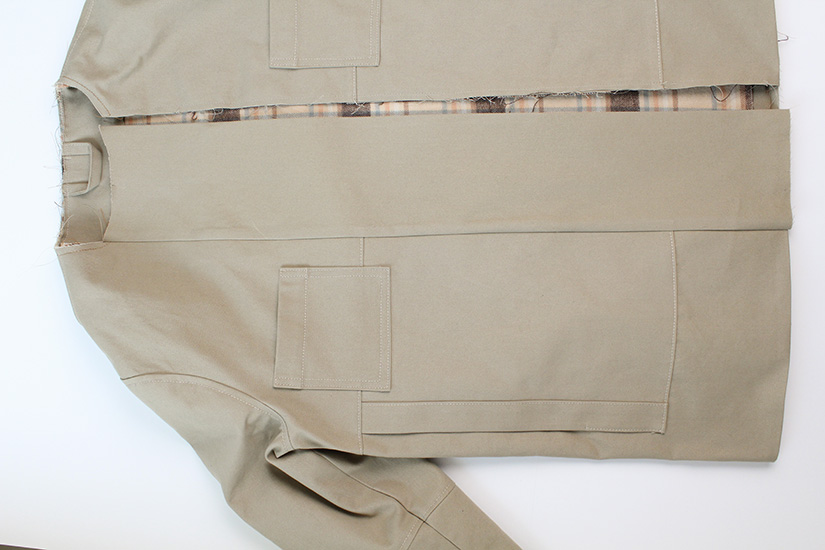
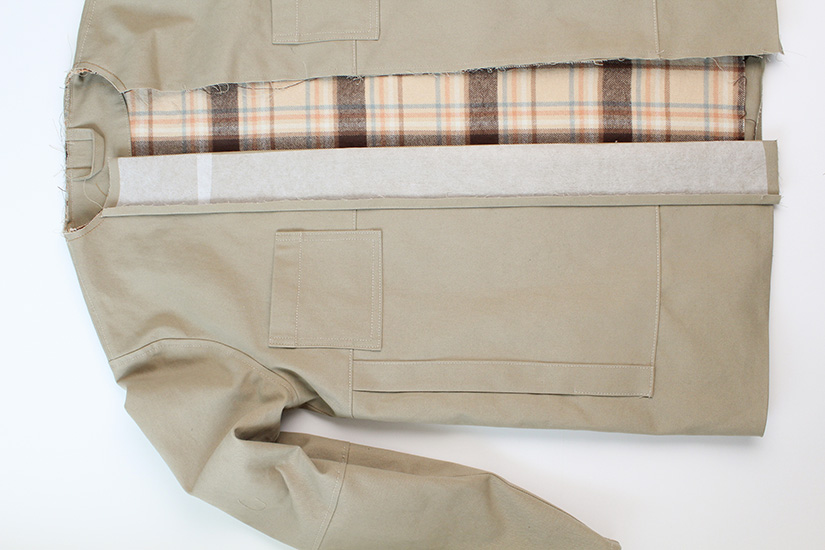
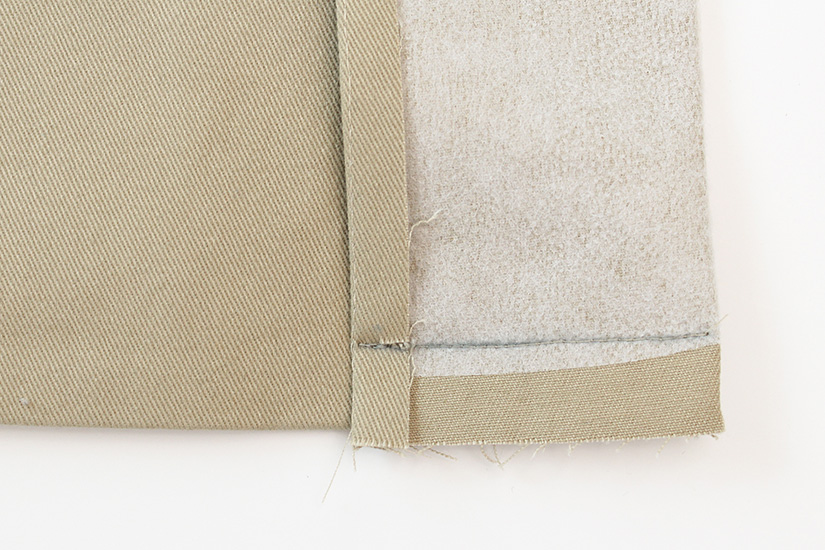
PREP THE JACKET HEM
Sew a fold guide on the jacket hem, just under 3/8″ (1 cm). Lined option is shown here but the following steps are the same for both.
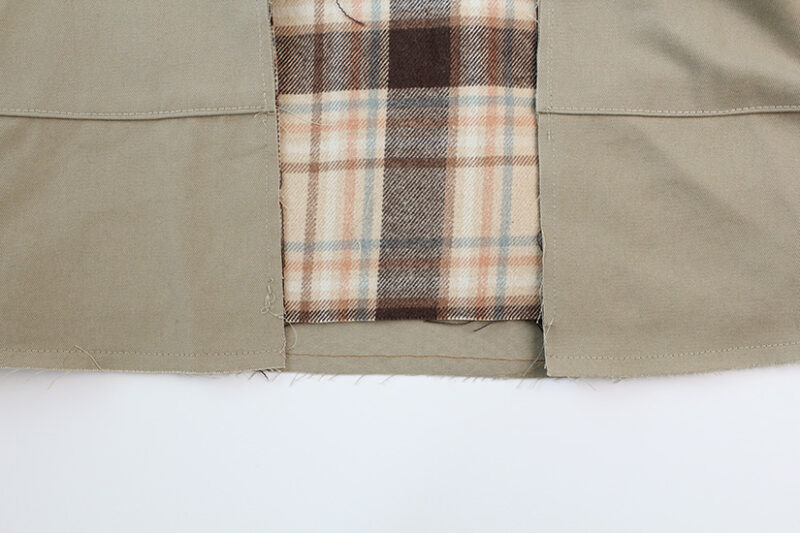
Press the edge in 3/8″ (1 cm) wrong sides together. Instructions are the same for both lined and unlined versions.
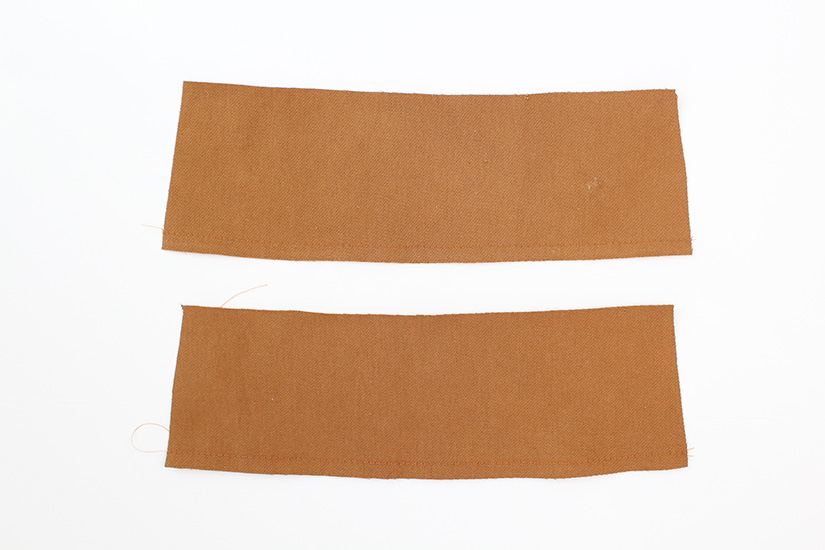
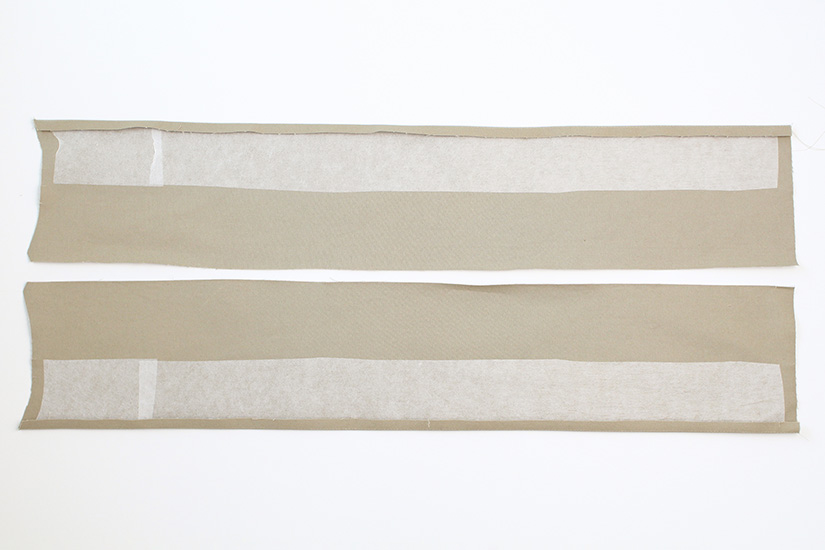
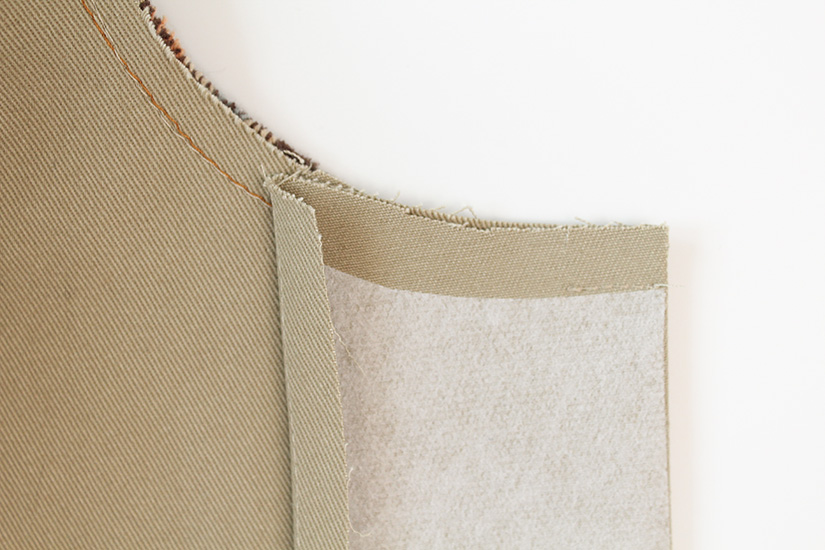
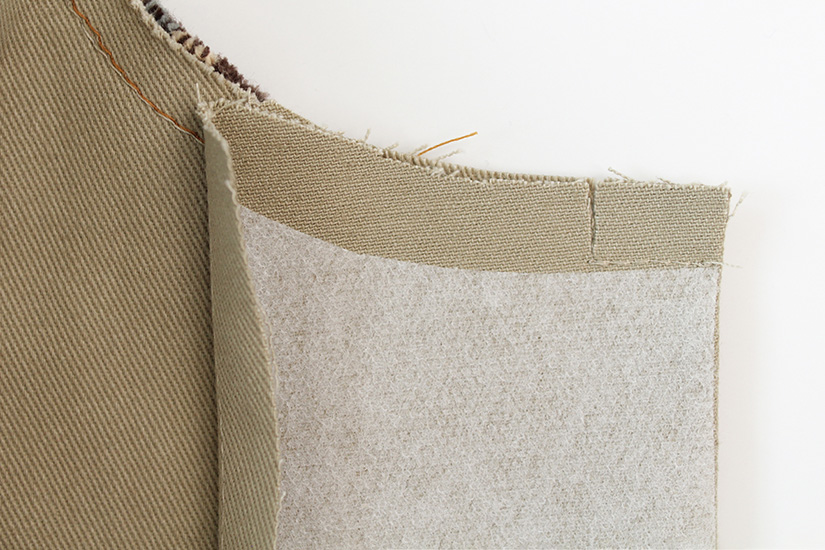
PREP THE CENTER FRONT PLACKETS
Sew a fold guide on the center front plackets on the long side without a middle notch, just under 3/8″ (1 cm).
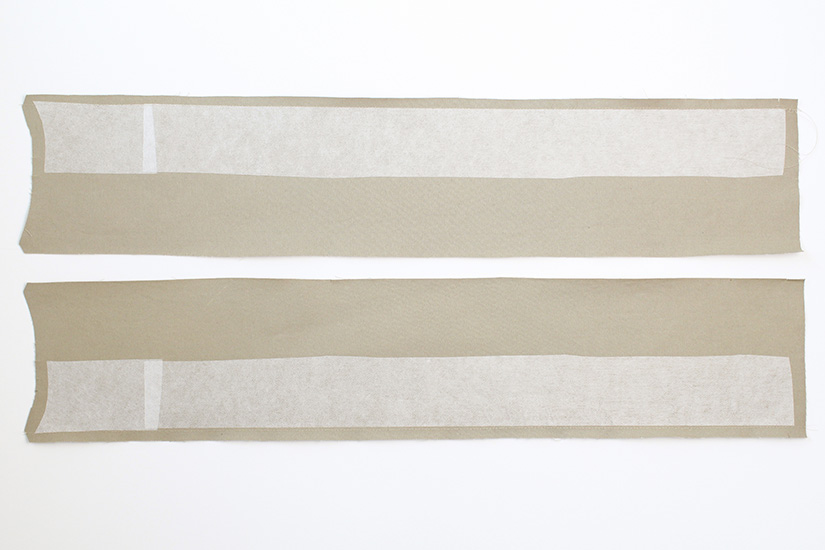
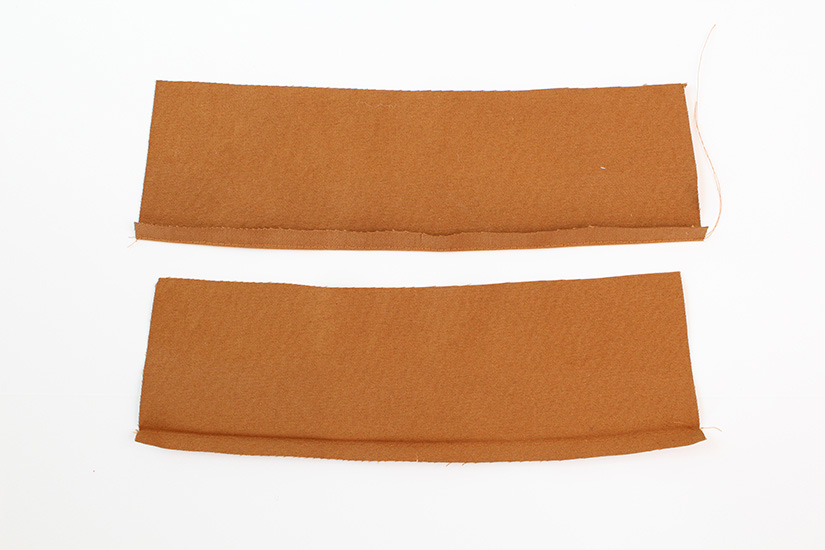
Press the edge in 3/8″ (1 cm), wrong sides together.
ATTACH THE CENTER FRONT PLACKET TO THE JACKET
With the right sides together, pin and sew the center front placket to the jacket front edge. Match the neckline, the center notch to the seam, and the hem notches. The bodice hem will be folded up 3/8″ (1 cm). The folded edge will match the cut edge of the placket.
Press the seam allowance towards the placket.
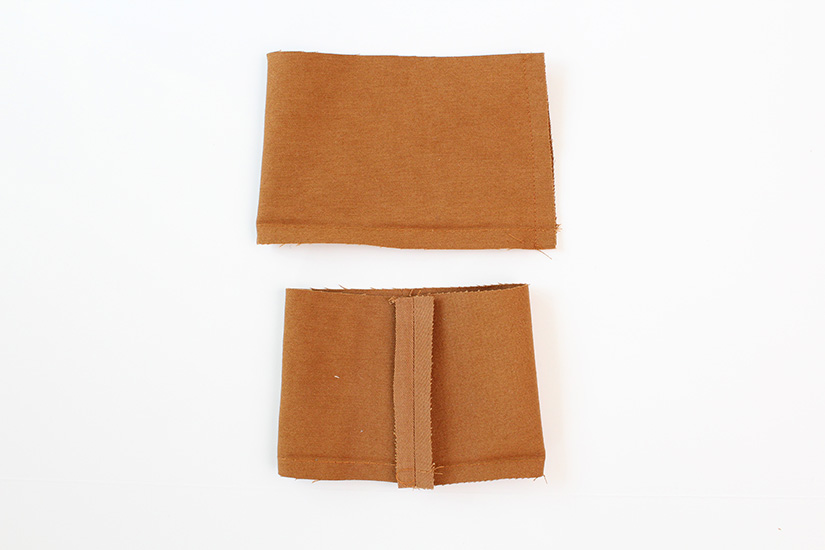
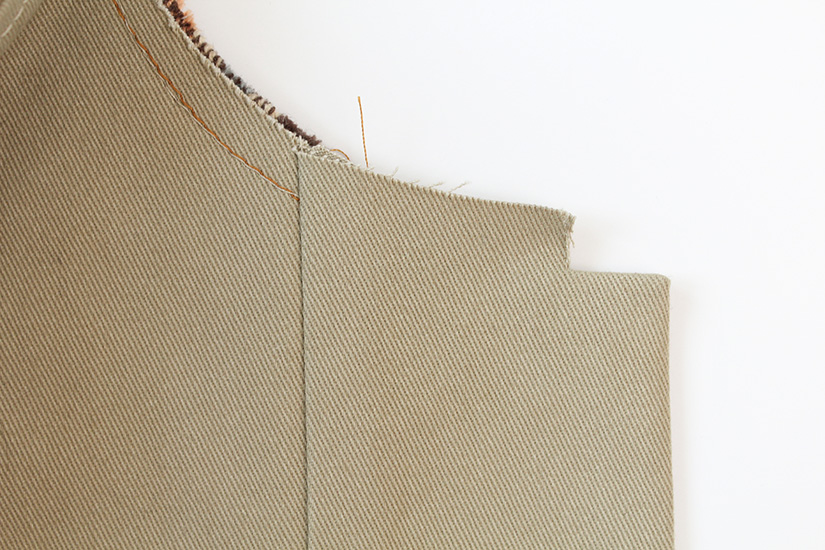
SEW THE PLACKET SHORT EDGES
With the right sides together, fold the center front placket back in half, at the middle notch where the fusible ends.
At the neck, sew across at 3/8″ (1 cm) from the folded edge to the first notch, backstitching to secure.
At the hem, sew across the placket at the 5/8″ (1.5 cm) notch. You can use a ruler and chalk to mark a sewing guide.
Clip the neckline at the notch without cutting the stitch line.
Turn the facing right side out. The center front neckline will have a notch cut out and the extension is where you will attach the collar.
SECURE THE PLACKET AND PREP THE HEM
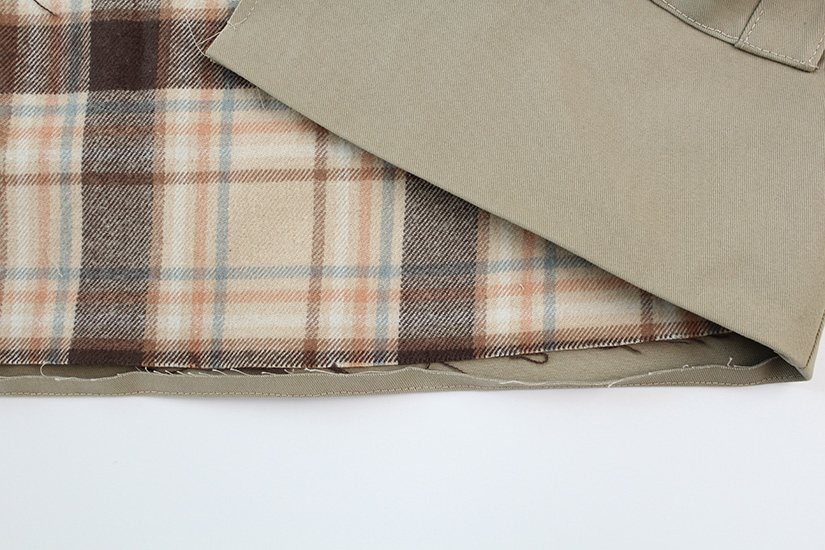
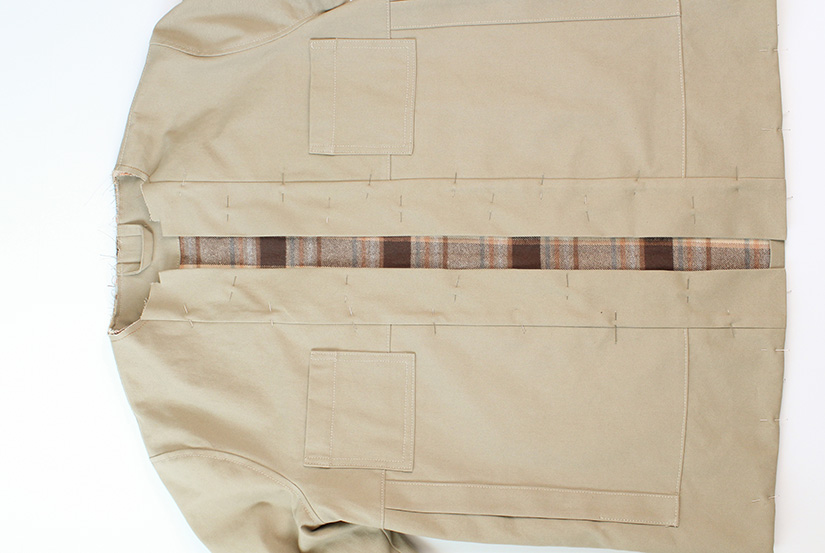
Turn your jacket inside out and pin your placket in place to cover the sewn seam. Your hem will be folded up at 5/8″ (1.5 cm). Pin the hem in place to cover lining (if added). Stay tape can be helpful here.
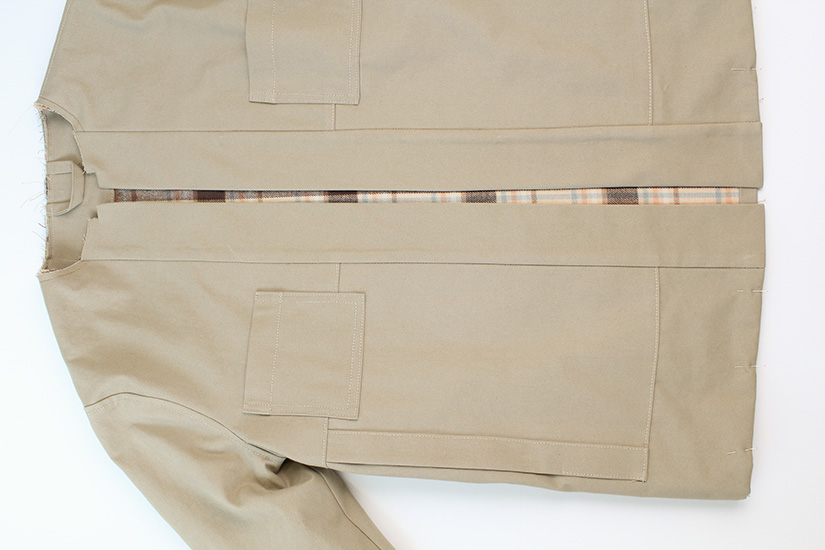
Flip the jacket to the right side and transfer the pins to the front. It can help to add more pins down the middle of the placket to keep it from twisting.
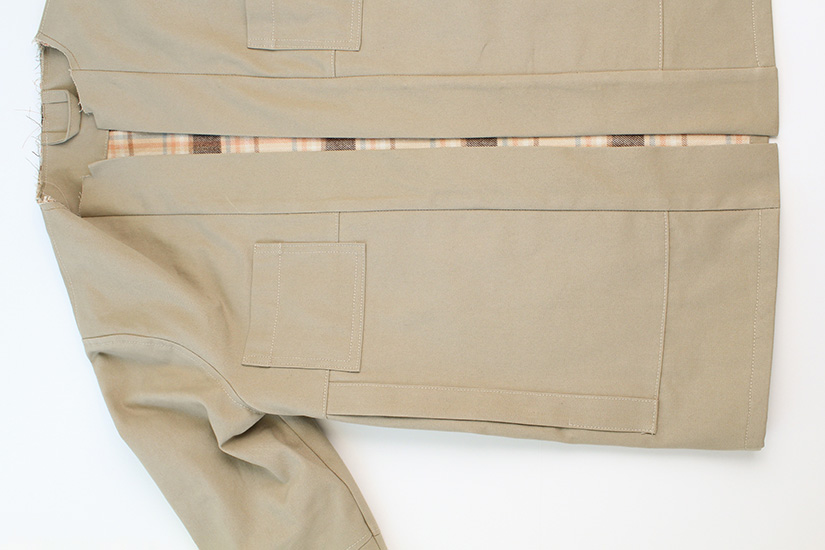
Stitch the center front placket in place by sewing inside of the seam, making this sewing line invisible.
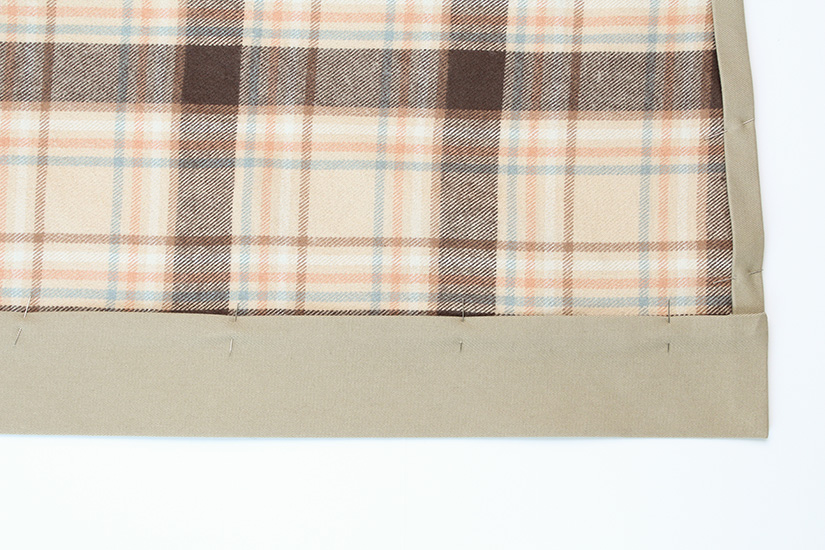
SEW THE HEM
Hem your jacket at 5/8″ (1.5 cm), catching the folded edge. Start and stop at the placket seam.
Den Sew Along Posts | Getting Started | Staystitching, Interfacing, and Collar | Sew and Attach Pockets | Sew Yoke, Shoulders and Sleeves | Prepare and Sew Optional Lining | Sew Front Placket and Hem | Attach Collar and Topstitch Placket | Adding Snaps or Buttons

