Tutorial | Fringe Wrap Front
Hi friends! My name is Heidi, I blog at Handmade Frenzy and hang out a lot on Instagram at @heidi_handmadefrenzy. I am super excited to be here today and share my Fringe wrap front tutorial with you!
Inspiration
The inspiration for this hack was pretty easy since I've had this specific dress pinned to my Pinterest board since the beginning of summer. I absolutely loved the stripes and had immediately thought that the Fringe Dress would be a great starting point.

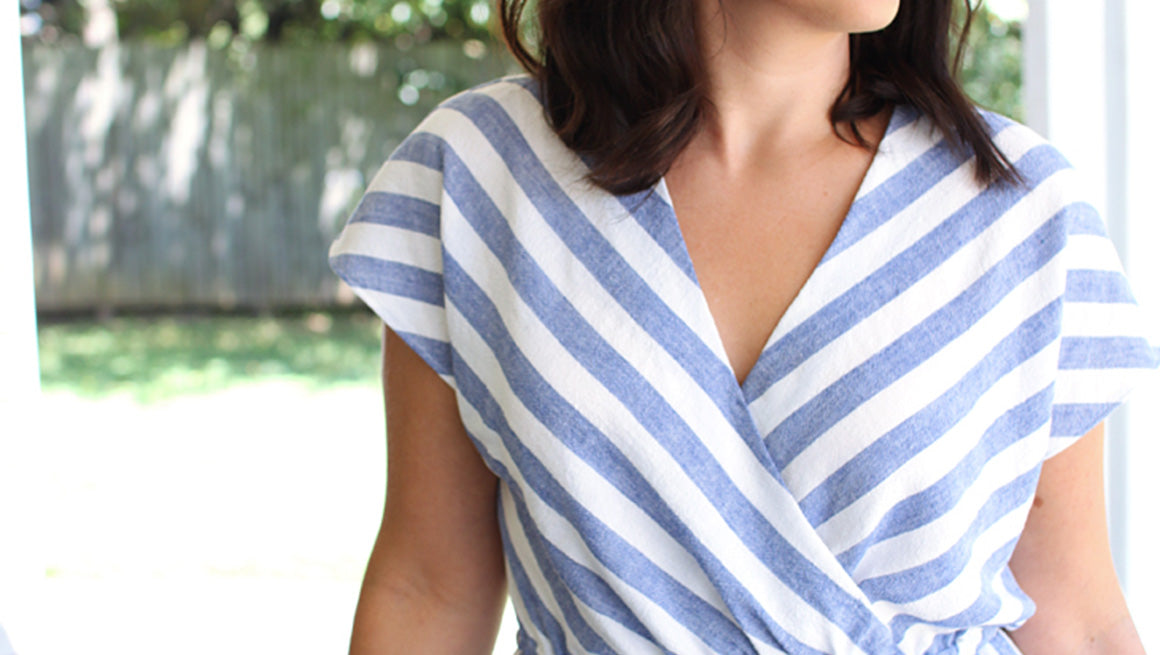
Fabric
Stylemaker Fabrics was so kind to send me this fabric to work with. It so perfectly fit into my vision! This is the wildly popular Linen Blend Stripe Shirting from their site. The fabric content isn't broken down, but because of the way it behaves, I think there is more rayon than linen in the content.

Linen Blend Shirting
After washing and drying, it became this amazing bouncy, crepey texture that I just absolutely love.

Below are some other fabric choices that I think would work well for this hack!

1 | 2 | 3 | 4
Pattern Adjustments
Tackling this hack was actually easier and more straight-forward than I thought it might be!

First of all, I used View A as my starting point. I laid my curved styling ruler on the edge of the neckline and found where the curve on the ruler matched up to the ever so slight curve on the upper part of the neckline. Then, starting at center front (this is marked on the pattern - I highlighted the spot with a blue X in the photo), I extended that curve all the way to the bottom of the bodice.

Next, I drafted a facing, by tracing along the new neckline curve and made it 2 inches wide. The last change I made to the bodice, was to add an additional 3/8" seam allowance to the bottom where it will attach to the skirt.

The changes I made to the skirt pattern were very minimal. I added an additional 3/8" seam allowance to the top of the skirt, the same as the bottom of the bodice. This is to create enough space to sew an elastic casing.
I also changed the shape of the hem a bit. You can see above where the original hemline is and where I again used my curved ruler to draw a simple curve for the new hemline.

Right before I cut out my fabric, I decided I wanted the side seams to be just a little bit higher, so I altered the curve slightly and extended the corner up by about 2 inches. See the photo above.
I made the patch pockets just by tracing a rectangle shape and drawing a slash opening and drafted a facing for the opening.

I sized up one for this dress because I wanted the front to drape well. But combined with the nature of the fabric I used, and cutting the front on the bias, this definitely wouldn't have been necessary. So just use your personal preference here!

Construction
Cut out the pieces from your fabric, just as you would when making the regular dress. The back on the fold, and 2 mirrored fronts. Be sure to cut the stripes on the bias if using a striped fabric. Attach the front and back at the shoulder seams, and then sew on the facing. I chose to hem my facing to finish it and stitch in the ditch at the shoulder seam to keep it from flipping out rather than top-stitching as the pattern directs.
There is no need to sew in the darts because the waist will be gathered in with elastic.
I also eliminated the sleeves and hemmed the dropped "sleeve" by folding up 1/4", then another 1/4" and top-stitching. I did this before sewing up the side seams to make things easier and it worked beautifully.

The next step is to line up the notches for center front and baste the wrap-front together at 5/8" seam allowance. Sew the side seams and finish using your desired method. I used french seams.
Now it's time to sew up the skirt! Prep the pockets by sewing the facing to the pocket openings and folding under and pressing the inner and bottom edges of the pocket. Sew the patch pockets to the front of the skirt, aligning the top of the pocket with the top of the skirt and the sides to the side seams, and top-stitching the inner and bottom edges. Baste the top and outer edges to hold them in place.

I chose to hem the bottom of the skirt before sewing the side seams because I find it easier to work with the curves this way. Next, sew up the side seams, and the skirt is ready to attach!
Gather the skirt to match the bodice, distributing the gathers evenly. Sew the skirt to the bodice, right sides together with a 3/4" seam allowance.
Now comes the time to create the casing for the elastic. Grade the bodice seam allowances only at the places where there is the most bulk, leaving the skirt seam allowances at 3/4". This is on the front bodice where the facings and two pieces overlap. Finish the raw edges with a serger. Press the seam allowance up toward the bodice. Make sure to pin the wrap-front in place and then stitch a line 3/8" above the waist seam, leaving an opening to insert the elastic. Below is a photo of what the inside looks like before threading the elastic.

Next, thread the elastic through the casing you just sewed. Adjust as needed. Press well.
The final step I did was to try on the dress and check for any gaping at the neckline. I found that it did open up when I put my hand on my hip. I opted to add some reinforcement in two places.

The first is at the intersection of the V, and the other is about 2-3 inches up from the waist. I found that this eliminated any chance of it opening and everything lays nice and flat all the time! I was planning to use hidden snaps but discovered when I had those points pinned that I could easily take the dress off with it pinned shut, so I just sewed in some generous thread tacks at those points.
And that's it! The wrap dress is complete!

I hope you enjoyed this tutorial, and I can't wait to see if you try it for yourself!

I can't wait to see all the other amazing tutorials in the coming days, so stay tuned!

