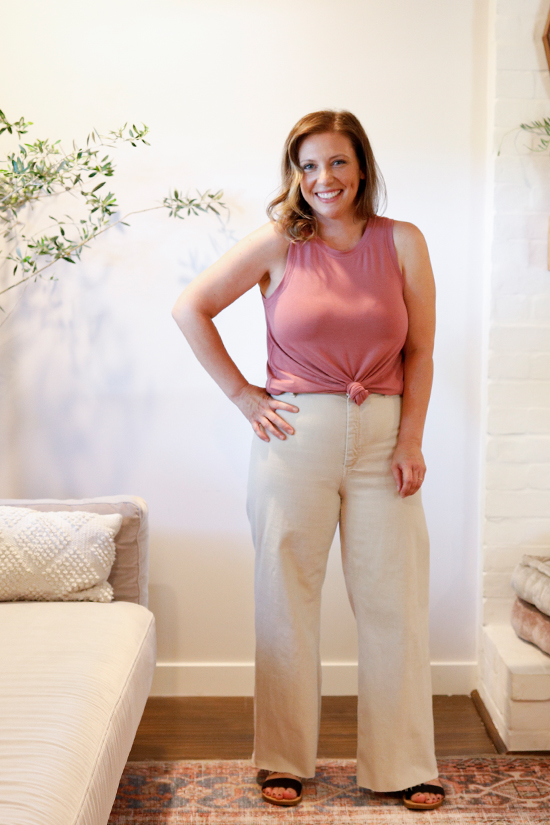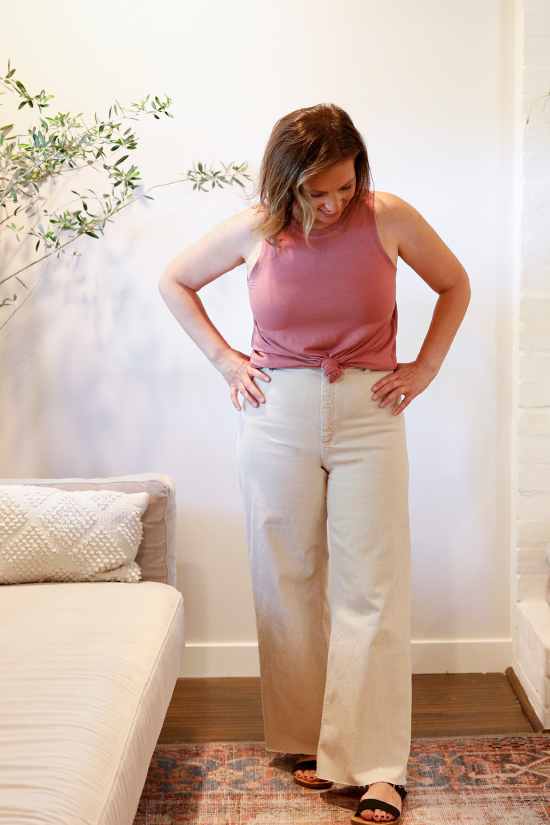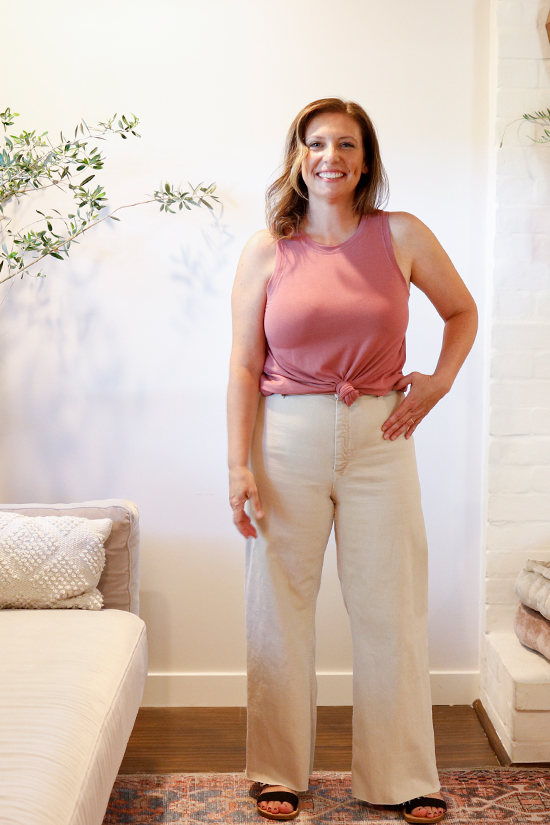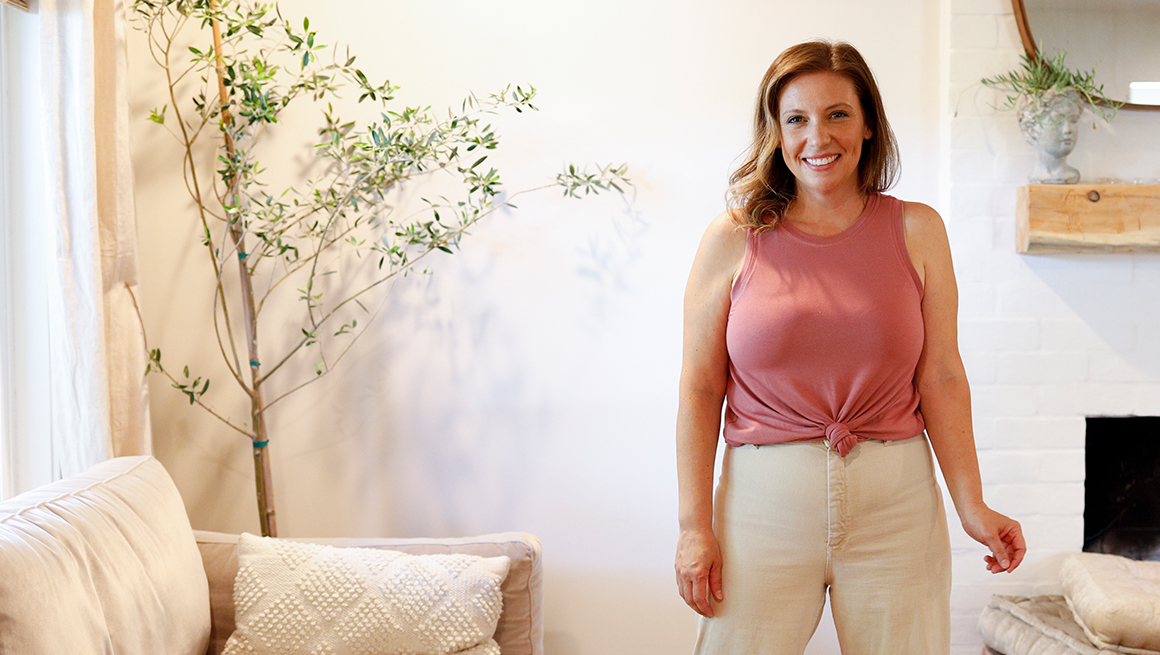
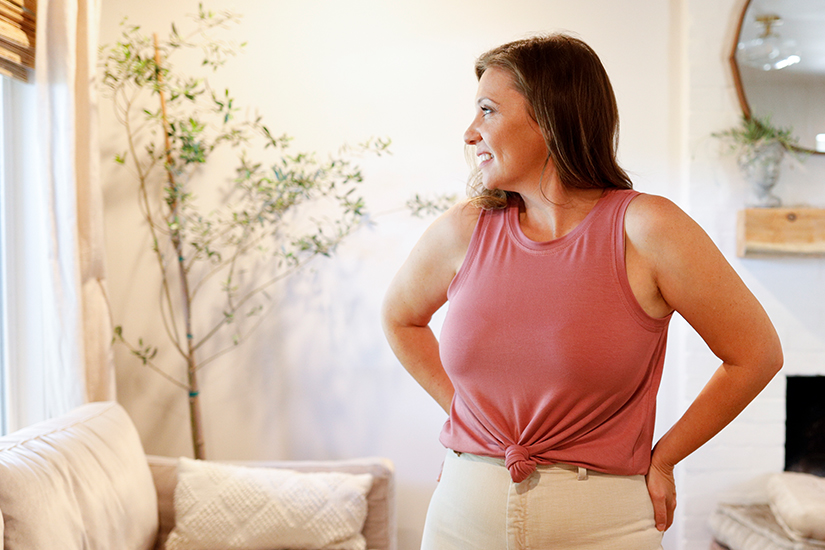
I love the shape of the Pony Tank and today I’m sharing how to raise the neckline and change the shape from a v-neck to a high crew neckband. I hope this additional neckline will give you more ways to wear your Pony Tank. I have drafted a high neck template, a new neckband, and wider armbands to match. You can grab them in the shop here. If you want a slightly different shape or you want to try this tutorial with any pattern (including the Mini Pony) check out the instructions below for drafting a new neckband.
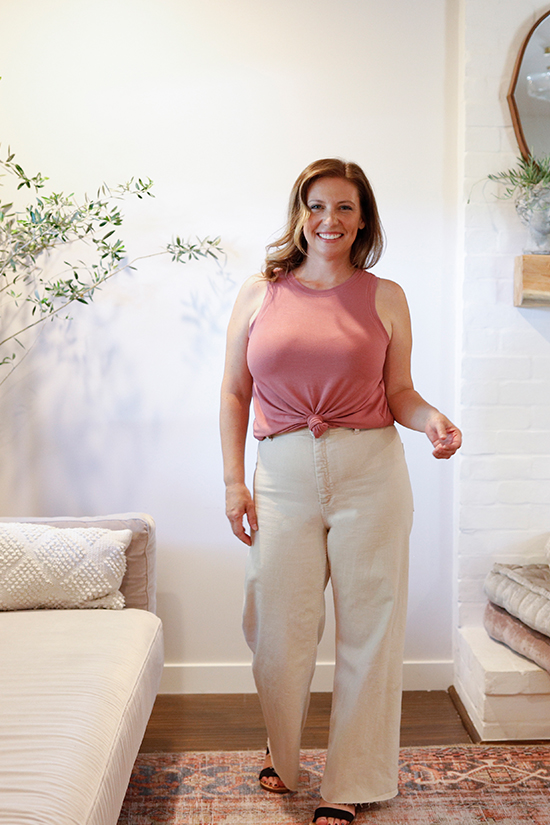
Inspiration
There are lots of ready-to-wear examples of high neck tanks. We’ve added more to our Pony RTW Pinterest board. Having this additional pattern piece will allow you to get even more looks out of your Pony Tank pattern.

Fabric
The Pony Tank is designed for a light to medium weight 75% – 100% stretch knit fabric with a nice drape and good recovery. The fabric requirements are the same when sewing the high neck version. For the included downloadable template, I drafted the neckband with a 89% ratio and the armbands are drafted with a 90% ratio. However, you may still need to adjust based on your specific fabric. More on that below.
Tutorial
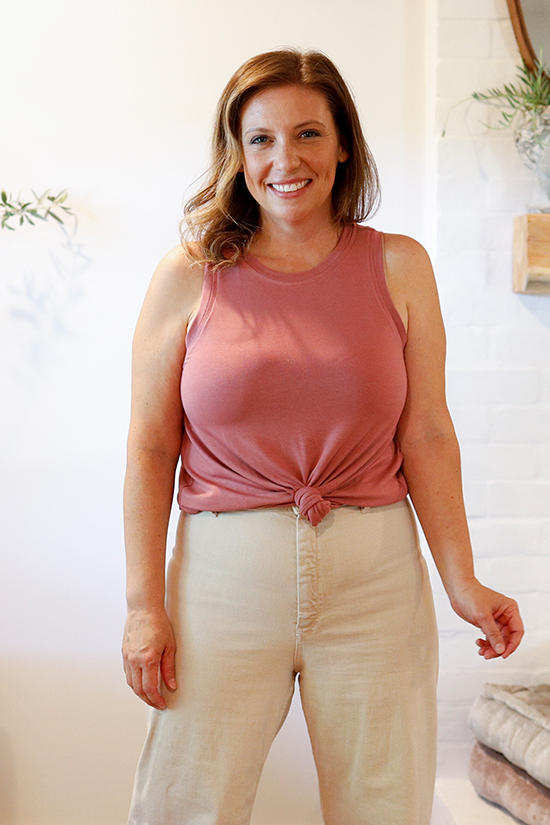
The tutorial is pretty straightforward and can be used to adjust the Pony Tank neckline based on your preference or any pattern where you are adjusting the neckline shape.
What You Need:
- The Pony Tank & the new High Neck Template, Neckband, and Wider Armbands
- Pattern paper, ruler, and marking tool if drafting your own pattern piece
- Your regular sewing supplies (scissors, thread, pins, etc.)
- Knit fabric (see requirements below)
Pattern Adjustments
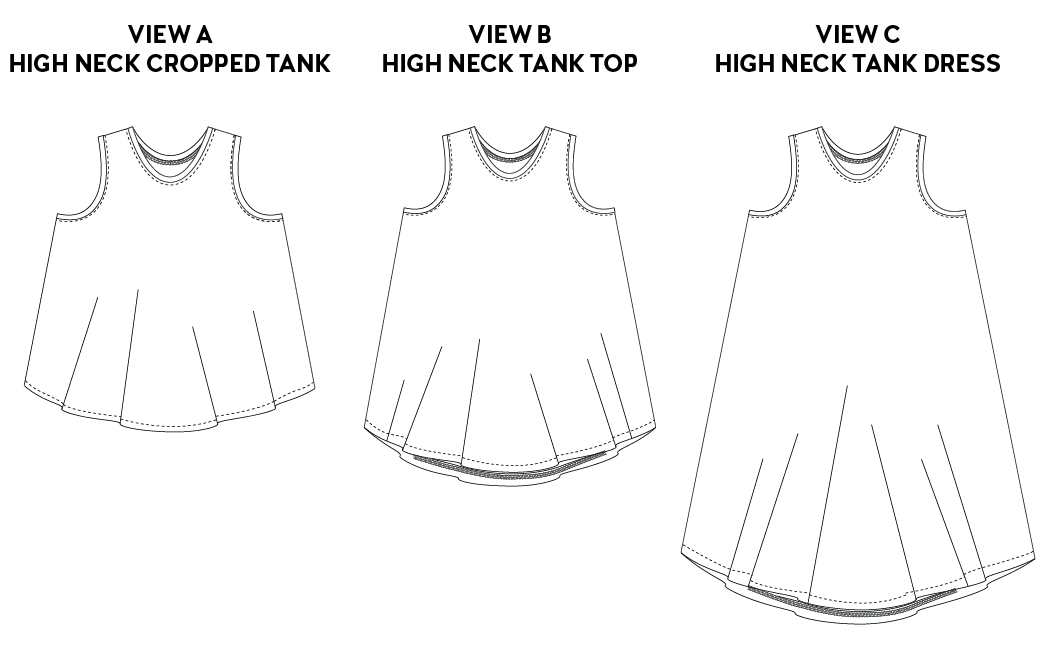
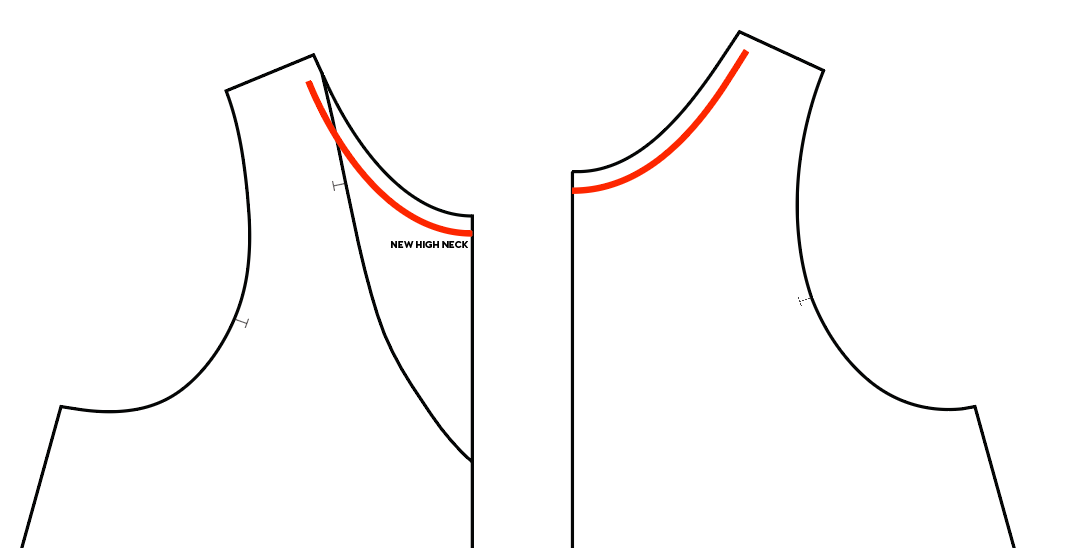
The higher neckline is 4 3/4″ higher than the original v-neck. If you want to try this height, you do not need to make any pattern adjustments. Just print the new high neck template and tape it to the Pony Tank Front pattern piece by matching the shoulder point and v-neck center front. Cut the new front piece and the new neckband. The band pattern pieces are 3/8″ (1 cm) wider for a finished height of 1/2″ (1.25 cm). I have also included wider armbands, but you can use the original if you prefer a 3/8″ (1 cm) armband.
If you would like to adjust your neckline even higher or lower you can draw your desired neckline height and scoop. Make sure the center front corner is square to the center front. Next, you will need to draft a neckband to match your new neckline shape.
Measure the neckline at the sew line. You can find that by taking your Front and Back pattern pieces. Draw in your 3/8″ (1 cm) seam allowance lines at the neckline and measure the neckline. This measurement is one-half of the finished garment measurements; times this number by two to find your neckline measurement.
Then, you need to decide what ratio you want to use based on the amount of stretch in your fabric. Generally, you can reduce your ratio to about 89% if you are using a fabric with 75% – 100% stretch (like a jersey) for your bands. If you are using a rib fabric, I would try a ratio of 85%, but the ideal ratio might fall somewhere in between.
The formula for the neckband length:
neckline x ratio + seam allowance
For example, the neckline measures 21.75″ (55 cm), and if you wanted a ratio of 89% and you’re adding a 3/8″ (1 cm) seam allowance to each end, your formula would be:
21.75 (neckline) x 0.89 (89% ratio) = 19.3575 + 0.75 (2 times the seam allowance) = 20.1075 rounded to 20″ (51 cm) for your length.
Now you need to decide how tall you want your neckband. For the original Pony, I drafted a 3/8″ (1 cm) tall neckband, which is pretty narrow. For this high neck version, I wanted a slightly higher neckband. You will find the finished height of the neckband to be 1/2″ (1.25 cm). I have included wider armbands to match. The height of the bands is a personal preference. I’ve seen some cool ready-to-wear inspiration with tall neckbands lately. If you do want a taller neckband, it’s helpful to use rib fabric over using the main fabric.
The formula for the neckband height:
2 x the desired height + 2 x the seam allowance
For example, if you want a 1″ (2.5 cm) tall neckband and you’re adding a 3/8″ (1 cm) seam allowance to the top and bottom, your formula will be:
1 (desired height) x 2 (to account for the fold-over) + 0.75 (2 times the seam allowance) = 2.75″ (7 cm) for your height.
Draft a rectangle 17″ x 2.75″ (43 cm x 7 cm). You can add quarter notches on your pattern.

Construction Adjustments
Most of the construction is the same when making a high neck version of the Pony. When you are prepping your armbands, you can also prepare your neckband.
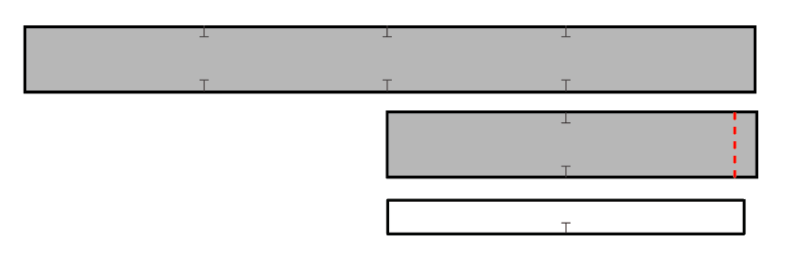
With the right sides together, sew the short sides of the neckband to form a tube. Press the seams open. Fold the neckband wrong sides together. Set aside.
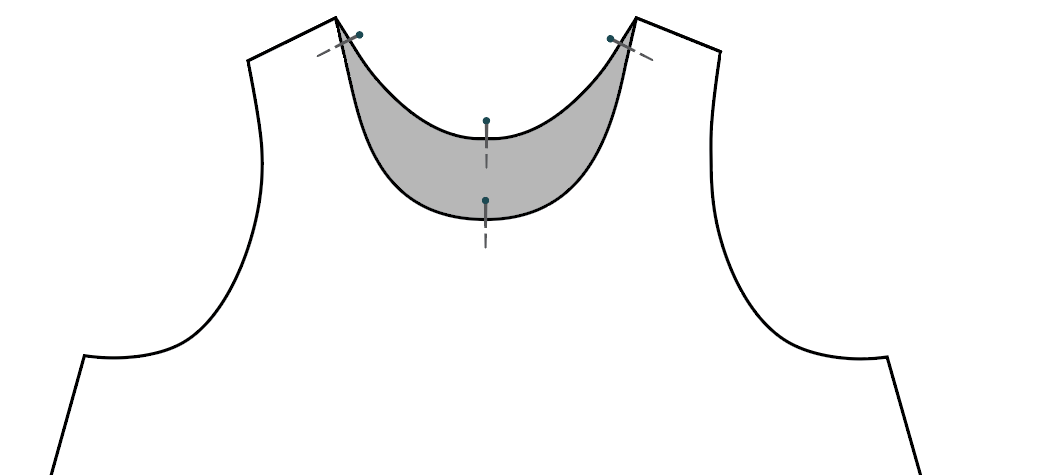
When attaching the neckband, you need to measure quarter marks/notches on your bodice neckline. There should already be center front and center back marks/notches. Match the center front and center back to find the quarter marks/notches.
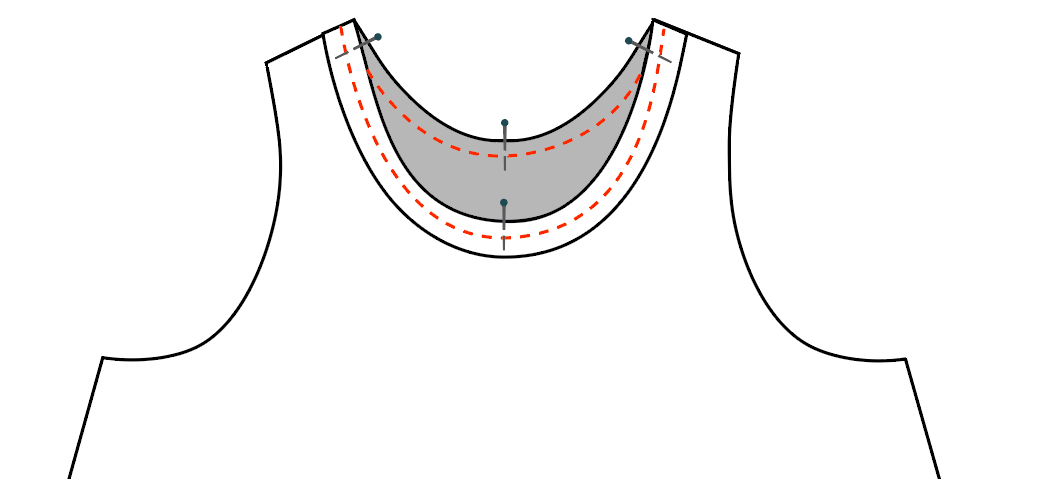
Pin the neckline, matching the 4 quarter marks/notches of the neckband to the 4 quarter marks/notches on the bodice. Baste stitch while evenly stretching the neckband slightly to fit the neckline. Do not stretch the garment neckline while attaching the neckband. Make adjustments if you’re not satisfied with the fit.
- If the upper edge of the neckband is too wide and gaping, remove the neckband, shorten the length, and attach again.
- If you are getting puckers around the neckband on the bodice, then your neckband is too short. Remove the neckband, re-cut a longer band and attach.
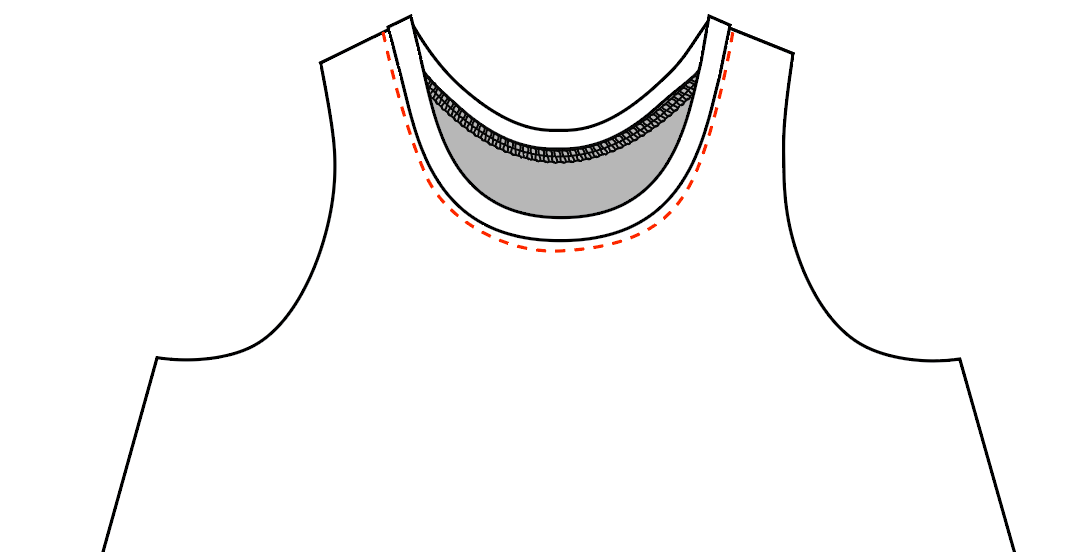
Once satisfied, sew in place. Press the seam allowance down towards the body. Optional: topstitch the neckline to hold the seam allowance in place.
The Final Look
That’s it! Switching up the neckline will give you even more options for this summer pattern. I hope you enjoy, and make sure to tag @chalkandnotch and your makes with #highneckpony so we can see when you use this tutorial! Happy Sewing!

