
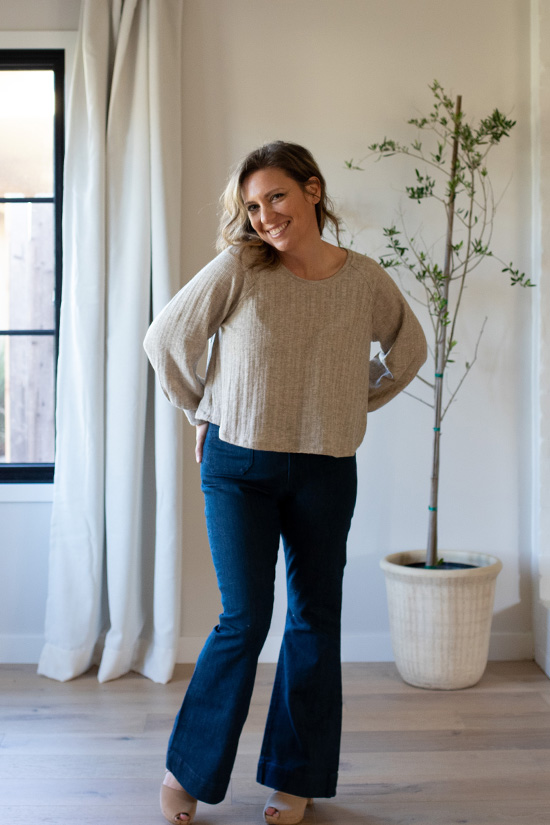
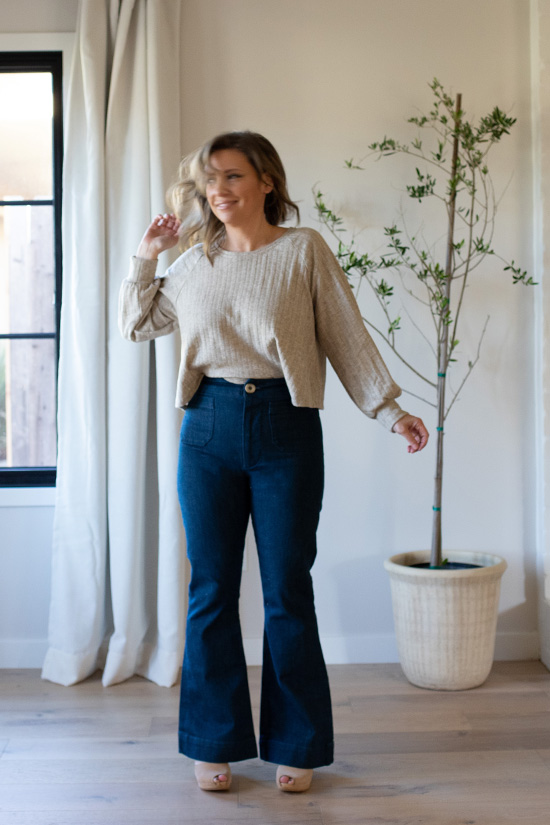
I love the shape of the Cropped Waterfall. I wanted to make a few to pair with my new Isle Jeans and thought a full sleeve would be a fun hack. It’s a super simple pattern adjustment and I hope this inspires you to find more ways to wear your Waterfall Raglan.

Fabric
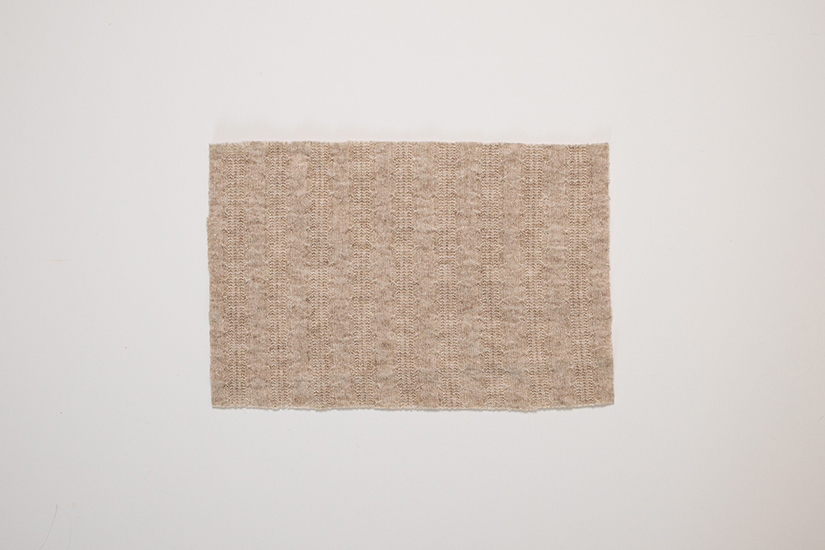
The Waterfall is designed for a light to medium weight 75% – 100% stretch knit fabric with a nice drape and good recovery. The fabric requirements are the same when sewing the full-sleeve version. For this version, I used a sweater knit from Mily Mae Fabric. Although last I checked, this sweater knit is sold out but they have a ton of great knit fabrics.
Tutorial
The tutorial is pretty straightforward and can be used to adjust any sleeve pattern to add fullness to the hem and finished with a cuff.
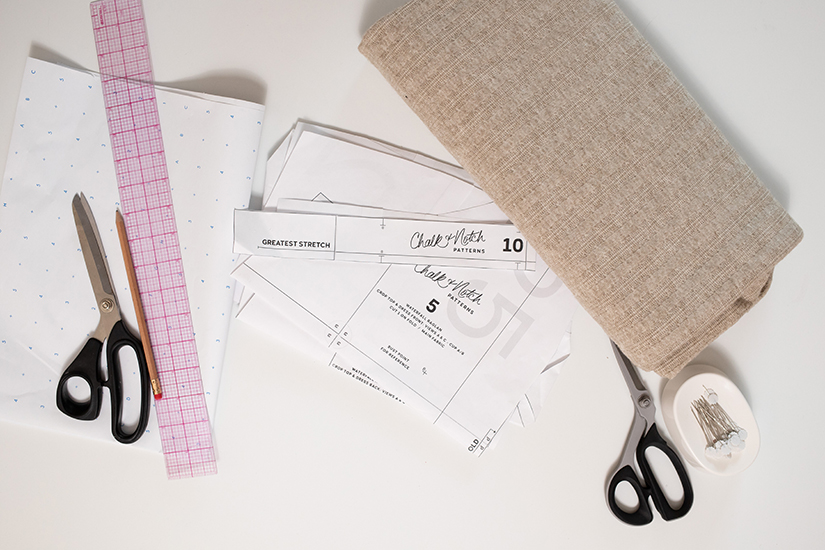
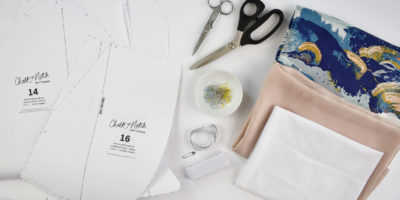
What You Need:
- The Waterfall Raglan pattern
- Pattern paper, ruler, and marking tool to draft your new wide sleeve and cuff pattern pieces
- Your regular sewing supplies (scissors, thread, pins, etc.)
- Light to medium weight 75% – 100% stretch knit fabric
Pattern Adjustments
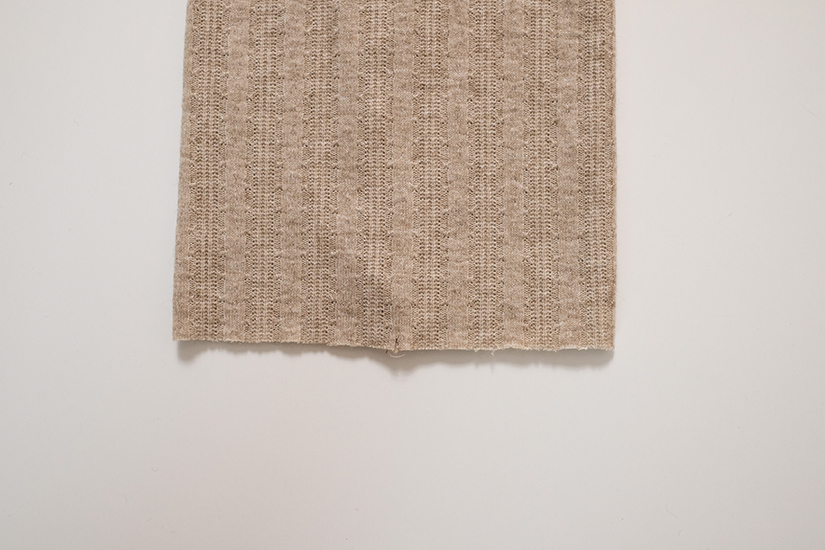
Take the sleeve pattern piece and decide what length you would like it to finish. I choose the 3/4 length version for my sample.
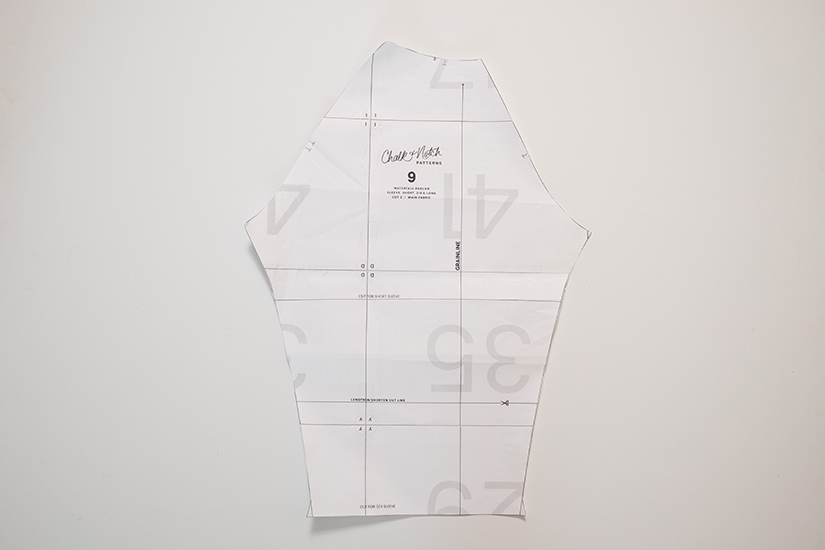
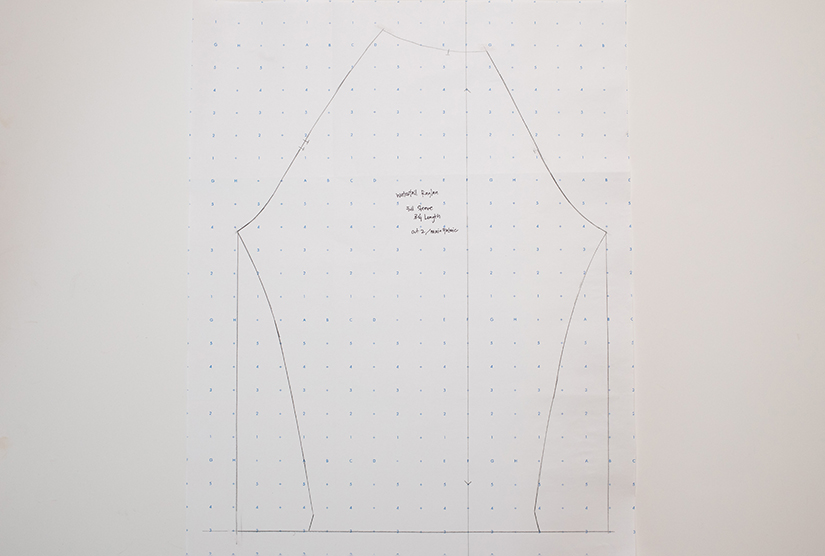
Trace the pattern piece on paper. I like to use dotted drafting paper but any paper will do. Draw straight lines down from each armhole corner. Square the hem. Add the armhole notches and the grainline. Make sure to add a center hem notch (not pictured here) to help with distributing gathers later.
It’s time to draft the cuff. You can use a cuff pattern from another pattern (there is a cuff pattern piece in the Page Hoodie and Pixie Tee pattern). Or you can draft your own. You’ll want to measure your arm where the cuff will finish and decide how tall you want it to be.
The formula for the cuff length: (body circumference) + 3/4″ for seam allowance
For example, my forearm measures 8″, so my cuff length is 8 3/4″ long.
The formula for the cuff height: (height x 2) + 3/4″ for seam allowance
For example, I wanted my cuff height to finish at 2 1/2″. My pattern piece is 5 3/4″ tall.
Add a notch at the center (not pictured here) and add the greatest stretch direction. Adding a center hem notch will help with distributing gathers later.

Cut your pattern and fabric. Follow the Waterfall sewing tutorial through sewing the side seams.
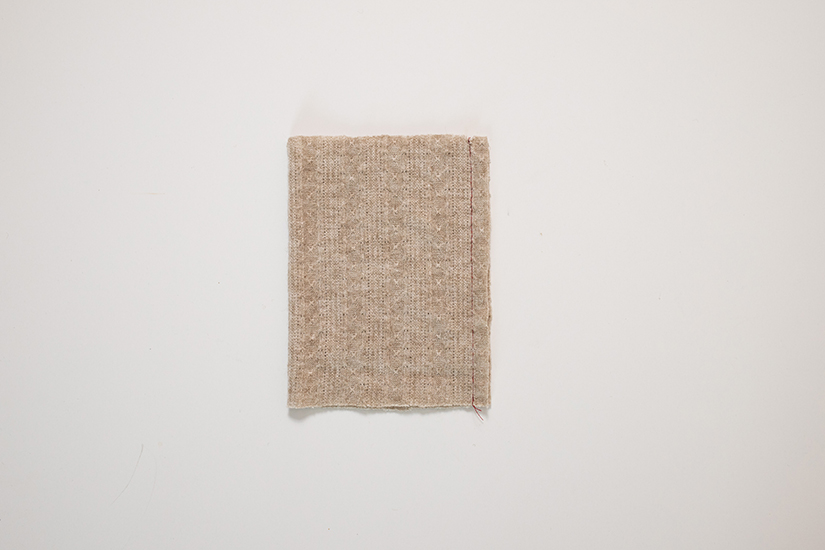
SEW THE CUFFS
With the right sides together, fold the cuffs to form a tube and sew. Press the seams open. If you sewed with a serger, press the seams to one side.
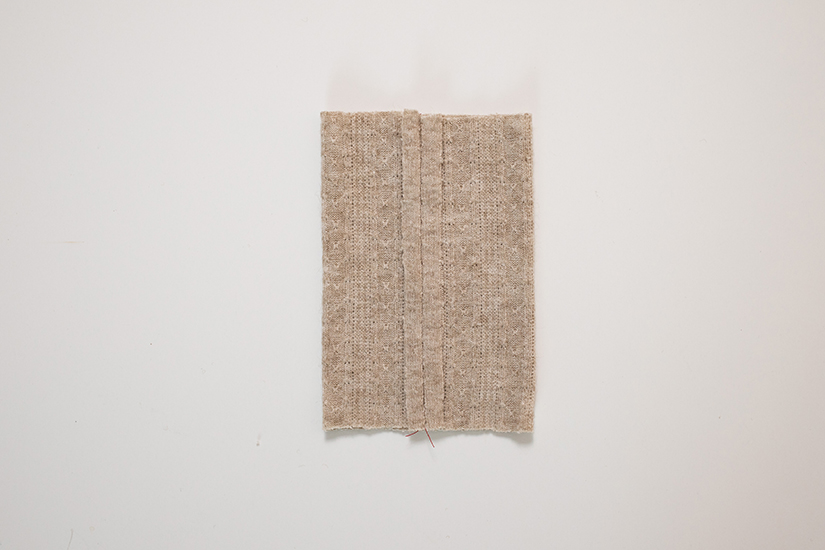
Fold the cuffs again, wrong sides together so the cuff is doubled and the right side of the fabric is on both sides.
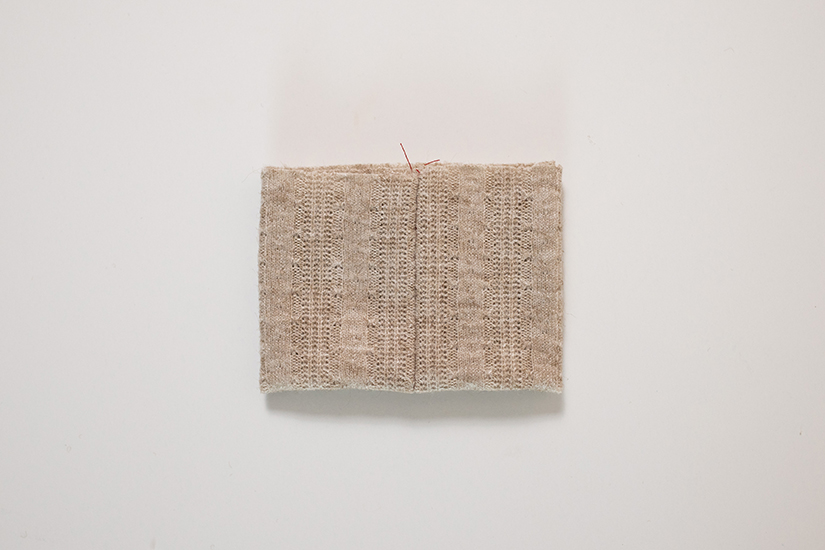
GATHER THE FULL SLEEVE
The full-sleeve hem will need to be gathered. Make sure you have notched the center of the sleeve hem.
Change your stitch length to the longest possible length. Sew two parallel baste stitch lines at the hem. Make sure not to backstitch at the beginning or end of your stitch lines and leave long ends to your threads. The first line is 1/4″ (0.6 cm) away from the fabric edge. The second line is 5/8″ away from the fabric edge. Gather by pulling the bobbin threads to about the finished width of the cuff.
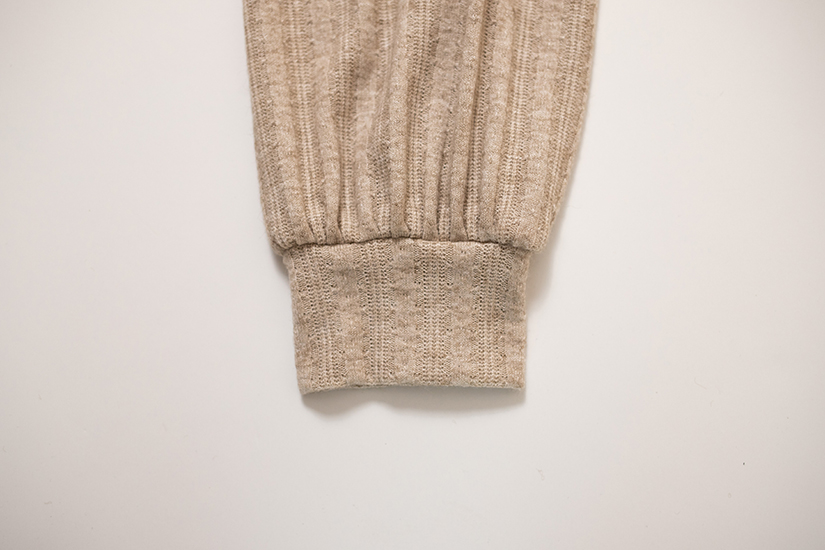
ADD THE CUFF TO THE SLEEVE
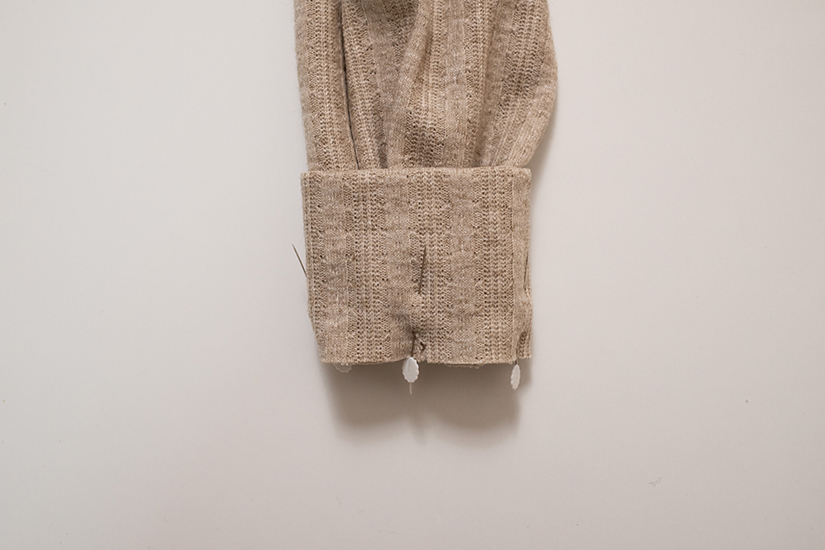
To attach the cuffs, place the sleeve inside the cuff tube, aligning the raw edges. Pin the cuff to the sleeve in the round, matching under seams and the center notches.
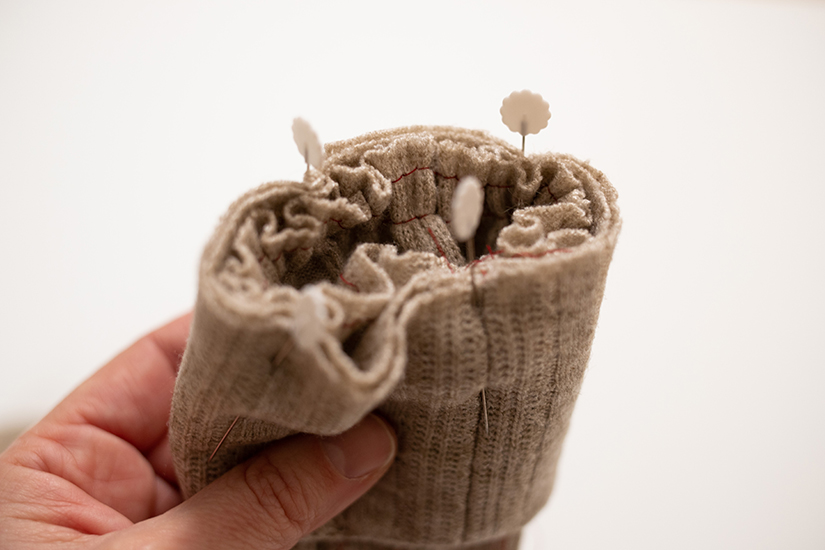
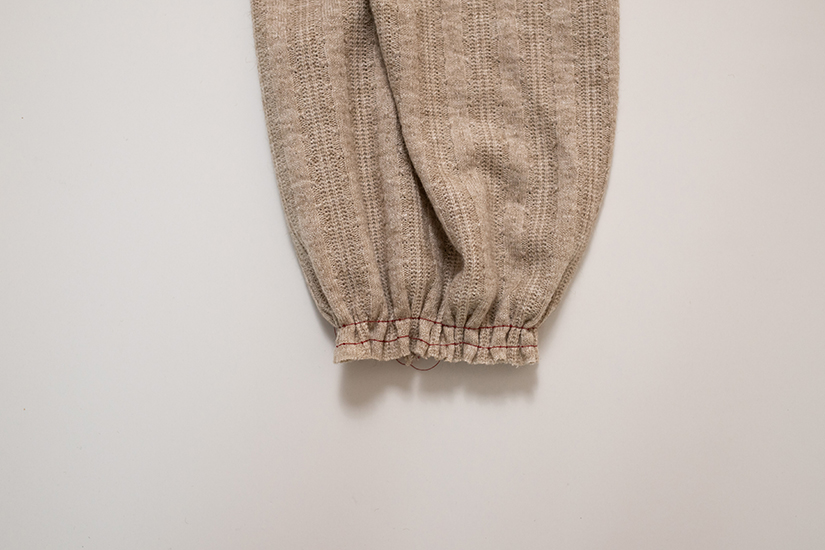
Sew the cuff band while evenly stretching the cuff to fit the sleeve. Do not stretch the sleeve while attaching the cuff. The sleeve will gather to fit the cuff. Press the seam allowance up and remove any basting stitches.
Finish your Waterfall by attaching the neckband and hemming your top.
The Final Look
That’s it! Switching up the sleeve shape will give you even more options for this pattern. I hope you enjoy and if you do make sure to tag @chalkandnotch and your makes with #waterfallfullsleeve so we can see when you use this tutorial! Happy Sewing!

