We want to do everything we can to help you have an enjoyable sewing experience. If you’re new to our patterns or just PDF patterns in general, we’ve put together this post to demystify the PDF pattern assembly and help you get started. Chalk and Notch patterns may look different than other patterns you have printed. This will give you a visual reference.
PRINTING YOUR PATTERN
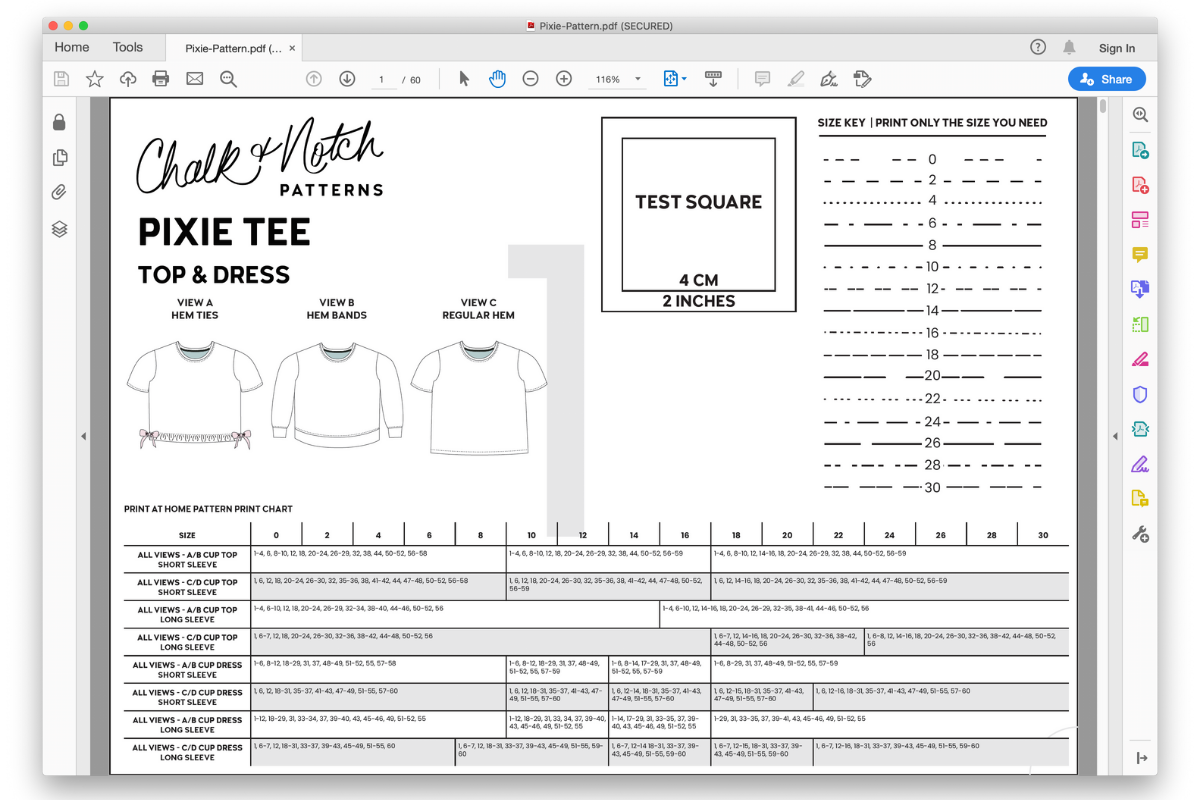
All Chalk and Notch patterns are password protected when opening in editing software. They include full permissions to print. If you have a pro version of adobe, you may receive an error that you need a password to edit. We recommend opening with adobe reader (free version). When you open your pattern in Adobe Reader, it will look something like this.
SELECT SPECIFIC SIZE/S IN LAYERS
All Chalk and Notch patterns include layers. If you want to save ink or make cutting and finding the right lines easier, this is an easy way to do so.
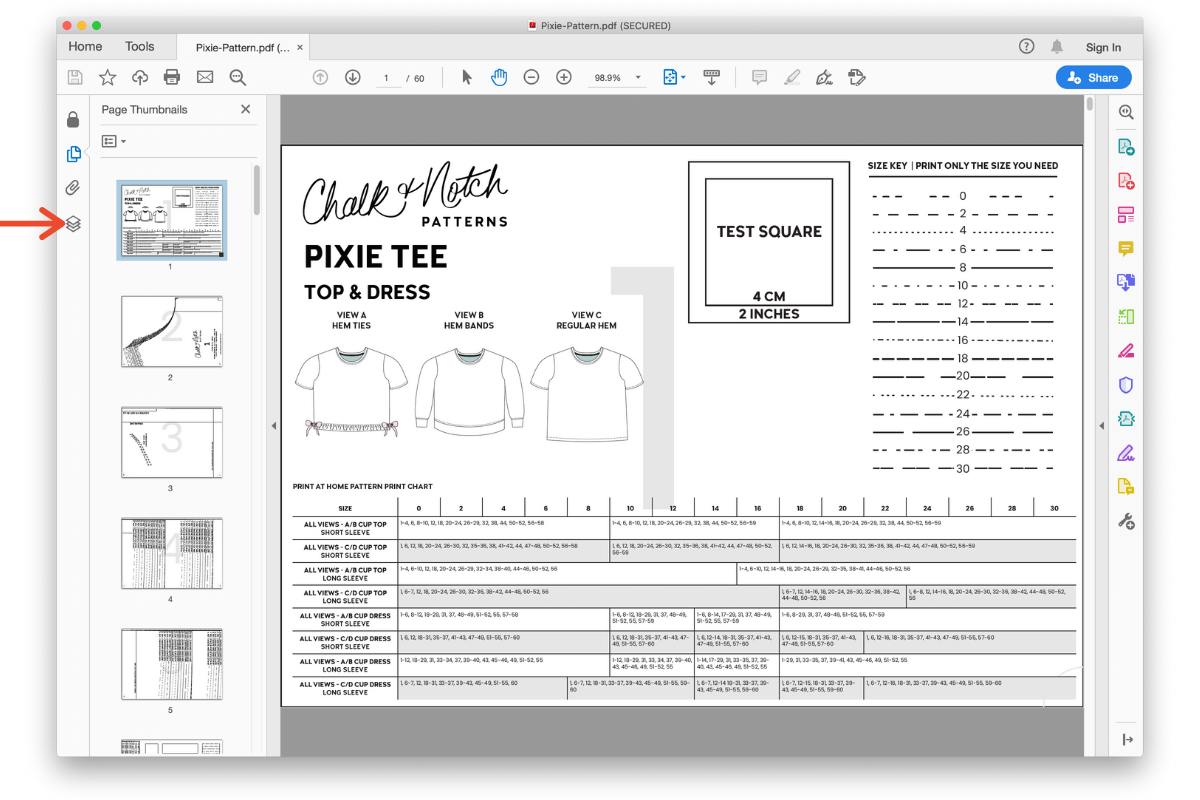
First, select the icon on the left that looks like stacked pages.
Once you’ve opened the layers option, you’ll see all the sizes listed next to an icon that looks like an eye. Note: Page four is shown to demonstrate the look of the layers so you can clearly see what happens when layers are selected or deselected.
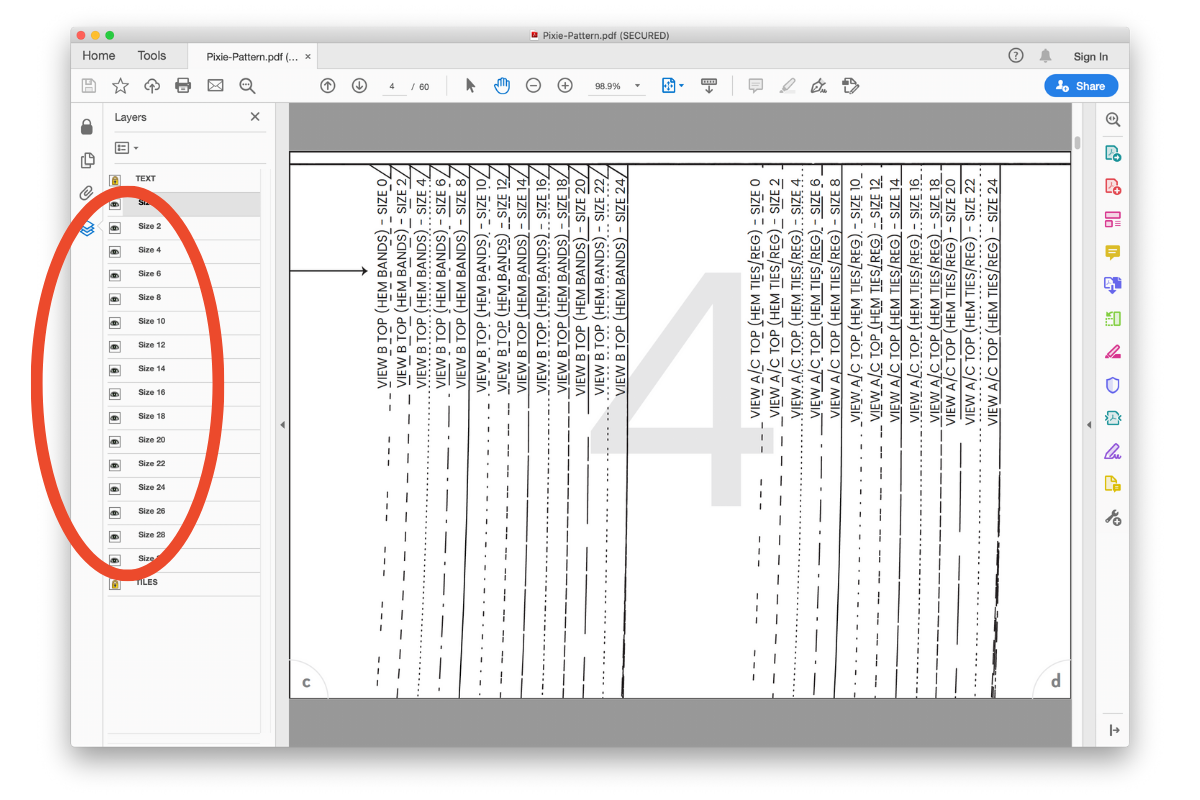
Deselect any sizes you don’t want to print by clicking on those sizes. Below you’ll see that I’ve deselected all but the size 12. The TEXT and TILES layers are locked and will always print.

PRINTING
Now that you’ve opened your pattern and chosen your selected layers, it’s time to print. Chalk and Notch patterns print in landscape orientation with borders shown on all four sides. Below I’ve selected a scale of 100% and “auto” orientation. This is what works for my specific printer. You can see in the preview that borders are shown on all four sides.
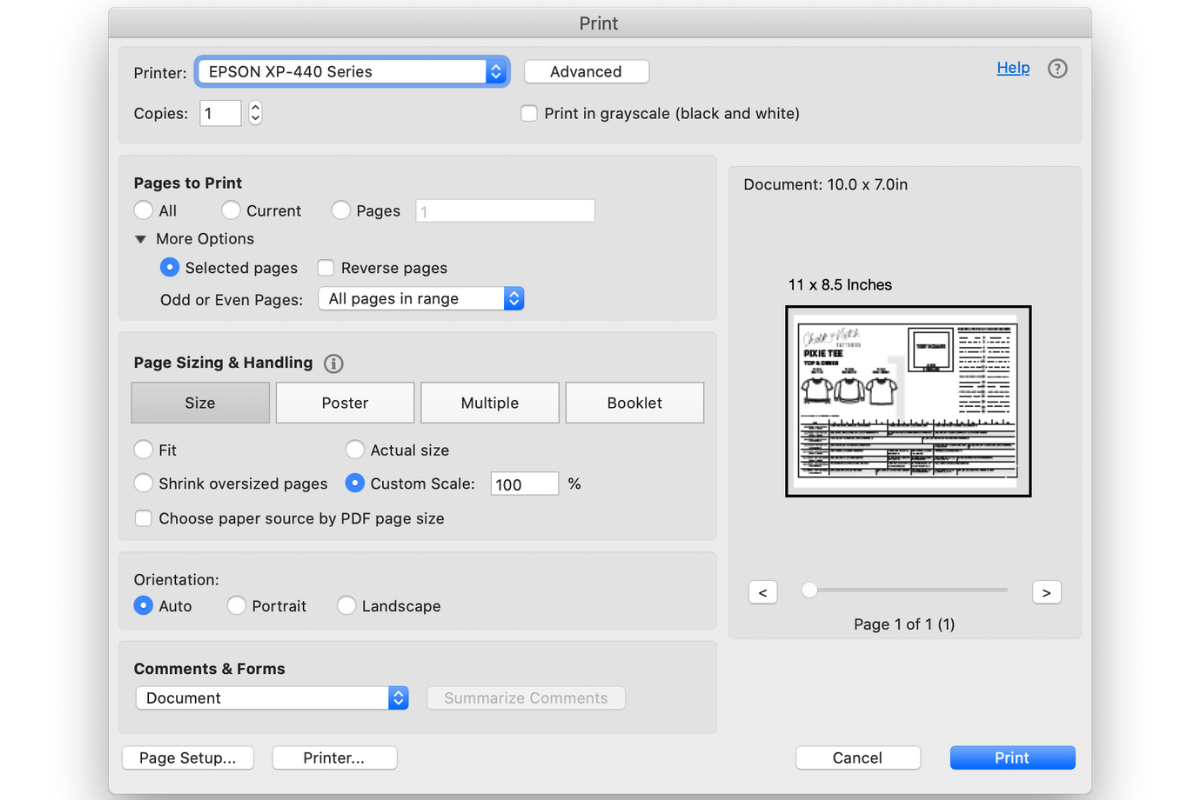
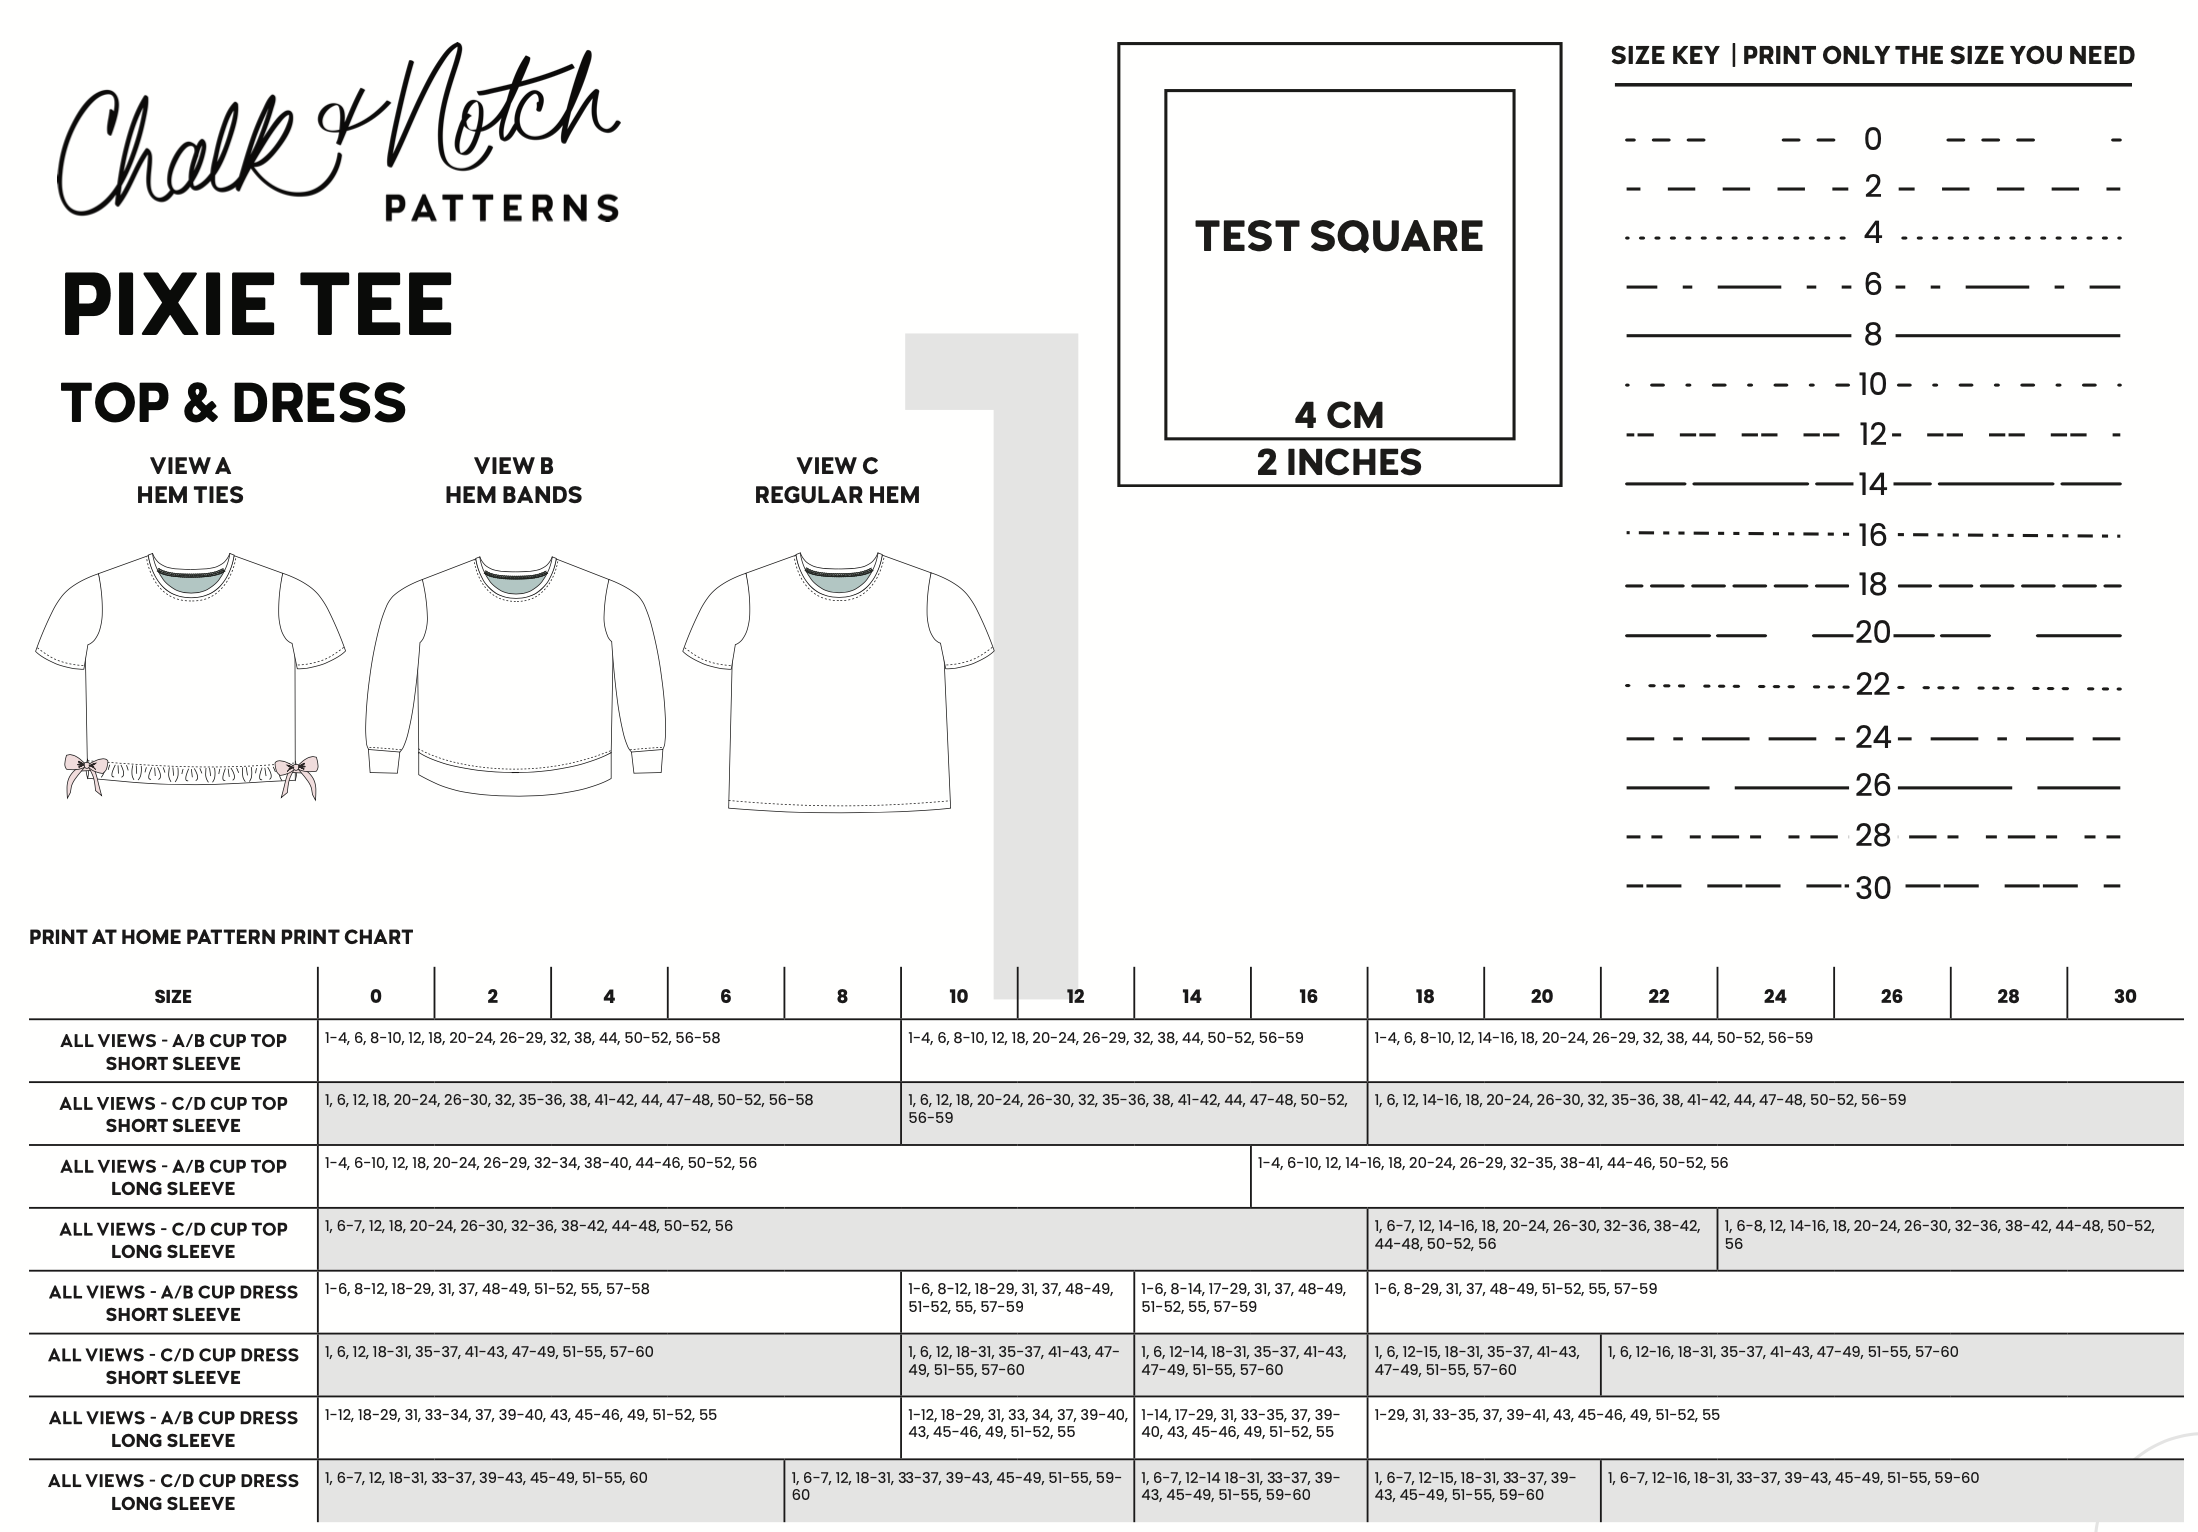
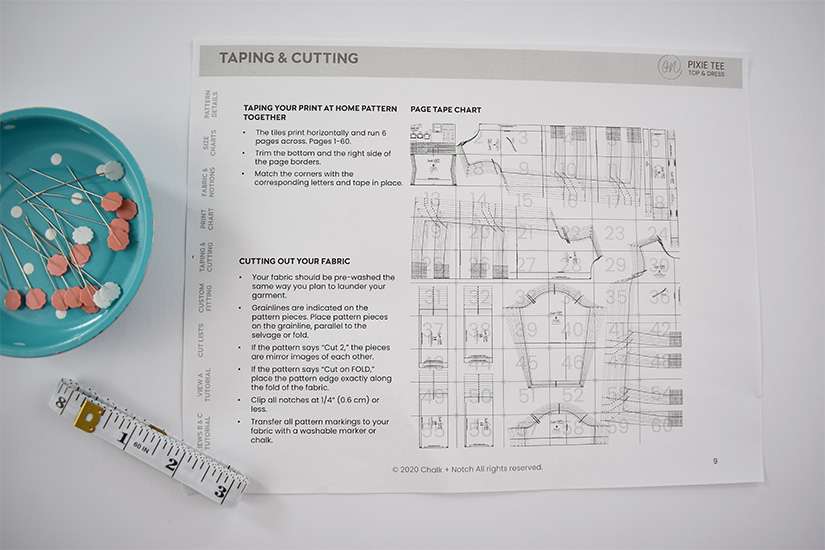
Use the print chart included in the pattern. Print only the pages you need for the view you are sewing. You can find a copy of the print chart in the PDF tutorial and on the first page of the pattern file.
PRINTING ERRORS
The next two examples are ones that produce incorrect results with my printer.
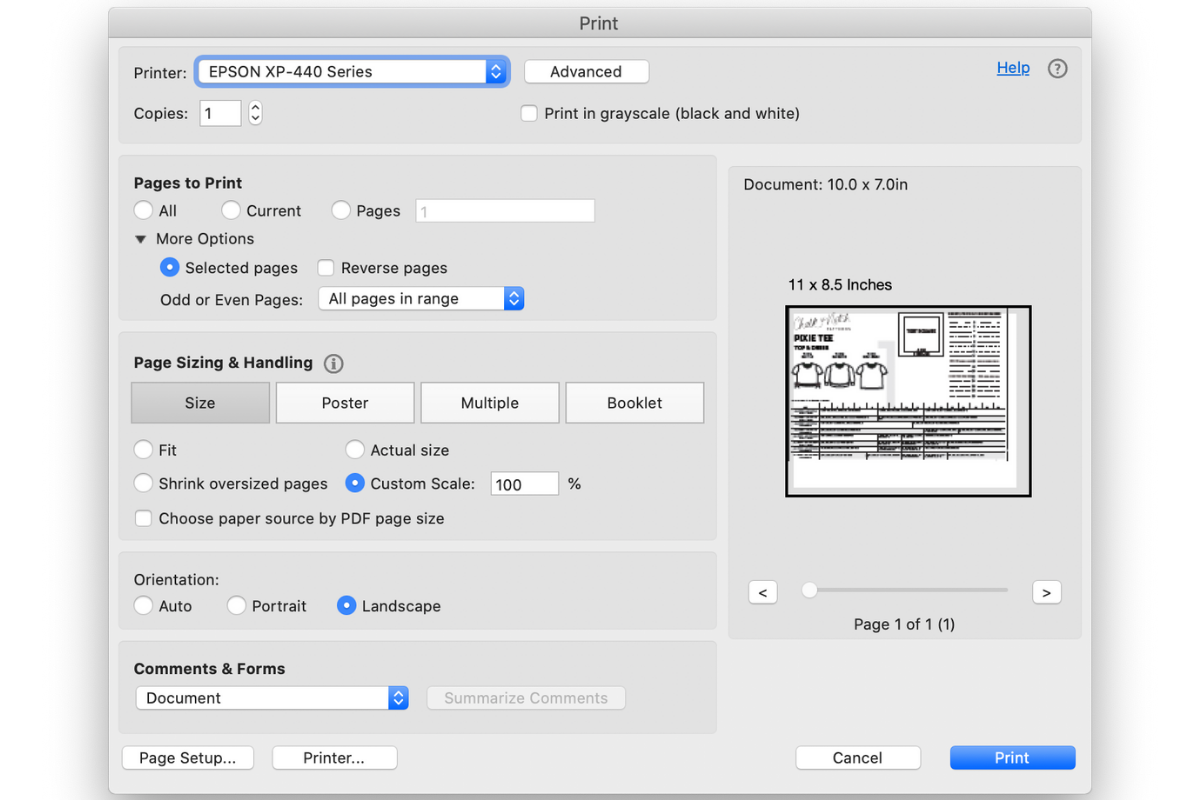
In this example, I’ve selected “landscape” orientation, but you can see in the preview that borders aren’t shown on all four sides.
In this final example, I’ve selected “portrait” orientation. This one would cut off a significant part of the pattern and should never be selected when using Chalk and Notch patterns.

Each printer and computer’s settings may look or behave differently. We always suggest printing just the first page to assess any issues before losing out on precious time or ink.
ASSEMBLING THE PATTERN
Now that your pattern is printed. It’s time to put it together.
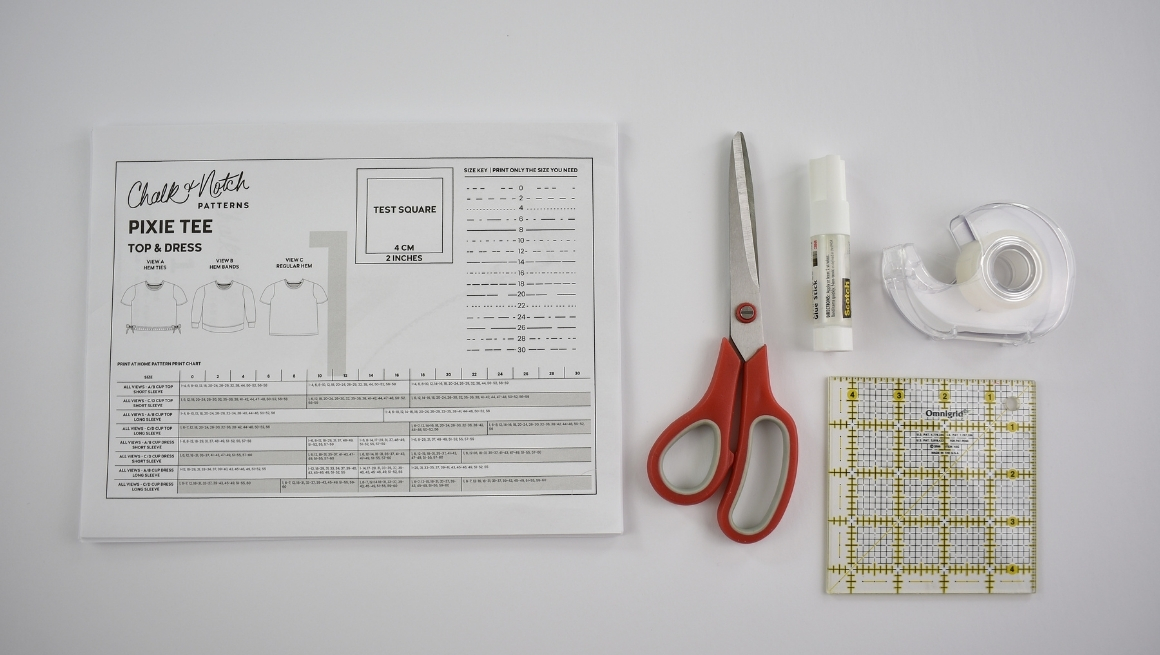
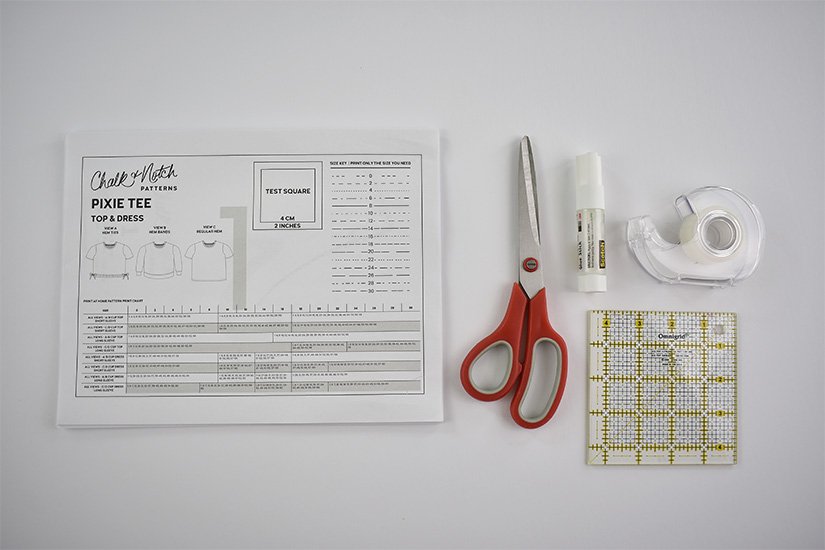
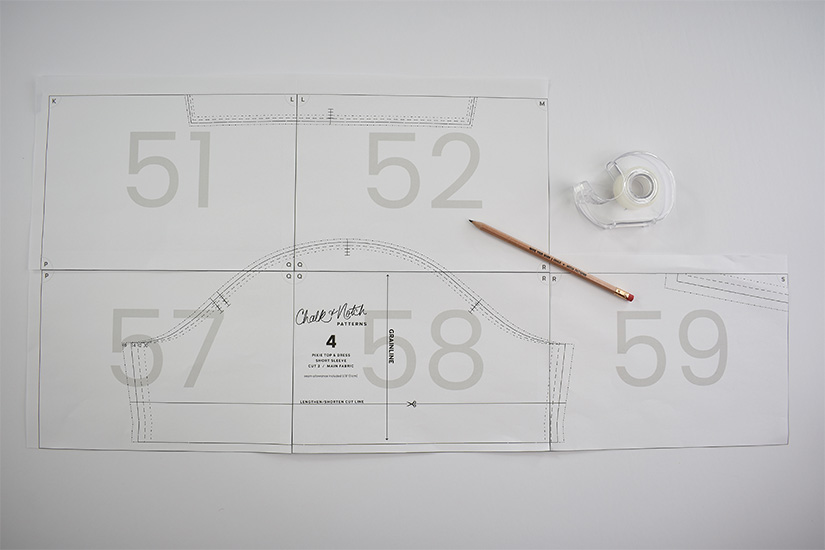
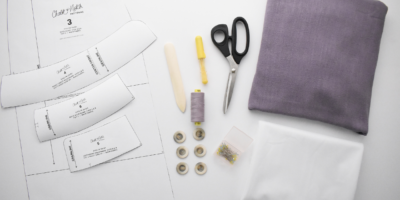
Here’s what you’ll need:
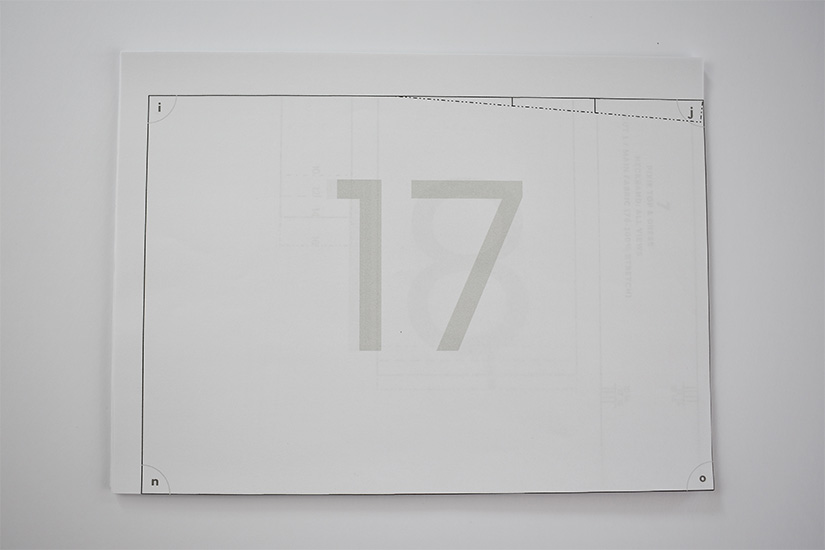
- Printed pattern pages Note: Make sure your printed pages have a border (as shown in the photo below) on all sides.
- Scissors or a rotary cutter
- A glue stick or tape
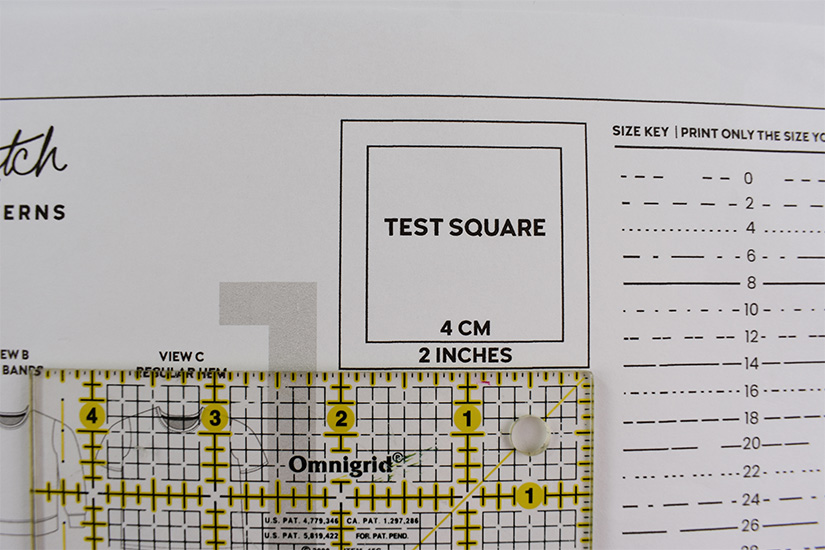
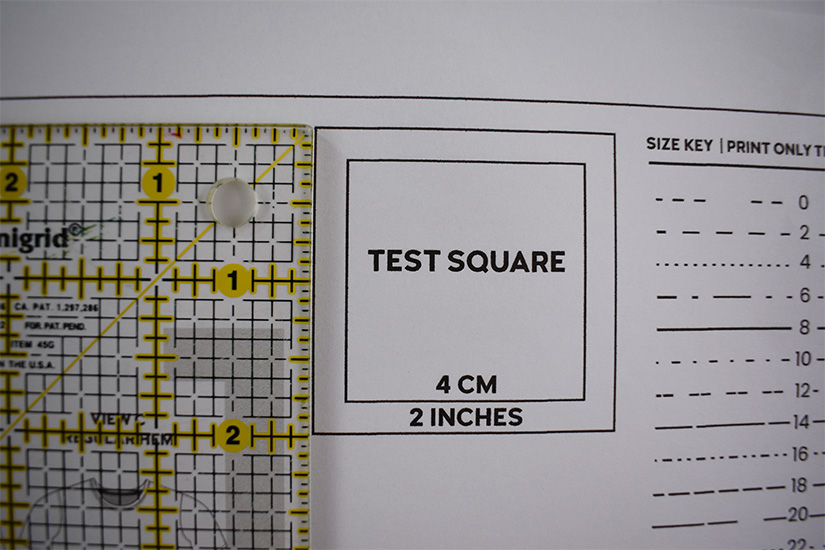
- Ruler for checking test square
Use a ruler or measuring tape to check the test square on each side of the first page. If your test square is off your pattern will not be the correct size.
TRIM PAGES
Trim bottom of paper along the border.
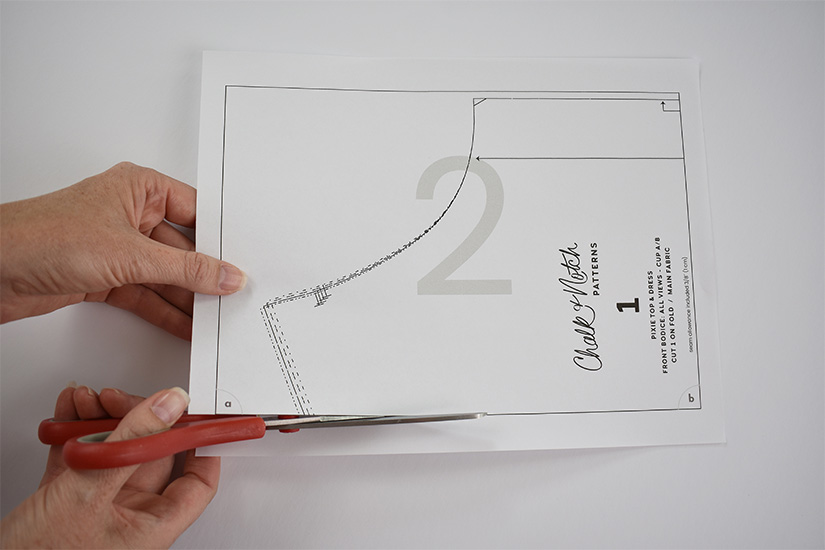
Trim right side of paper along the border edge.
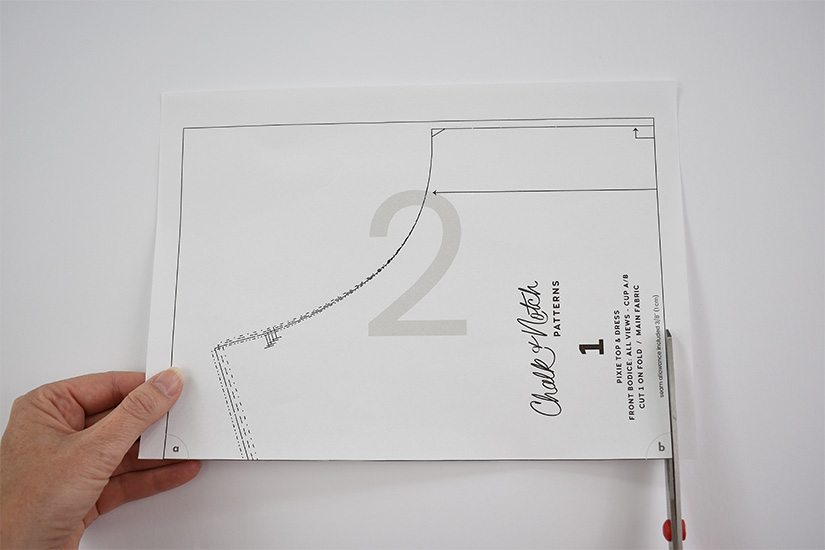
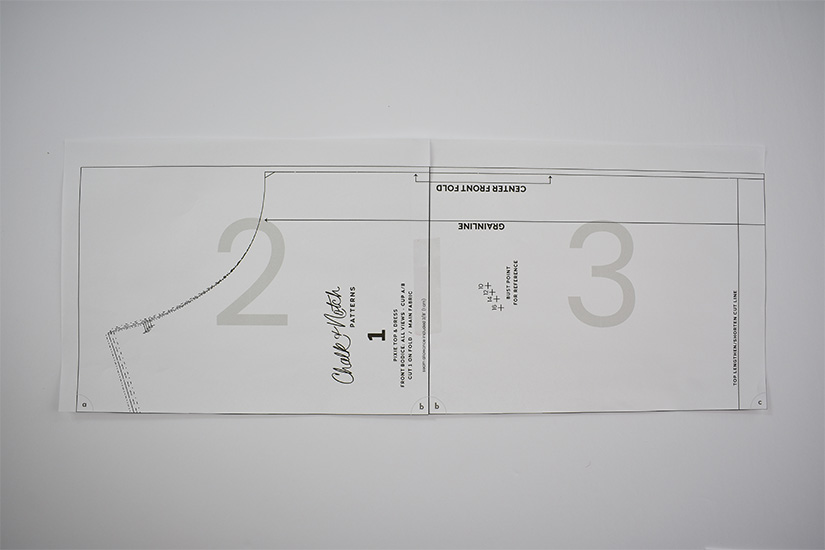
Now your pages should look like this:
ASSEMBLE PAGES
Refer to the taping and cutting layouts included in your pattern tutorial to see how your pages will fit together.
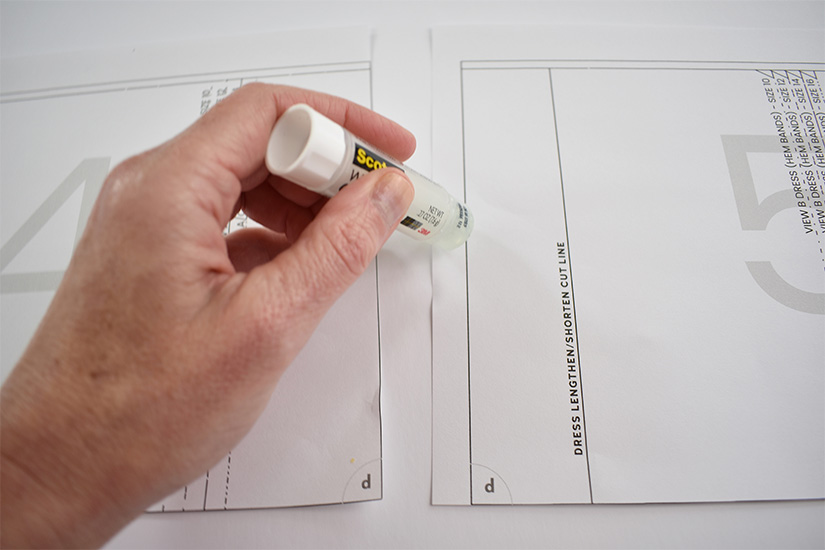
Using a glue stick, apply glue to untrimmed side of your paper.
Alternatively, you can use tape to attach the pages together.
Here’s an example of how your pages should look when taped together.
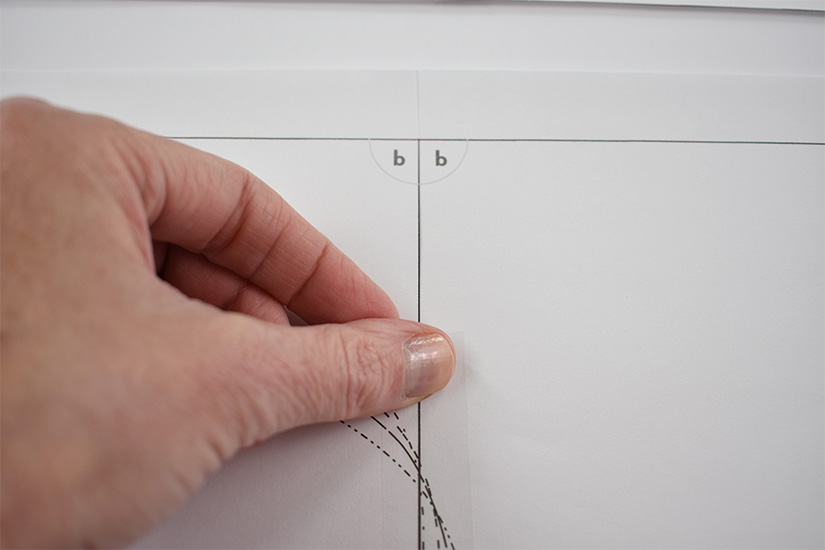
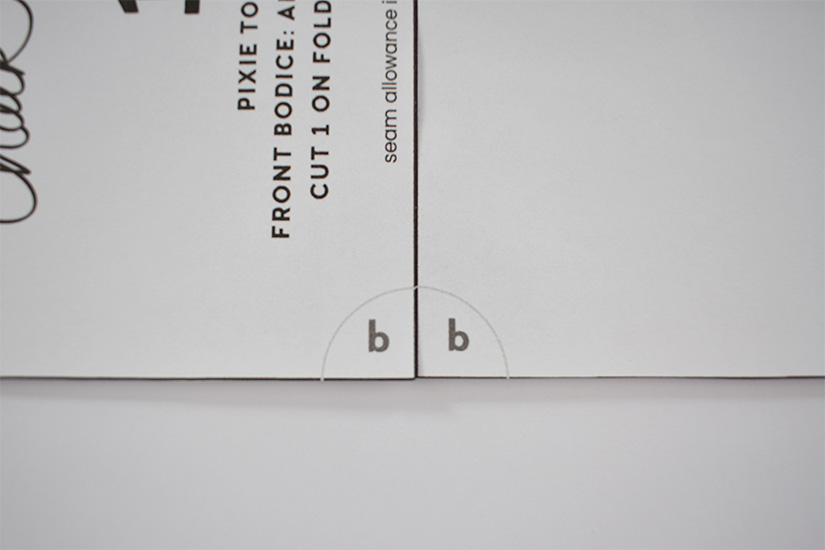
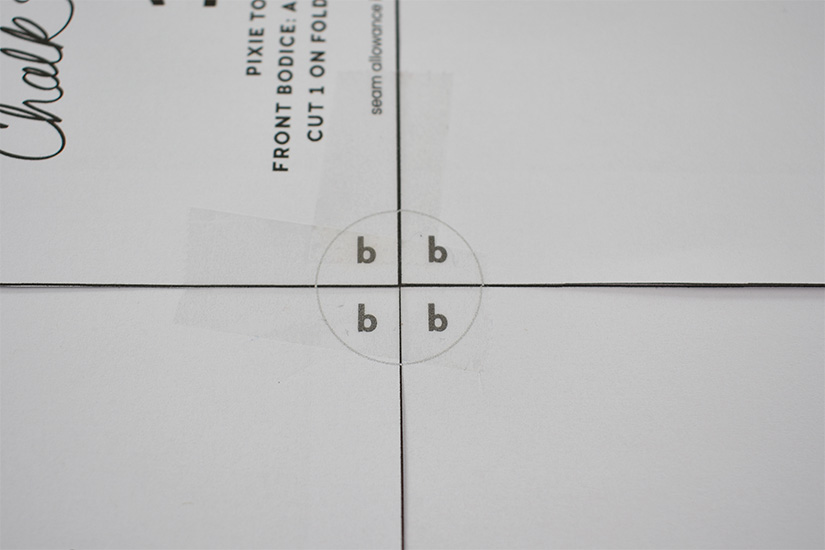
Use the letters and quarter circles in page corners to ensure the pieces are matched together correctly.
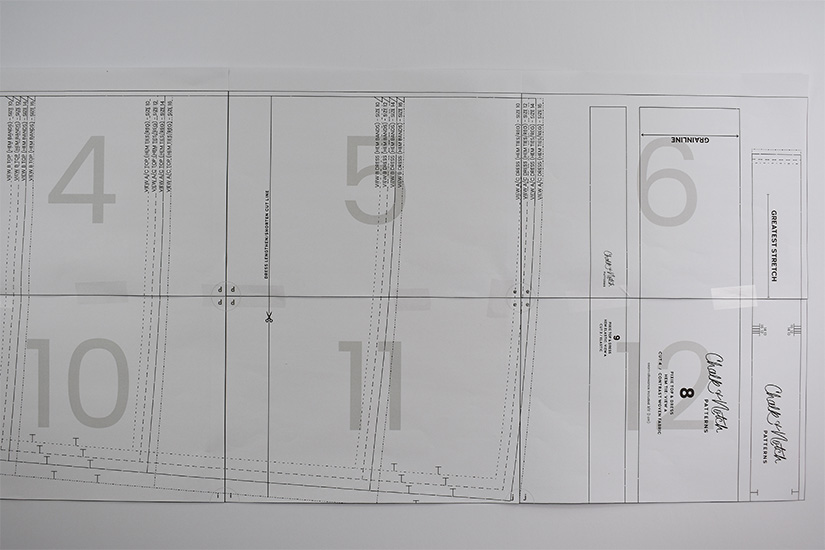
Once your rows are assembled, you can begin attaching them to other rows.
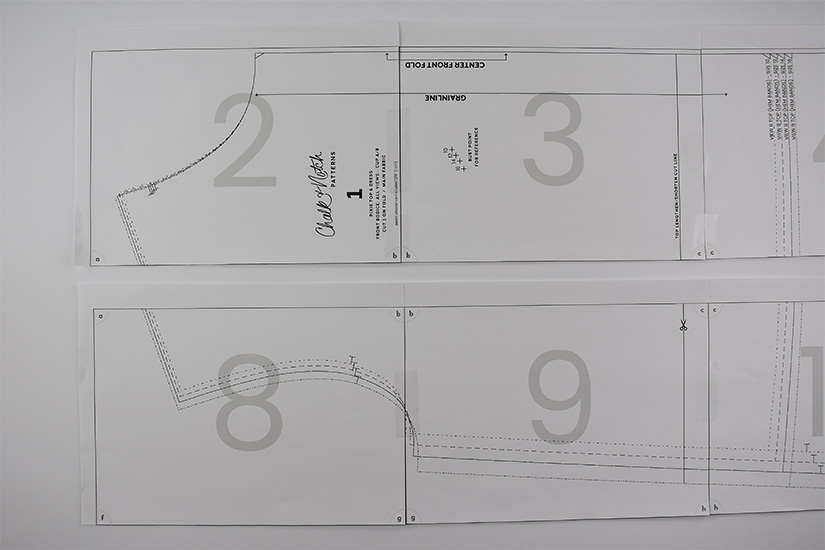
To attach them, overlap top row and tape or glue in place.
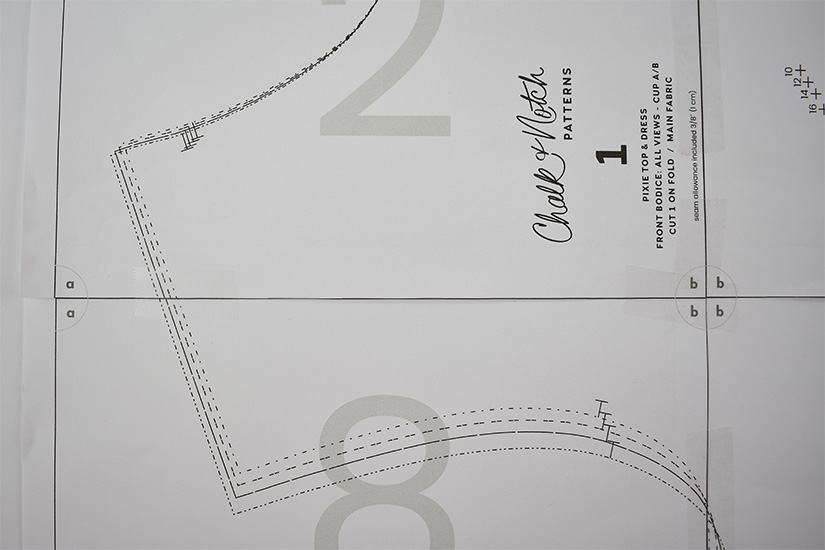
When four pieces are joined correctly, the corners should form a circle.
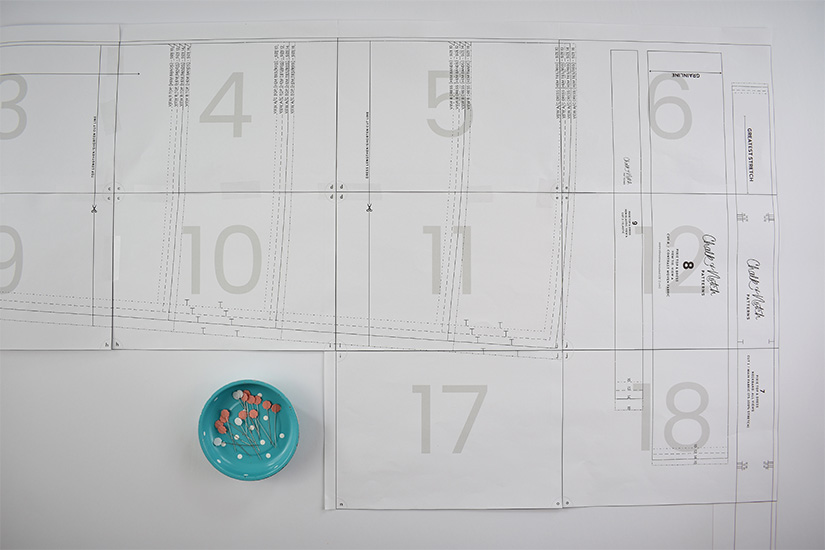
Some of our patterns have different views and you only need to print specific pages for each view. Here’s an example of what this might look like.
Continue attaching pages until all your pieces have been assembled.
That’s it. Once your pages are attached, you’re ready to cut pattern pieces and begin sewing. We hope you found this post helpful! If you have any questions feel free to leave them in the comments below.
