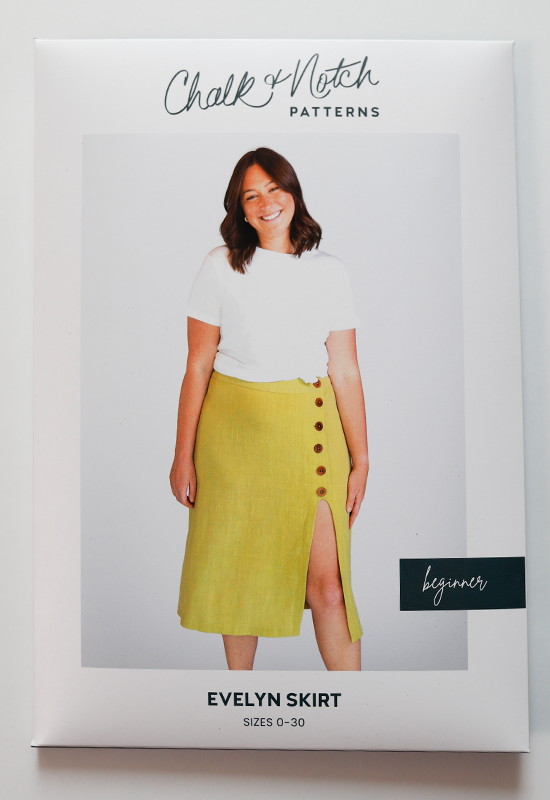
We are happy to be able to bring you a sew along for the Evelyn skirt pattern. We will be sewing Views A and C in the sew-along. View B uses the same construction steps as View A, so if you are sewing View B you’ll also have all of the information you need. This sew along features photos of every step in the sewing process to set you up to make a gorgeous Evelyn skirt! We also have community lead sewing support in our Facebook group, or you can email directly for additional support.
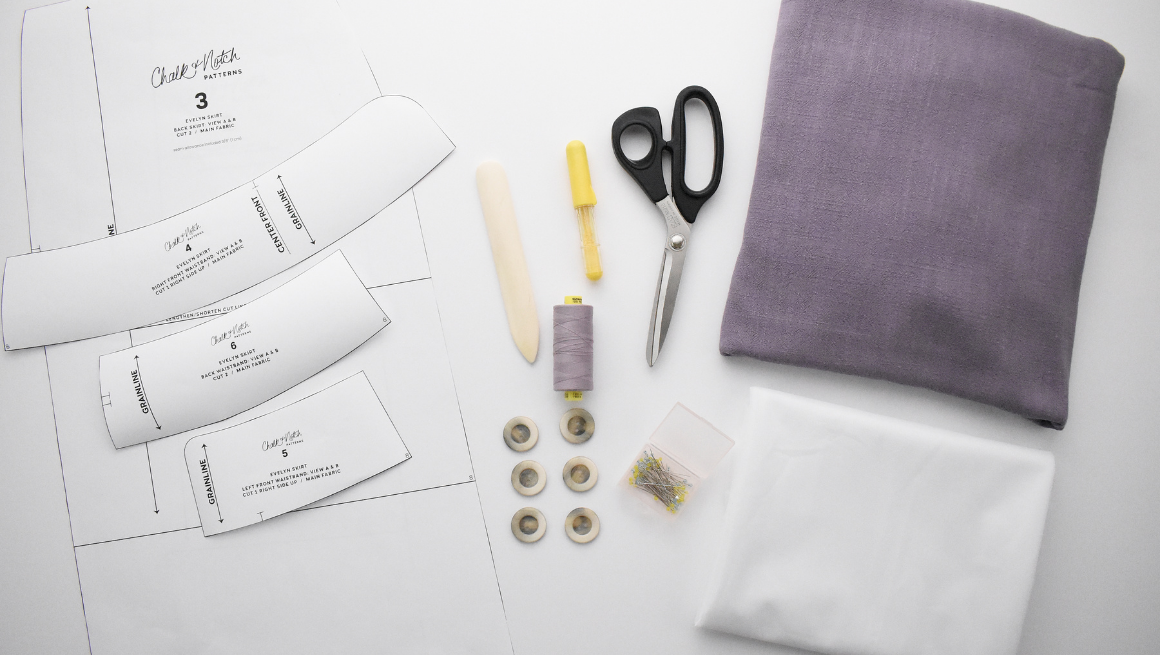
GATHERING SUPPLIES
Before we begin sewing, here’s what you’ll need for your Evelyn:
- The Evelyn pdf pattern in your correct size. If you prefer copy shop patterns and you are located in the US, we recommend printing at pdfplotting.
- Washed and pressed woven fabric. Recommended are light to medium weight woven fabrics, such as Rayon Challis, Rayon Crepe, Rayon Voile, Cotton Lawn, Cotton Voile, Linen, Denim, and Flannel.
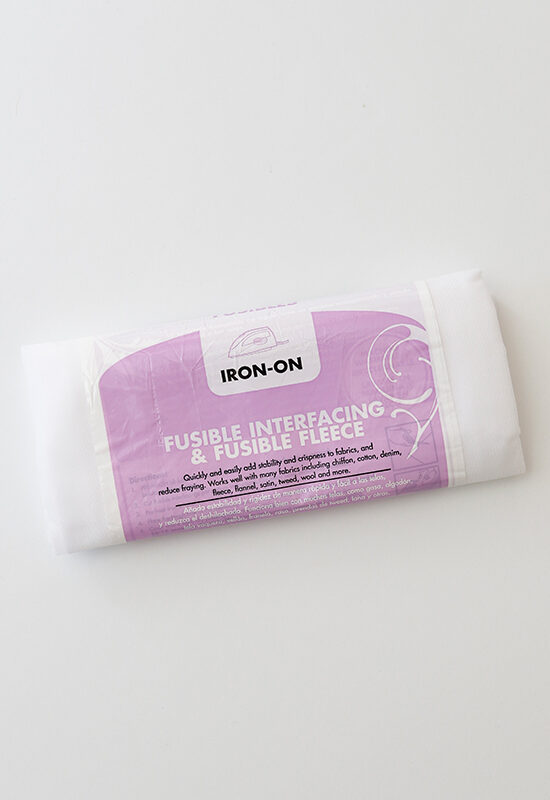
- 1 1/2 yds (1.4 m) of tricot or other lightweight fusible interfacing. We recommend this tricot fusible interfacing from Wawak.
- Six or seven 1” – 1 1/4” (25 – 32 mm) Buttons for the center front – Views A & B
- 1 1/2 yds (1.4 m) of 1 1/2 ” (4 cm) wide Elastic for the waist – View C
- Tailor’s chalk or washable fabric marker
- Point Turner
- Preferred cutting tools: scissors/pins, or rotary cutter/weights
- Pins for sewing
- Thread snips

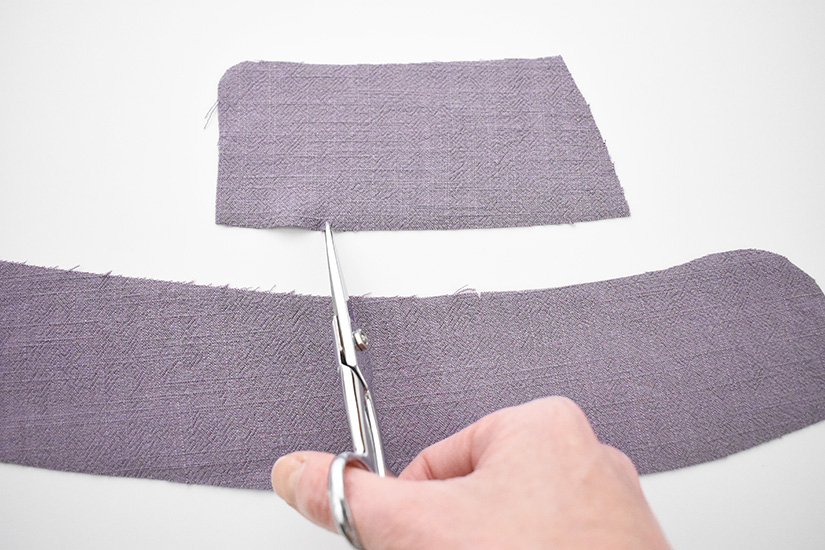
TIPS FOR CUTTING
Make sure you have all of the pattern pieces you need for the view you are sewing. When cutting your fabric and pattern, here are a few important notes to remember:
- Your fabric should be pre-washed the same way you plan to launder your garment.
- Read the information on each pattern piece.
- Grainlines are indicated on the pattern pieces. Place pattern pieces on the grainline, parallel to the selvage or fold.
- If the pattern says “Cut 2,” the pieces are mirror images of each other.
- If the pattern says “Cut on FOLD,” place the pattern edge exactly along the fold of the fabric.
- If the pattern says “Cut 1 Right Side Up,” place the pattern on the right side of the fabric.
- If the pattern says “Cut 1 Fusible Side Up,” place the pattern on the glued side of the interfacing.
- Clip all notches at 1/4” (0.6 cm) or less.
- Transfer all pattern markings to your fabric with a washable marker or chalk.
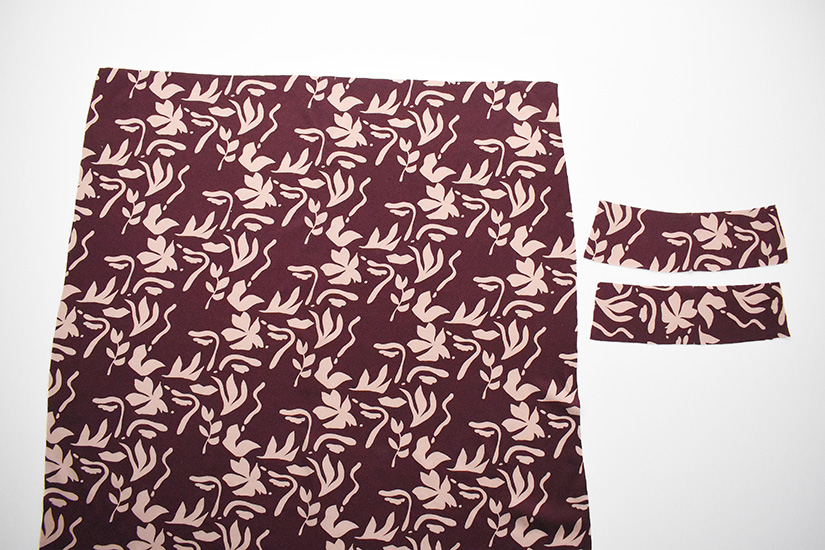
VIEW A CUT LISTS
View A is a button front midi length skirt.
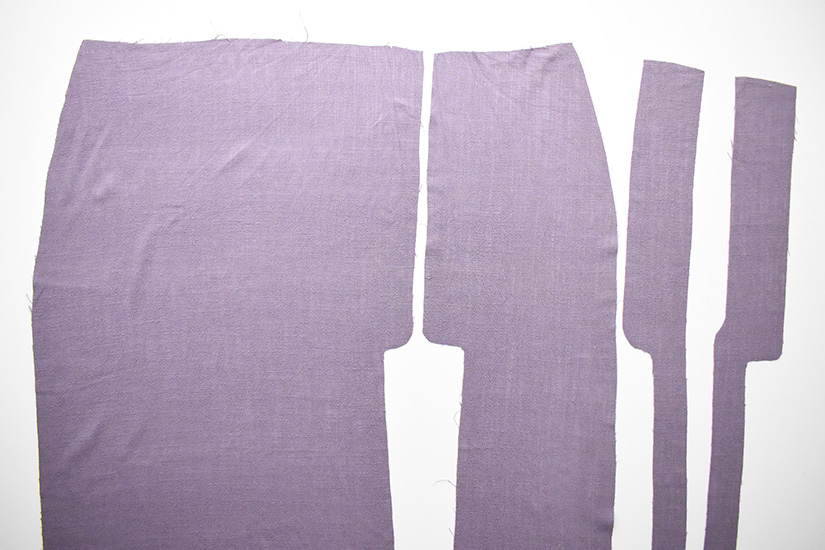

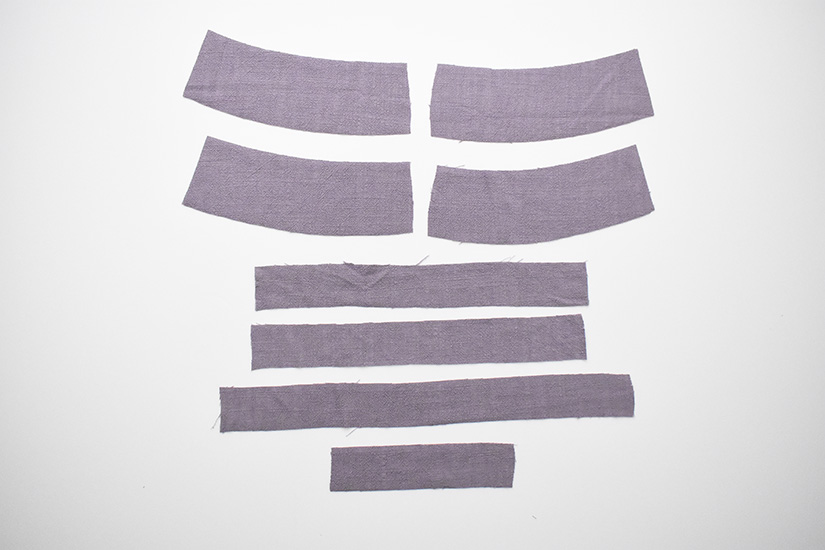
MAIN CUT LIST
- #1 RIGHT FRONT SKIRT – CUT 1 RIGHT SIDE UP
- #2 LEFT FRONT SKIRT – CUT 1 RIGHT SIDE UP
- #3 BACK SKIRT – CUT 2
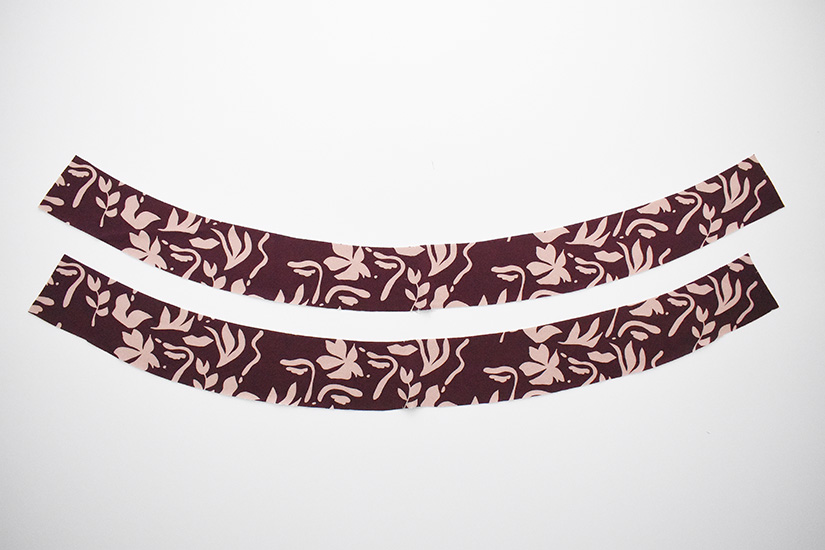
- #4 RIGHT FRONT WAISTBAND – CUT 1 RIGHT SIDE UP
- #5 LEFT FRONT WAISTBAND – CUT 1 RIGHT SIDE UP
- #6 BACK WAISTBAND – CUT 2
- #7 R. FRONT WAISTBAND FACING – CUT 1 RIGHT SIDE UP
- #8 L. FRONT WAISTBAND FACING – CUT 1 RIGHT SIDE UP
- #9 BACK WAISTBAND FACING – CUT 2
- #10 R. FRONT SLIT FACING – CUT 1 RIGHT SIDE UP
- #11 L. FRONT SLIT FACING – CUT 1 RIGHT SIDE UP
- #12 R. FRONT HEM FACING – CUT 1 RIGHT SIDE UP
- #13 L. FRONT HEM FACING – CUT 1 RIGHT SIDE UP
- #14 BACK HEM FACING – CUT 2
FUSIBLE CUT LIST
- #7 R. FRONT WAISTBAND FACING – CUT 1 FUSIBLE SIDE UP
- #8 L. FRONT WAISTBAND FACING – CUT 1 FUSIBLE SIDE UP
- #9 BACK WAISTBAND FACING – CUT 2
- #10 R. FRONT SLIT FACING – CUT 1 FUSIBLE SIDE UP
- #11 L. FRONT SLIT FACING – CUT 1 FUSIBLE SIDE UP
- #12 R. FRONT HEM FACING – CUT 1 FUSIBLE SIDE UP
- #13 L. FRONT HEM FACING – CUT 1 FUSIBLE SIDE UP
- #14 BACK HEM FACING – CUT 2
If your fabric is light weight you can add fusible to your waistband pieces #4, #5 & #6.
TEMPLATE CUT LIST
- #29 BUTTONHOLE TEMPLATE
- #30 BUTTON TEMPLATE
VIEW B CUT LISTS
View B is a button front mini length skirt.
MAIN CUT LIST
- #1 RIGHT FRONT SKIRT – CUT 1 RIGHT SIDE UP
- #2 LEFT FRONT SKIRT – CUT 1 RIGHT SIDE UP
- #3 BACK SKIRT – CUT 2
- #4 RIGHT FRONT WAISTBAND – CUT 1 RIGHT SIDE UP
- #5 LEFT FRONT WAISTBAND – CUT 1 RIGHT SIDE UP
- #6 BACK WAISTBAND – CUT 2
- #7 R. FRONT WAISTBAND FACING – CUT 1 RIGHT SIDE UP
- #8 L. FRONT WAISTBAND FACING – CUT 1 RIGHT SIDE UP
- #9 BACK WAISTBAND FACING – CUT 2
- #15 R. FRONT SLIT FACING – CUT 1 RIGHT SIDE UP
- #16 L. FRONT SLIT FACING – CUT 1 RIGHT SIDE UP
- #17 R. FRONT HEM FACING – CUT 1 RIGHT SIDE UP
- #18 L. FRONT HEM FACING – CUT 1 RIGHT SIDE UP
- #19 BACK HEM FACING – CUT 2
FUSIBLE CUT LIST
- #7 R. FRONT WAISTBAND FACING – CUT 1 FUSIBLE SIDE UP
- #8 L. FRONT WAISTBAND FACING – CUT 1 FUSIBLE SIDE UP
- #9 BACK WAISTBAND FACING – CUT 2
- #15 R. FRONT SLIT FACING – CUT 1 FUSIBLE SIDE UP
- #16 L. FRONT SLIT FACING – CUT 1 FUSIBLE SIDE UP
- #17 R. FRONT HEM FACING – CUT 1 FUSIBLE SIDE UP
- #18 L. FRONT HEM FACING – CUT 1 FUSIBLE SIDE UP
- #19 BACK HEM FACING – CUT 2
If your fabric is light weight you can add fusible to your waistband pieces #4, #5 & #6.
TEMPLATE CUT LIST
- #29 BUTTONHOLE TEMPLATE
- #30 BUTTON TEMPLATE
VIEW C CUT LISTS
View C is an elastic waist midi length skirt.
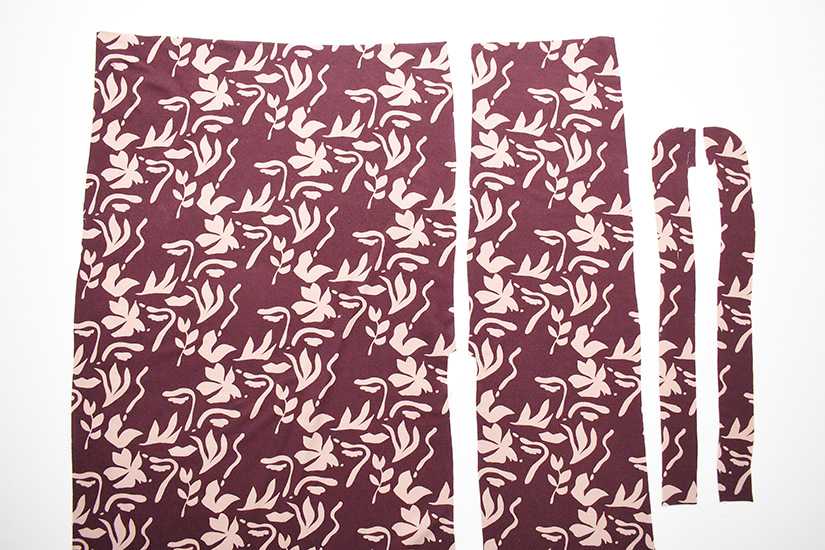
MAIN CUT LIST
- #20 RIGHT FRONT SKIRT – CUT 1 RIGHT SIDE UP
- #21 LEFT FRONT SKIRT – CUT 1 RIGHT SIDE UP
- #22 BACK SKIRT – CUT 1 ON FOLD
- #23 FRONT WAISTBAND – CUT 1 ON FOLD
- #24 BACK WAISTBAND – CUT 1 ON FOLD
- #25 FRONT WAISTBAND FACING – CUT 1 ON FOLD
- #26 BACK WAISTBAND FACING – CUT 1 ON FOLD
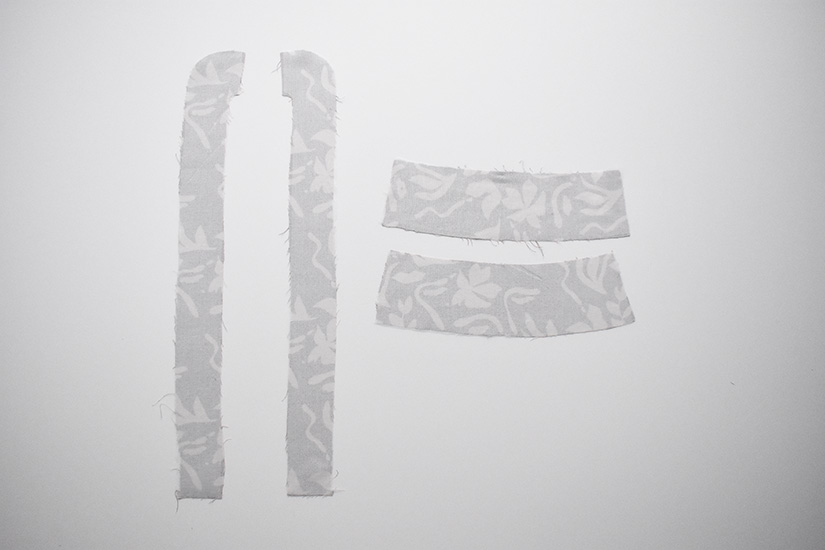
- #27 FRONT SLIT FACING – CUT 2
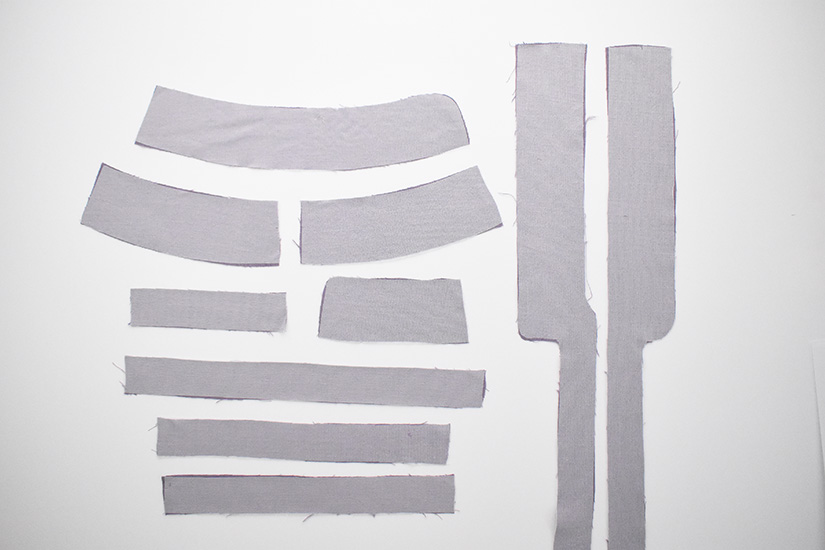
FUSIBLE CUT LIST
- #23 FRONT WAISTBAND – CUT 1 ON FOLD
- #25 FRONT WAISTBAND FACING – CUT 1 ON FOLD
- #27 FRONT SLIT FACING – CUT 2
NOTIONS CUT LIST
- #28 1 1/2” WAIST ELASTIC – CUT 1
SEAM ALLOWANCE & MARKINGS
Unless noted, the seam allowance included is 3/8” (1 cm) for joined seams. For Views A & B, the center back includes 3/4” (2 cm) seam allowances to help with any custom adjustments. Clip or mark the notches indicated by “T” marks and “triangles”.
ATTACHING FUSIBLE
VIEWS A & B
Attach the fusible interfacing to the wrong side of the waistband facings, the slit facings and the hem facing pieces. If your fabric is light weight you can add fusible to your waistband pieces too. You can block fuse a piece of fabric and cut the pattern pieces from fabric already bonded with fusible. Tricot fusible interfacing is recommended, but you can use any lightweight fusible interfacing.
VIEW C
Attach the fusible interfacing to the wrong side of the slit facings, front waistband and the front waistband facing.
Next, we’ll sew the side seams, hem and slit facings for Views A &B. If you are sewing View C, skip ahead two posts where we’ll start with sewing the front seams, slit facing, side seams, and prepping the waistband.
Evelyn Sew Along Posts | Getting Started | Sew Skirt Seams & Facings of Views A&B | Sew Waistband & Buttons of Views A&B | Sew Skirt Seams, & Waistband of View C | Attach Waistband, Sew Slit Facing & Hem View C


