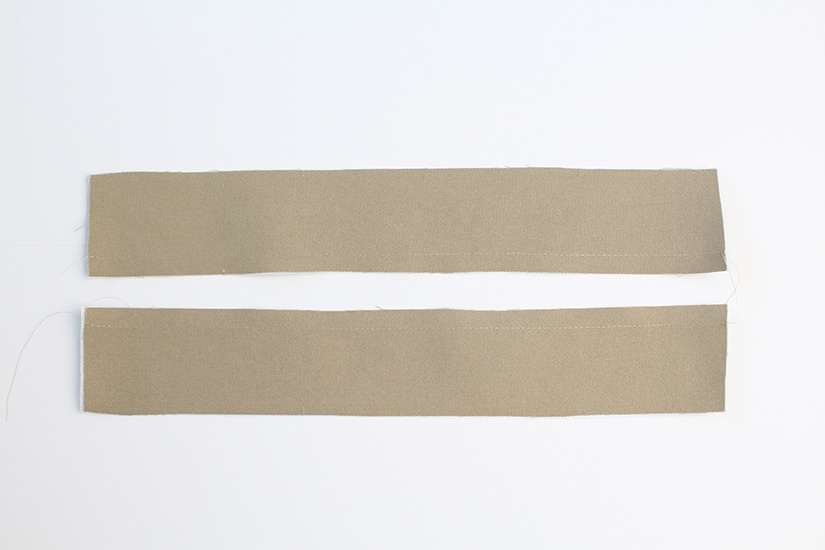
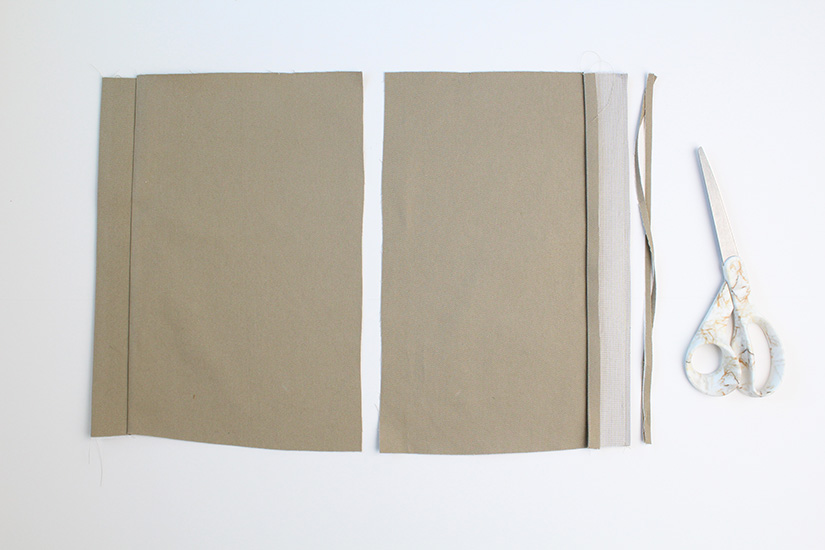
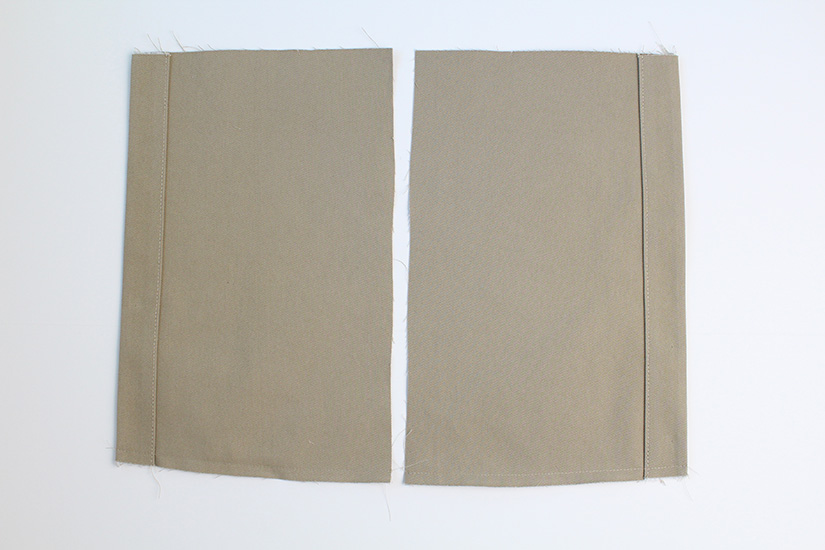
PREP THE SIDE POCKETS
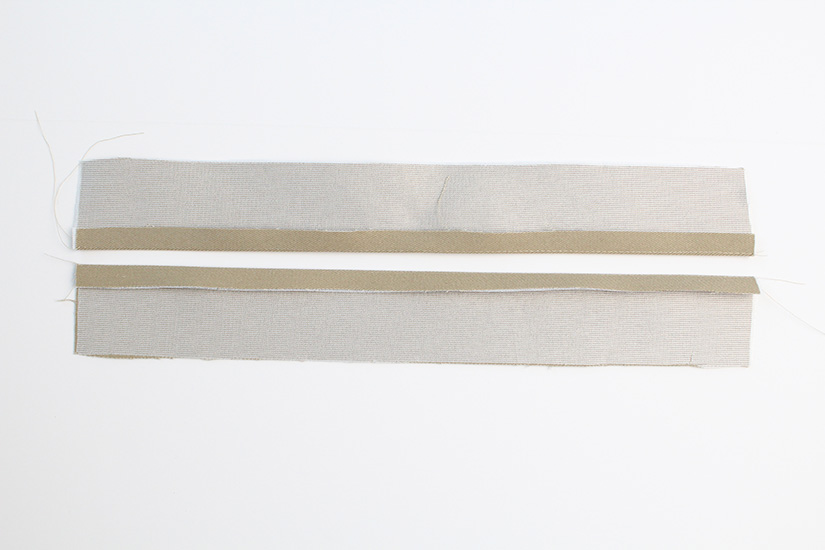
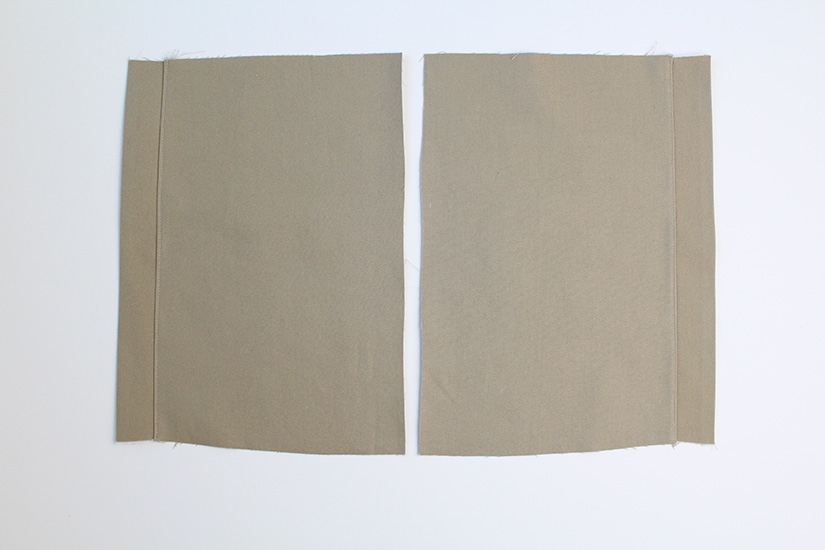
Sew a fold guide on the side pocket facing on the long side without notches, just under 3/8″ (1 cm).
Press the edge in 3/8″ (1 cm), wrong sides together. The pocket facing will end up on the right side of the pocket.
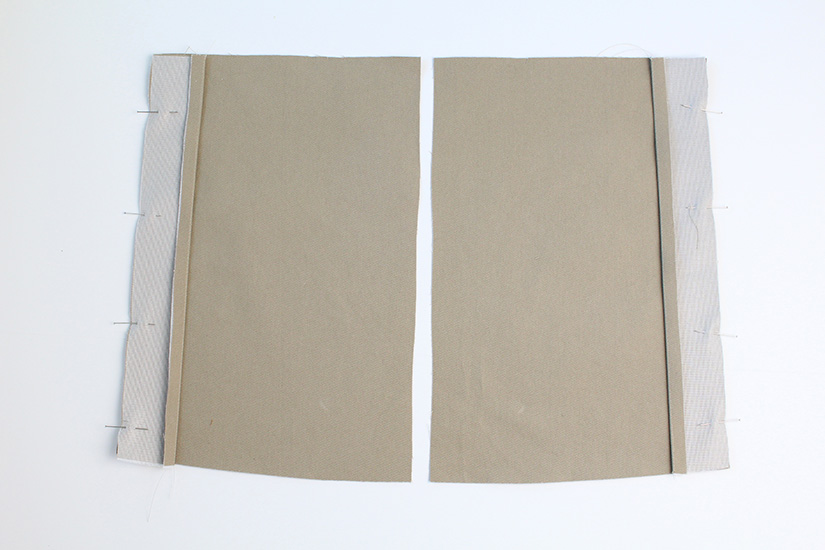
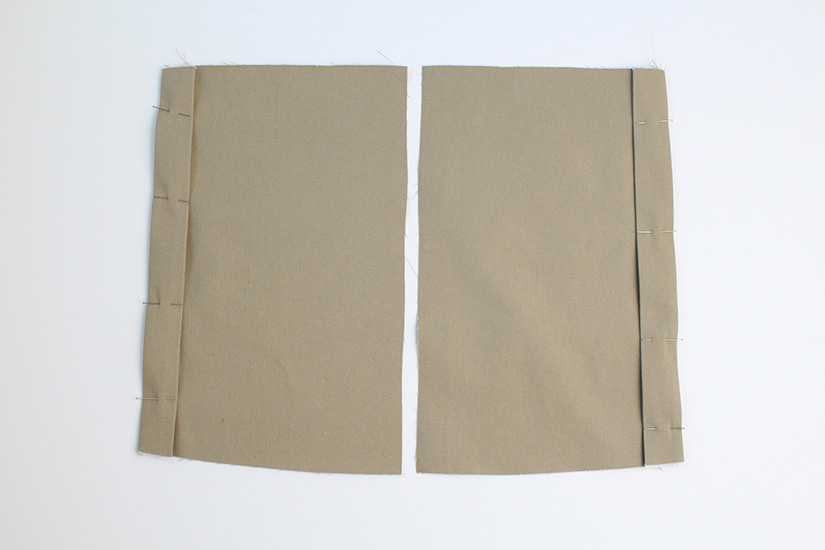
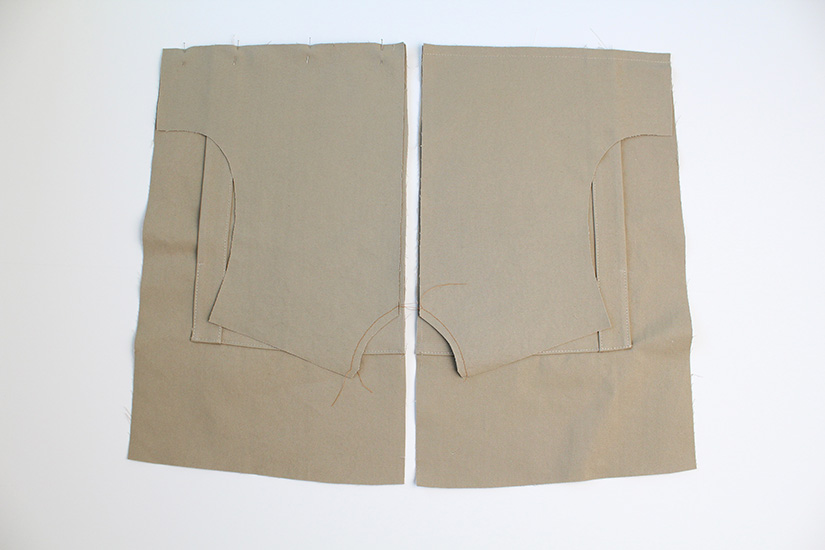
SEW THE SIDE POCKET FACING TO THE SIDE POCKET
Place the side pocket wrong side up. Place the side pocket facing right side down on the side pocket, matching the notches. Pin.
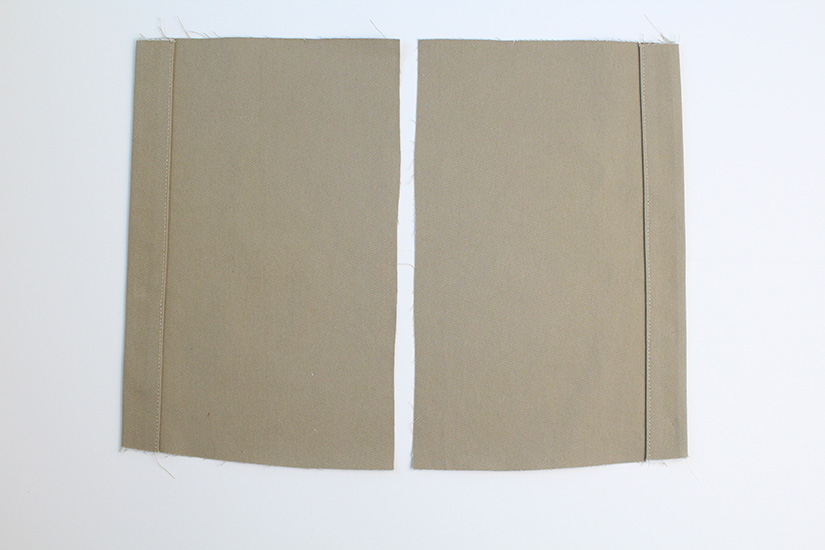
Sew the seam. Trim the seam allowance to half and press the seam allowance towards the pocket.
Understitch the pocket facing by stitching a line 1/16″ (0.15 cm) way from the seam on the pocket.
Flip the side pockets right side up. Pin the folded edge of the pocket facing in place.
Topstitch in place. You can use topstitching thread when topstitching is called for or regular all-purpose thread. For added detail, you have the option to add a second row of topstitching.
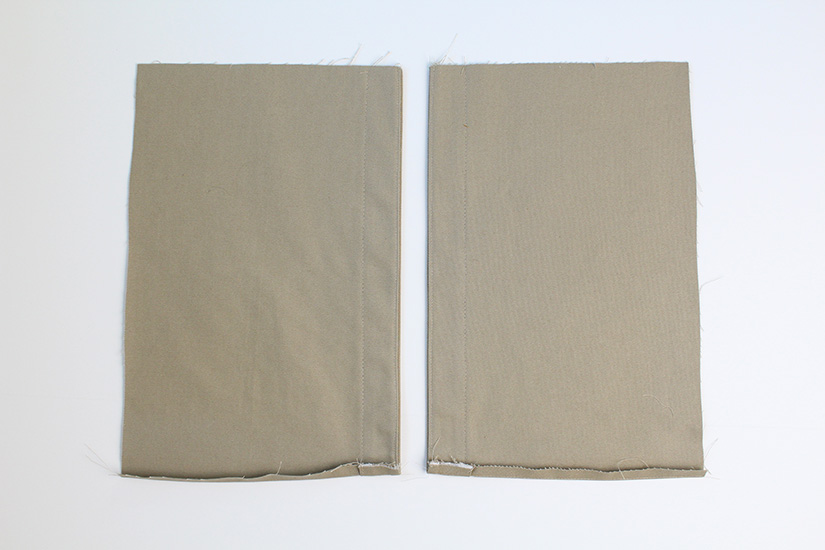
PREP THE SIDE POCKET HEM
Sew a fold guide on the bottom of the side pockets, just under 3/8″ (1 cm).
Press the edge in 3/8″ (1 cm), wrong sides together.
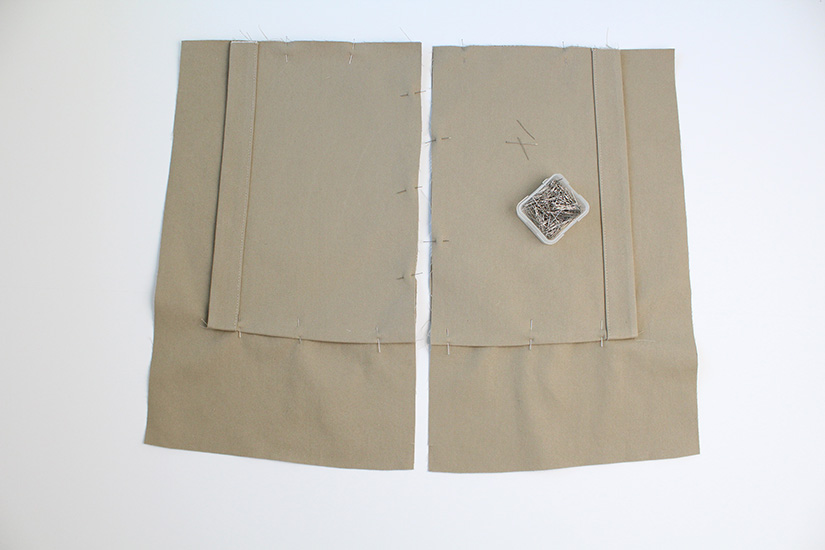
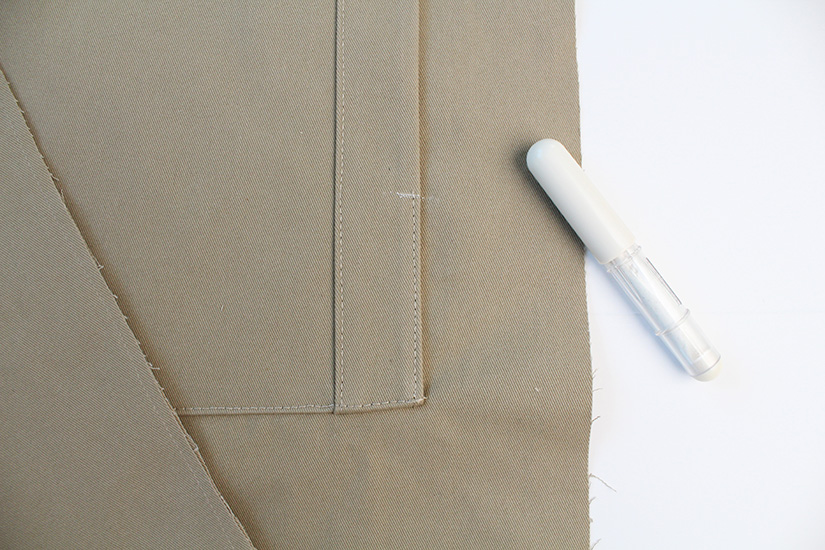
ATTACH THE SIDE POCKETS TO THE LOWER FRONT
With the lower front right side up, place the side pockets on top, matching the center front corners and the top notch. Pin in place while folding under the bottom hem of the pocket.
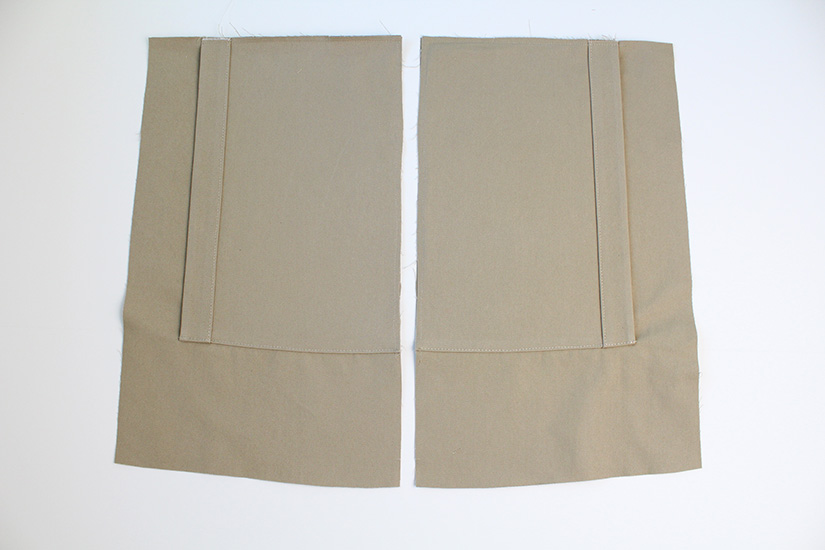
Sew the top and center front with a 1/4″ (0.6 cm) seam. Sew the pocket hem with one or two rows of topstitching.
TOPSTITCH THE LOWER CORNER OF THE POCKETS – HIP LENGTH ONLY
To prevent anything from falling out of your side pockets (recommended for the hip length), sew additonal topstitching at the lower corners. Measure 3″ (6.5 cm) from the pocket hem. Sew with one or two rows of topstitching to match your pocket topstitching.
SEW THE DARTS ON THE C/D BODICE
If sewing the C/D cup bodice option, sew the bust darts to the upper front and front lining. Press the bust dart bulk up. For more dart sewing guidance, check out our How to Sew Darts post at this link.
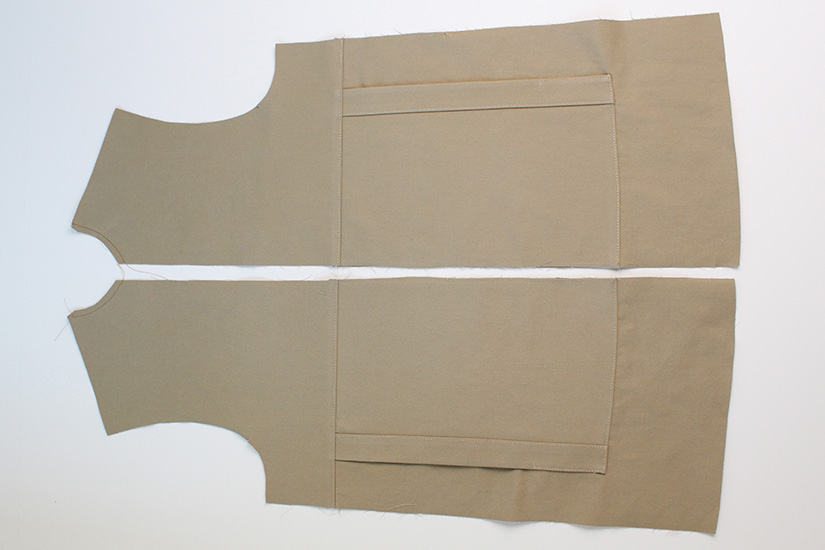
SEW THE UPPER FRONT TO THE LOWER FRONT
With the right sides together, pin and sew the upper front to the lower front.
Finish the seam and press the seams up.
Optional: Topstitch the seam at 1/4″ (0.6 cm) from the seam edge.
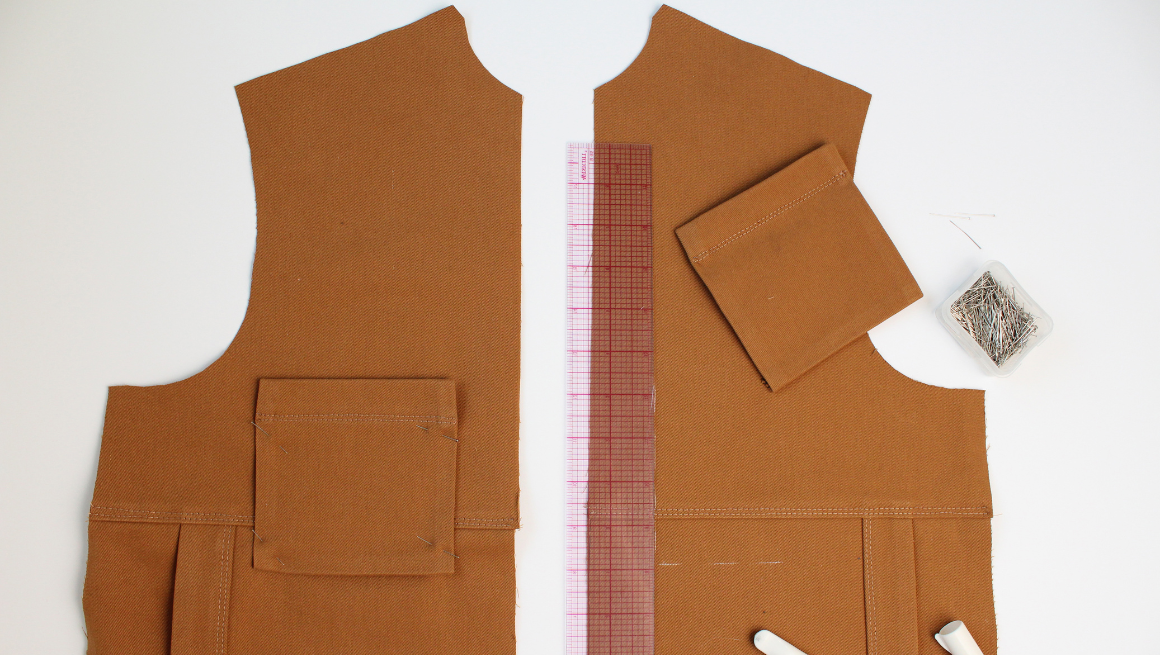
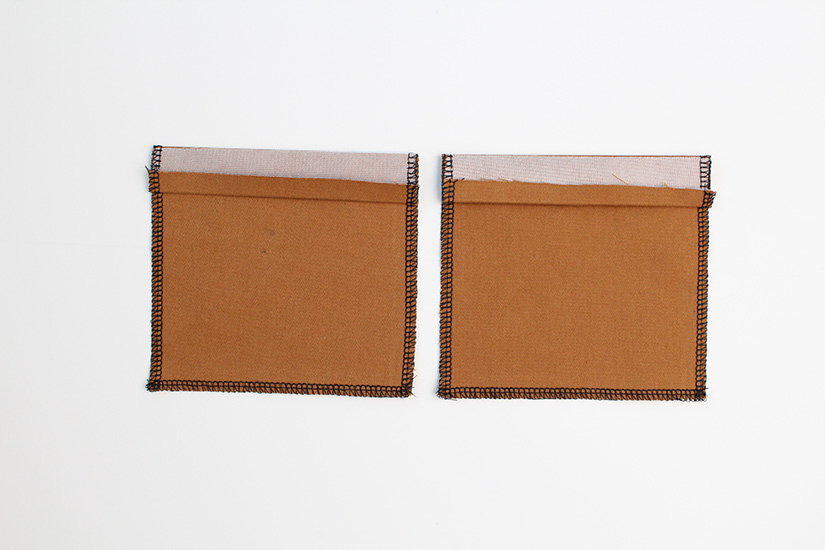
PREP THE PATCH POCKETS
Optional: Finish the sides and bottom of the patch pockets.

Press the top edge in 3/8″ (1 cm) wrong sides together.
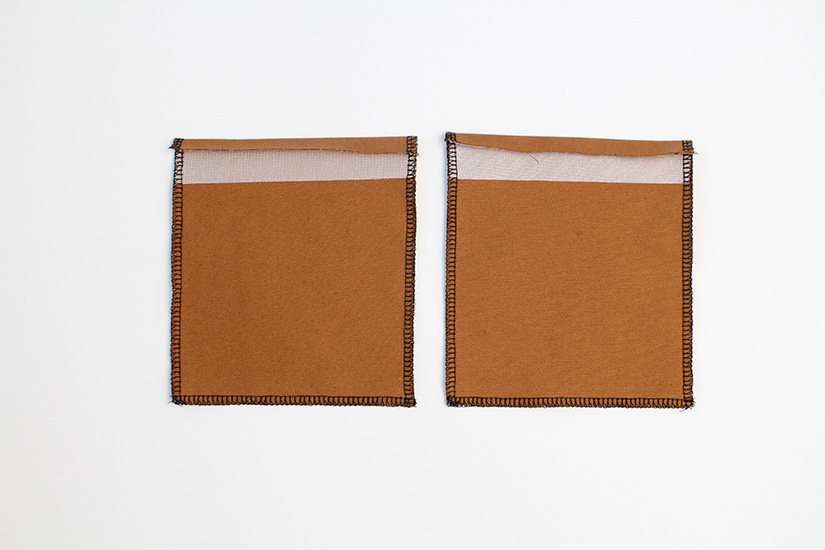
Flip the pocket over so the fabric is right side up. Fold back 1″ (2.5 cm) at the fusible/notch line, right sides together and press.
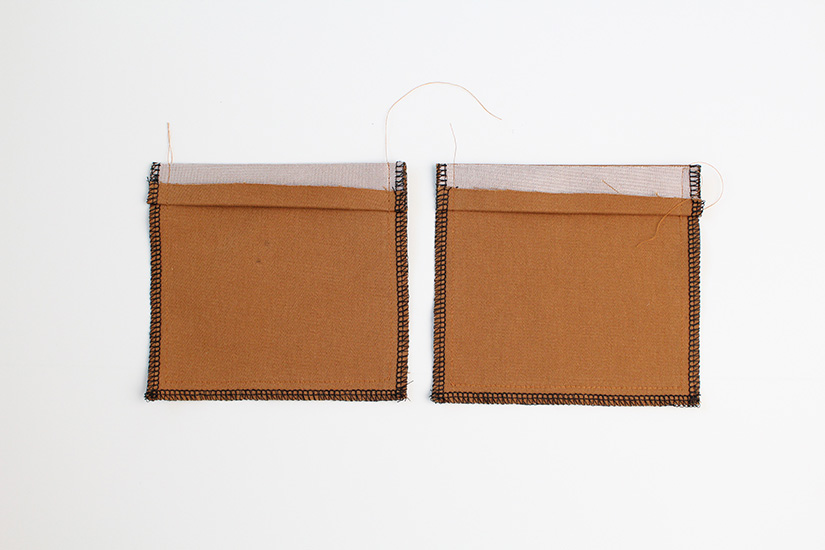
Stitch at 3/8″ (1 cm) around the sides and bottom of the pocket. This will secure the top hem and act as a fold guide.
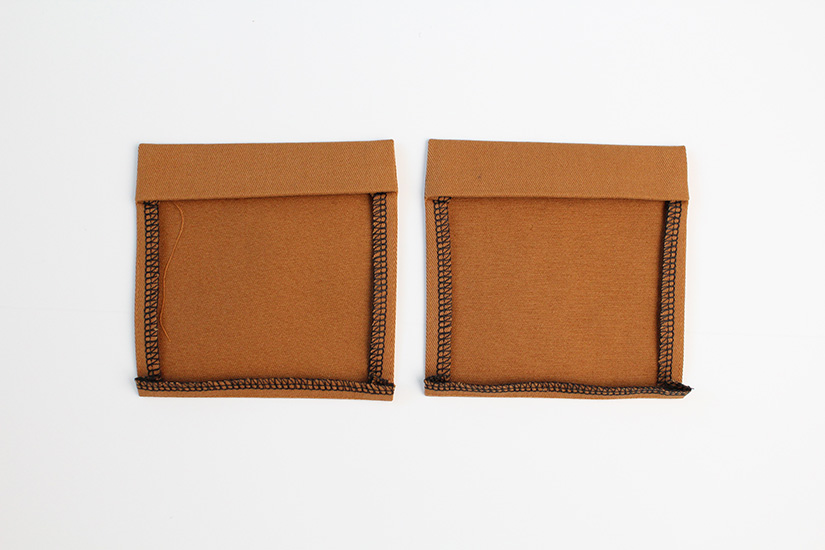
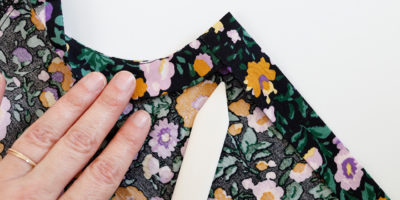
Flip the top hem right side out, a point turner can be helpful here. Press in the side seams and hem 3/8″ (1 cm).
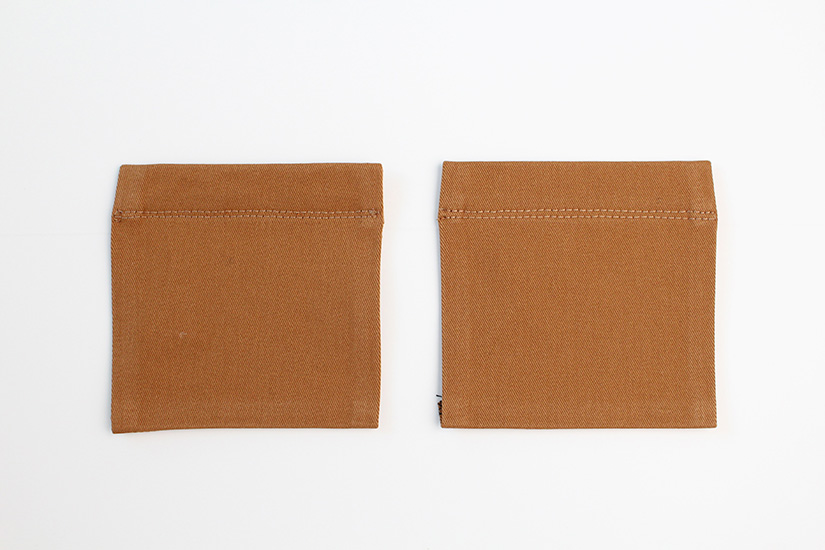
Topstitch the top hem. Repeat for the other pocket.
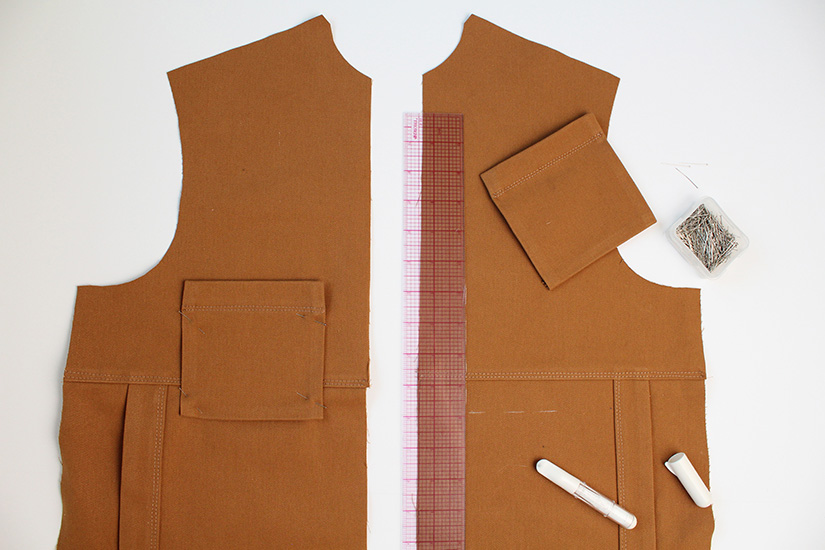
MEASURE & PIN THE PATCH POCKETS IN PLACE
Measuring the pocket is the best way to make sure your placement is even. Measure 1.5″ (4 cm) in from the center front and 1″ (2.5 cm) down from the bodice horizontal seam. Pin the pockets in place and make sure both sides are even. This will be a bit trickier if sewing the C/D cup since your pattern piece will have shape. If sewing a smaller size, double check that you have at least 3/8″ (1 cm) clearance at the armhole.
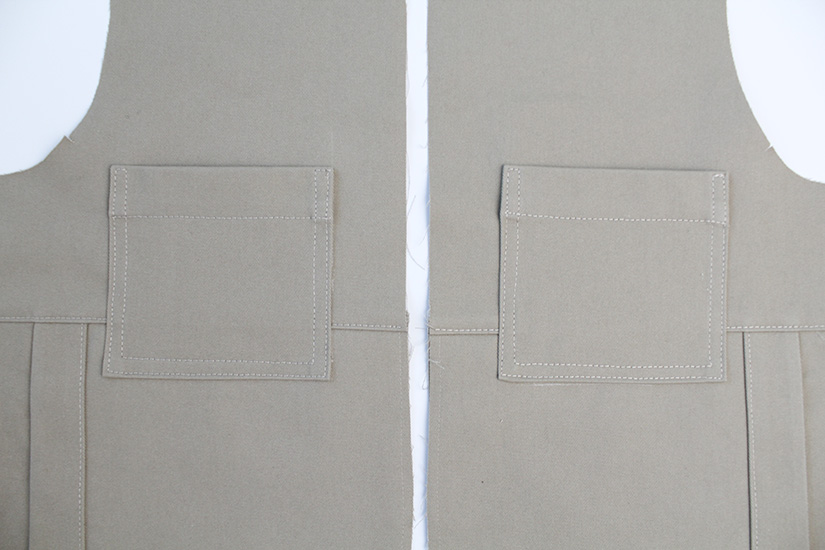
SEW THE PATCH POCKETS
Edgestitch the pockets in place and then topstitch the pockets at 1/2″ (1.25 cm) to enclose the seam allowance. Sew both rows of stitching in one step by following these steps: Starting at the top right, edgestitch around the pocket and then come back down for the interior topstitch line back to the start. Press the pockets.
Den Sew Along Posts | Getting Started | Staystitching, Interfacing, and Collar | Sew and Attach Pockets | Sew Yoke, Shoulders and Sleeves | Prepare and Sew Optional Lining | Sew Front Placket and Hem | Attach Collar and Topstitch Placket | Adding Snaps or Buttons
