We’re going to continue by sewing our waistband and attaching it to our skirt. We’ll finish our skirt by adding the buttonholes and buttons.
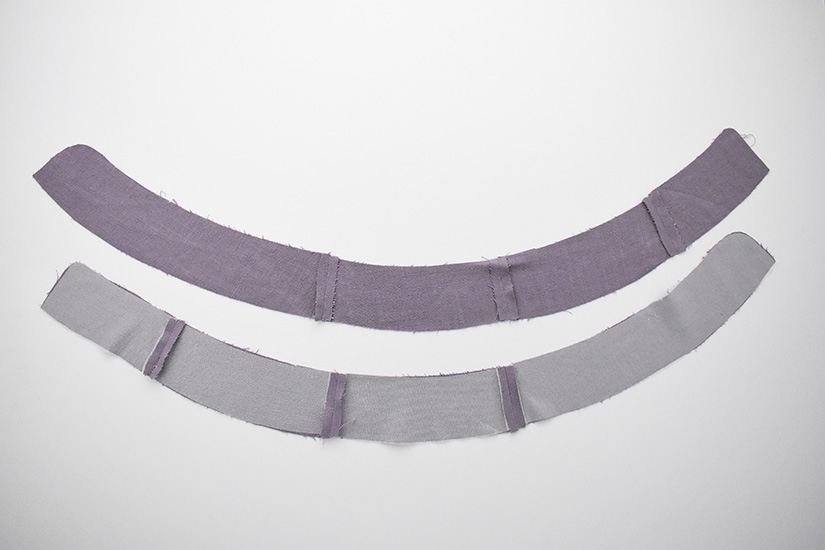
SEW THE WAISTBANDS AT THE SIDE SEAMS
There is a waistband and waistband facing. The waistband facing is 1/8” (0.3 cm) shorter to help it roll to the inside of the skirt. The waistbands have one notch at the side seams and may have fusible. The waistband facings have two notches at the side seams, fusible on the wrong side and notches at the bottom edge. With the right sides together, sew the front waistbands to the back waistbands at the side seams. Press the seams open. Repeat for the waistband facings.
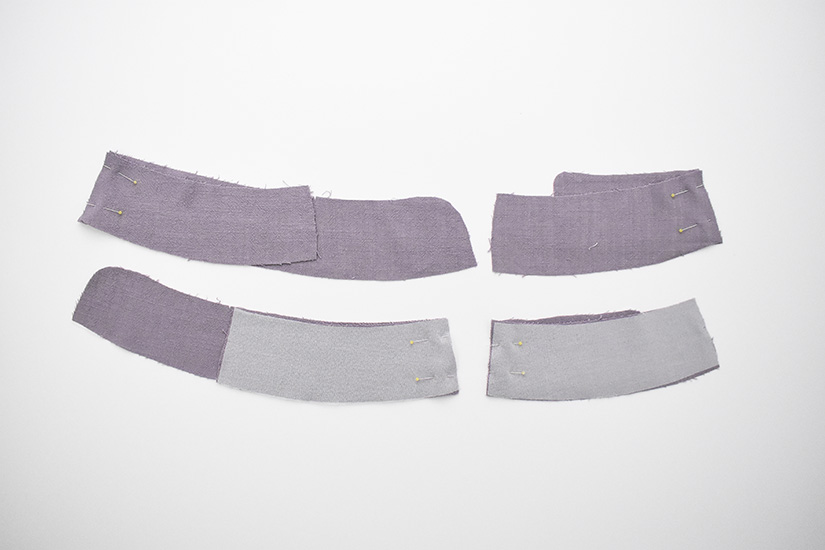
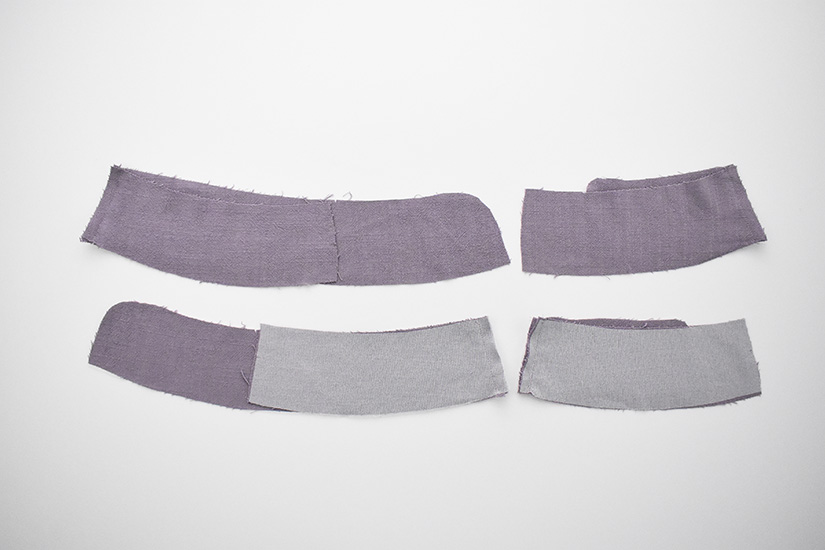
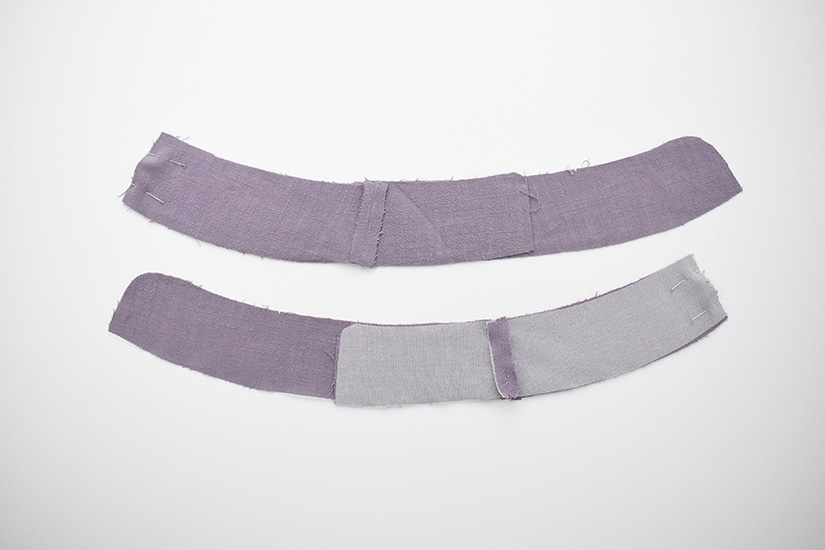
SEW WAISTBANDS AT THE CENTER BACK
Find the triple notches at the center back. With the right sides together, sew the waistband center back pieces together at 3/4” (2 cm). Press the center back seam open. Repeat for the waistband facing pieces.
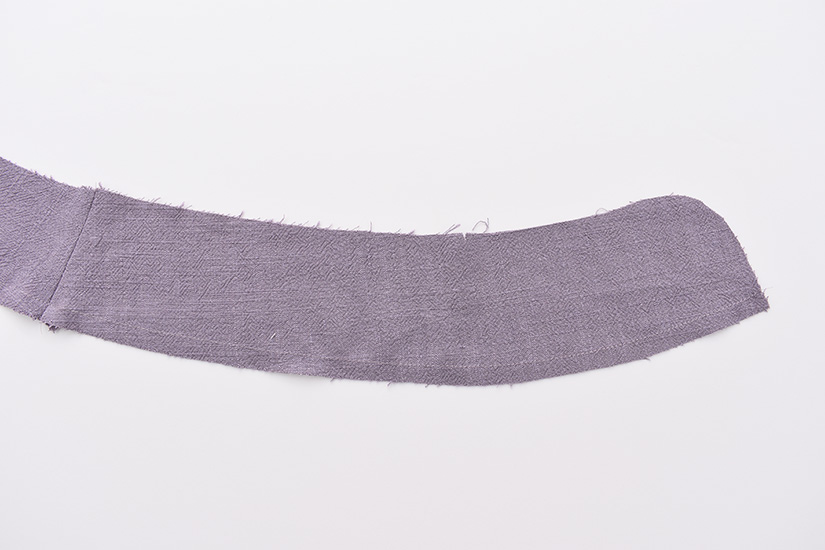
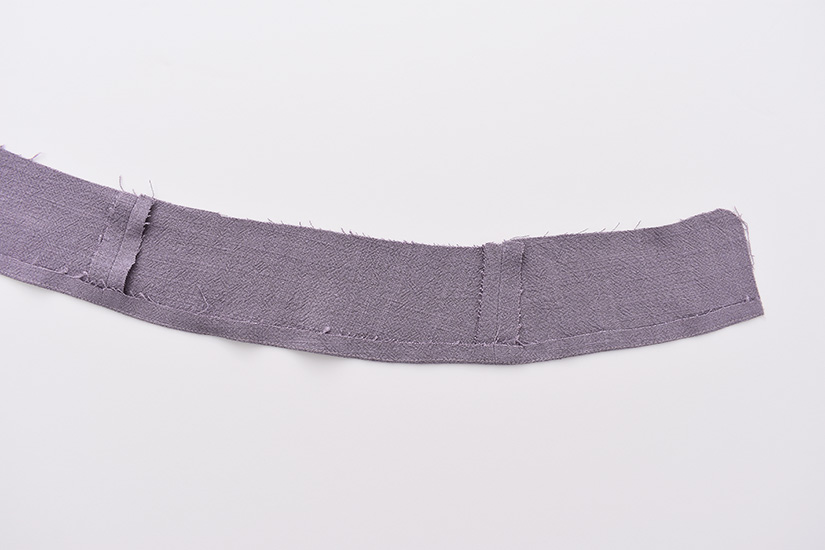
SEW A FOLD GUIDE ON THE WAISTBAND
Sew a fold guide on the bottom (longer) edge of the waistband just under 3/8” (1 cm). Press the outer edge in 3/8” (1 cm), wrong sides together.
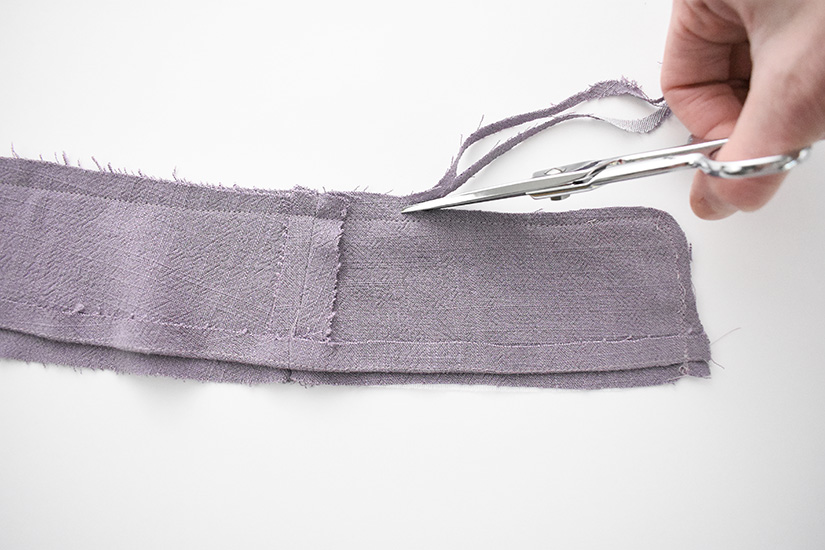
SEW THE WAISTBAND TO WAISTBAND FACING
With the right sides together, sew the top edge of the waistband to the waistband facing. Shorten the stitch length
around the curves. Trim your seam allowance to half. If your fabric is thick, grade your seams by trimming the facing seam allowance to 1/8” (0.3 cm) and the waistband seam allowance to 1/4” (0.6 cm). Clip the curves and press the seams towards the facing.
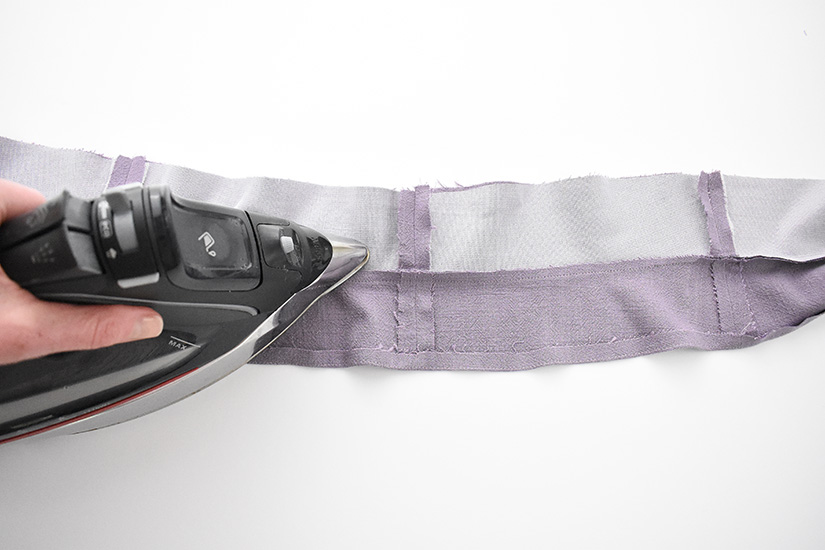
UNDERSTITCH THE WAISTBAND
Understitch the waistband facing by stitching a line 1/16” (0.15 cm) away from the seam. Make sure to catch the
seam allowance towards the facing when stitching. Turn the waistband right side out and use a point turner to smooth out the curves. Press your waistband.
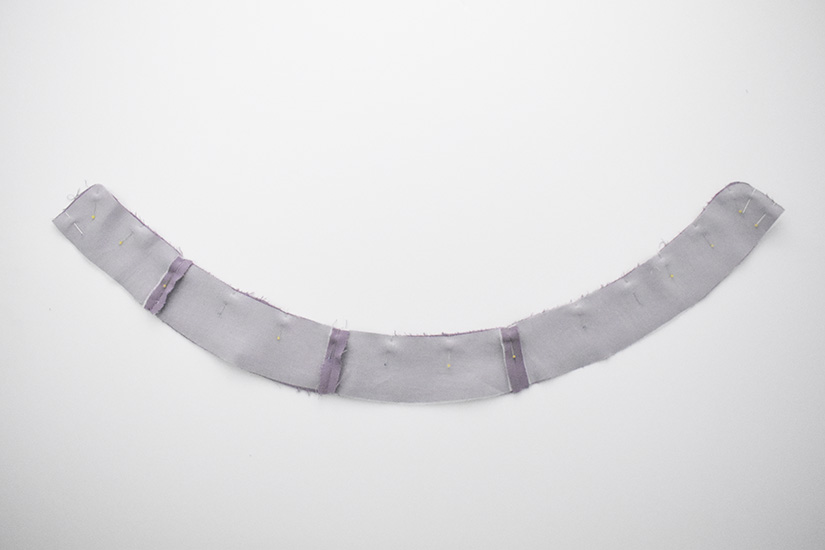
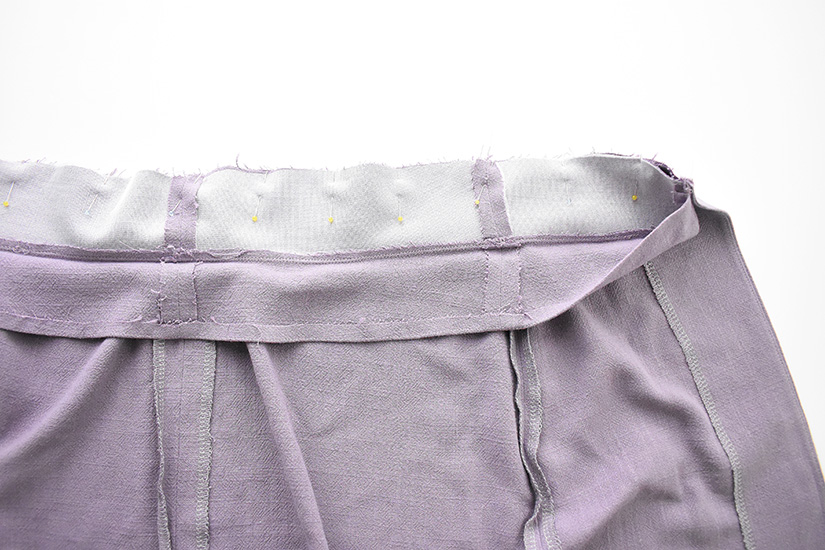
SEW THE WAISTBAND FACING TO THE SKIRT
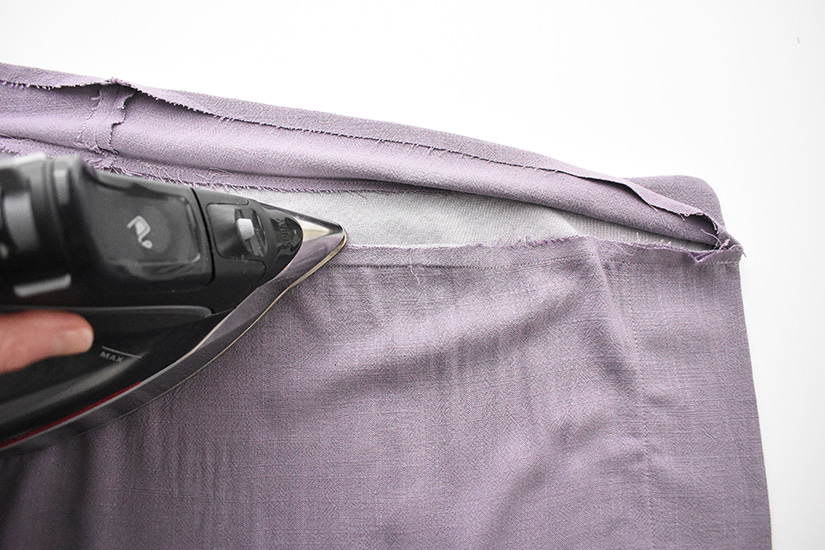
Pin the right side of the waistband facing to the wrong side of the skirt at the waistline, matching the notches and side seams. Sew the seam and turn the skirt right side out and press the seam allowance up toward the waistband.
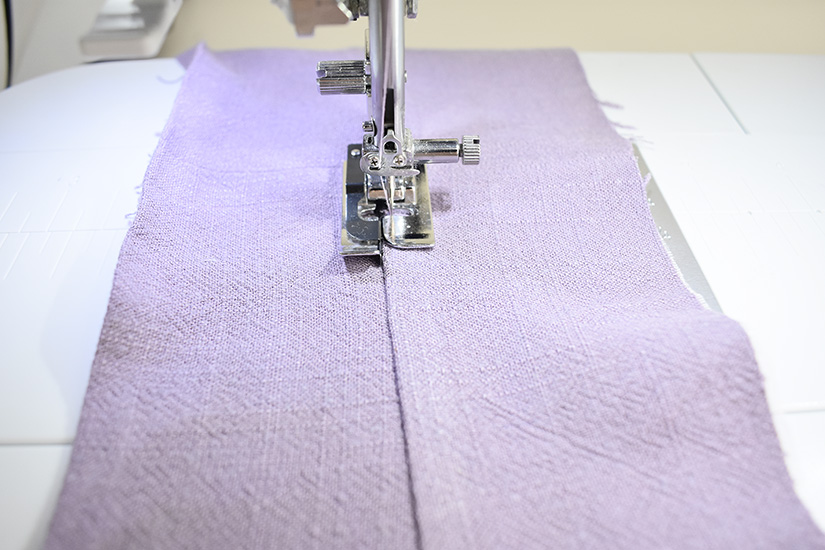
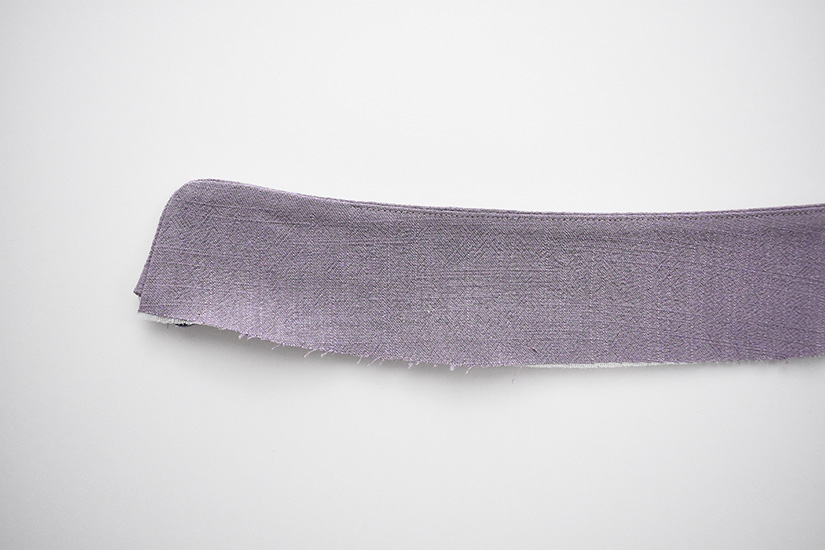
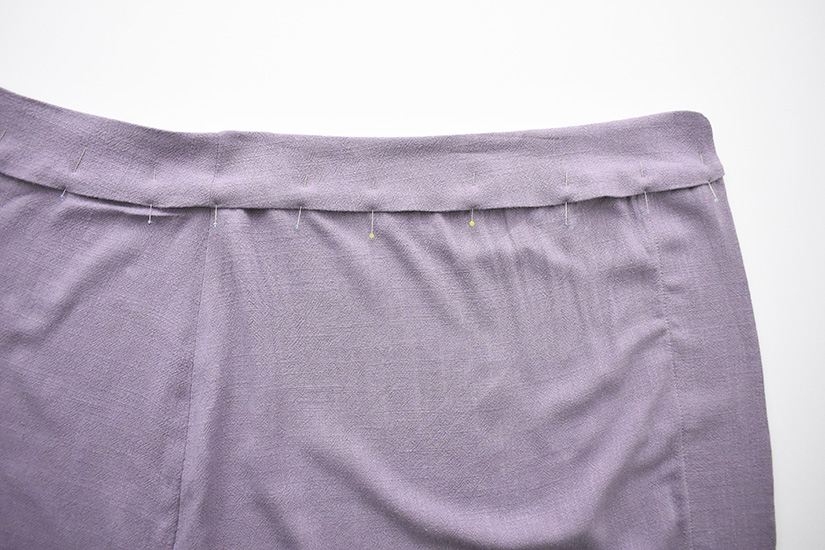
TOPSTITCH THE WAISTBAND
Pin the waistband in place with the seam allowance turned under at the pressed line. Topstitch the waistband at 1/8” (0.3 cm). Make sure not to pull or twist while topstitching. Press.
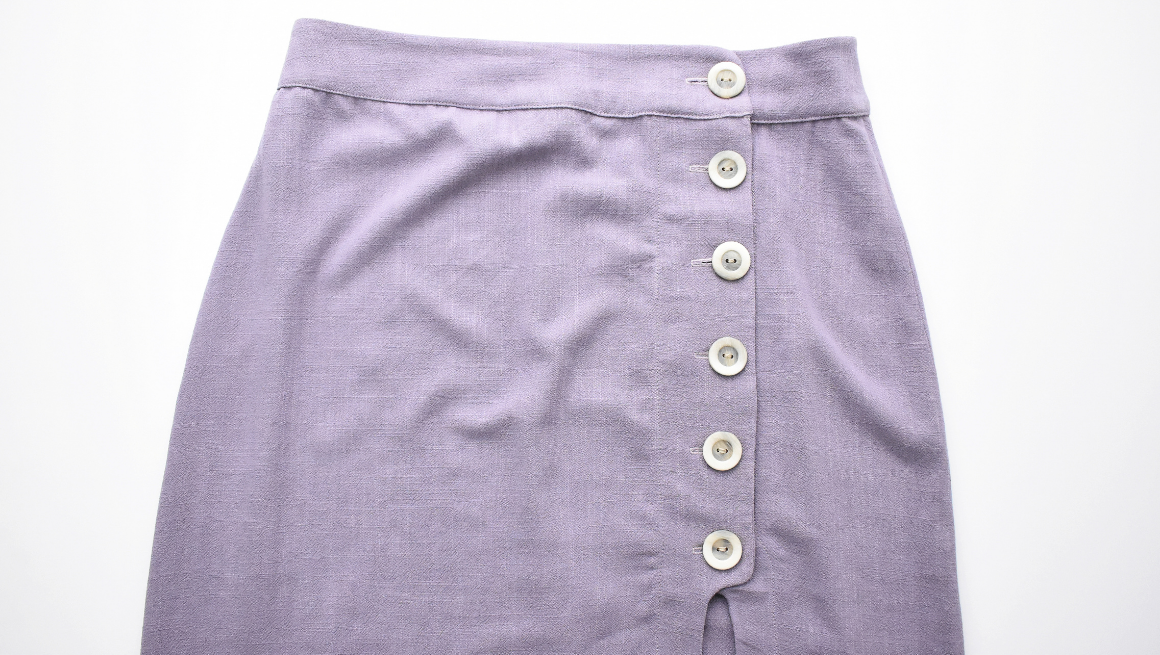
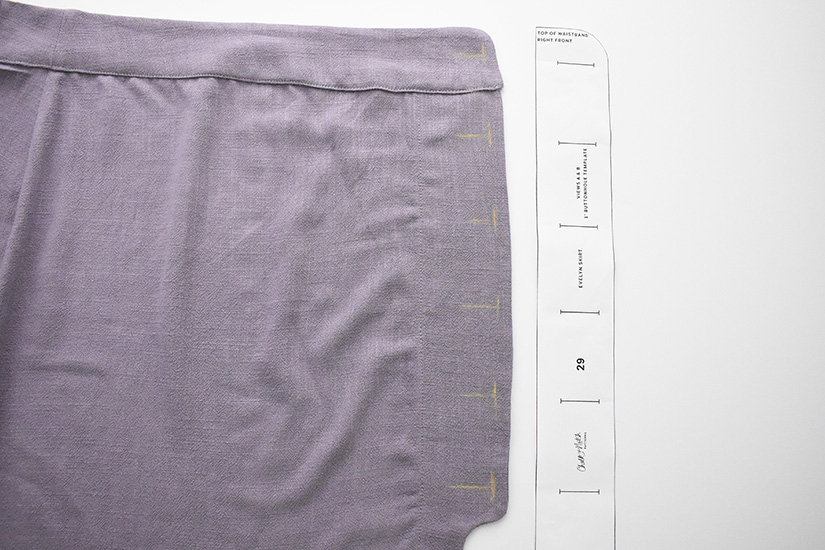
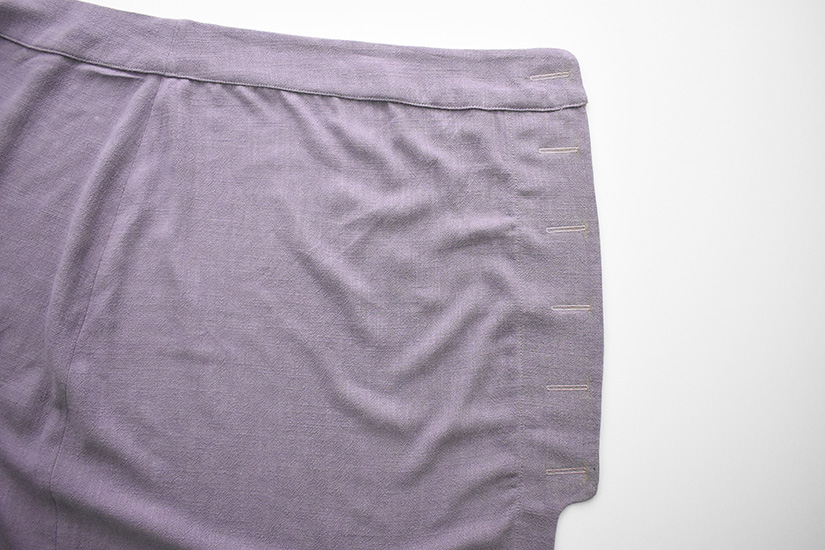
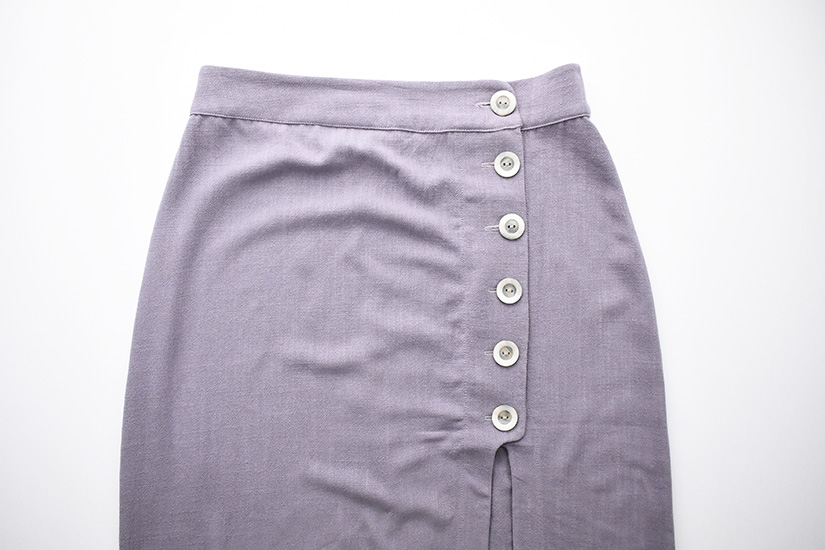
MARK & SEW BUTTONHOLES
Try on the skirt to test the buttonhole spacing provided with the button and buttonhole templates before sewing the
buttonholes to the wearer’s right side. The template included is for 1” (25 mm) buttons; you can adjust the spacing based on the size of your buttons or if you made length adjustments to your skirt. Do not open the last three buttonholes. Use fray check before opening the top three or four buttonholes.
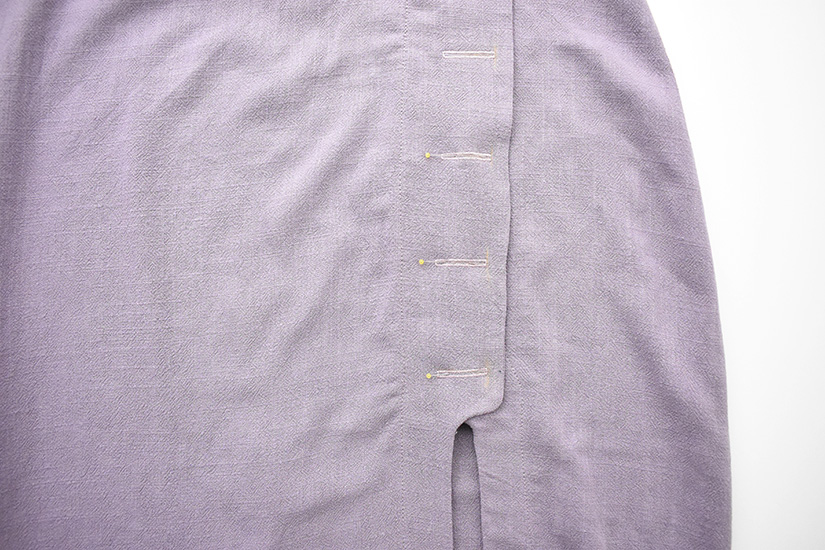
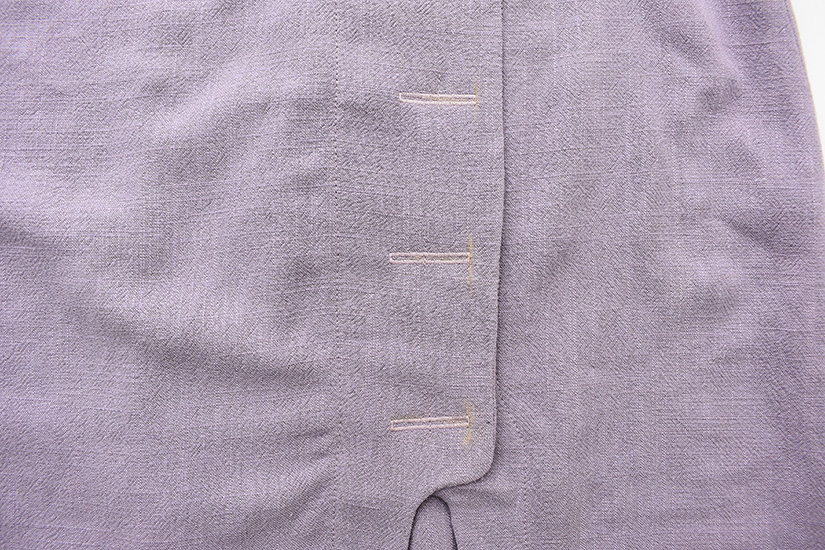
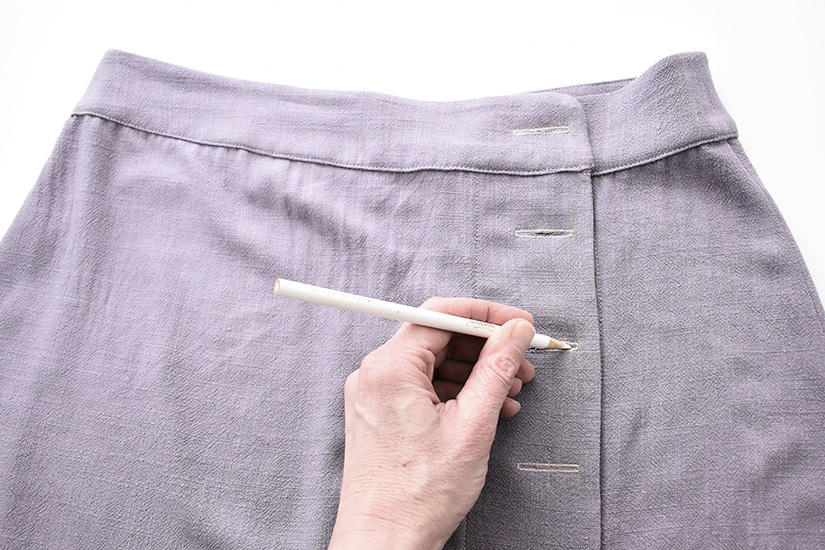
SEW THROUGH THE BOTTOM BUTTONHOLES
After reviewing the button placement, place the right front over the left front and sew through the bottom three
buttonholes. The bottom three buttonholes will be faux and will secure the center front from opening.
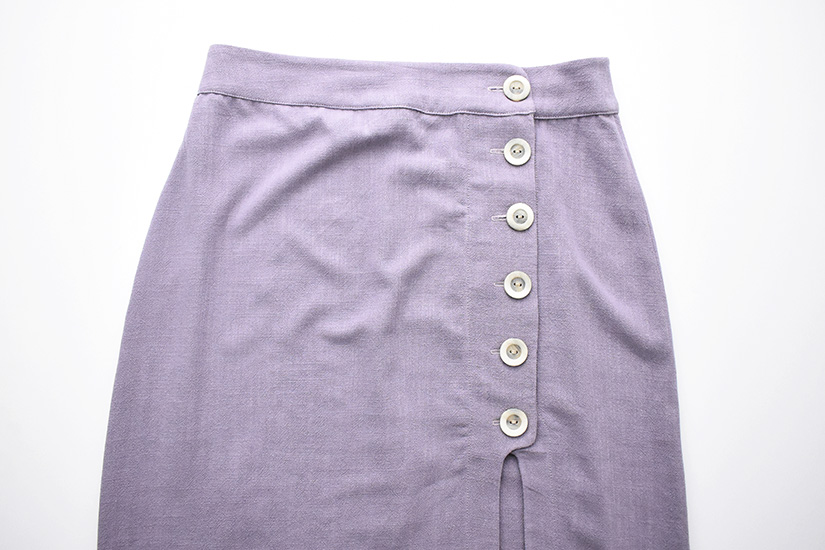
SEW THE BUTTONS
Open the top buttonholes. Sew the buttons on the wearer’s left side for the top three or four buttons. Sew the bottom three buttons through both layers.

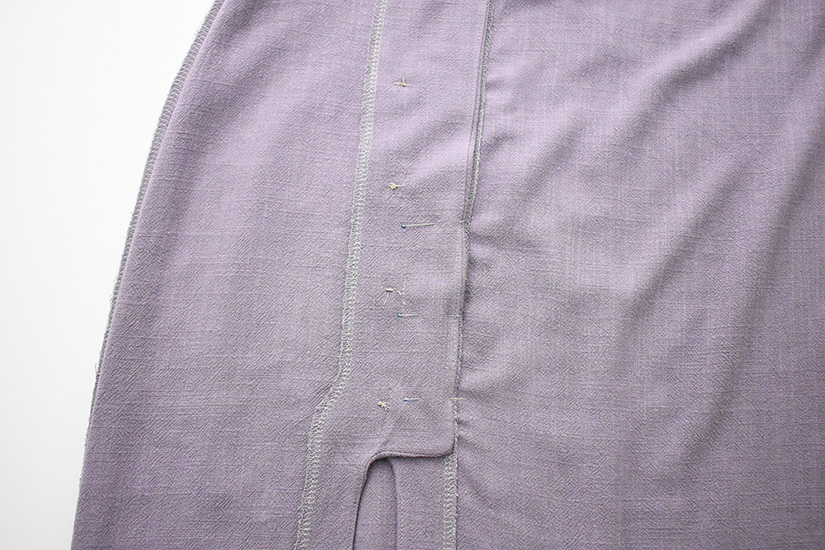
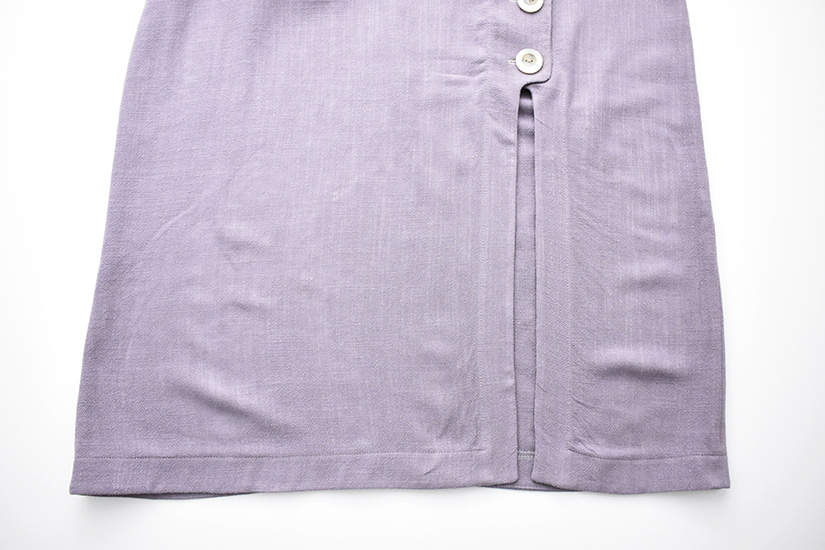
SEW THE BUTTON PLACKETS TOGETHER
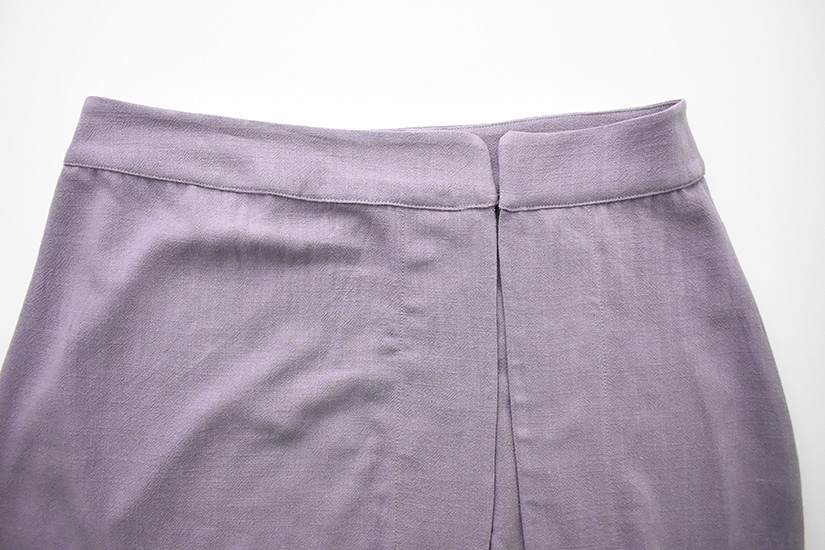
FINAL PRESS
You are finished. Give your View A or B Evelyn Skirt a final press!
We will start sewing View C by sewing the front seam, slit facing, side seams, and assembling the waistband.
Evelyn Sew Along Posts | Getting Started | Sew Skirt Seams & Facings of Views A&B | Sew Waistband & Buttons of Views A&B | Sew Skirt Seams, & Waistband of View C | Attach Waistband, Sew Slit Facing & Hem View C

