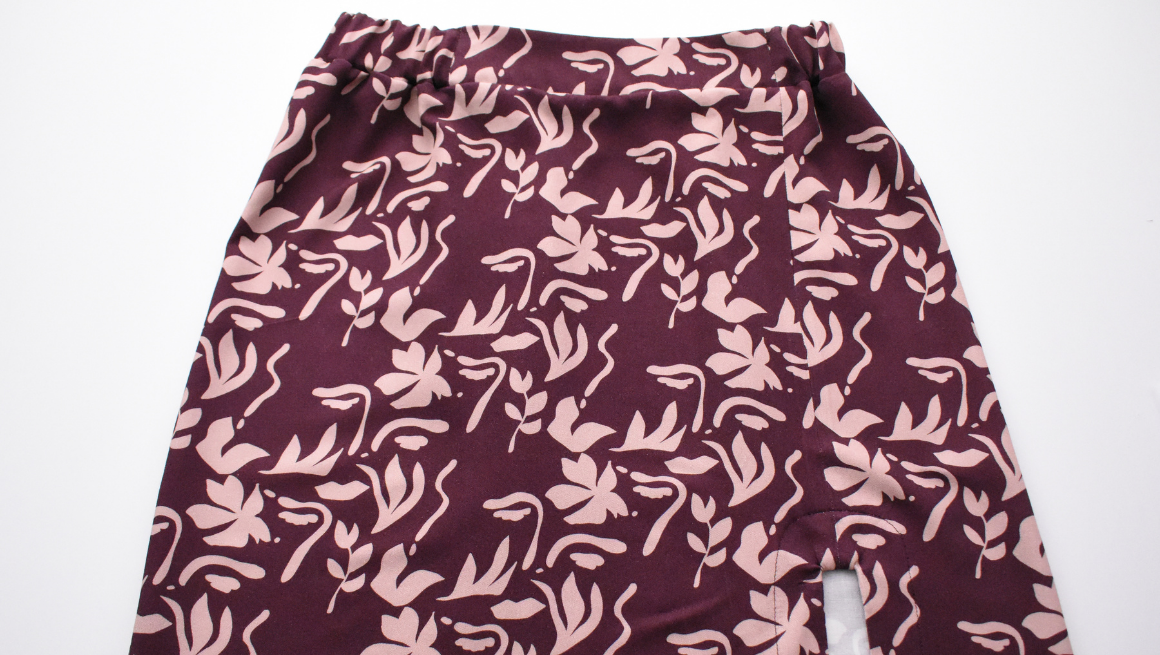
Now we are ready to attach the prepared waistband. We’ll also add the slit facing and sew the hem to finish our View C skirt.
SEW THE WAISTBAND TO THE SKIRT
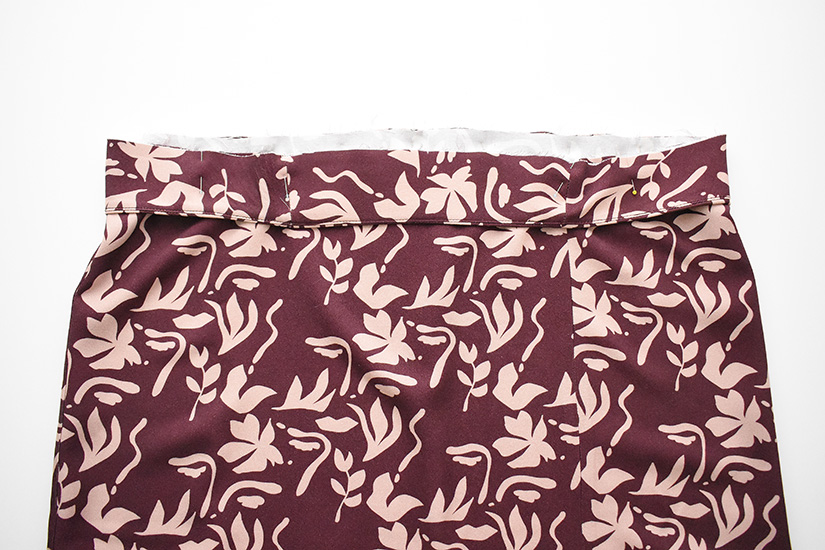
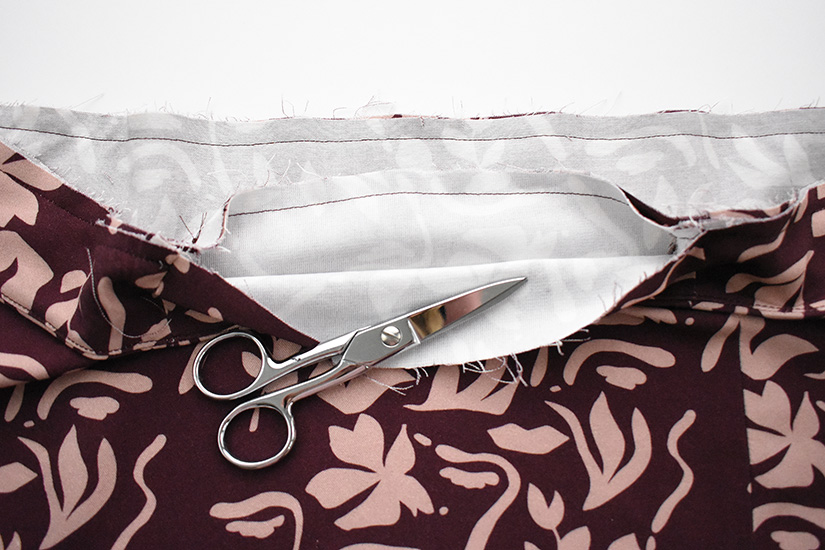
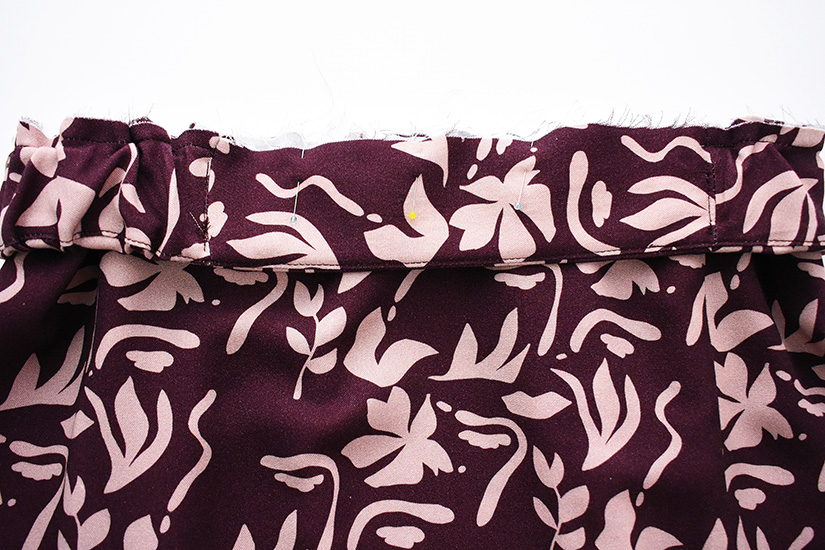
Take your sewn waistband and pin the right side of the waistband to the right side of the skirt waistline with raw edges up. The waistband facing with understitching will be facing up. Matching the center back and center front notches, sew the seam, starting at the front waistband seam, and continue around until you get back to the other seam. Stop on either side of the front of the waistband.
SEW THE WAISTBAND AT THE CENTER FRONT
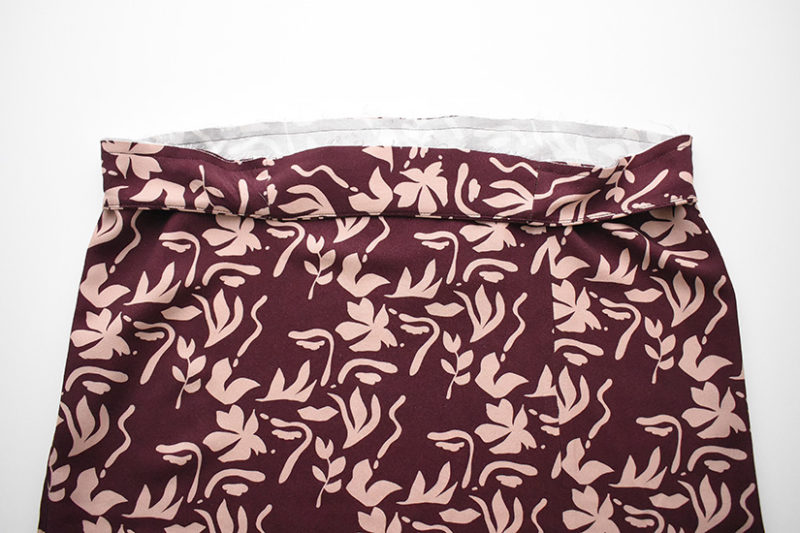
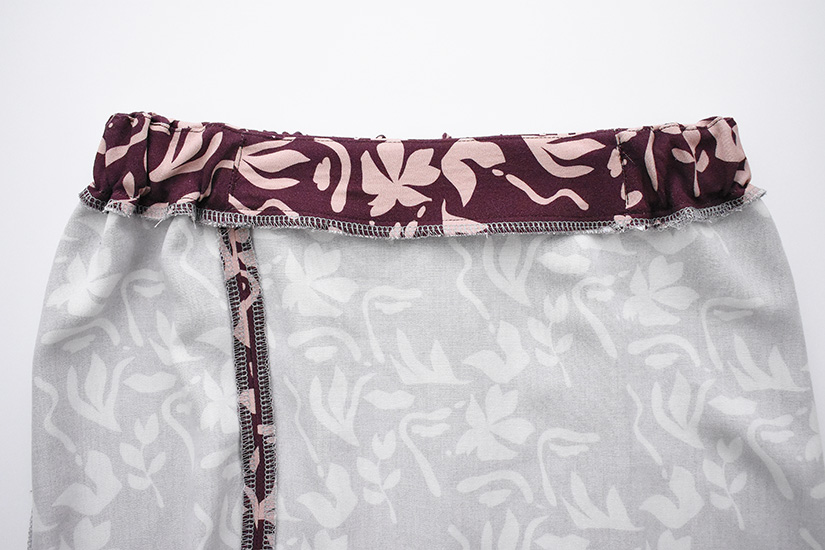
Open the center front waistband. Pin the front waistband, which is the outer layer when worn, to the skirt at the center front waistline. Sew the seam so that the outer waistband is fully attached to the skirt. Leave an opening to insert the elastic.
INSERT THE ELASTIC
Thread the elastic through the waistband, being careful not to twist the elastic.
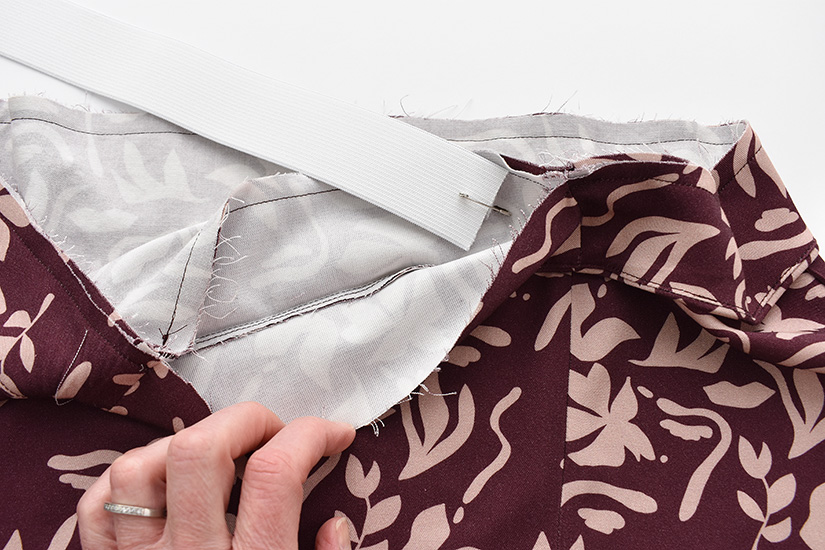
PIN THE ELASTIC IN PLACE & TEST FIT
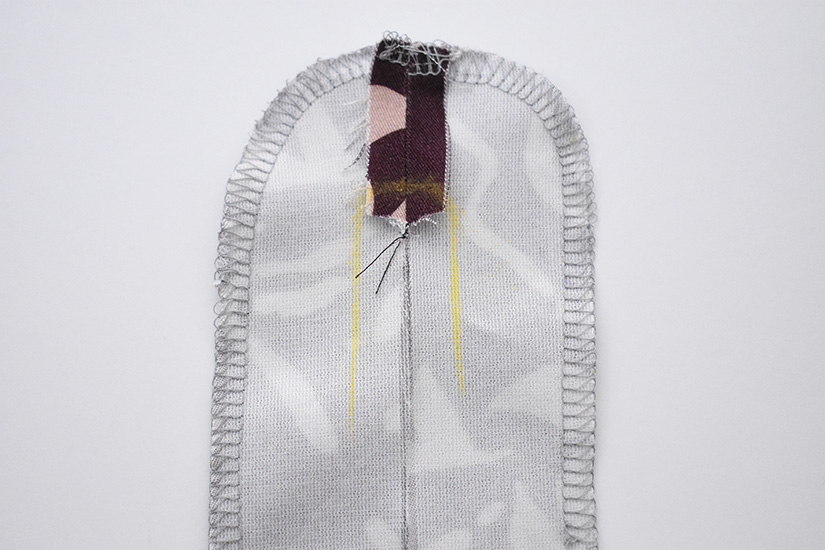
Pin the elastic in place at the front seams. Now is a good time to try on your skirt to confirm the elastic comfort. Adjust as necessary. As you are trying on your skirt, double check the length. The finished length will be 3/4” (2 cm) shorter than the cut edge. You can trim from the hem if needed.
SECURE THE ELASTIC IN PLACE
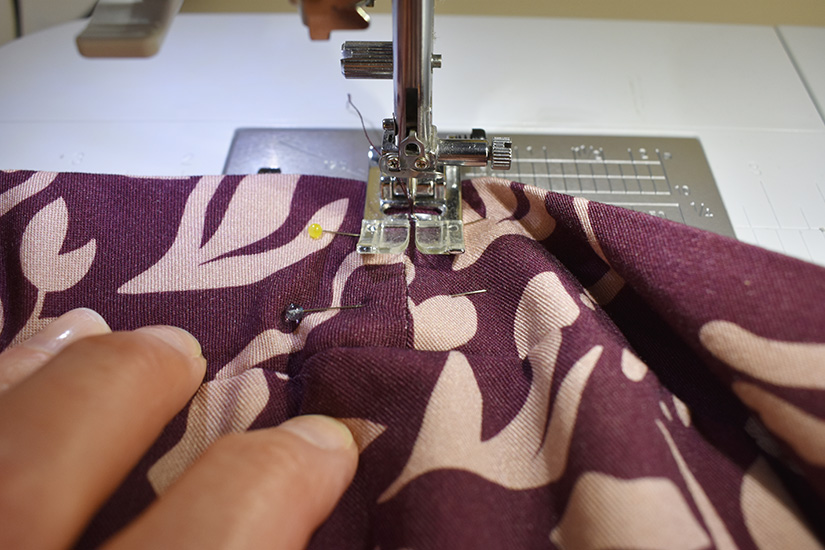
Once you are happy with the elastic length, secure the elastic by stitching through all layers. Hide your stitching by sewing in the front waistband seams.
CLOSE THE WAISTBAND AND FINISH THE SEAM
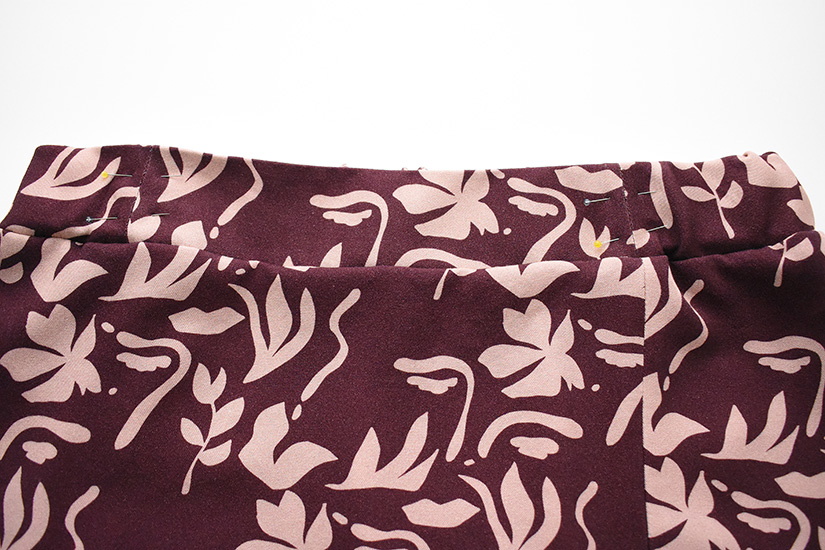
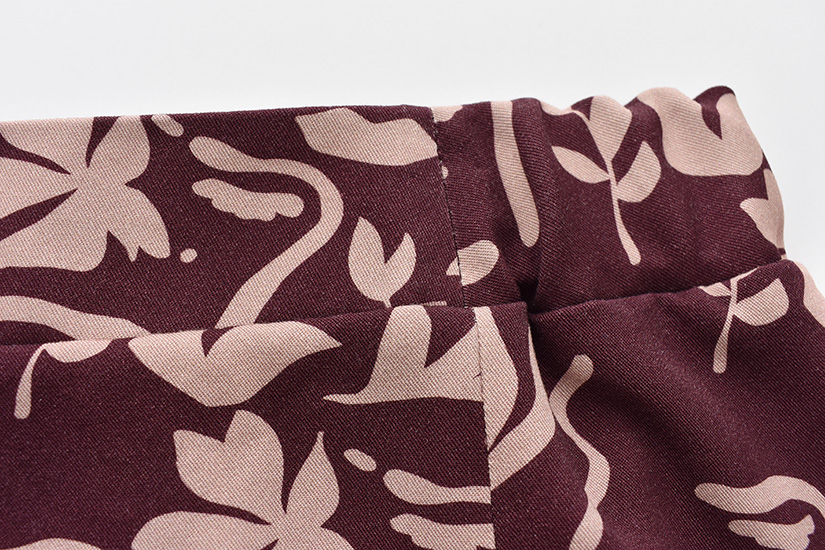
Finish sewing the front waistband to the skirt and finish the seam. Press the seam allowance towards the skirt.
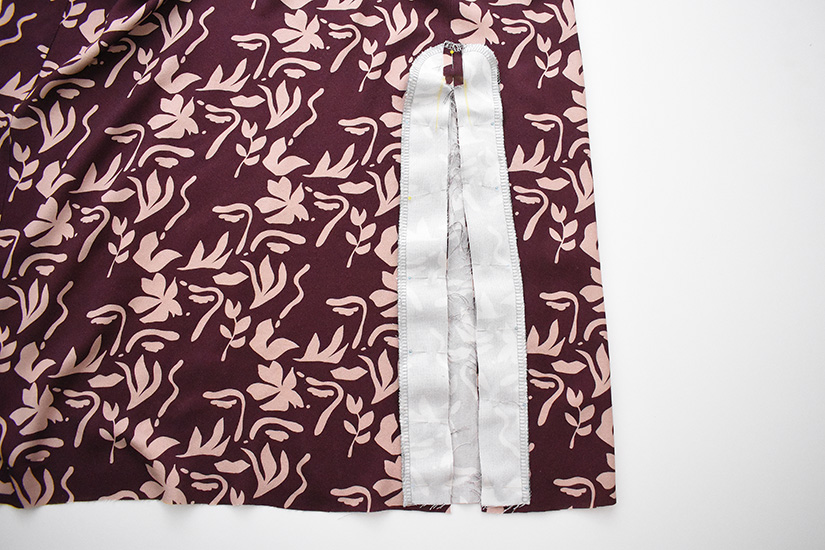
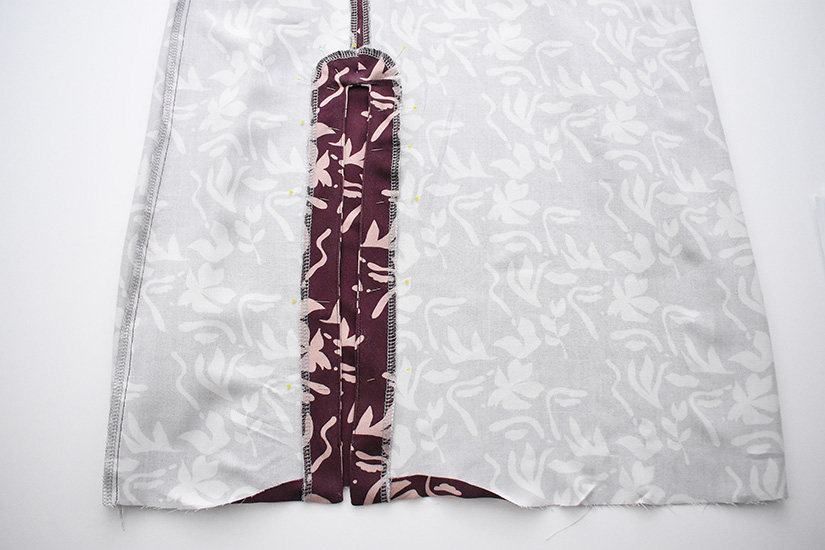
SEW THE SLIT FACING TO THE SKIRT
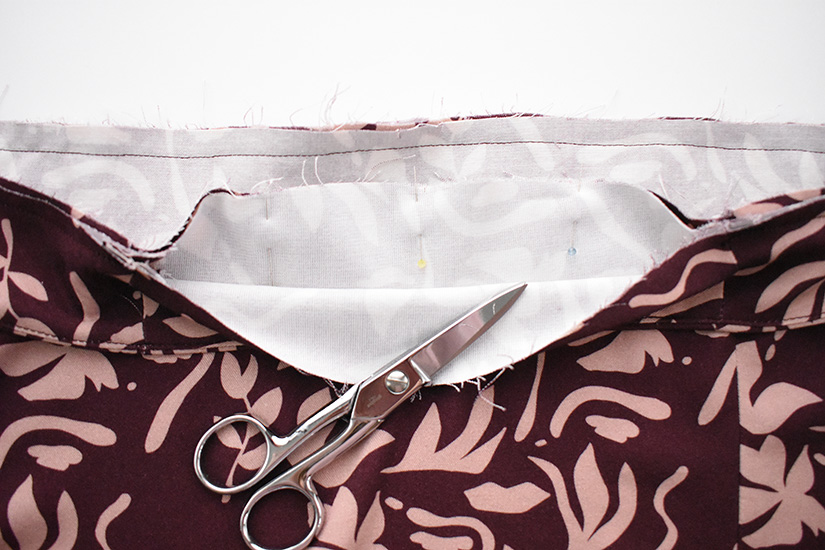
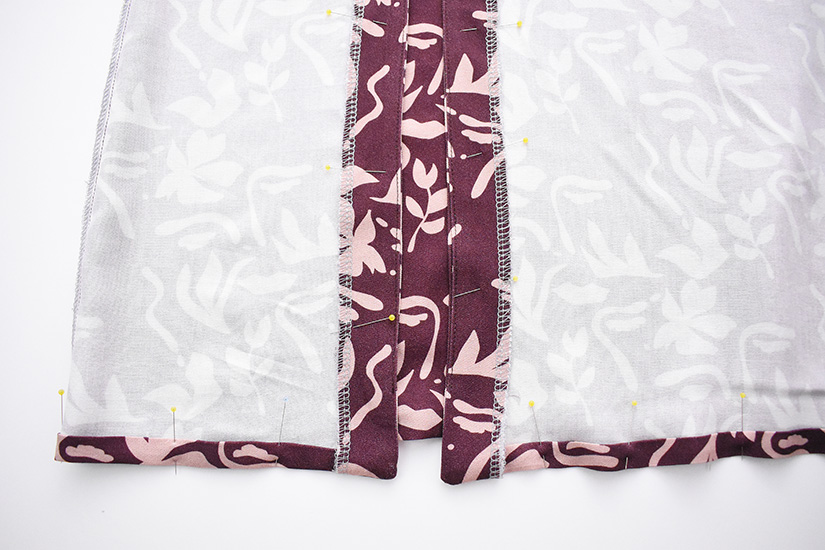
Mark the top curve on your slit facing to help guide you while sewing. With the right sides together, pin the slit facing to the skirt. Shorten the stitch length around the curves and go slowly to get a nice shape. When you come to the hem, pivot and sew the hem of the facing at 3/4” (2 cm). Trim the corner and the slit seam allowance to half. Clip the top curve to further reduce bulk and turn the facing right side out.
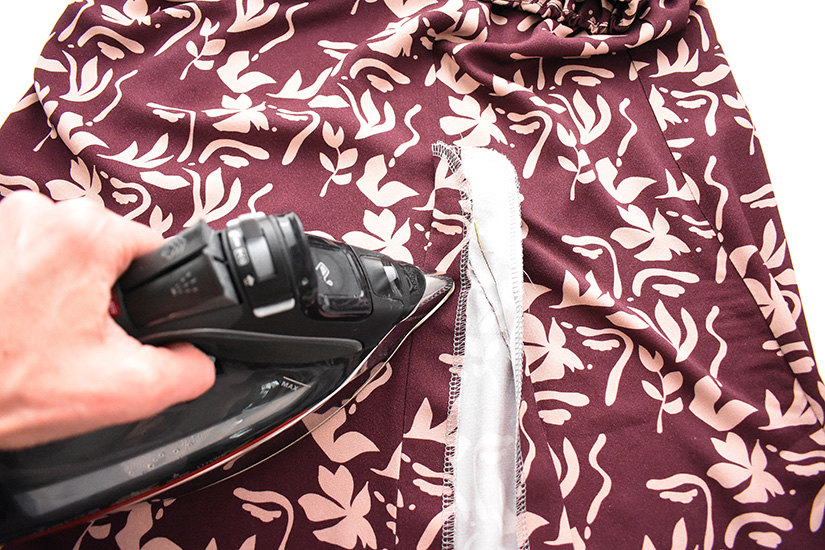
UNDERSTITCH THE SLIT FACING
To help your slit facing stay to the inside of your skirt, understitch the facings. Understitch by stitching a line 1/16”
(0.15 cm) away from the seam. Make sure to catch the seam allowance towards the facing when stitching. You won’t be able to get to the hem corners or the top curve, but understitch as much as you can. Press your facings in place. Add a few pins at the top of the slit to secure the facing in place, but you will not edgestitch just yet.
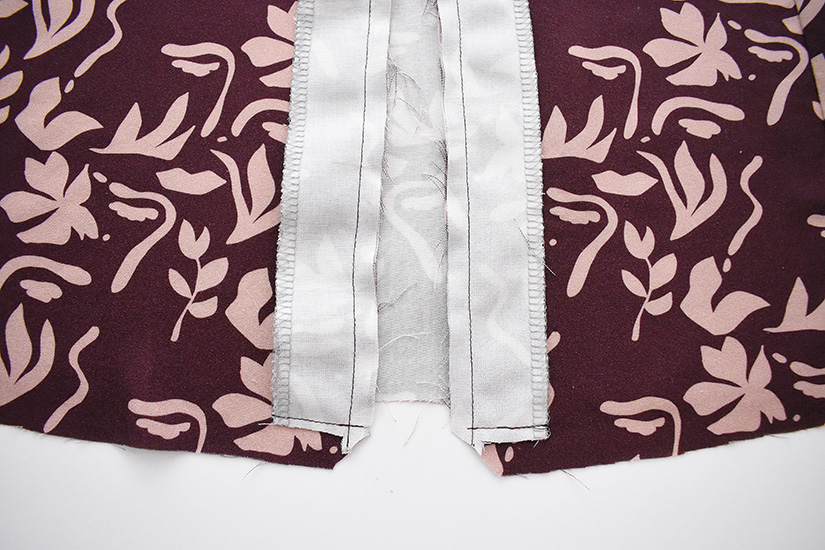
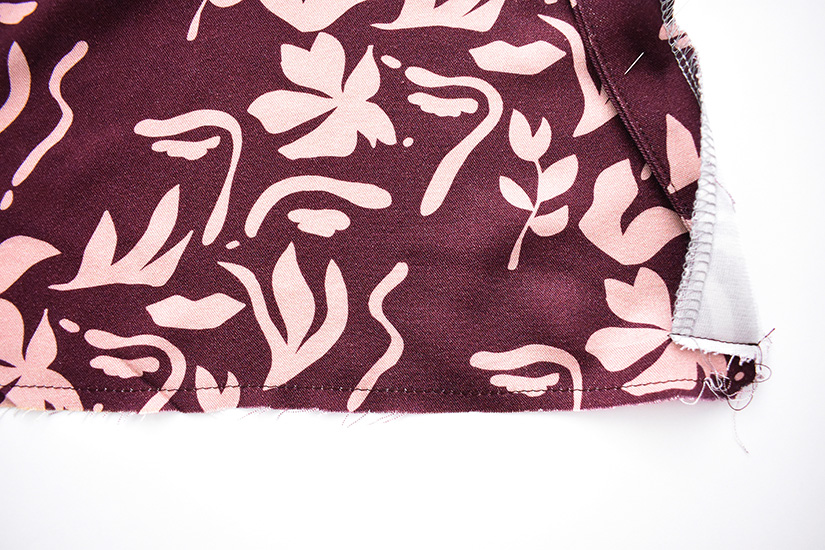
SEW A FOLD GUIDE ON THE HEM
With the corners wrong side out, prep the skirt hem by stitching a fold guide at 1/4” (0.6 cm). Press the hem up 1/4” (0.6 cm), wrong sides together.
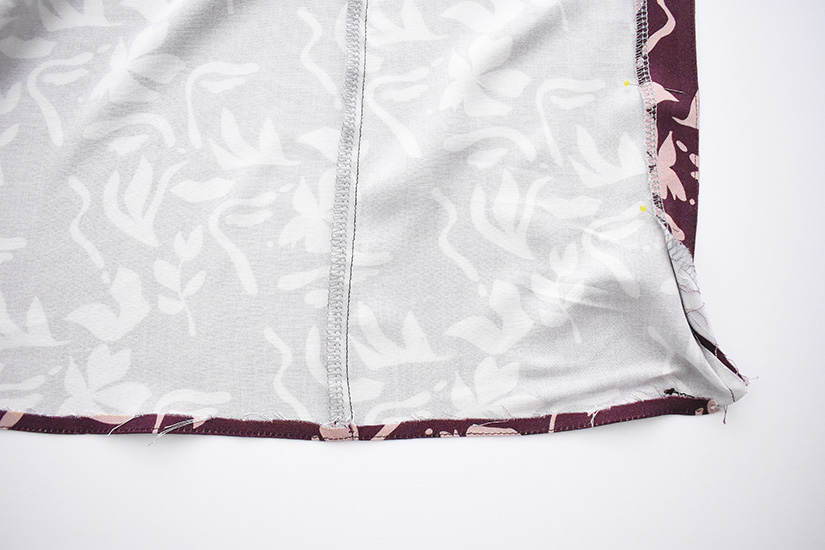
PREP THE SKIRT HEM
Turn the hem corners right side out. The pre-pressed edge will be folded under 1/4” (0.6 cm) and the skirt will have a 1/2” (1.25 cm) hem. Pin in place.
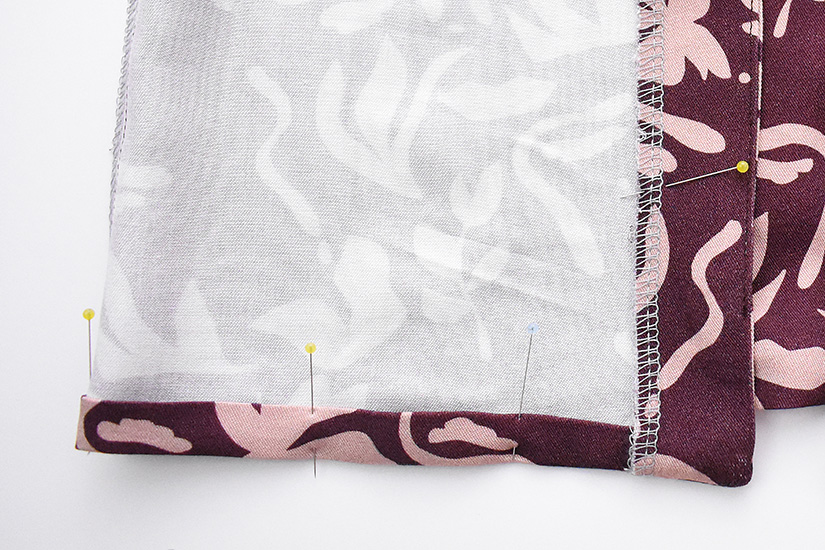
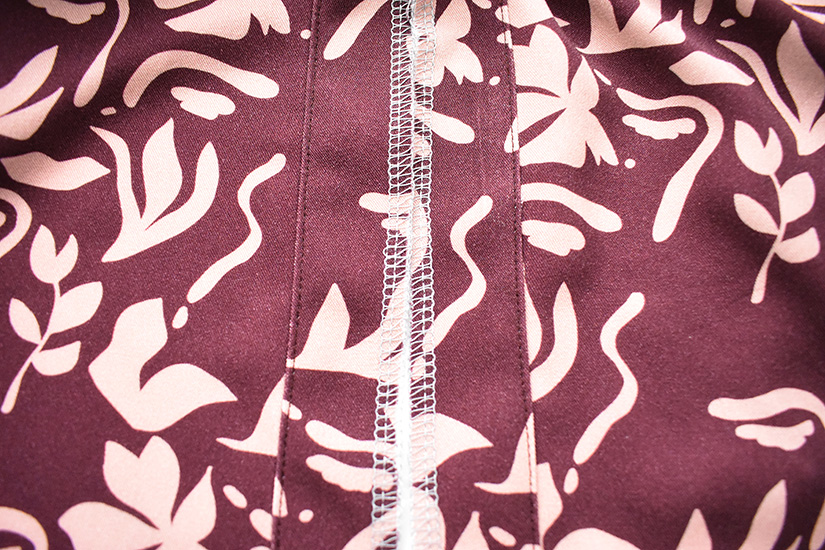
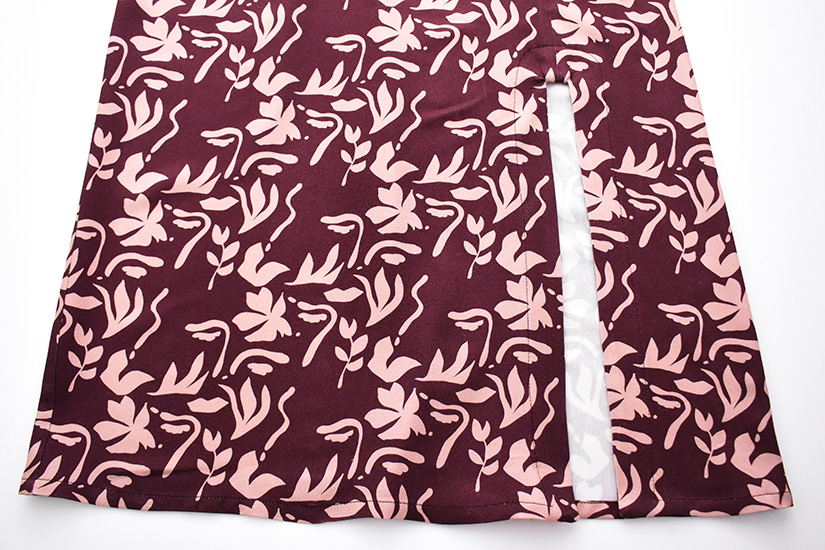
EDGESTITCH THE SLIT & HEM
Pin the edge of your slit facing and hem all the way around the skirt. Sew from the wrong side during this step, edgestitching the facing in place at 1/16” (0.15 cm). When stitching from the wrong side, make sure your bobbin thread matches the right side of your garment.
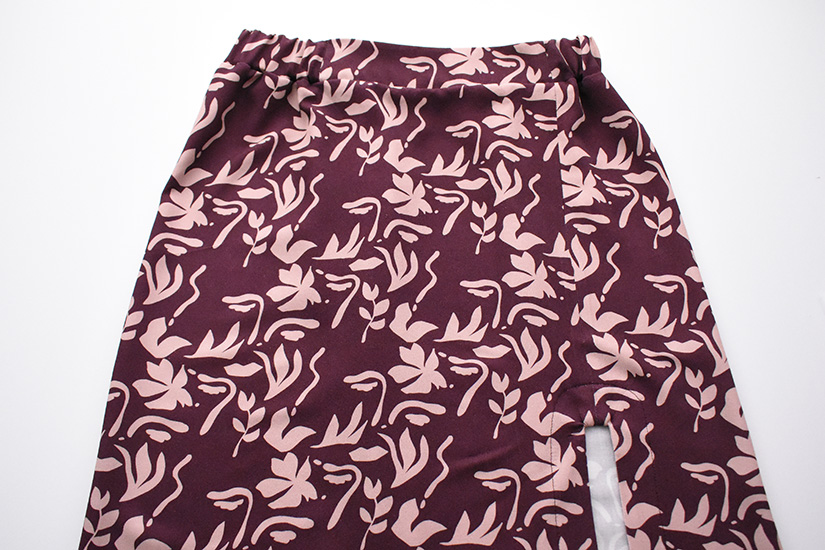
FINAL PRESS
You are finished. Give your Evelyn Skirt a final press!
Evelyn Sew Along Posts | Getting Started | Sew Skirt Seams & Facings of Views A&B | Sew Waistband & Buttons of Views A&B | Sew Skirt Seams, & Waistband of View C | Attach Waistband, Sew Slit Facing & Hem View C
