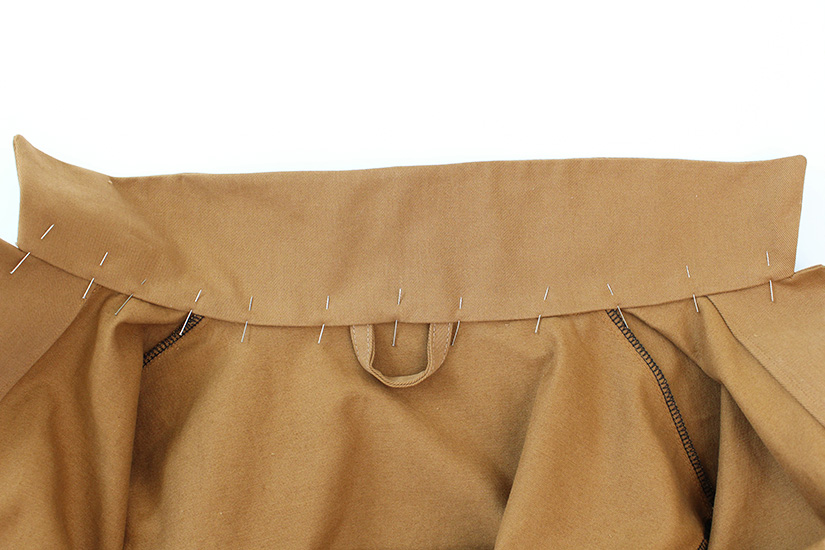
ATTACH THE UNDER COLLAR
Starting at the front neckline, pin the right side of the under collar to the right side of the neckline where the extension begins. Match the notches along the neckline.
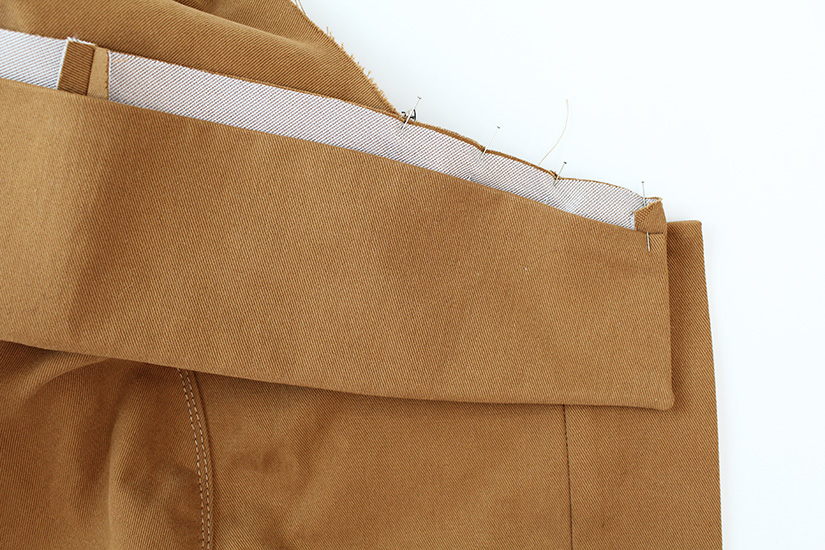
Sew the neckline, making sure not to catch the upper collar. Clip the curve without getting too close to the sew line to help the collar lay flat.
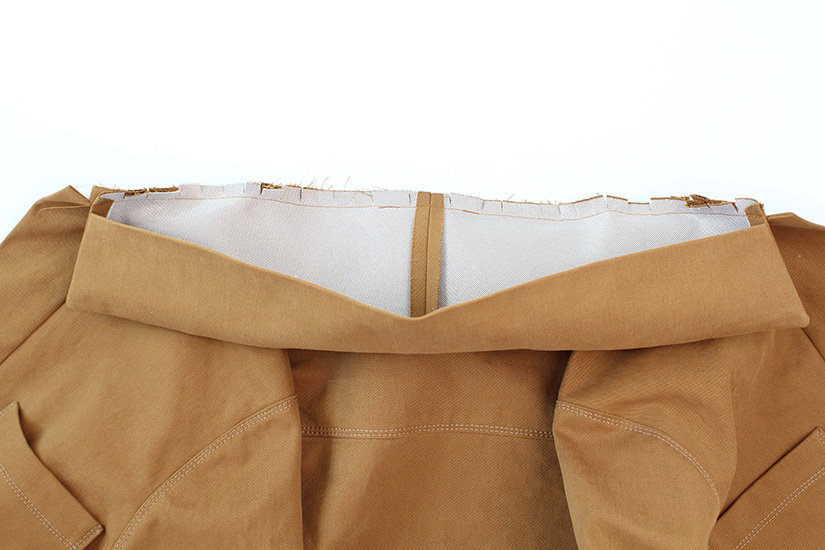
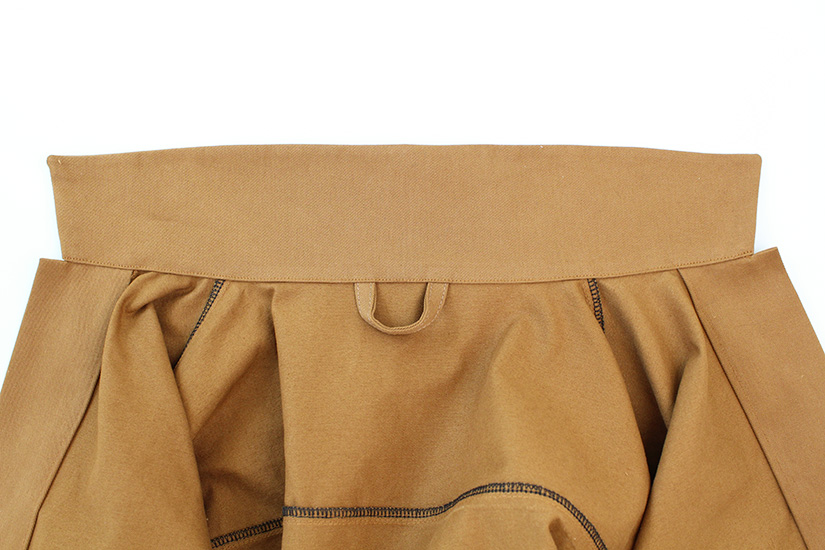
EDGESTITCH THE UPPER COLLAR
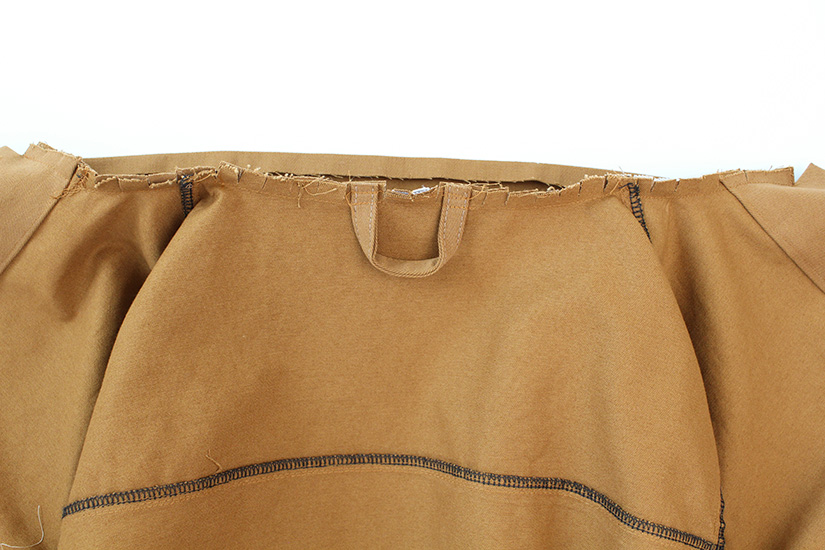
If sewing the unlined version, the center back hanger loop can be added before edgestitching the collar.
With the upper collar edge folded under, pin to cover the neckline seam.
Edgestitch the upper collar in place. If your fabric is thick, you can hand sew this seam.
TOPSTITCH & PRESS THE COLLAR
Topstitch the collar at 1/4″ (0.6 cm) from the seam edge.
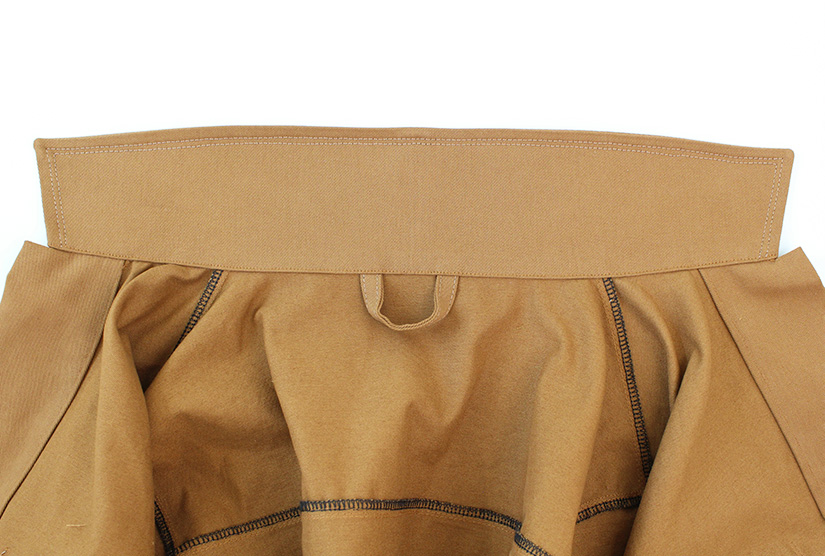
To help your collar roll nicely, press the collar. Using a pressing ham can be helpful to press around the curve.
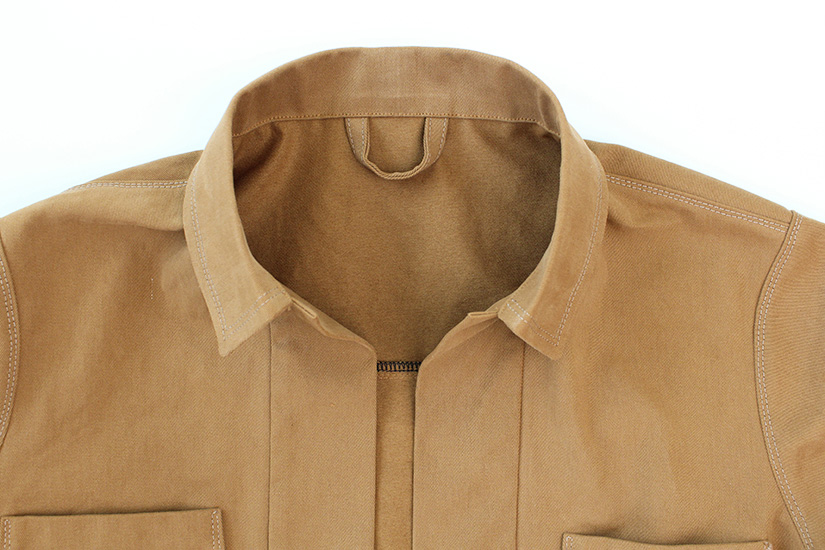
TOPSTITCH THE CENTER FRONT PLACKET
Start by topstitching the center front placket at 1/4″ (0.6 cm) from the neckline, turning a corner at the hem and sewing across to meet the bodice hem stitching, and then continue back up the placket at 1/4″ (0.6 cm) from the seam edge. Try not to pull or twist the fabric while sewing.
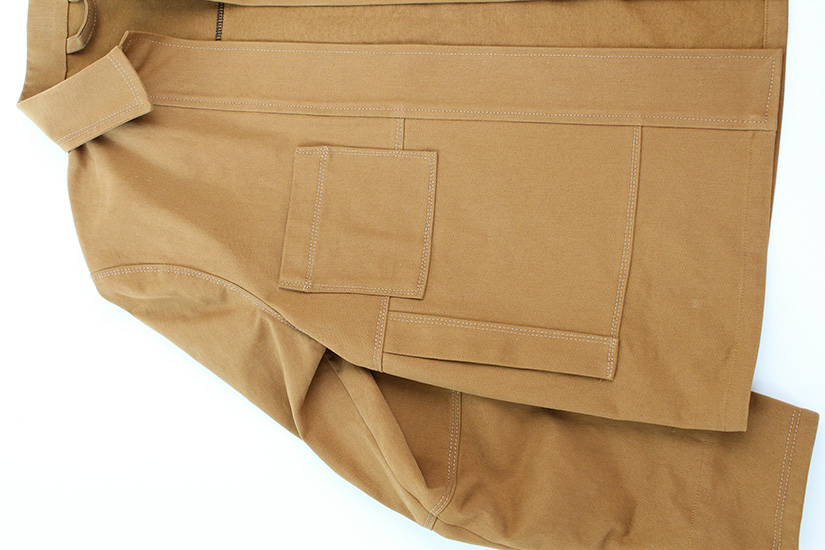
Use a ruler to mark a line 1″ (2.5 cm) from the center front edge.
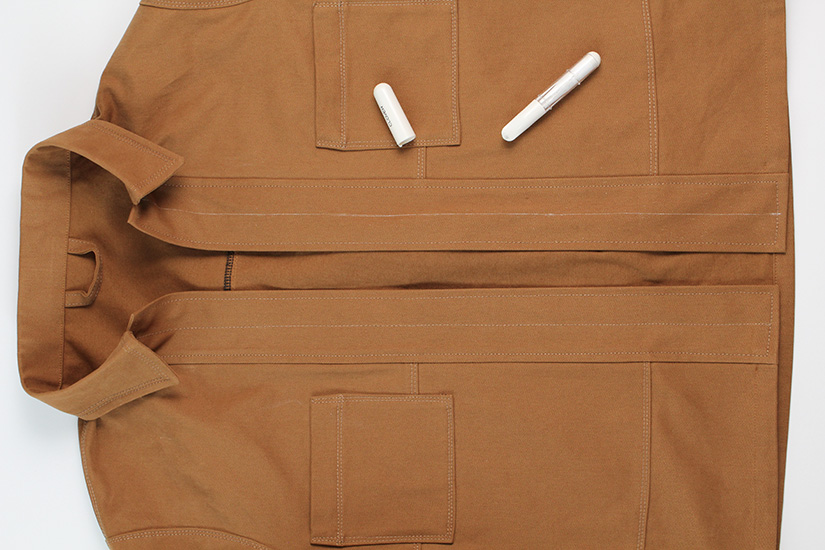
Sew a middle row of topstitching to create a visual placement for your buttons/snaps to be set in between
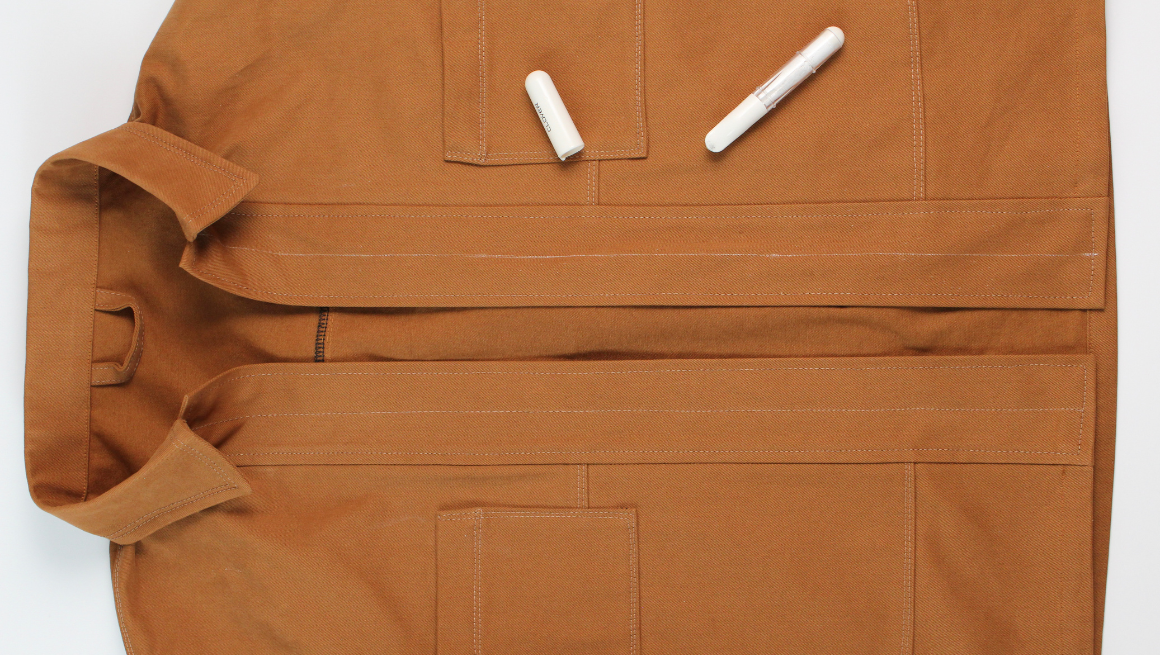
Den Sew Along Posts | Getting Started | Staystitching, Interfacing, and Collar | Sew and Attach Pockets | Sew Yoke, Shoulders and Sleeves | Prepare and Sew Optional Lining | Sew Front Placket and Hem | Attach Collar and Topstitch Placket | Adding Snaps or Buttons
