Tutorial | Pixie Tee Maternity
I am so excited to have a special guest posting on the Chalk and Notch blog today! Meg of MEGMADE Sewing is sharing the changes she made to make the Pixie Tee maternity friendly. I'll let her give you all the details - we hope you enjoy!
Meg's Pixie Tee Maternity Tutorial

Meg of MEGMADE Sewing
Fabric c/o Harts Fabric
Hi Folks! Today I'm sharing some tips on making a maternity Pixie Tee. The Pixie is already a great t-shirt for mommas-to-be, but with a couple small changes and some beautiful bamboo spandex from Harts Fabric, we can make it extra bump friendly - and keep it postpartum friendly, too!

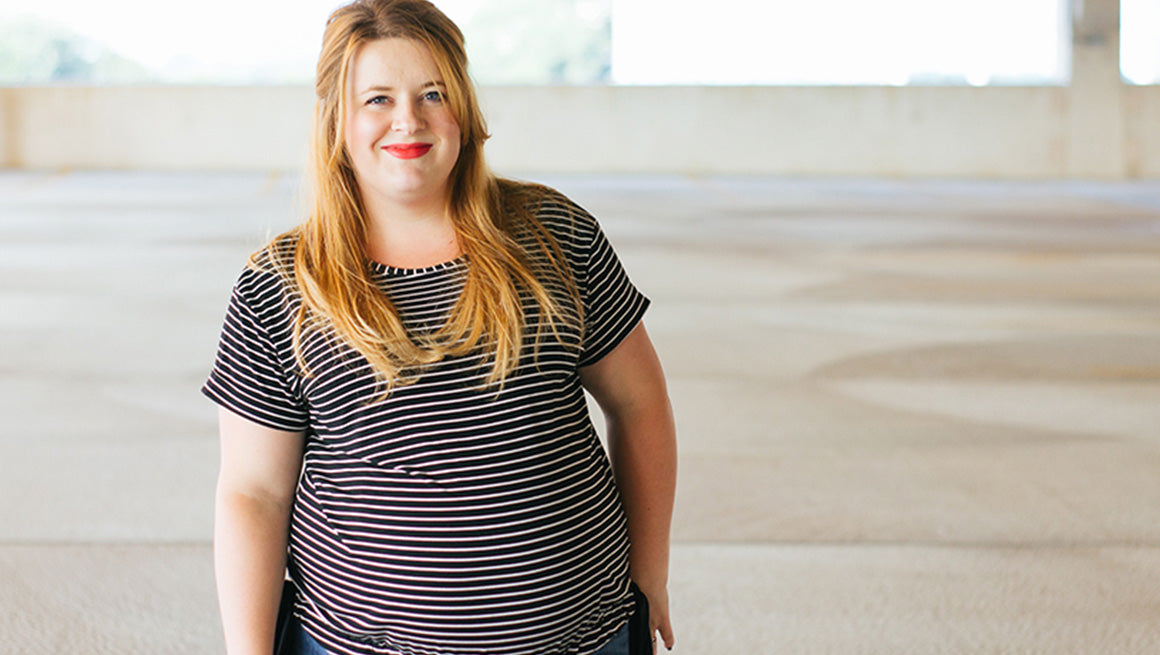
I chose to make View A, which features short sleeves and a gathered hem with flirty side ties. I liked that the elastic used to gather the hem would hug underneath my bump, but the shirt would still have some ease and drape without hanging over my belly like a tent. View B would also work great for maternity and can be made with the same mods I used for View A.

First, you're going to want to evaluate the length of your Pixie Tee. Chalk and Notch patterns are drafted for a height of about 5'7". I, on the other hand, scrape by at 5'1". Though I would normally shorten the pattern by 2" to achieve the intended mid-rise hem when not pregnant, I chose to leave the drafted length to account for my currently 31-week belly. So if you're taller than me (which isn't hard to achieve!), you'll probably want to lengthen your tee by about 2". I suggest holding your front bodice pattern piece over your belly and measuring how much you might need to add, then transferring that amount to both the front and back pieces.


To finesse the fit over my bump, I also added an extra 1.5" to the center front of the tee, curving up to meet the original length on the sides. This gave me that extra bit of length to comfortably cover my belly without adding more length to the back of the tee. Because the sides of the front pattern piece are still the same, the side seam construction doesn't change. However, you'll notice when you hem your now curved front piece, you'll need to ease in the hem a bit, which goes pretty smoothly thanks to fabric with plenty of stretch. This inch and a half gives you some extra coverage but isn't such a drastic addition that it will be markedly noticeable postpartum, but if you did decide later that you'd like to level out the hem (or shorten to the original mid-rise), all you'd need to do is chop and re-hem.
You can print a PDF DOWNLOAD HERE. The modifications are straightforward, but it’s always nice to have a visual reference. You will need the Pixie Tee pattern and full tutorial from the Chalk and Notch Shop.

I'd also like to note that I did not size up in width for my maternity tee. Because I've sewn a few Chalk and Notch patterns and am familiar with their ease and how they fit my body, I actually sewed one size smaller than my full bust measurement (size 18) and went with my upper bust measurement (size 16) instead. Because the Pixie Tee is oversized with an intended 5" of ease, you should have plenty of room around your bump.

Now let's talk about the elastic hem. At first, I was concerned that an elastic band under my belly would be too uncomfortable after a few hours, but I can confidently tell you I can wear both of my Pixie Tees all day long without discomfort! The key is the elastic. I definitely recommend using this lightweight underwear elastic for your maternity Pixie. It's flexible and extra stretchy so it's not too stiff under your bump, and it doesn't fold or roll up in the hem either. I tack my elastic at the center front and center back and close to the opening for each tie to keep it from shifting or the shirt bunching up and revealing the elastic.

Sewing up a Pixie in gorgeous fabric like this bamboo spandex from Harts Fabric will maximize comfort for all-day wear as well. Harts has a great supply of bamboo knits, and I love to use them for tees because they're perfectly opaque (important to me when I'm pregnant, already uncomfortable most of the time, and don't want to wear extra layers), super soft, and have a lovely drape. I've made half a dozen tees from bamboo knits I've sourced at Harts, and they're all some of my most worn tees! My tester Pixie was made with a rayon spandex, which is thinner than the bamboo spandex and has a little more drape, so keep your fabric options in mind when considering the fit and feel you'd like your tee to have.

I hope these tips are helpful as you dive into your own maternity Pixie Tee! I love wearing my versions and can't wait to transition them to my postpartum wardrobe in a couple months. If you make one, I'd love to see it on your cute bump, too!

#1 | #2 | #3
Thank you so much for stopping by!
Meg
This is a sponsored post using fabric I received free of charge from Harts Fabric.

