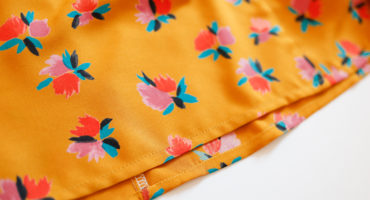
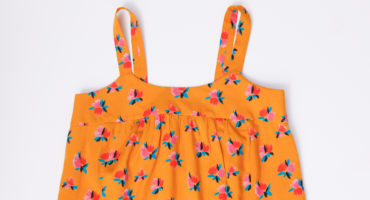
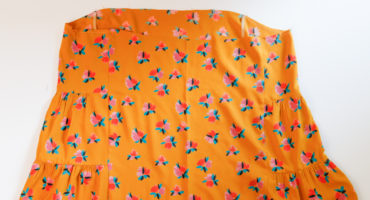
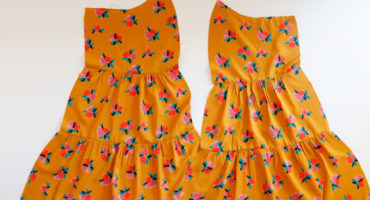
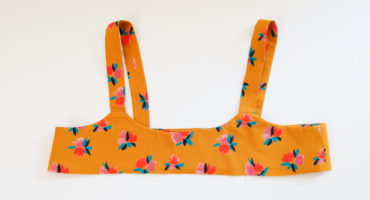
Hello, sewing friends!! I’m Heidi of Handmade Frenzy and @heidi_handmadefrenzy on Instagram! I am so thrilled to be back here on the blog, sharing another hack tutorial with you! Today I am going to show you how I took the Waterfall Raglan Pattern, designed for knits, and used a woven fabric to recreate a fun and
We are adding more sizes! At the end of 2018, we made the decision to add three more sizes and a new bust cup to Chalk and Notch patterns, updating our size chart from 0 – 18 to 0 – 24 with A/B & C/D bust cups. Now, 18 months later, we have decided to
This is the final step before you can wear your Marcel. You can choose to hem with any method that you prefer. I like to use a stitch guide for pressing my double-turned hem. Watch our video or follow along to see this method. HEM YOUR MARCEL First prep the dress hem by stitching a
This is when your Marcel comes together! You are ready to sew and attach your bodice to your dress or tank top, the instructions are the same no matter what view you are sewing. Watch our video or read below. SEW THE BODICE TO THE DRESS Lay out your bodice and dress so you know
Sewing the dress side panels to the center front and center back is pretty simple and straight forward. If you are sewing the tank, this step will go even faster. Click the link below if you’d prefer to watch the video for sewing the dress. There is a separate video below if you are sewing
If you are sewing one of the dress views, it’s time to sew the side panel tiers together. If you are making View A, the Midi length, this will be the step that takes the most time. Just be patient and the effort will be worth it! Feel free to check out the video for
Now we are ready to sew up the bodice of the Marcel. This will be the same for any view. There is one additional step at the end if you are sewing the Mini Marcel (kids’ version). You can watch the video or read through below. SEW BODICE AND BODICE FACING SIDE SEAMS With right