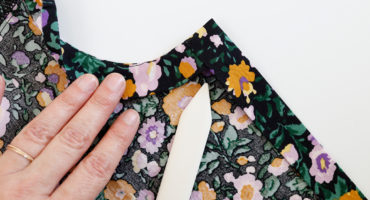
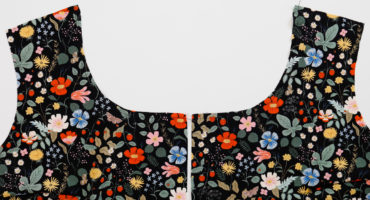
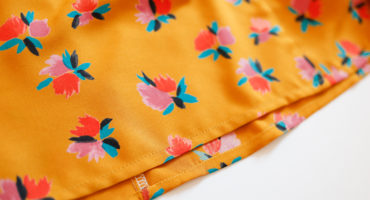
In this post we have a few tips for sewing your buttonhole and your blouse hem. I prefer to sew the buttonholes and buttons of the dress before attaching the skirt but you can always add them at the end as well. Hem Blouse with a Double 1/4″ (0.6 cm) Hem Prep the blouse hem
This post is for the longs sleeves and cuffs. If you are looking for the short sleeve instructions you can find the post here. The Mini Wren includes an elastic hem for the long sleeves so the short sleeve instructions are the best reference. Prep the Upper Long Sleeve Cap Ease We have a video
We are ready to sew the short puff sleeves (View A). The construction is the same for the Wren & Mini Wren for the short sleeve option. If you are sewing the Mini Wren long sleeves (View B), you will use these same instructions. The Mini Wren long sleeve is also finished with an elastic
Now we are ready to sew up the facing and create the fold-back placket. This might be a new construction method. Just follow along and trust that it will work out! We also filmed steps 8 through 11, you can find that video here on our Chalk and Notch YouTube Channel. Sew the Facing Shoulder
Now we are ready to start sewing! Stay stitching, sewing darts (the back darts are optional) and sewing the bodice shoulder seams are up first. Stay Stitching Neckline Before handling your cut bodice pieces too much, sew a stitch line 1/4″ (0.6 cm) away from the fabric edge on the front and back neckline. This
We are excited to bring you a sew along for our latest release, the Wren Blouse & Dress. Throughout this sew along we will be sewing the Mini Wren for the Blouse (View A) and the Adult Wren for the Dress (View B). There will be photos for each step and videos where we think
This is the final step before you can wear your Marcel. You can choose to hem with any method that you prefer. I like to use a stitch guide for pressing my double-turned hem. Watch our video or follow along to see this method. HEM YOUR MARCEL First prep the dress hem by stitching a