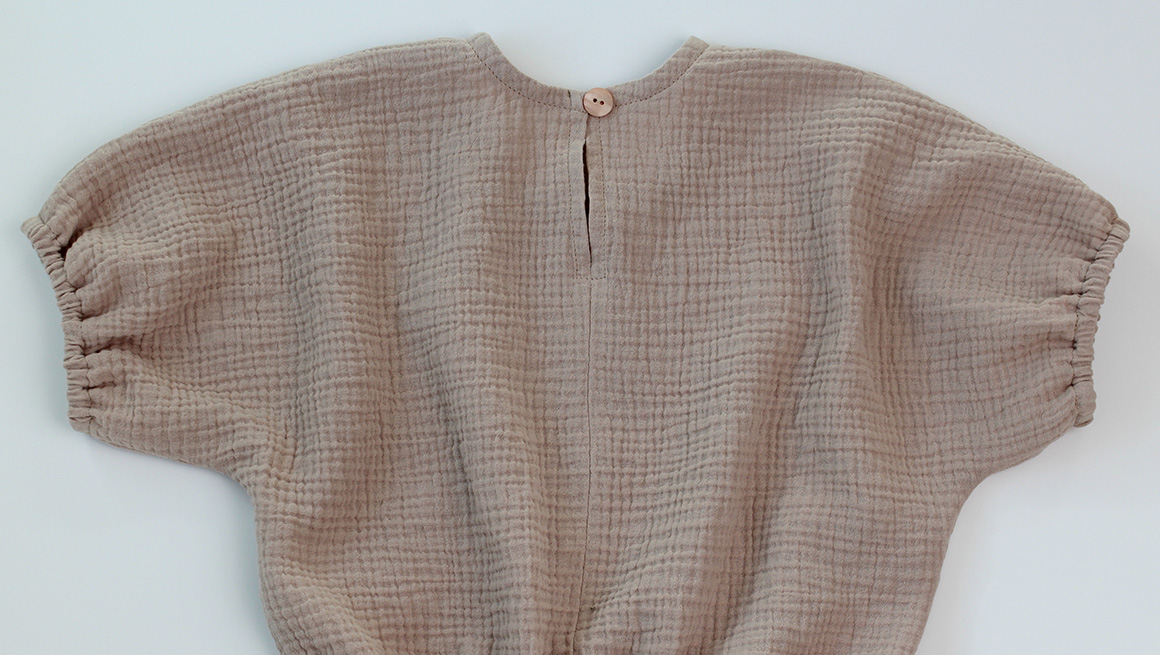
If sewing the Mini Aria, View A (high back) requires a button-back opening. The construction is slightly different from the adult version. If sewing View B (low back), you can follow the adult sew along.
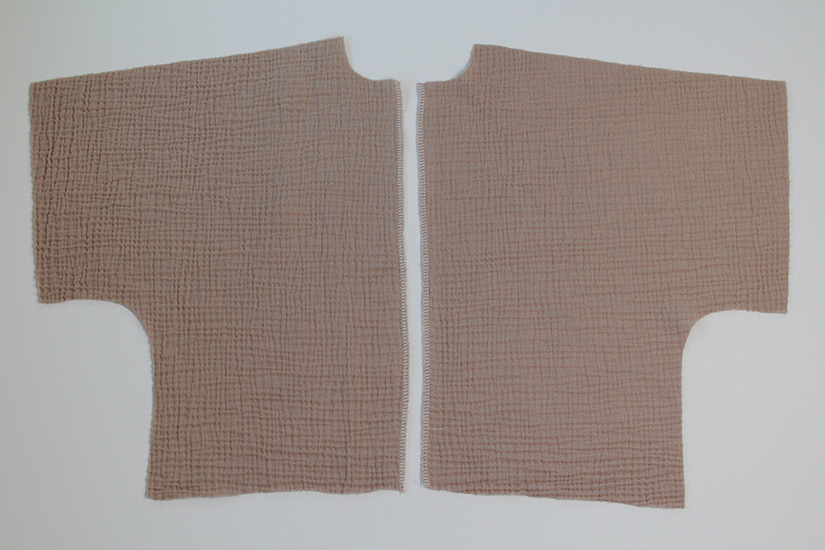
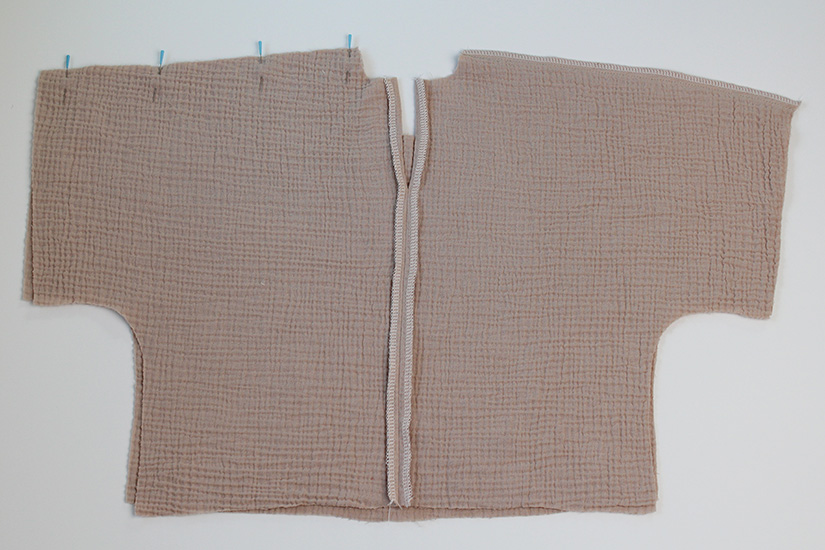
FINISH & SEW THE CENTER BACK SEAM
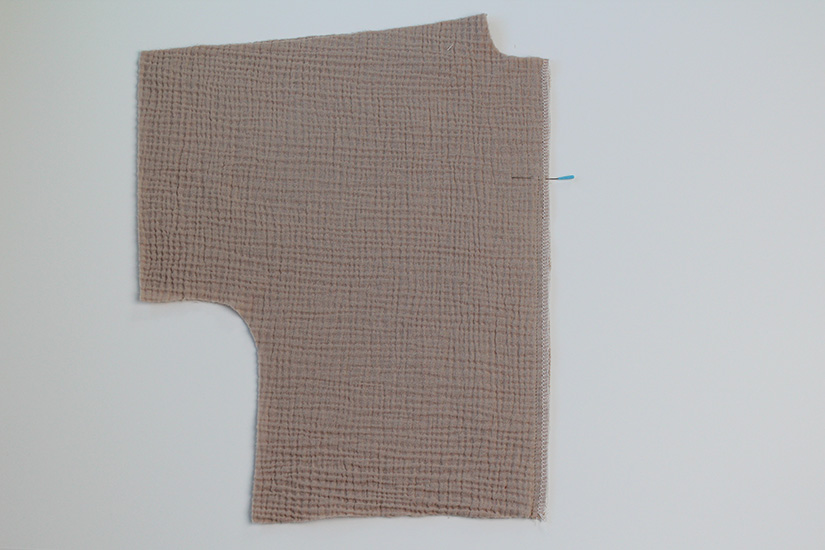
Finish the center back seams separately. With the right sides together, sew the center back seam starting at the notch and sewing down to the hem. Press the center back seam open.
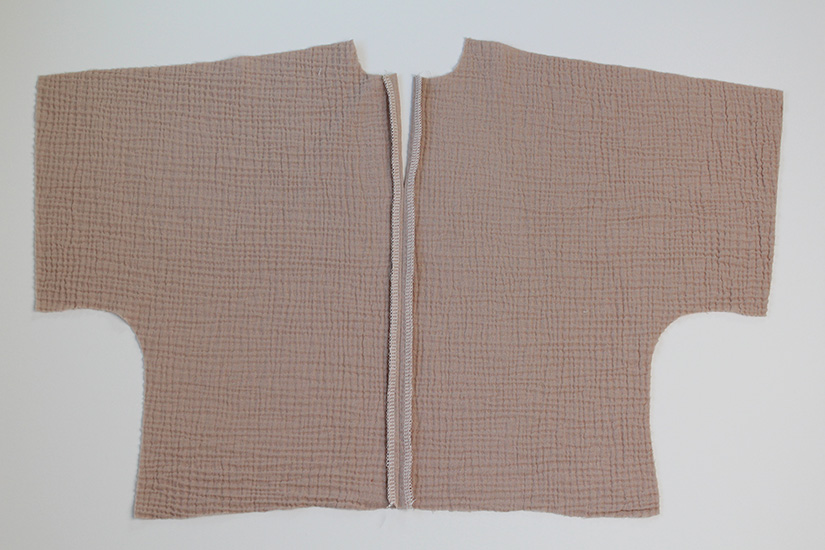
SEW THE SHOULDER SEAMS
With the right sides together, sew the front and back bodice shoulder seams. Finish the seams and press to the back.
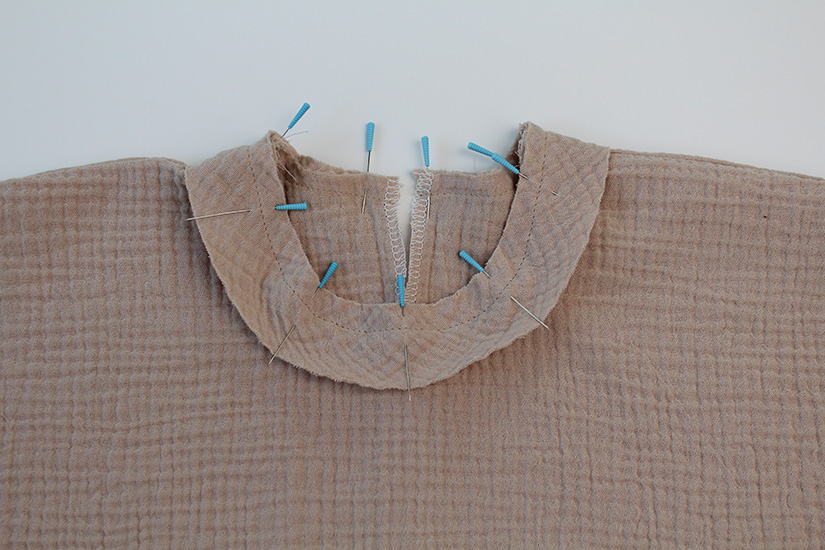
ATTACH THE BIAS OR FACING TO THE NECKLINE
If sewing the facing neckline, the instructions are the same, we are photographing the bias neckline. Starting at the center back neck, pin the bias (or facings) to the cut edge of the neckline. Match the quarter notches and center front notch. At the short end, the cut edge will match the overlock edge of the center back bodice. Sew at 3/8″ (1 cm). Trim the seam allowance to half. Press the seam up.
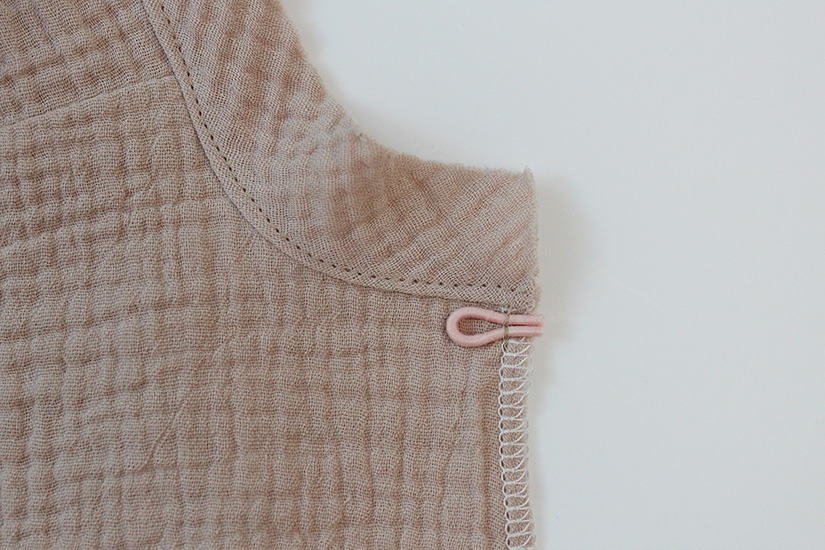
UNDERSTITCH & SEW THE ELASTIC CORD
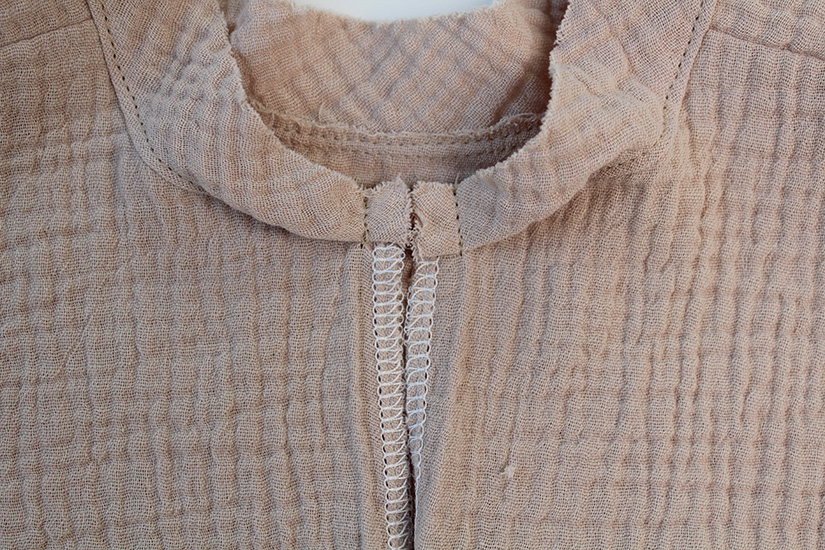
Understitch by stitching a line 1/16″ (0.15 cm) away from the seam on the bias. Make sure to catch the seam allowance towards the bias or facing when stitching. Make a 3/8″ (1 cm) loop out of elastic cord and pin it right under the neckline seam. Sew it in place at just under 3/8″ (1 cm).
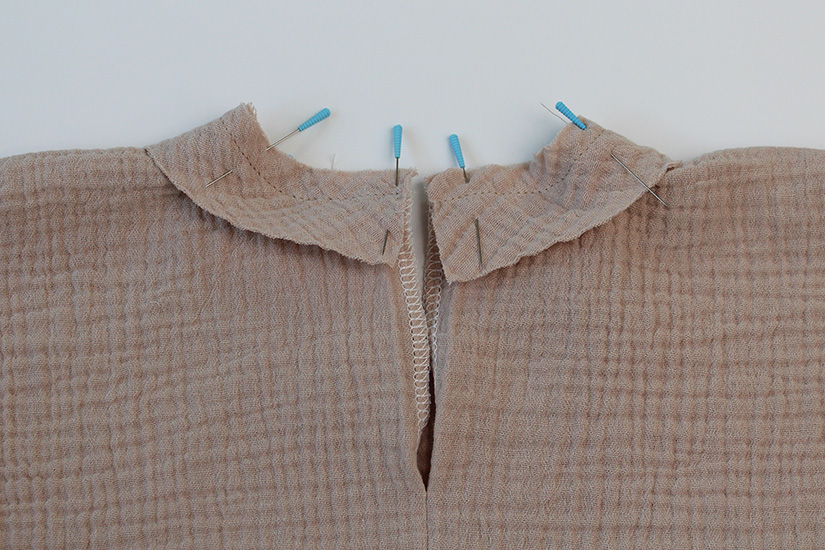
BIAS NECKLINE | SEW BIAS ENDS
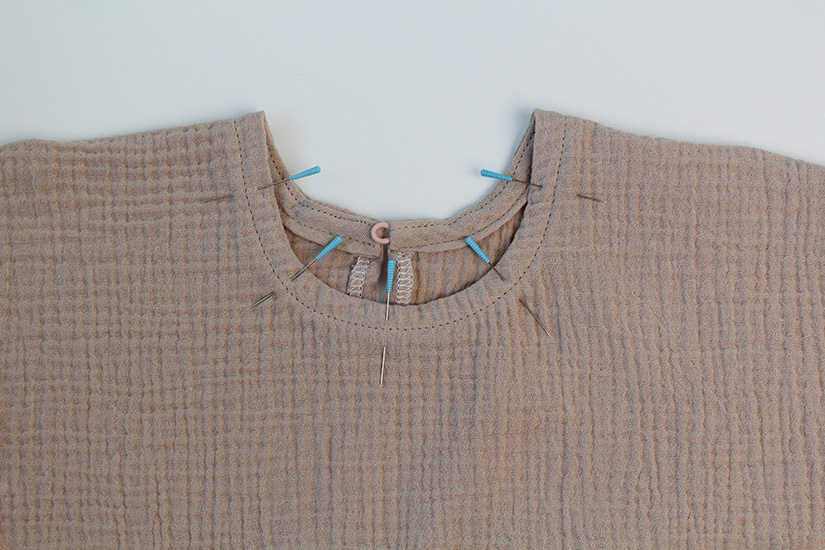
Flip the bias so the right side is facing the right side of the bodice. Fold the bias back again so that the wrong sides are touching and the bias is folded in half. Stitch the short end at 3/8″ ( 1 cm) to finish the bias corners. Turn the corners right side out. Press the rest of the bias edge at the previously stitched line towards the center so the cut edge meets the stitch line. Fold one more time so the bias is lying on the inside of the neckline. Pin in place.
FACING NECKLINE | SEW THE FACING ENDS AND EDGESTITCH
Not pictured. For the high back facing, flip the facing so the right side is facing the bodice. Stitch the short end at 3/8″ ( 1 cm), making sure the hem is folded up. Turn the corners right side out. Press the facing towards the inside of the garment and with the edges folded under, pin in place. Edgestitch at 1/16″ (0.15 cm) and press the neckline.
EDGESTITCH NECKLINE & BACK SLIT
Edgestitch the bias or facing from the wrong side, catching the very edge. Edgestitch the center back slit at just under 3/8″ (1 cm), catching the seam allowance. Press the neckline.
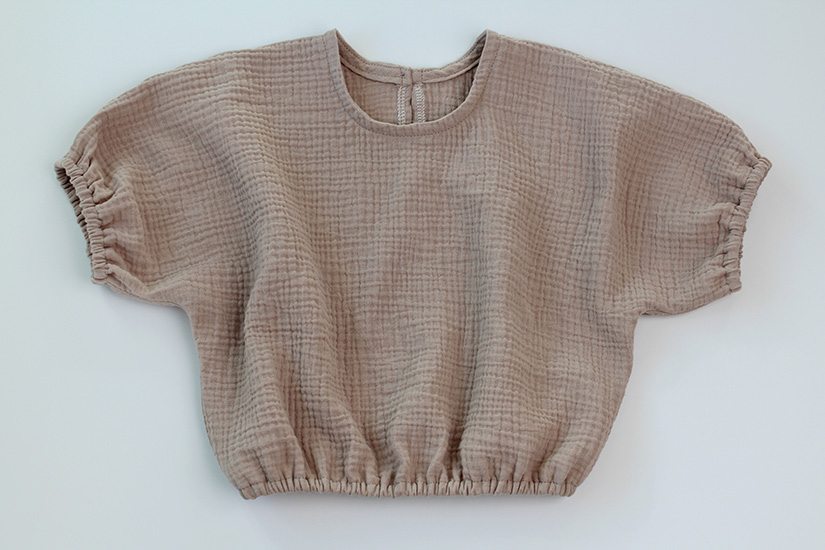
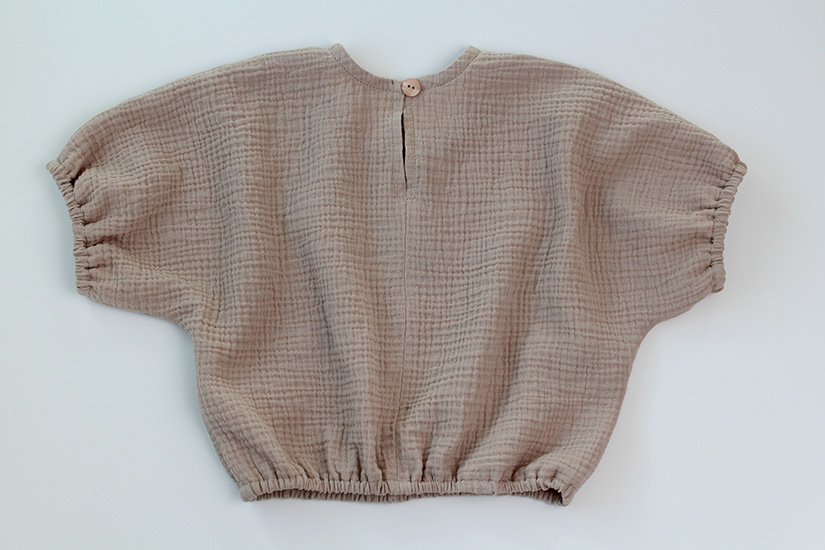
After this, you will sew the side seams and finish the hems the same way the adult Aria is sewn. Your finished Mini Aria will look like this!
Aria Top Sew Along Posts | Getting Started | Prepare Neckline and Sew Shoulder Seams | Sew Bias Neckline | Sew Facing Neckline | Sew Side Seams and Hem | Mini Aria: View A
