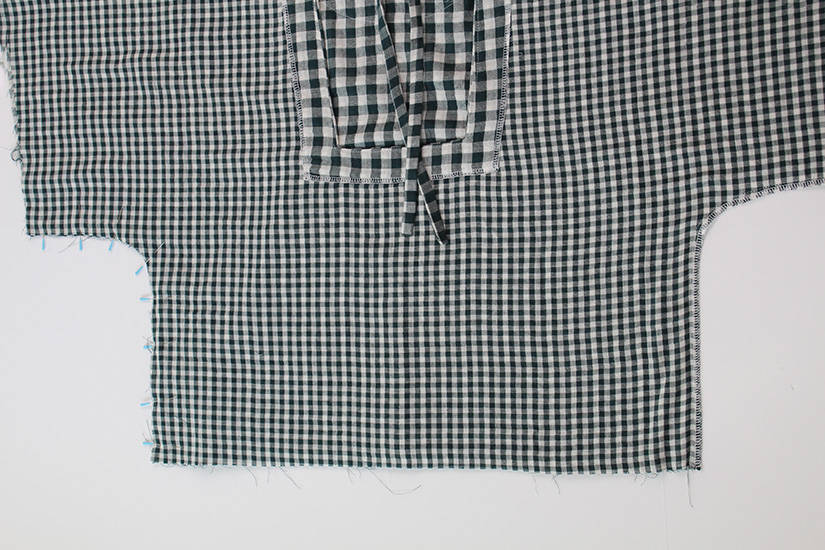
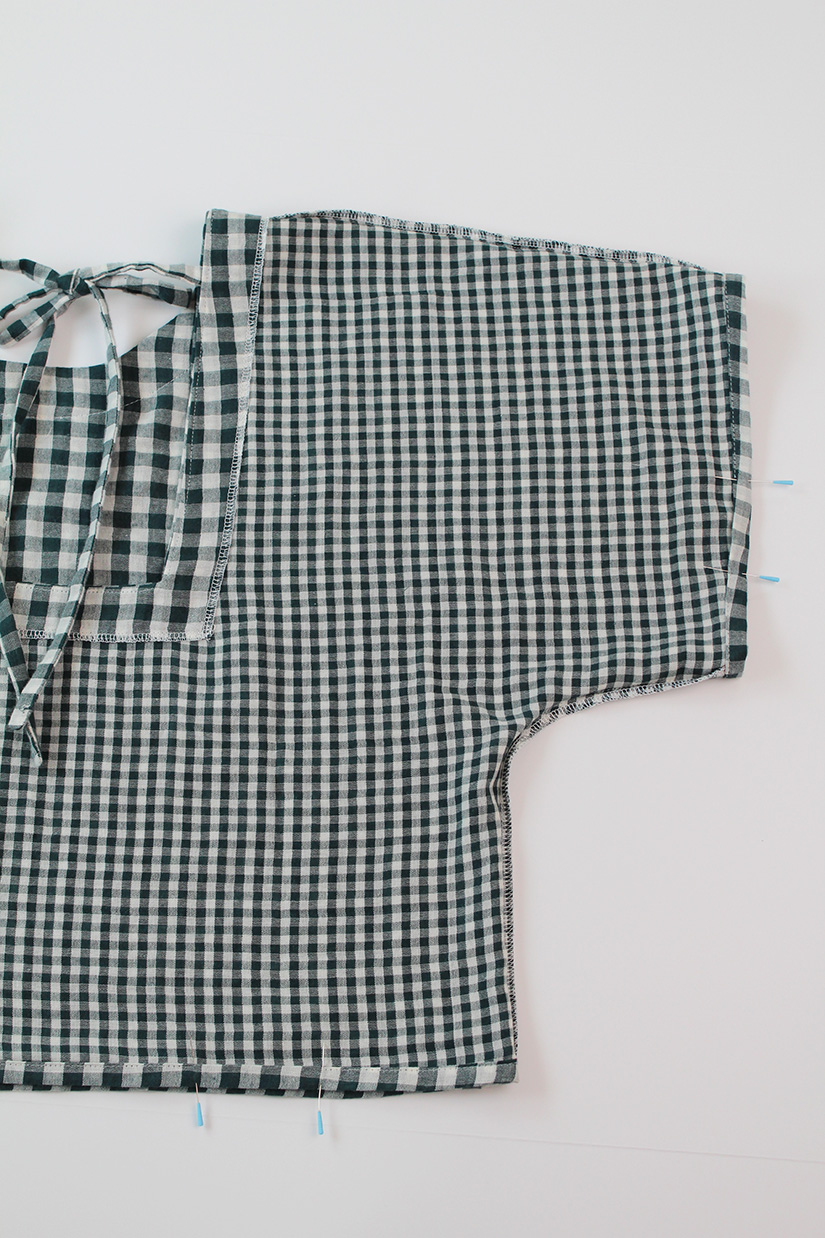
SEW THE SIDE SEAMS
With the right sides together, sew the front and back bodice side seams, matching the side seam notch. Finish the seams and press to the back.
SEW A FOLD GUIDE ON THE SLEEVE AND BODICE HEM
Sew a fold guide on the cut edge of the sleeve and bodice hem, just under 3/8″ (1 cm). Press the outer edge in 3/8″ (1 cm), wrong sides together.
HEM THE SLEEVES AND BODICE
You have two hem options for the bodice and sleeve hems.
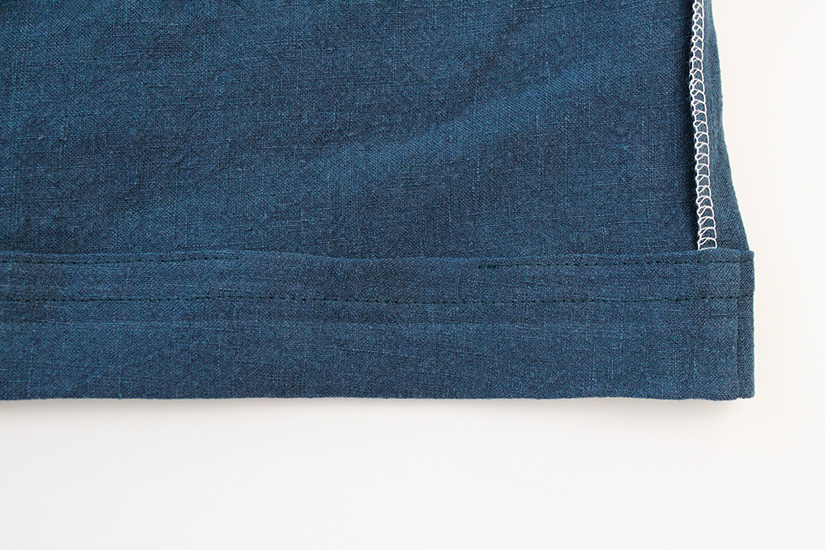
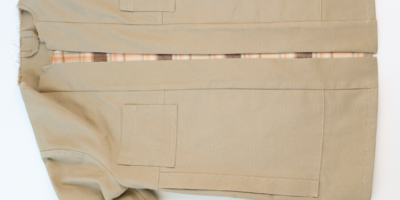
To finish with a narrow hem, fold the hems up again at 3/8″ (1 cm). Edgestitch the hems and leave a 2″ (5 cm) opening to insert the elastic.
To finish with a ruffle hem, fold the hems up again at 1 3/8″ (3.5 cm).
Edgestitch the hems and leave a 2″ (5 cm) opening to insert the elastic. Create a casing by sewing a second row 3/8″ away from your edgestitch.
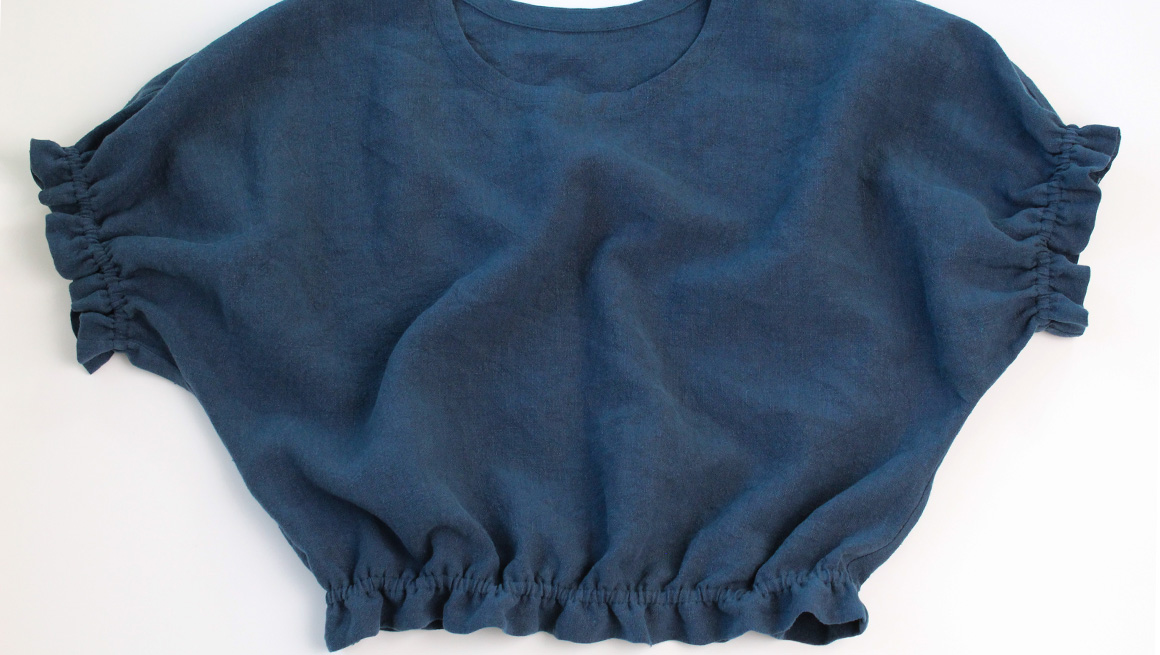
INSERT 1/4″ (0.6 CM) ELASTIC
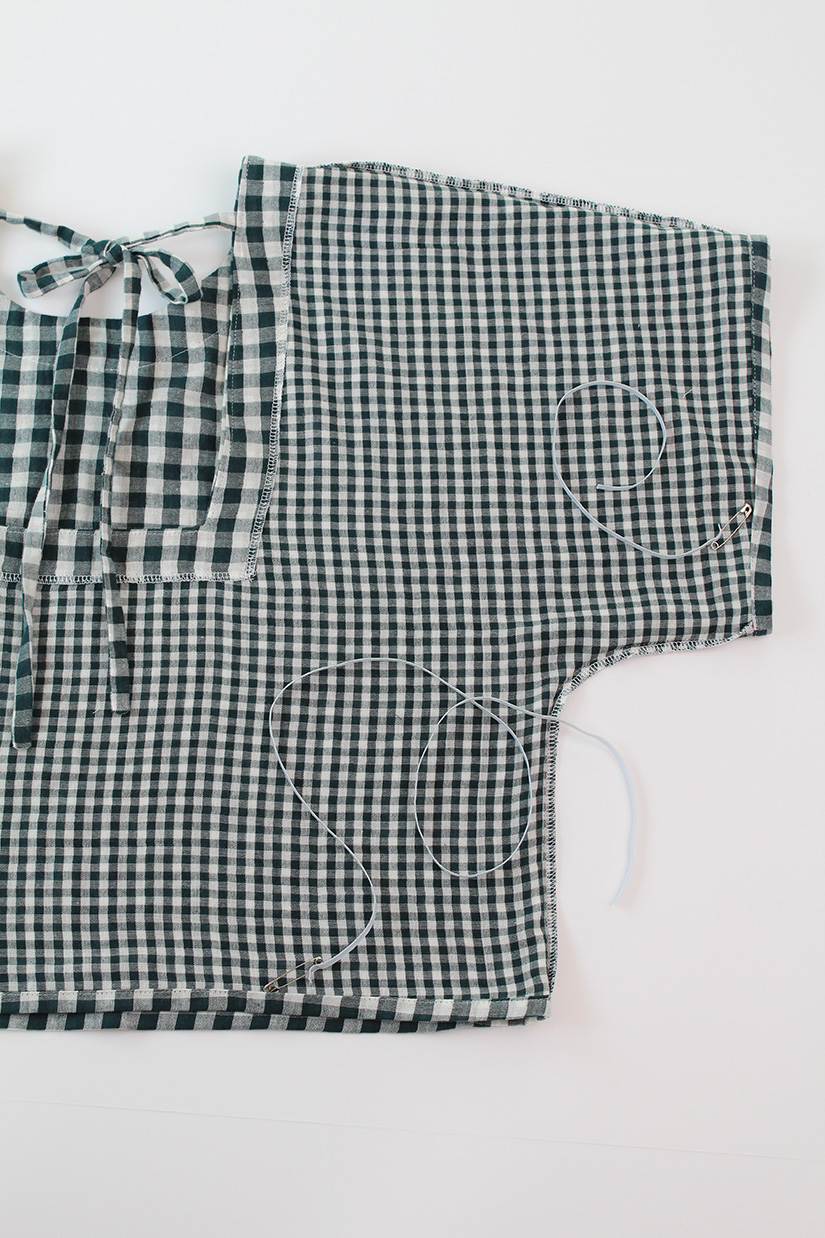
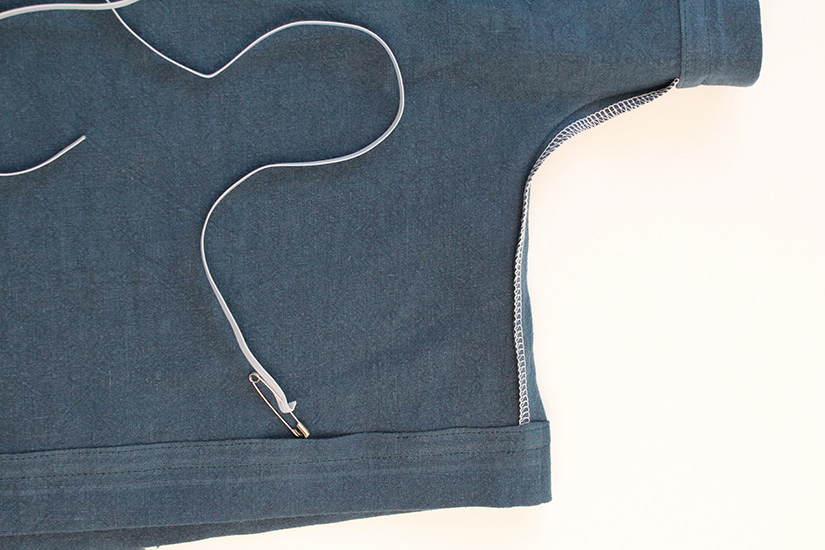
Use the cut chart from your pattern to cut your sleeve and hem elastic lengths. Add safety pins to both ends. Thread the elastic through the casings, being careful not to twist it. Overlap the edge by 3/8″ (1 cm) on either side and pin in place. Try on your Aria Top to make sure the elastic is comfortable and creates the desired bubble effect.
Once the elastic length is confirmed, secure the elastic with a zig zag stitch.
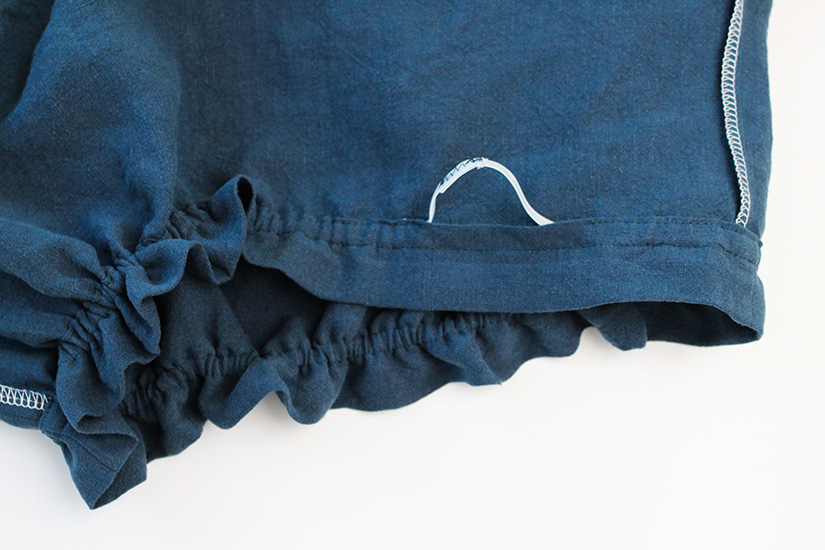
Edgestitch the opening of the casing to enclose the elastic.
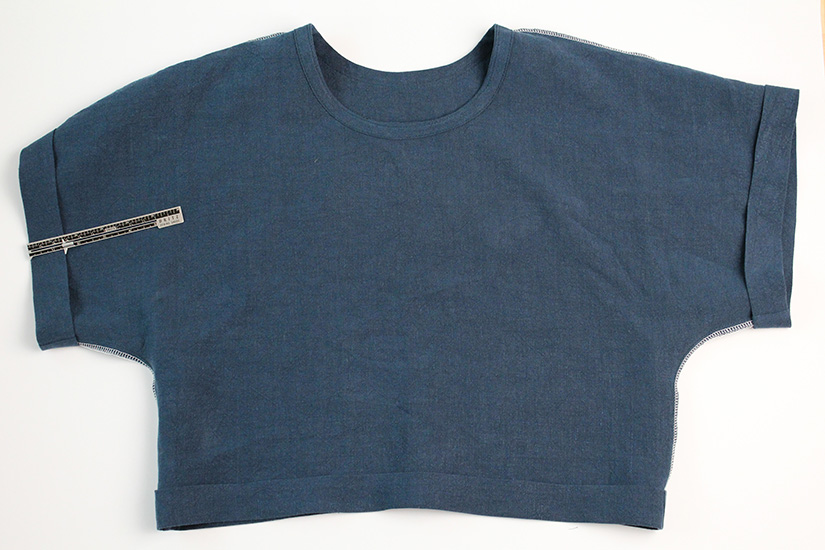
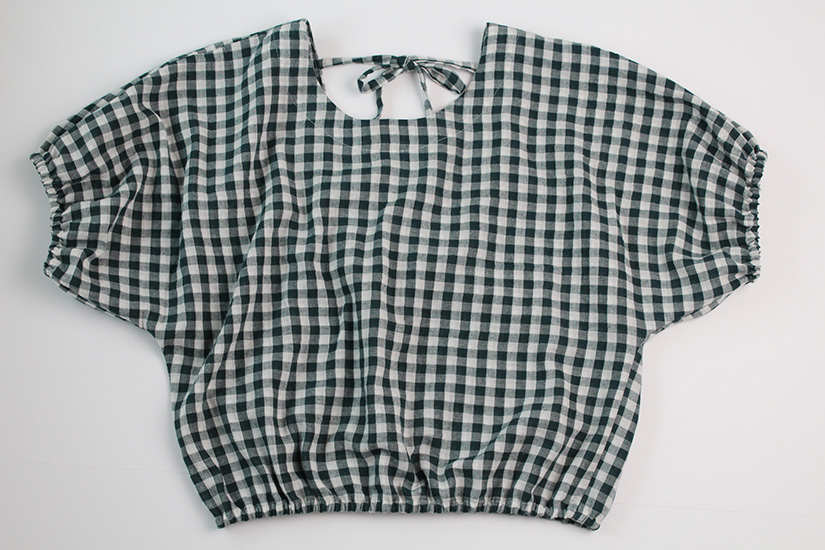
FINAL PRESS
You are finished! Give your Aria a final press!

Aria Top Sew Along Posts | Getting Started | Prepare Neckline and Sew Shoulder Seams | Sew Bias Neckline | Sew Facing Neckline | Sew Side Seams and Hem | Mini Aria: View A
