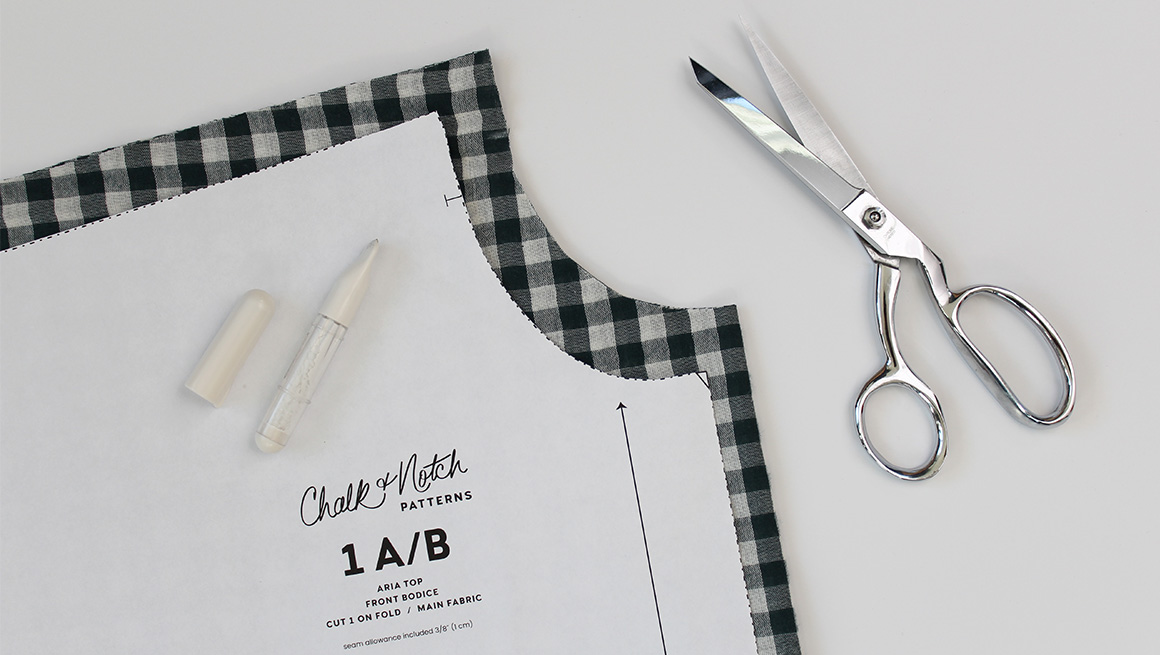
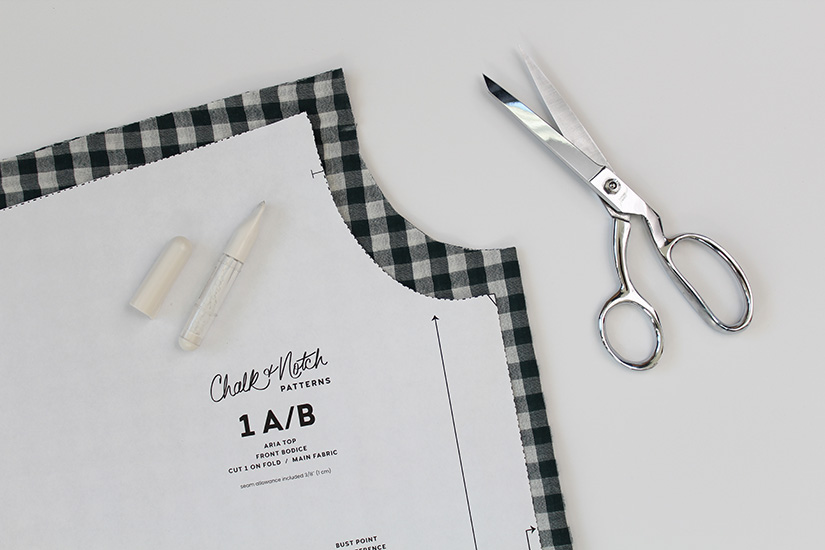
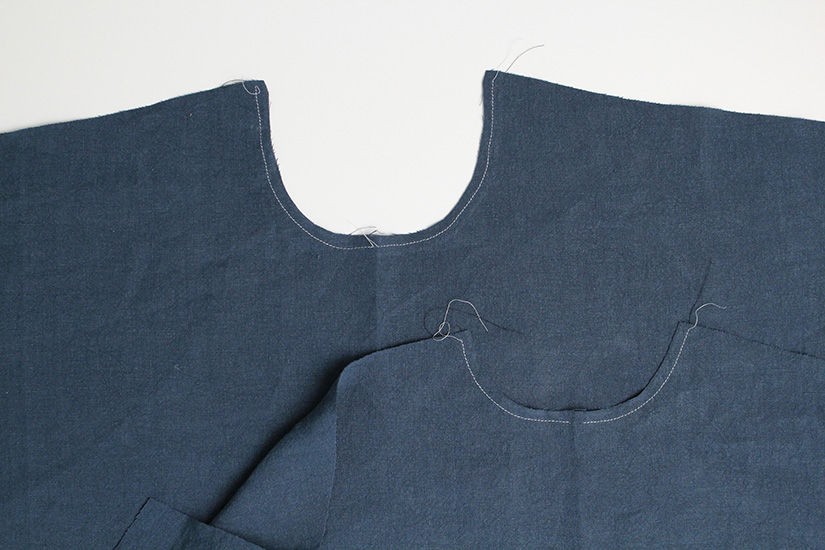
SEAM ALLOWANCE, MARKINGS & STAYSTITCH THE NECKLINE
Unless noted, the seam allowance included is 3/8″ (1 cm) for joined seams. Clip or mark the notches. The notches are indicated by ‘T’ marks or triangles at the center front.
Before handling your cut pieces too much, sew a stitch line 1/4″ (0.6 cm) away from the fabric edge on the front and back at the neckline. If sewing the bias neckline, skip to sewing the shoulder seams.
FACING NECKLINE | ADD INTERFACING
If sewing the neck facings, attach the fusible interfacing to the wong side of the center front facing and the center back facing pieces. You can block fuse a piece of fabric and cut the facing pattern pieces fromt fabric already bonded with fusible. Tricot fusible interfacing is recommended but you can use any lightweight fusible interfacing. Set the facing pieces aside.

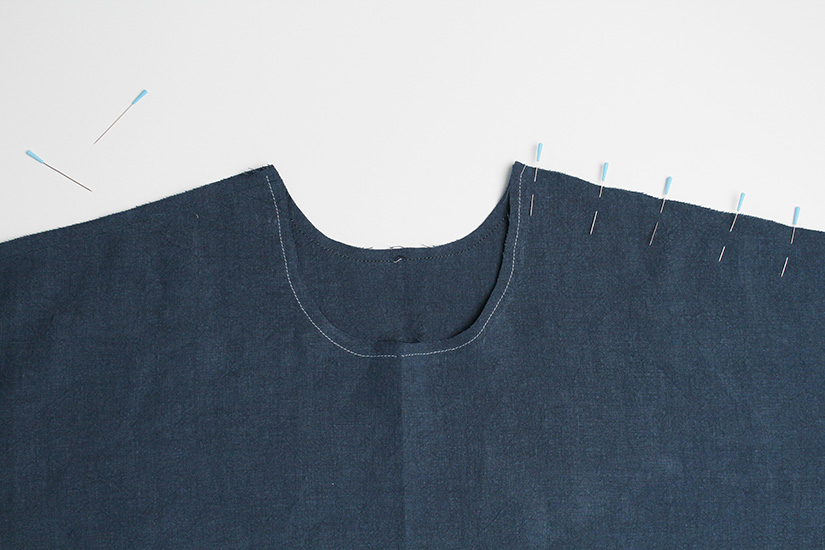
SEW THE SHOULDER SEAMS
With the right sides together, sew the front and back bodice shoulder seams. Finish the seams and press to the back.
Aria Top Sew Along Posts | Getting Started | Prepare Neckline and Sew Shoulder Seams | Sew Bias Neckline | Sew Facing Neckline | Sew Side Seams and Hem | Mini Aria: View A
