Fringe Sew Along | Hem and Attach Bodice to Skirt
Your Fringe is almost finished! Let's stitch up the hem and attach the bodice to your skirt.
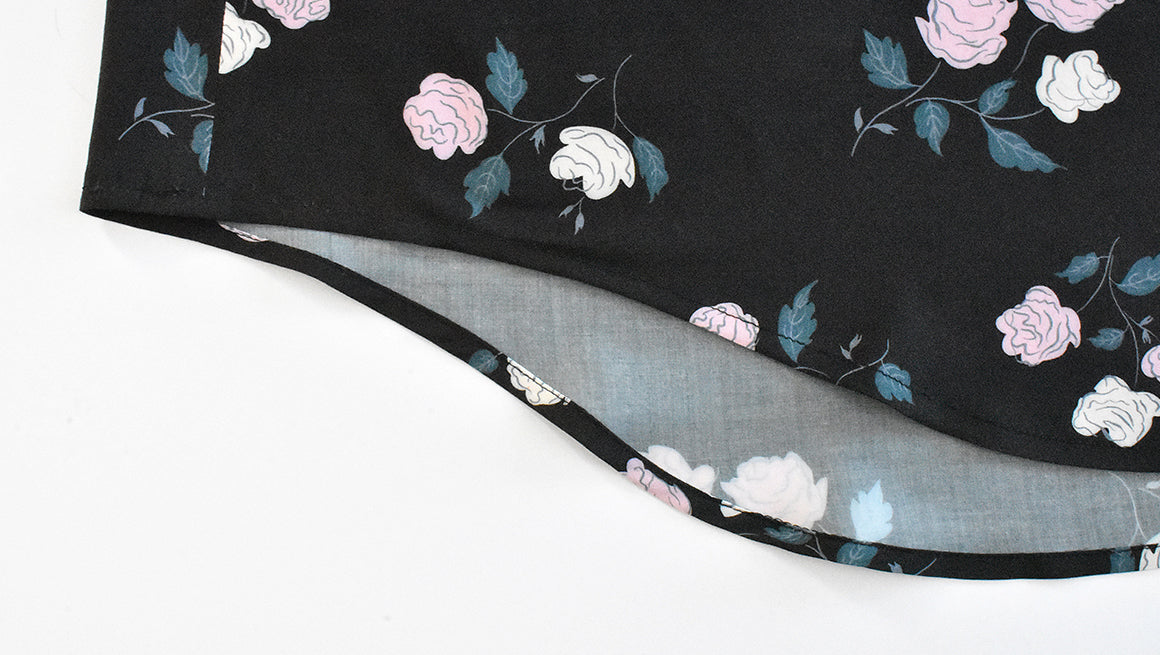
STITCH THE HEM FOLD GUIDE AND FOLD UP
I prefer to hem the skirt before attaching the skirt to the bodice. If you think you will need to adjust the length, you can wait to hem the skirt as the last step. Prep the skirt hem by stitching a fold guide at 1/4″ (0.6 cm).

Press the hem up 1/4″ (0.6 cm), wrong sides together.
FOLD AGAIN AND HEM
Fold the hem up again at 3/8″ (1 cm). Pin in place.

I prefer to sew from the wrong side during this step, edgestitching the double folded hem in place. If you stitch from the wrong side, make sure your bobbin thread matches the right side of your garment.

Now you're ready to gather and attach the bodice to the skirt.
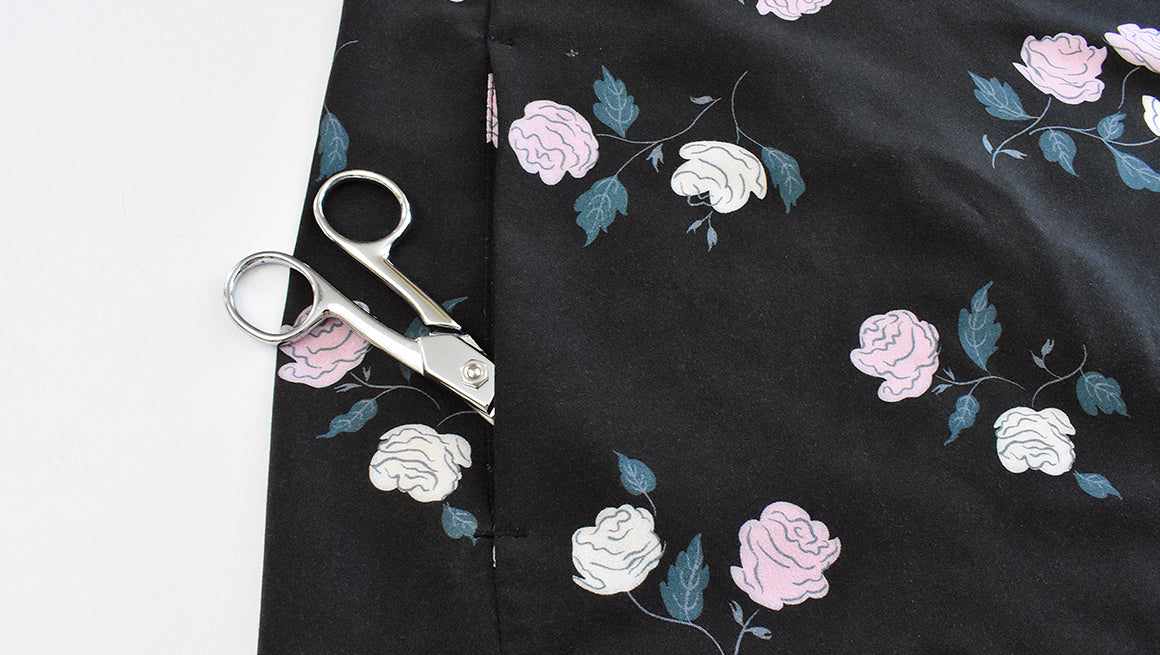
GATHER THE TOP EDGE OF THE SKIRT
Change your stitch length to the longest possible length. Sew two parallel baste stitch lines at the top of the skirt. Make sure not to backstitch at the beginning or end of your stitch lines and leave long ends to your threads.
The first line is 1/4″ (0.6 cm) away from the fabric edge.
The second line is 1/2″ (1.5 cm) away from the fabric edge.

Pull the bobbin threads to gather the skirt fabric so it matches the width of the bodice.

ATTACH THE BODICE TO THE SKIRT
Turn the bodice inside out. With right sides together, pin the bodice to the skirt, matching the center front, center back, quarter mark notches and the side seams to keep gathers even.

Sew and finish the seam. Remove any visible basting stitches and press the seam towards the bodice.
FINAL PRESS
You are finished! Give your hem and Fringe a final press!
Fringe Sew Along Posts: Getting Started | Prepare Facings and Sew Darts | Sew Shoulder Seams and Attach Facings | Attach the Sleeve/Cuffs and Sew the Side Seams | Sew Pockets and Skirt Side Seams | Hem and Attach Bodice to Skirt
