Fringe Sew Along | Prepare Facings and Sew Darts
Now that pieces have been prepared and cut, it's time to begin sewing. We'll start with the facings and bodice darts.
SEW THE CENTER FRONT BODCE SEAM FOR VIEW B
This step is for View B only. With right sides together, sew center front bodice seam and press seam open.

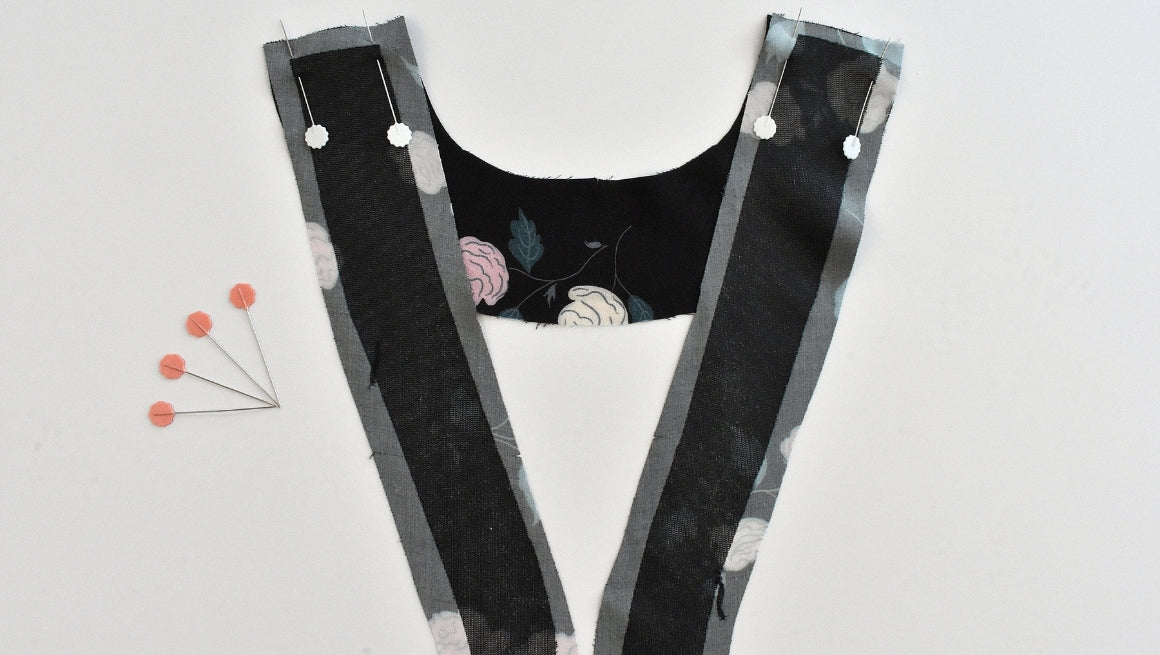
SEW THE FACINGS AT THE SHOULDER SEAMS
At this point, you should have interfacing attached to your front and back facing pieces. If not, do so now. With the right sides together sew front facing(s) to back facings at shoulder seams. Press the seams open.

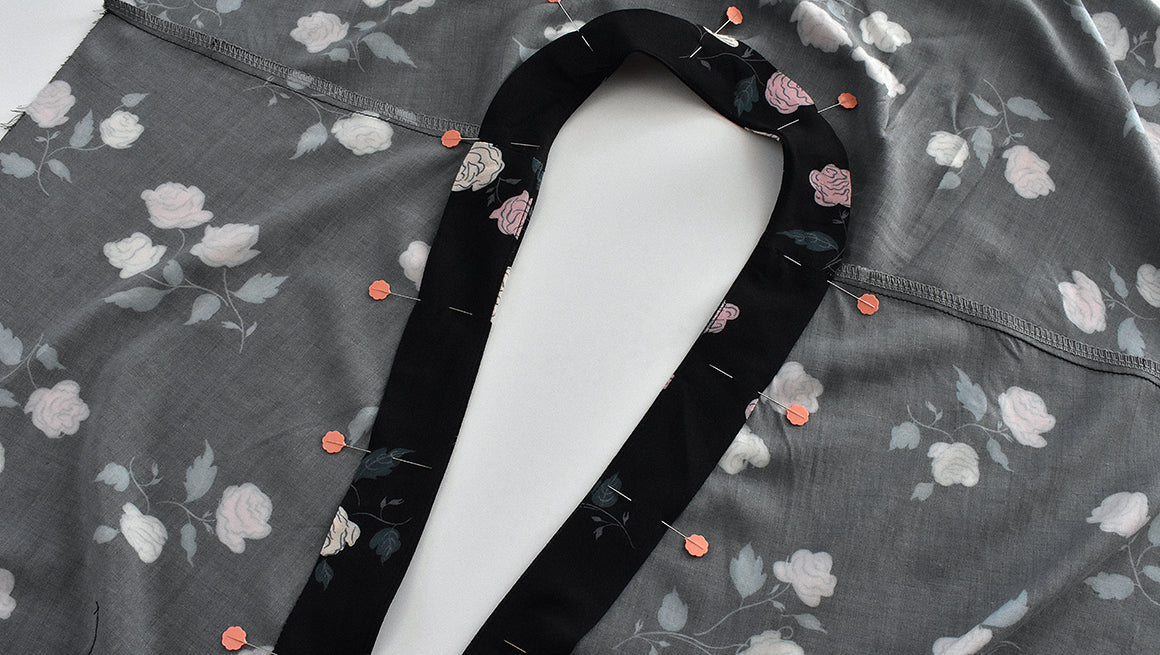
STITCH THE FACING FOLD GUIDE
Stitch a fold guide on the outer edge of the facing at 1/4" (0.6cm). Press the outer edge in 1/4" (0.6 cm), wrong sides together. To make pressing easier, clip into the seam allowance and clip corners (view B), stopping before the stitch line.

STAYSTITCH THE NECKLINE
This step is optional but highly recommended, especially if your fabric is something like rayon with a tendency to “grow.” This will prevent your neckline from stretching out. Sew a stitch line 1/4″ (0.6cm) away from the fabric edge on both front bodice pieces and the back bodice piece at the neckline.

SEW THE OPTIONAL WAIST TIES
Use waist tie pattern pieces and cut to correct length. Longer length is for inserting ties into front darts and shorter length is for inserting into back darts.
With right sides together, fold the ties in half lengthwise. Reduce the stitch length to get a sharp corner. Stitch around two sides, pivoting at the corner. Trim seam allowance to 1/8″ (0.3cm). Turn right side out and press. Ribbon or bias tape can also be used as alternative waist tie options.

SEW THE BUST DARTS FOR THE C/D CUP BODICE
If sewing the C/D bust cup option, sew the bust darts on the front bodice. Press the dart bulk down.

INSERT THE OPTIONAL WAIST TIES
Mark darts on the wrong side of the fabric. If adding waist ties, insert the raw edge 1/2″ up from the waistline edge on the right side of the fabric. The ties can be inserted at the front or back darts, or the side seams. Baste stitch the ties in place.

SEW THE WAIST DARTS
With right sides together, sew the waist darts on the front and back bodice. Press the waist dart bulk towards the side seams.

Now we're ready to sew shoulder seams and attach our facings.
Fringe Sew Along Posts: Getting Started | Prepare Facings and Sew Darts | Sew Shoulder Seams and Attach Facings | Attach the Sleeve/Cuffs and Sew the Side Seams | Sew Pockets and Skirt Side Seams | Hem and Attach Bodice to Skirt
