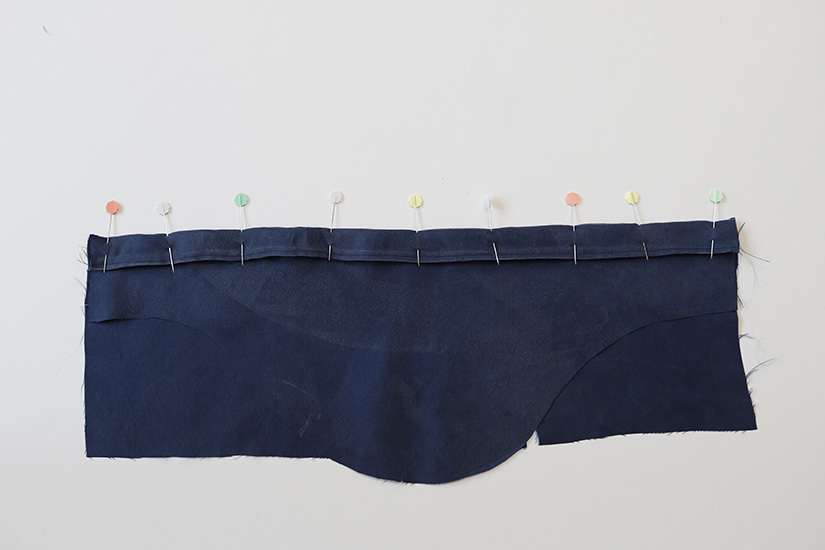
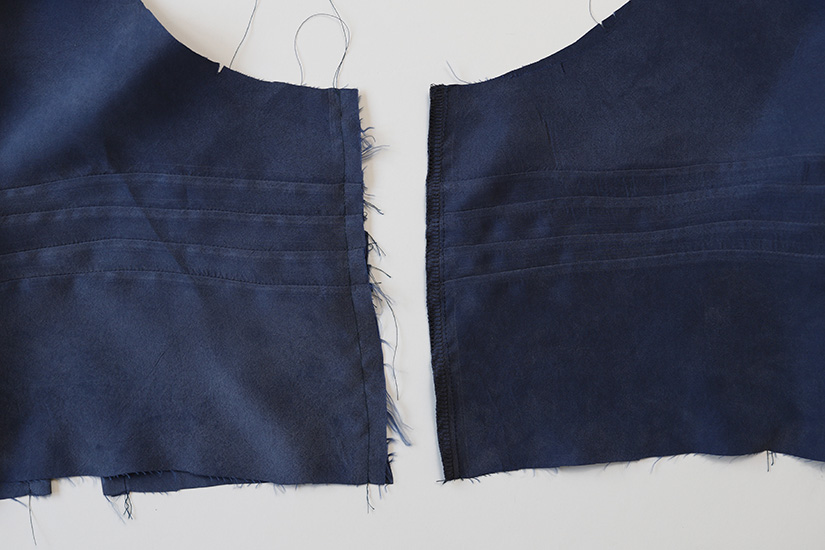
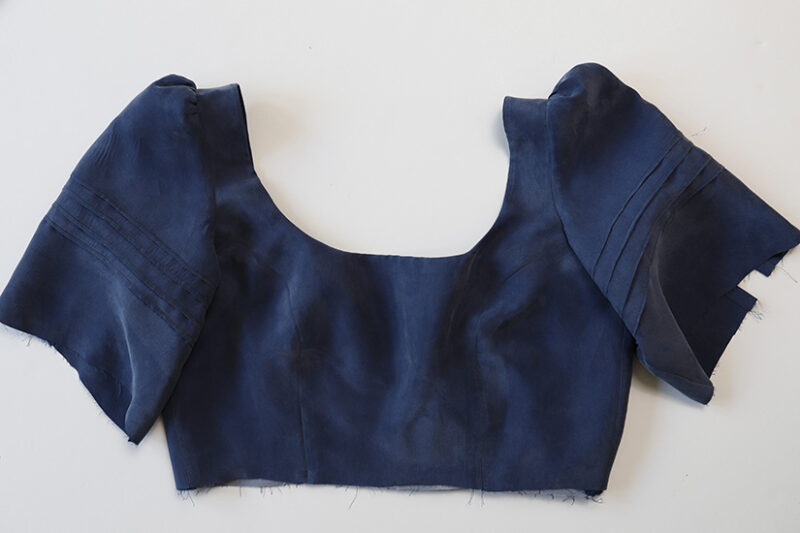
PREP THE SLEEVE PIN TUCKS
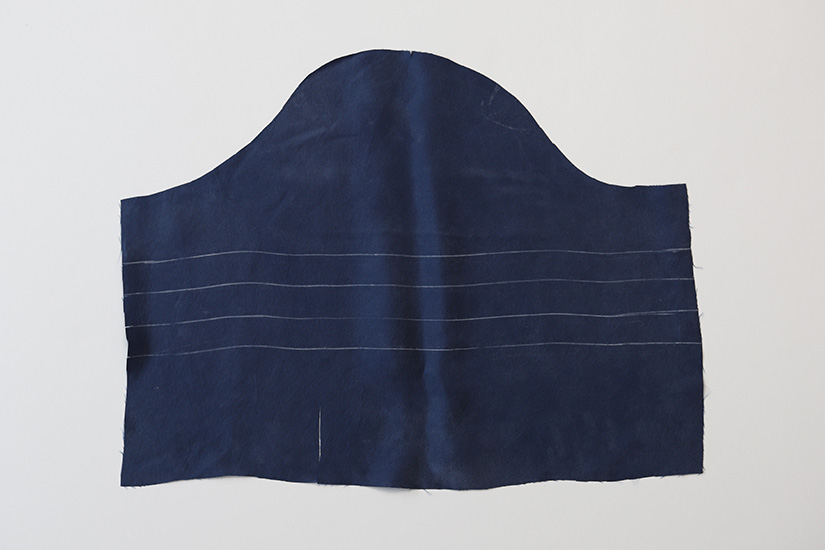
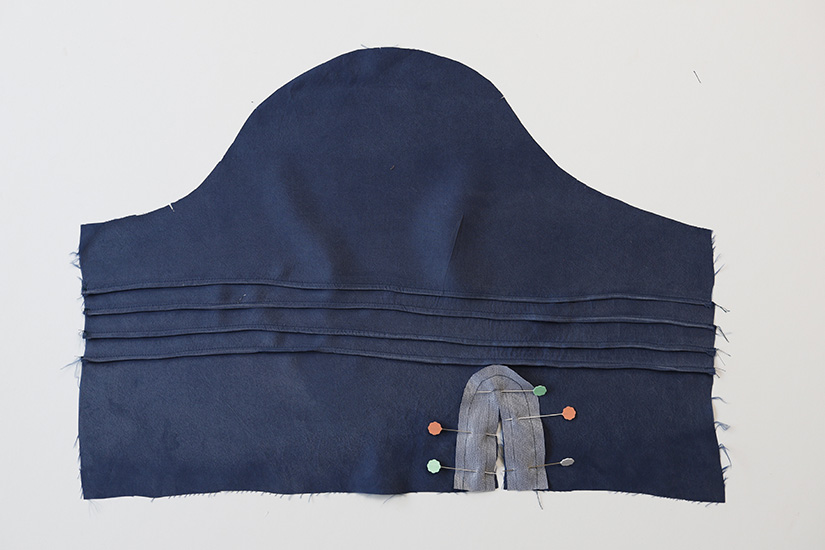
Mark the pin tucks on the right side of the sleeves. I try to do this right after I cut the sleeve pattern pieces if my fabric is shifty. There are four parallel lines 1″ (2.5 cm) apart. Press the lines in place.
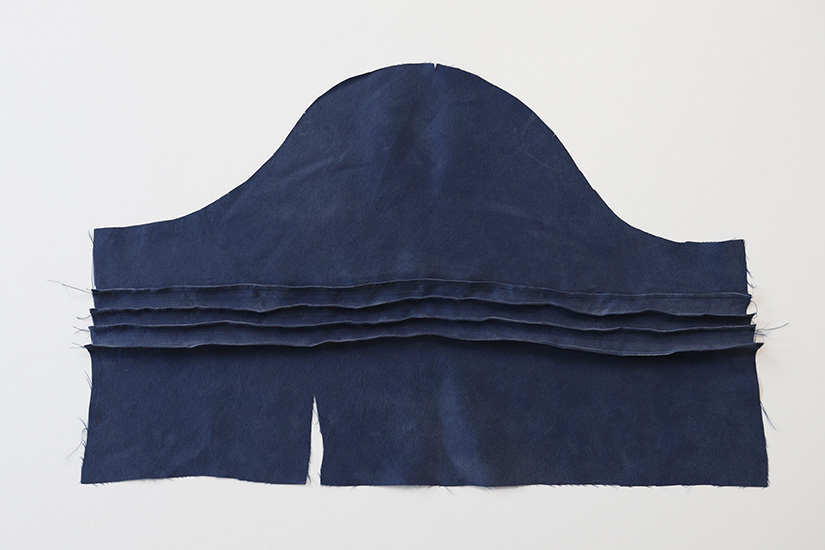
SEW THE SLEEVE PIN TUCKS
Fold the sleeve with the wrong sides together at the first line.
Sew a 1/8″ (0.6 cm) pin tuck from the folded edge.

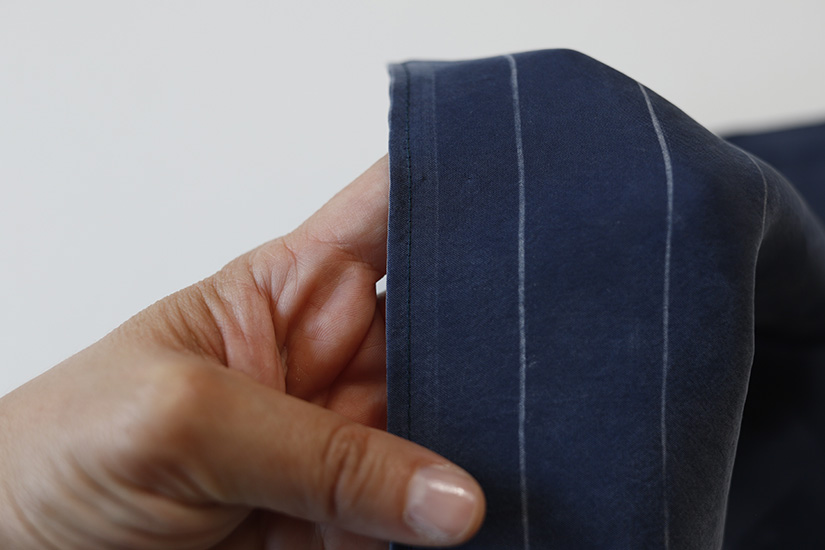
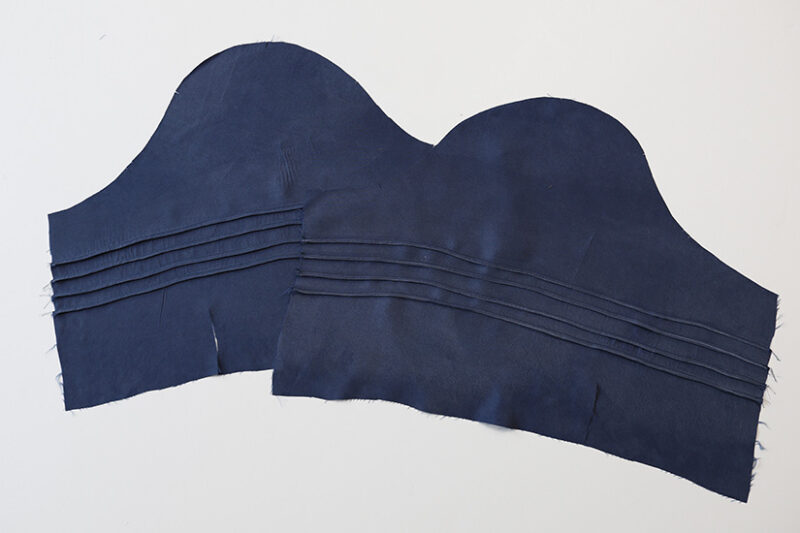
Repeat for all four pin tucks. Press all the seams down.
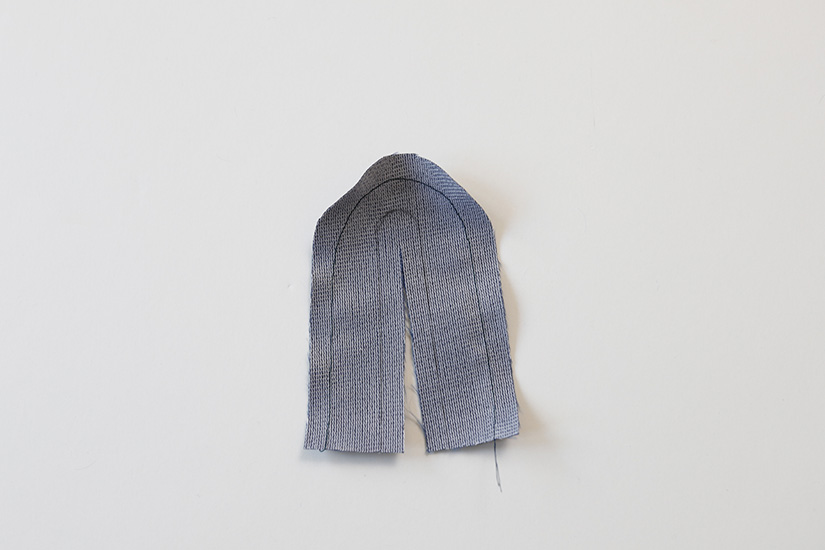
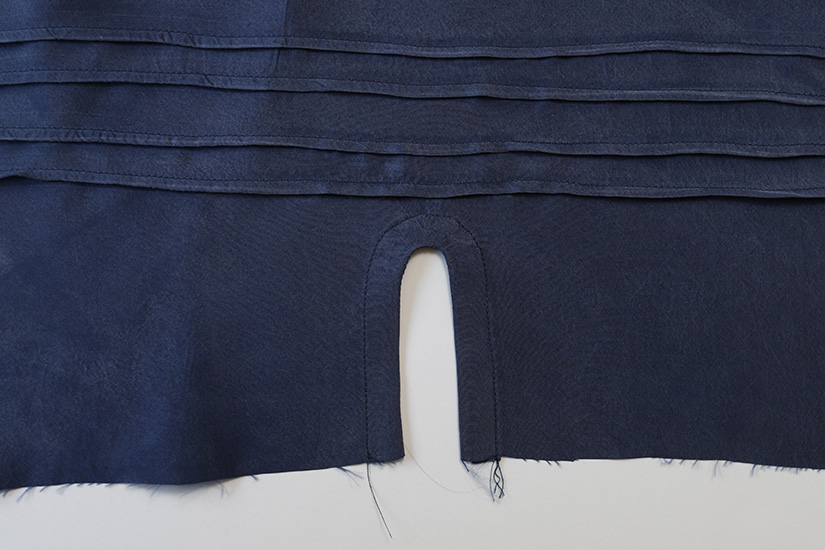
SEW THE SLEEVE PLACKET
If you haven’t done so already, cut the slit on the sleeve and sleeve placket. On the wrong side of the sleeve placket, mark the sew line 1/4″ (0.6 cm) around the center straight line.

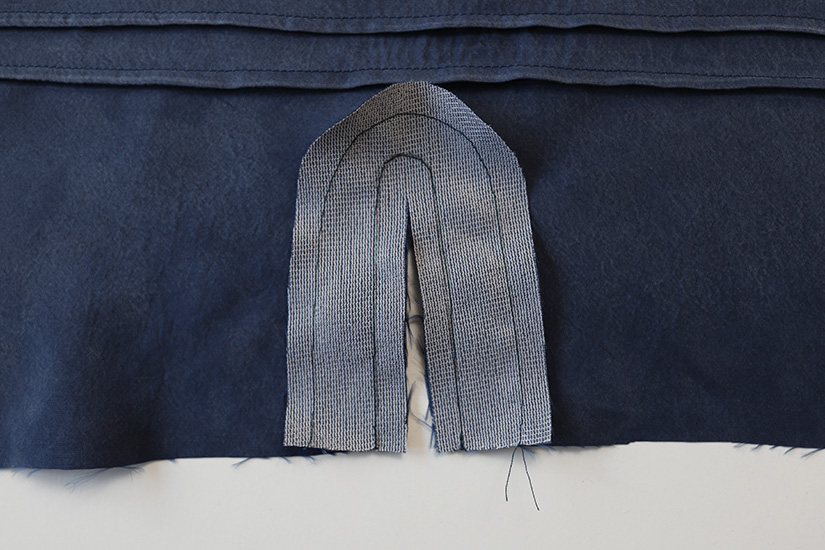
Sew a hem prep line on the outer curved edge at 1/4″ (0.6 cm).
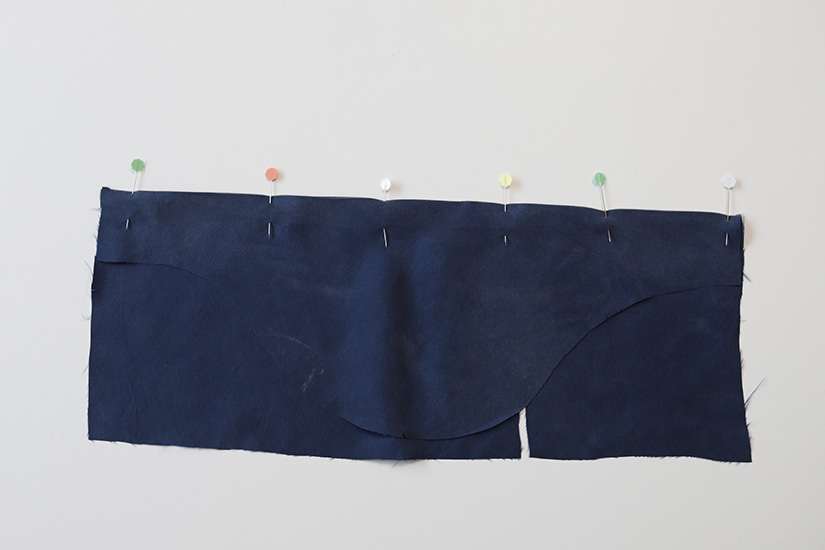
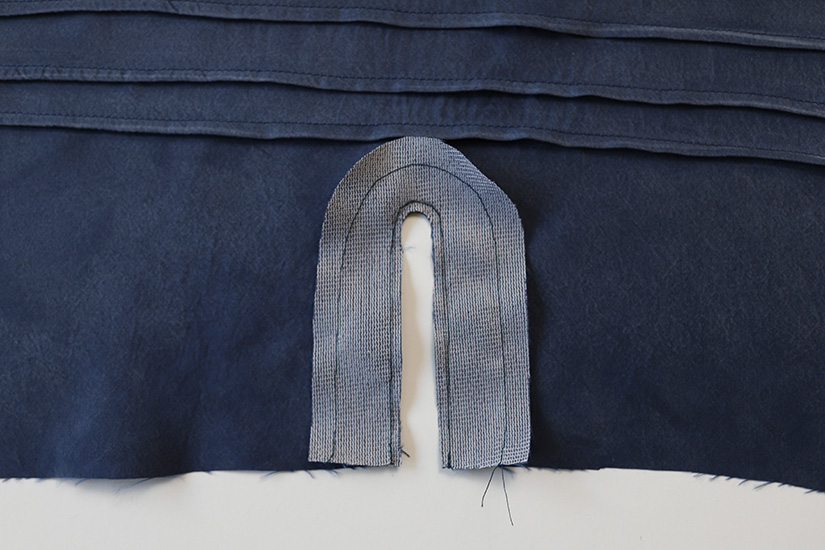
Place the placket facing right side down on the sleeve slit. Sew around the slit at 1/4″ (0.6 cm).
Trim the seam allowance to half. Repeat for the other sleeve.
FINISH THE SLEEVE PLACKET
Turn the sleeve placket to the wrong side of the sleeve.
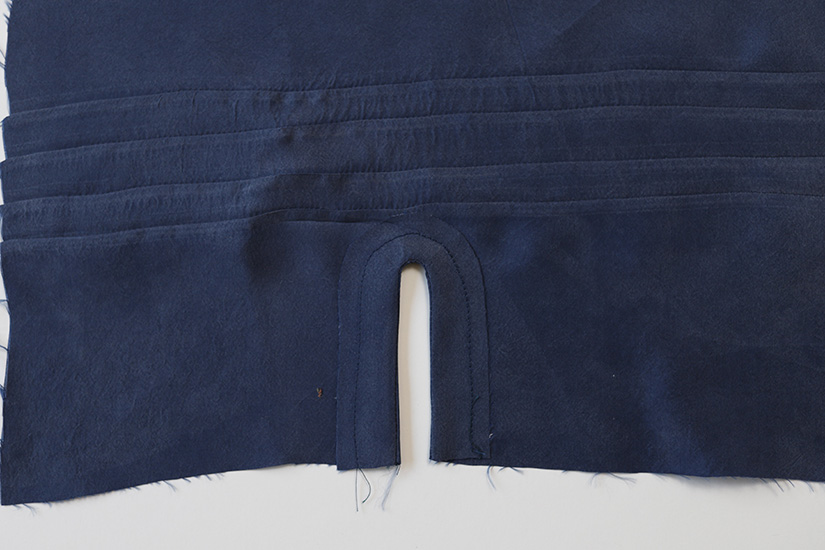
Fold the outer curved edge under, press, and pin in place.

Edgestitch the sleeve placket. Repeat for the other sleeve.
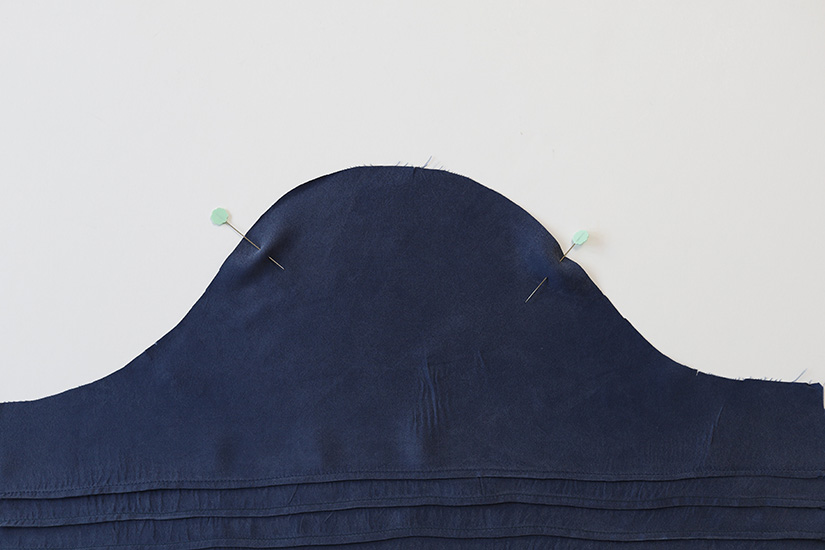
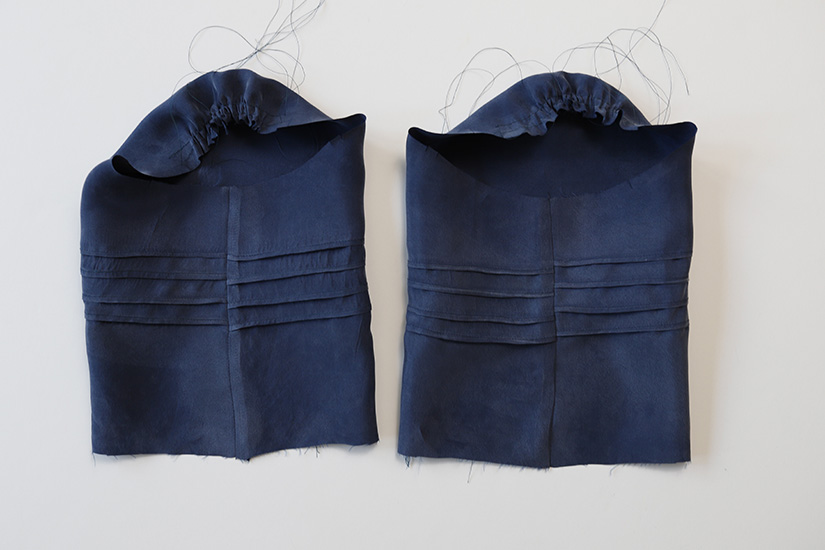
GATHER THE UPPER SHORT SLEEVE CAP
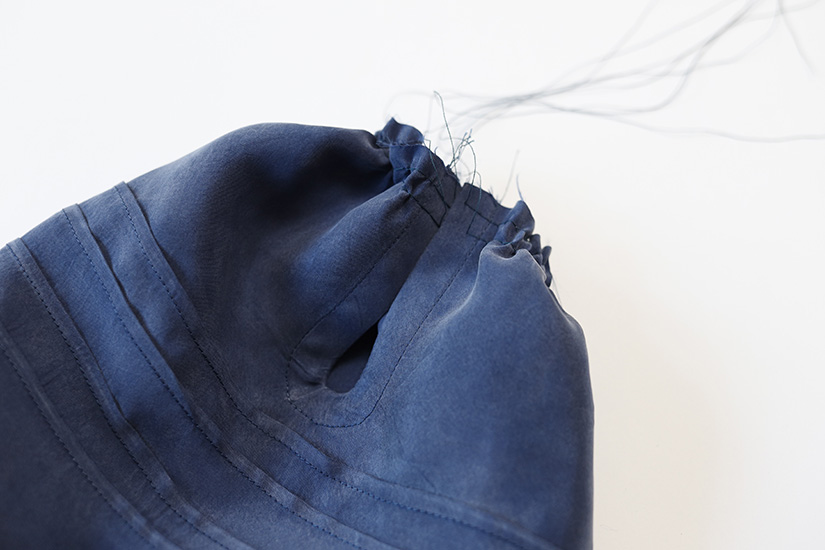
To prep the sleeve cap, change your stitch length to the longest possible length. Sew two parallel baste stitch lines at the sleeve between the set of three notches at the cap. Make sure not to backstitch at the beginning or end of your stitch lines and leave long ends to your threads.
- The first line is 1/4″ (0.6 cm) away from the fabric edge.
- The second line is 1/2″ (1.25 cm) away from the fabric edge.
SEW THE SLEEVE SIDE SEAMS
Pin the sleeve side seams together. Sew and finish the seam. Press the seam towards the back. Repeat for the other sleeve.
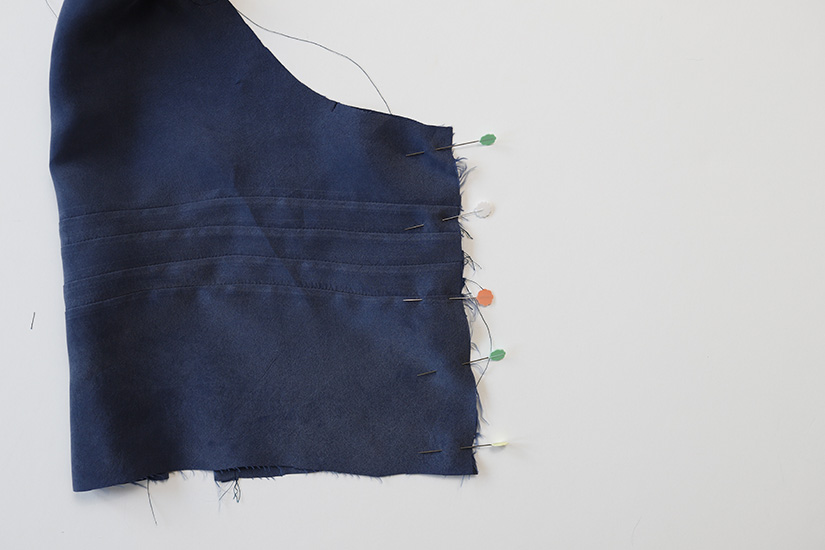
Ideally, your pintuck should match at the sleeve underseams but I didn’t even try with this shifty fabric.
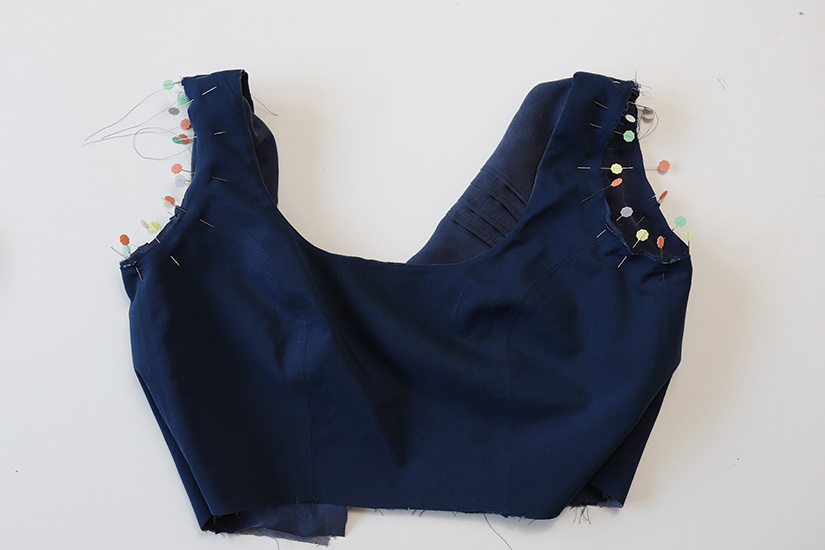
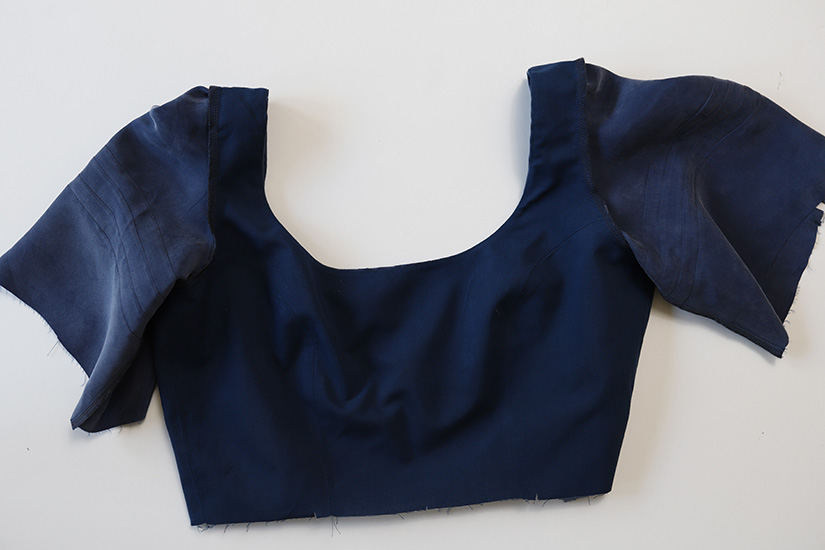
ATTACH THE SLEEVES TO THE ARMHOLE
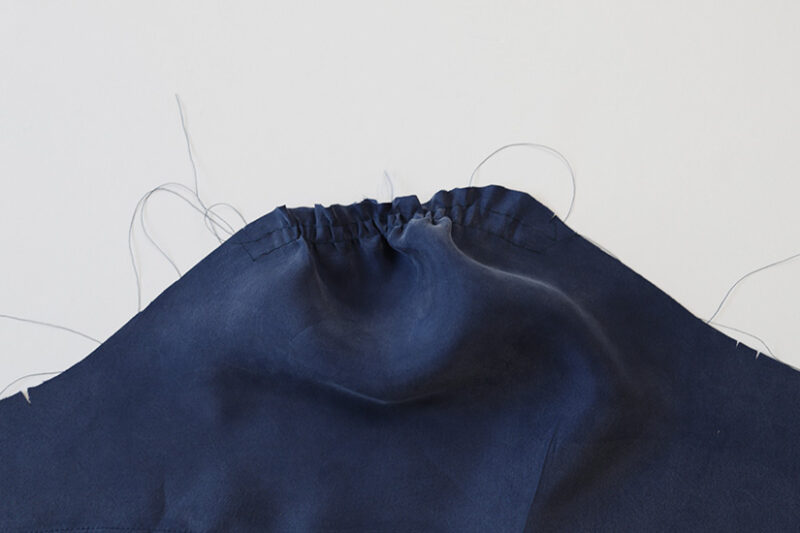
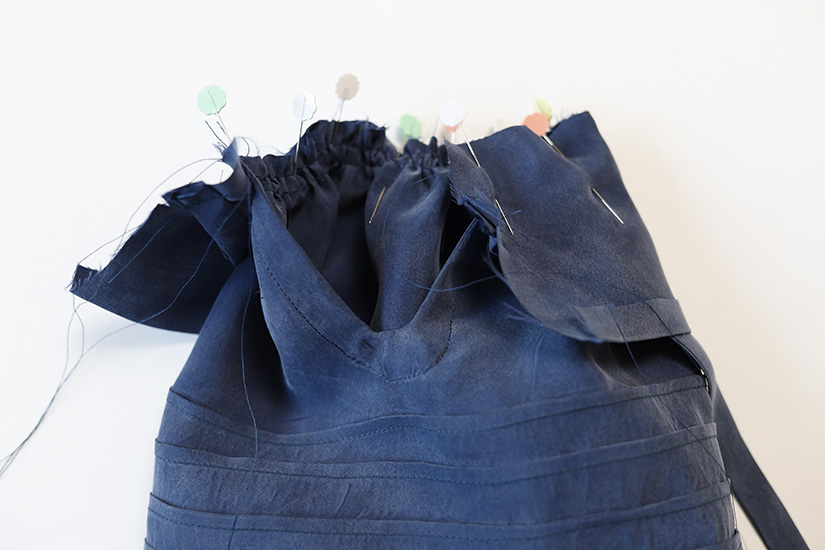
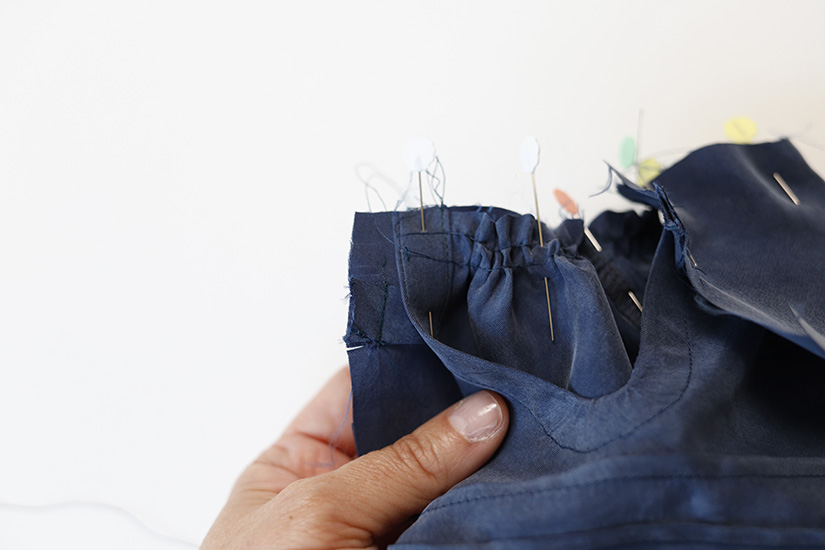
With the right sides together, pin the sleeve to the armhole in the round. The gathers are centered at the cap, 2″ ( 5 cm) on either side of the shoulder seam. Sew the sleeve to the armhole. Finish the seam, remove any visible basting stitches, and press the seam towards the sleeve. The seam allowance at the cap will give the puff a bit of height.

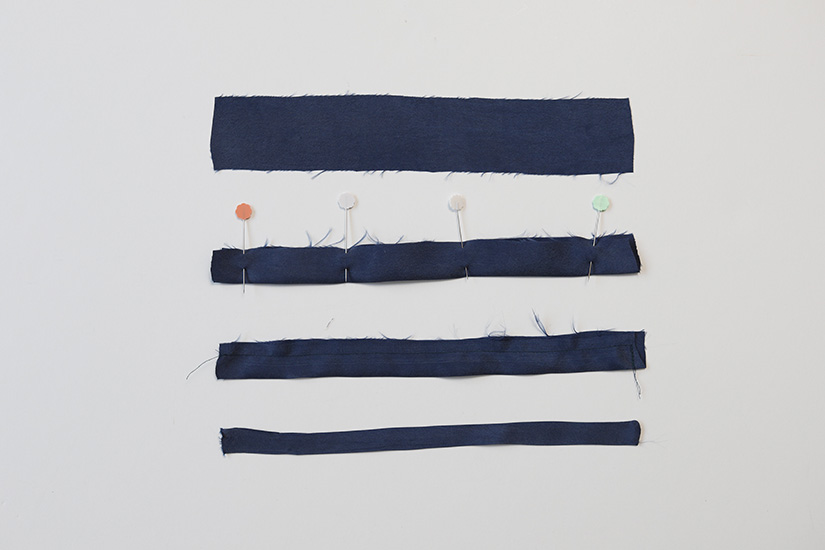
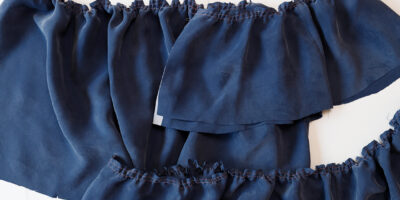
SEW THE CUFF TIES
With the right sides together, fold the ties in half lengthwise. Reduce the stitch length to get a sharp corner. Stitch at 1/4″ (0.6 cm) around two sides, pivoting at the corner. Trim the seam allowance. Turn right side and press. Repeat for the remaining tie. Using a turning tool can be helpful. Alternatively, ribbons can be used for ties.
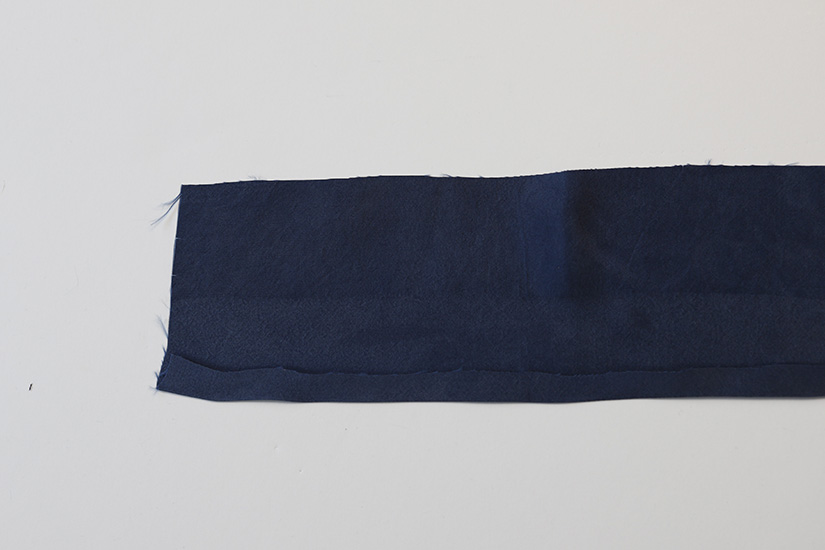
SEW A FOLD GUIDE ON THE CUFF
Sew a fold guide on the bottom edge (without notches) of the cuff just under 3/8″ (1 cm). Press the bottom edge in 3/8″ (1 cm), wrong sides together.
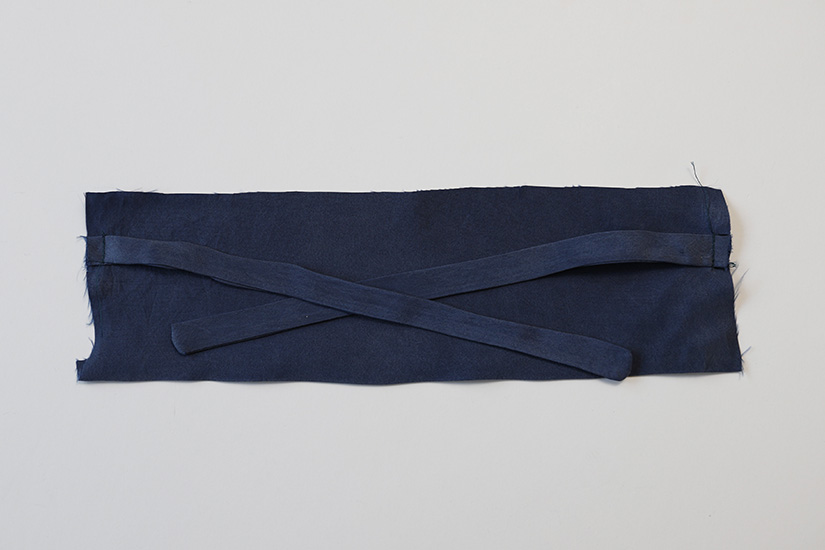
SEW THE CUFF TIES TO THE CUFF
Flip the cuff with the right side up. Pin the open end of the cuff ties to the cuff side seams between the notches. Sew in place. Repeat for the other cuff.
GATHER THE SLEEVE HEM
To prep the sleeve hem, change your stitch length to the longest possible length. Sew two parallel baste stitch lines and leave long ends to your threads.
- The first line is 1/4″ (0.6 cm) away from the fabric edge.
- The second line is 1/2″ (1.25 cm) away from the fabric edge.
Pull the bobbin threads to gather the sleeve hem.
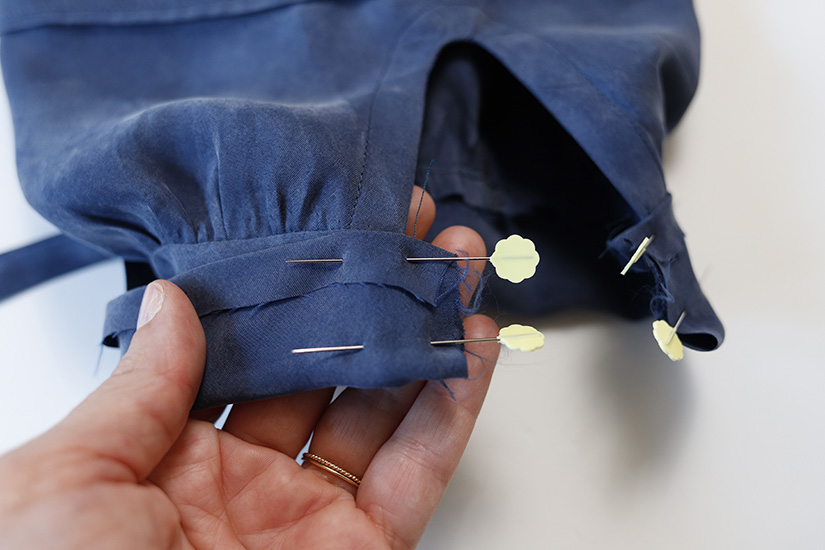
SEW THE CUFF TO THE SLEEVE
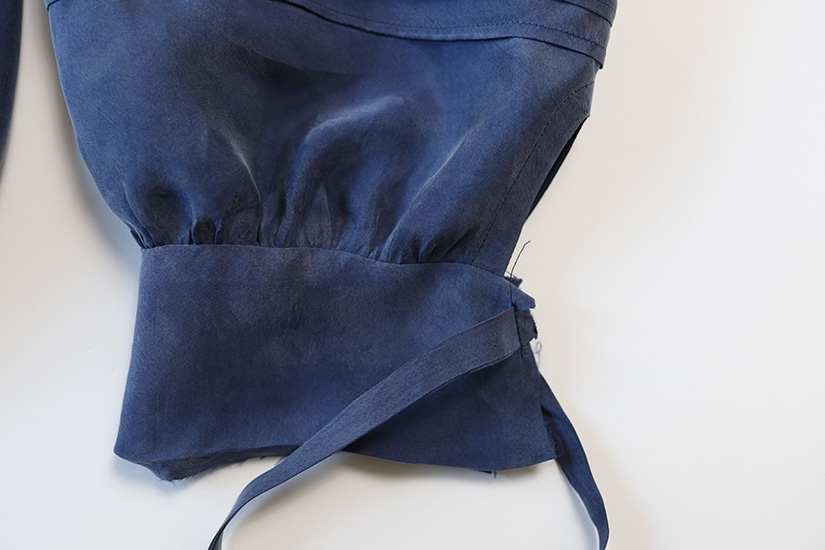
With the cuff right side up, place the sleeve right side down. Line up the finished edge of the sleeve placket with the cuff notch, 3/8′ (1 cm) from the cut edge. Pin with the notch matching the under seam and distribute the gathers evenly. Sew the cuff in place.
Press the seam towards the cuff.
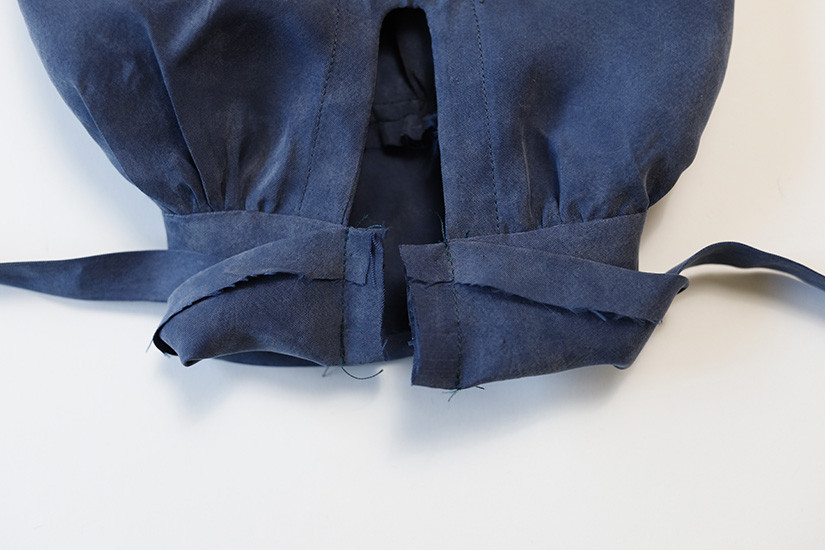
SEW THE CUFF EDGES
Flip the cuff up so the right sides are touching. Pin the open edges, and make sure the cuff edge is folded up in place. Sew the cuff edges.
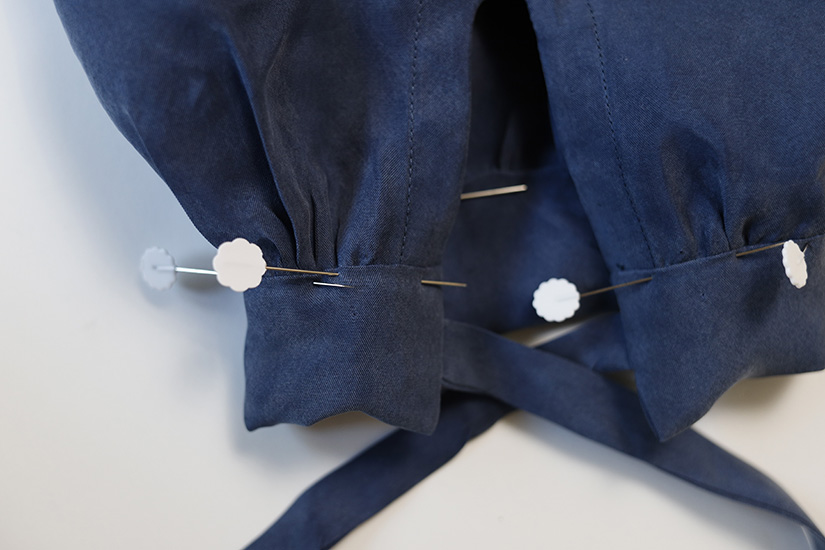
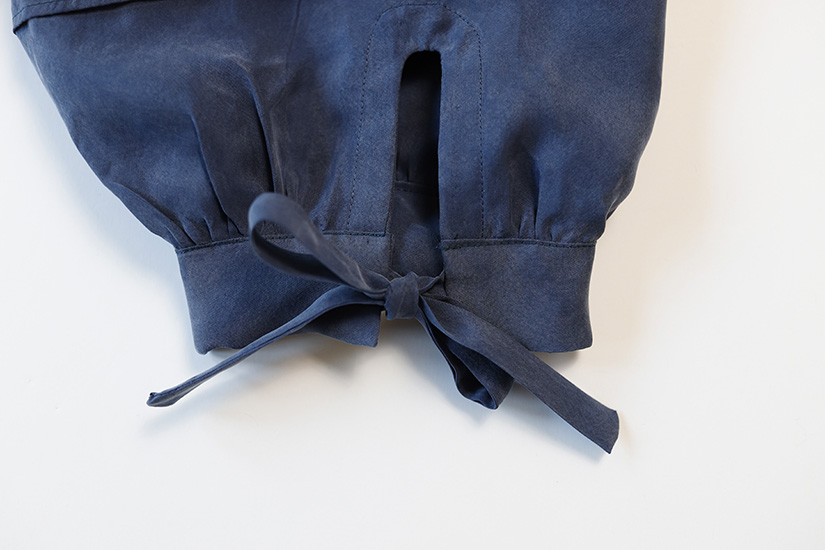
TOPSTITCH THE CUFF
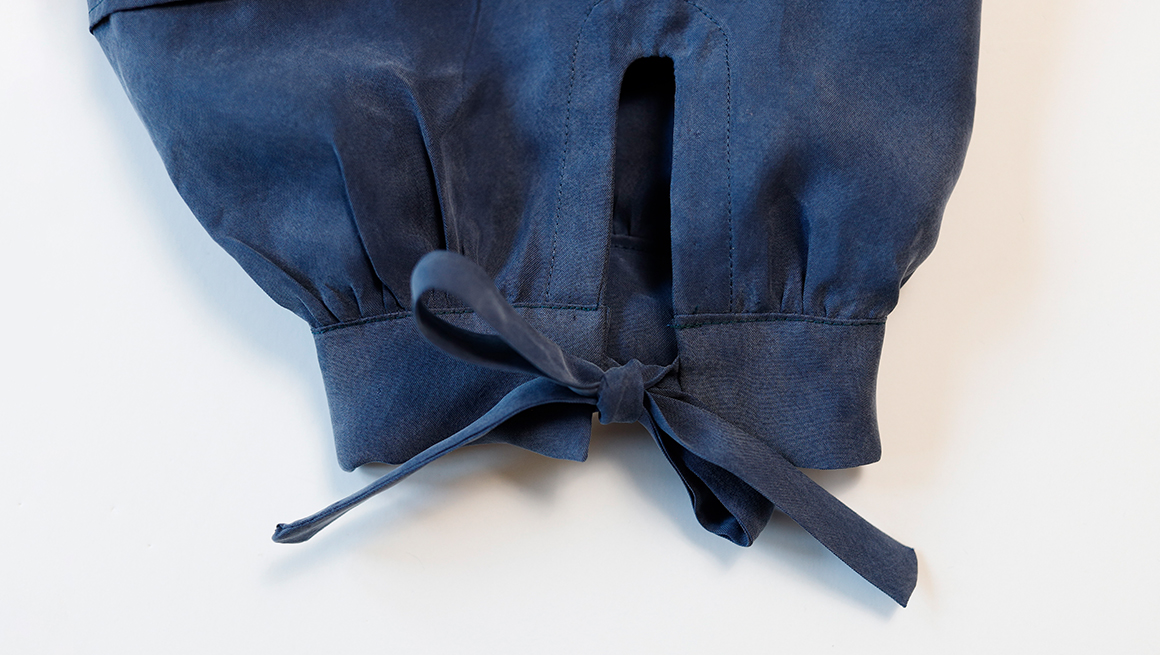
Turn the cuff right side out, and use a point turner to smooth out the corners. Pin the cuff in place with the seam allowance turned under at the pressed line. Topstitch the cuff at 1/8″ (0.3 cm), catching the hem underneath. Make sure not to pull or twist while topstitching. Remove any visible basting stitches. Press and tie the bows.
Shay Sew Along Posts | Getting Started | Preparing the Bodice | Sew Bodice and Neckline, Finish Tank Armhole | Sew and Attach Sleeves | Sew and Gather Skirt Tiers | Zipper and Finishing View A | Button Placket and Finishing View B