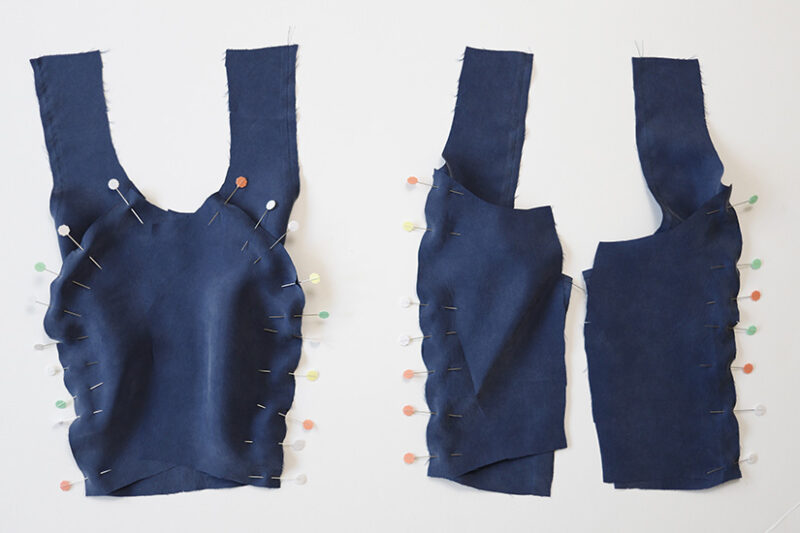
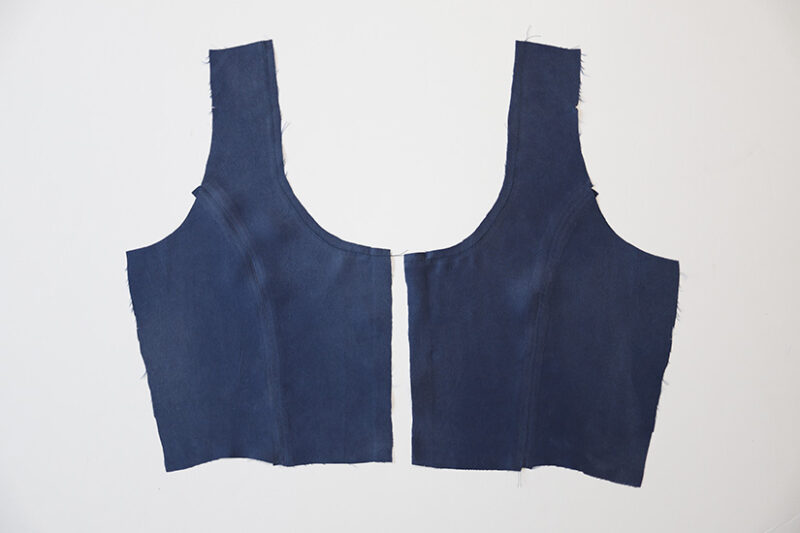
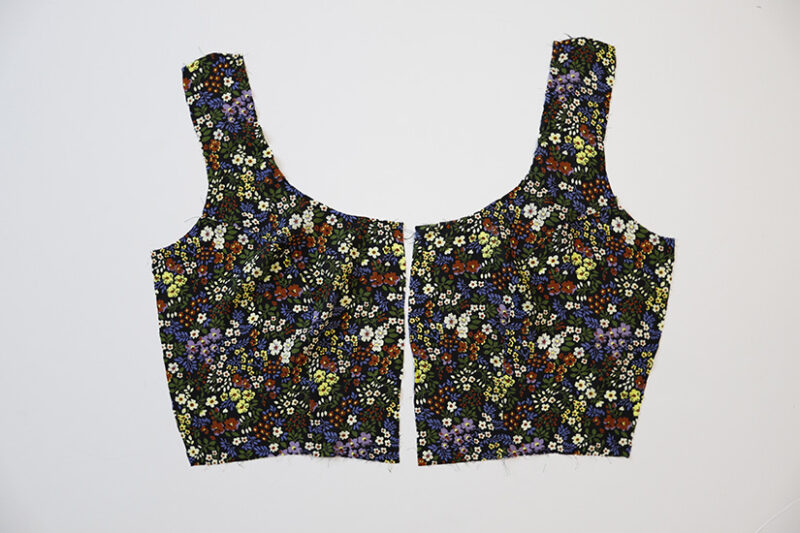
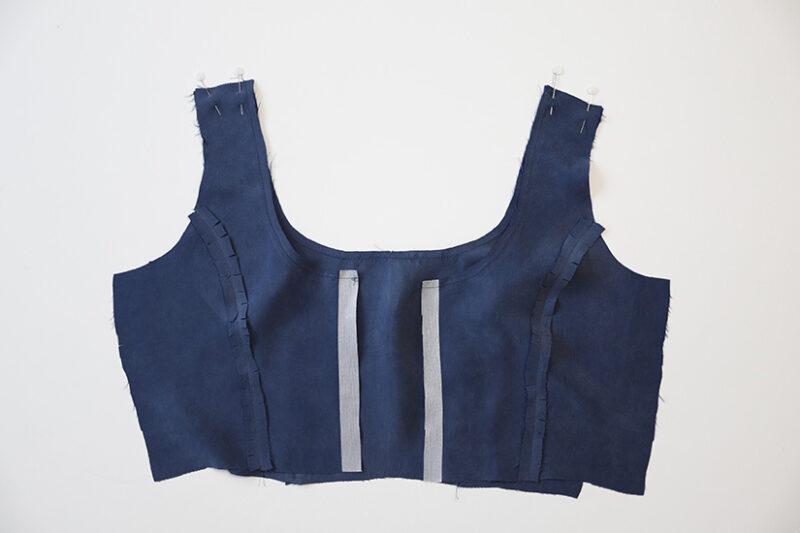
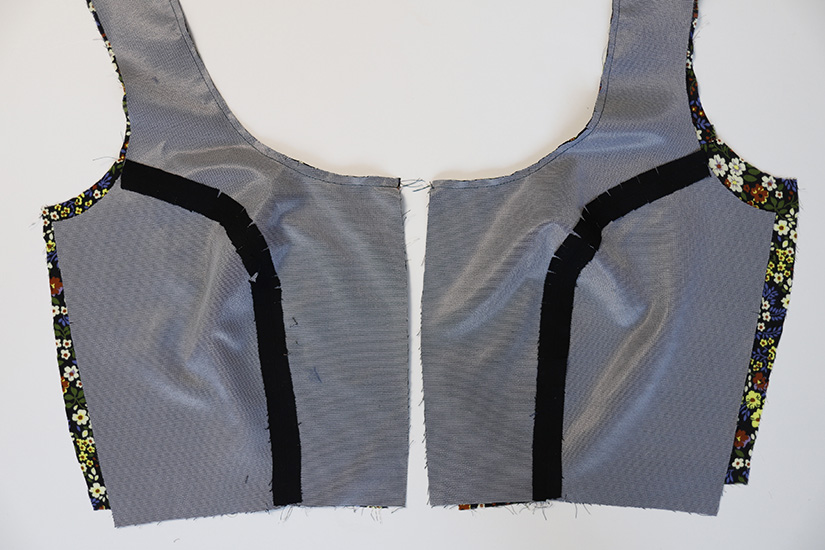
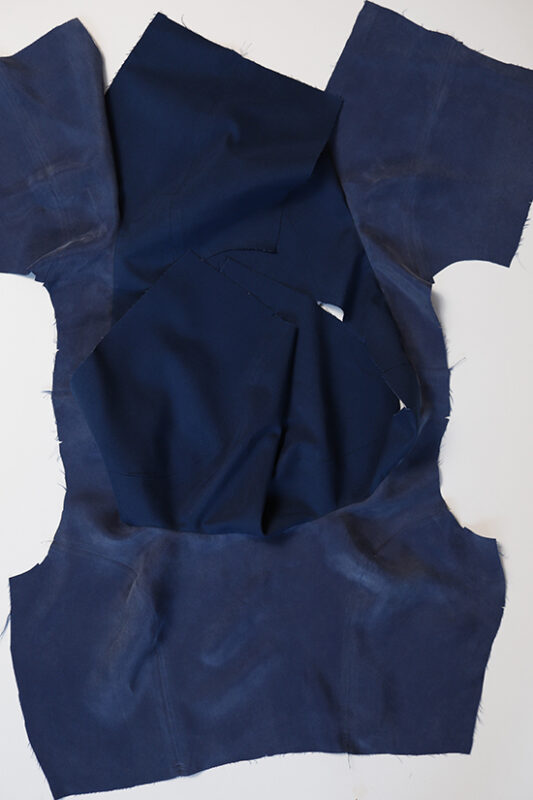
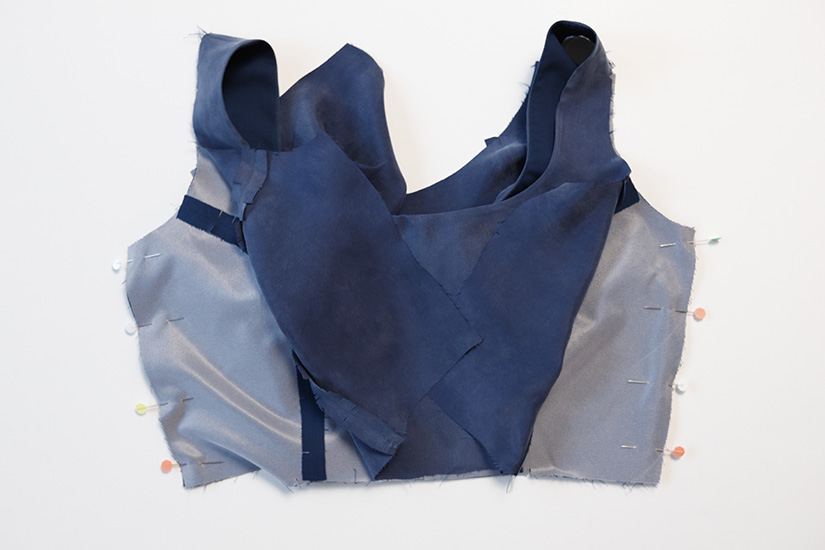
SEW THE SIDE BODICE TO THE CENTER BODICE FOR MAIN AND LINING
Pin the side front bodice pieces to the center front bodice. Pin the side back pieces to the center back bodice pieces. Repeat for the lining. Sew and clip the curved seams, being careful not to clip into the seam. Press the seam open.
VIEW A | CENTER BACK ZIPPER
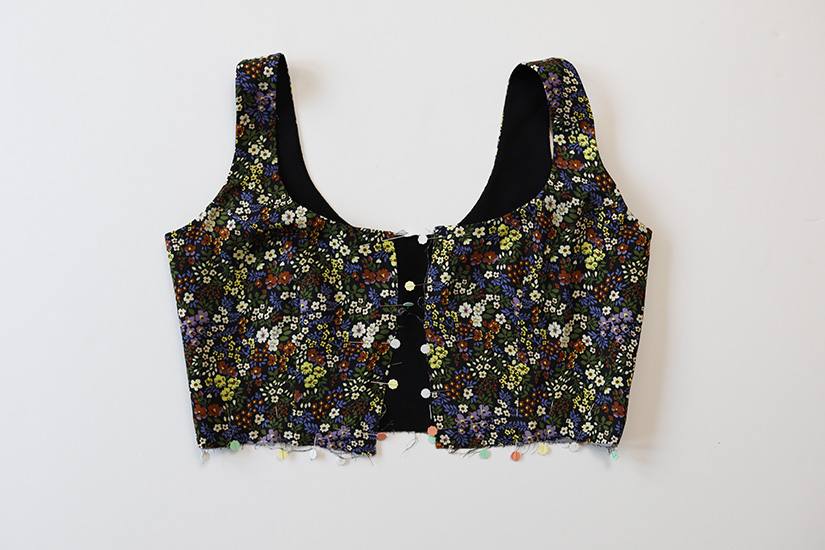
VIEW B | CENTER FRONT BUTTONS
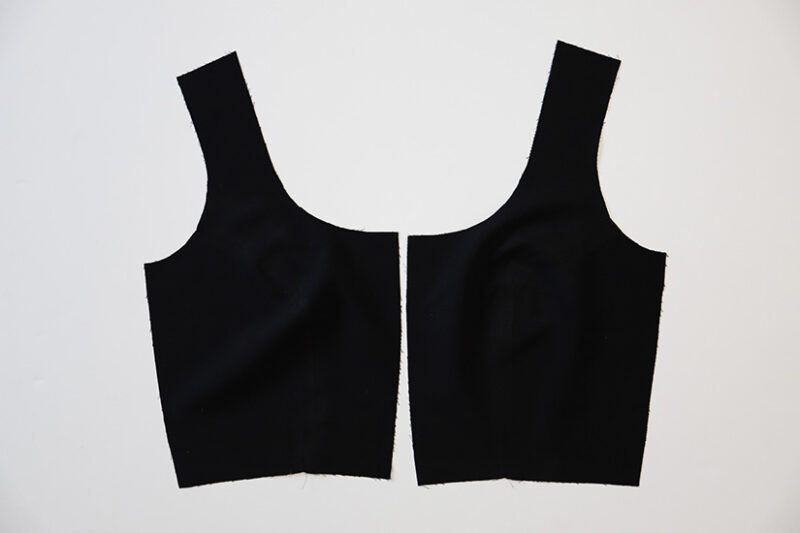

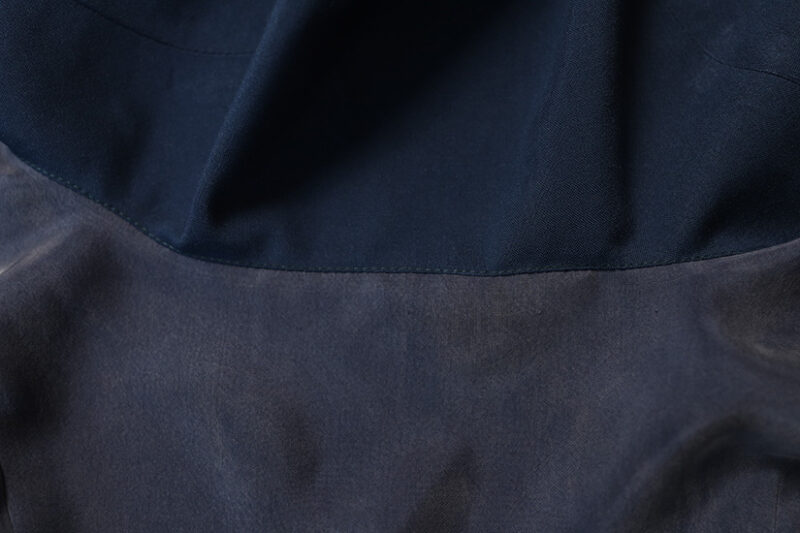
A pressing ham can help press open the curved seams.
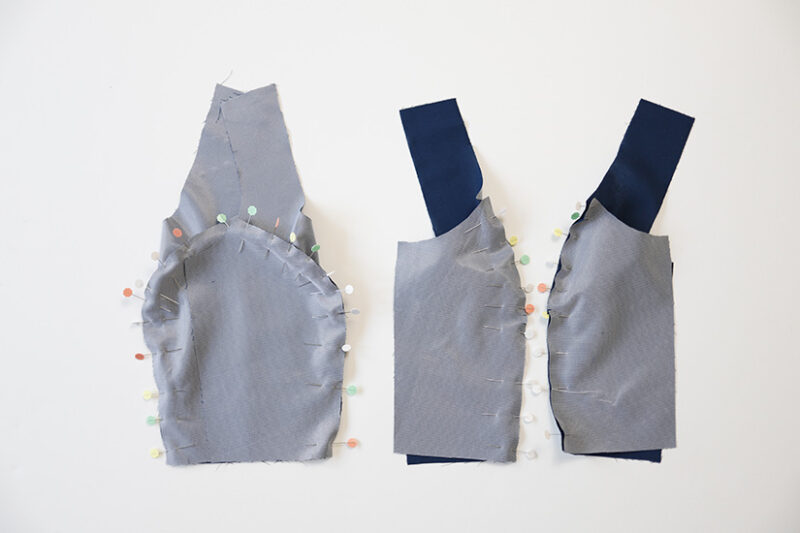
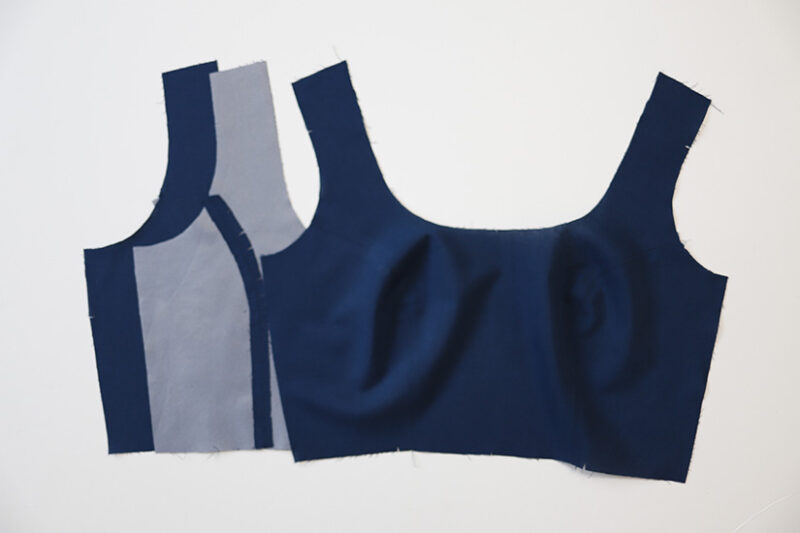
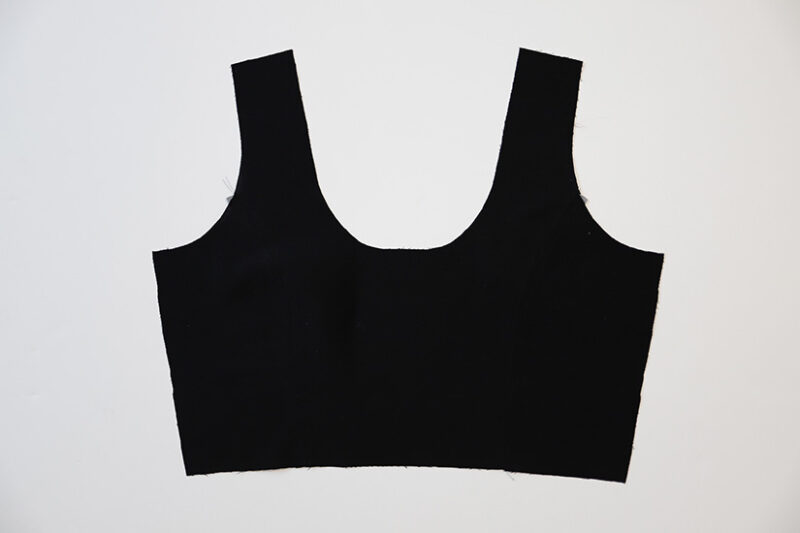
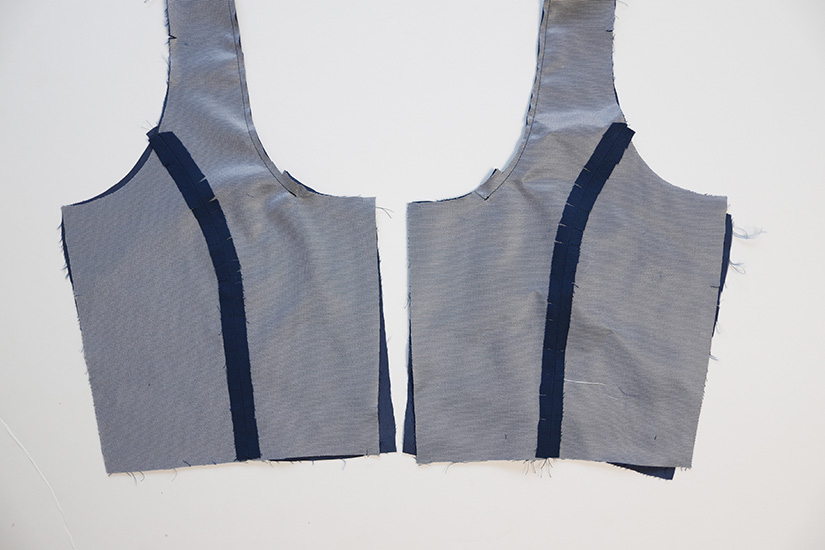
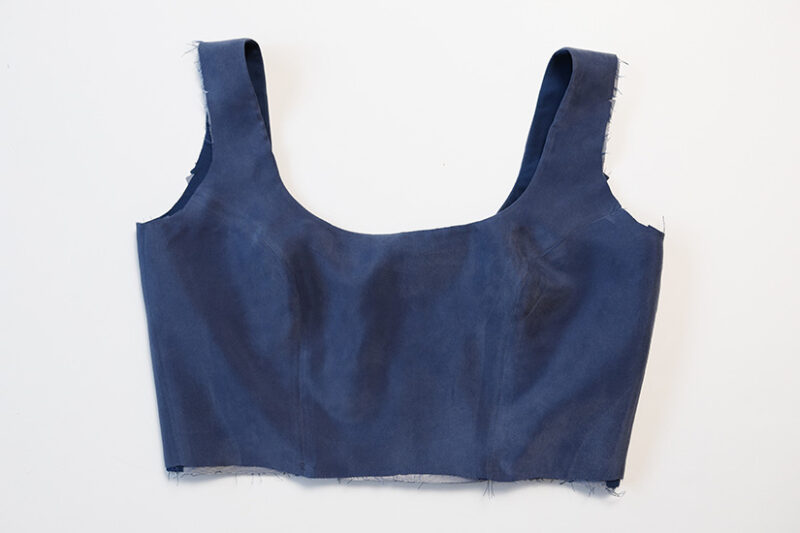
SEW THE BODICE SHOULDER SEAMS
With the right sides together, sew the front and back main bodice pieces at the shoulder seams. Repeat for the lining. Press the seams open.
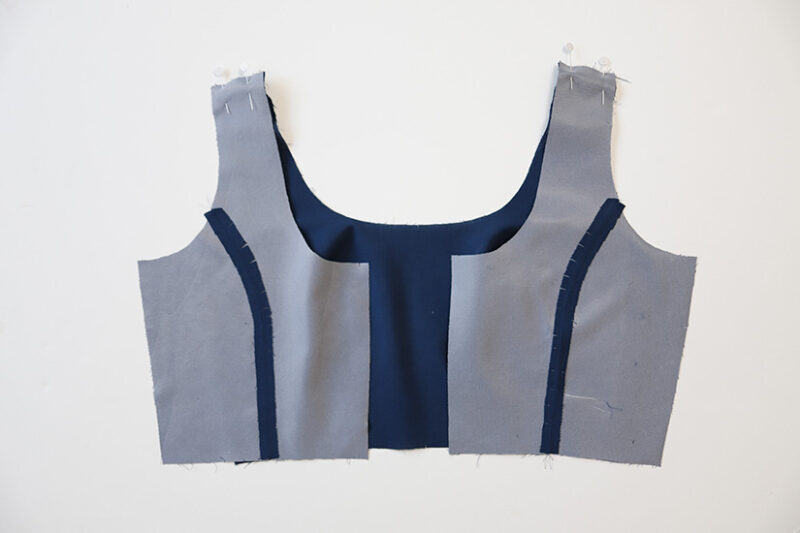

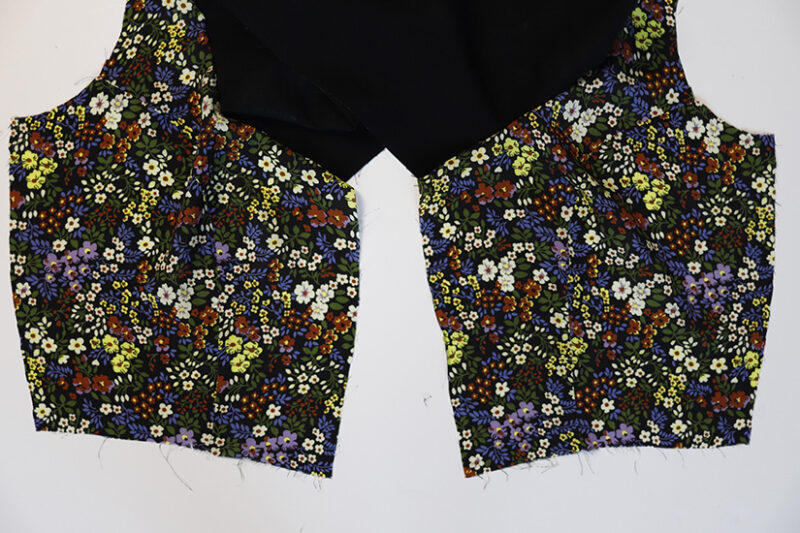
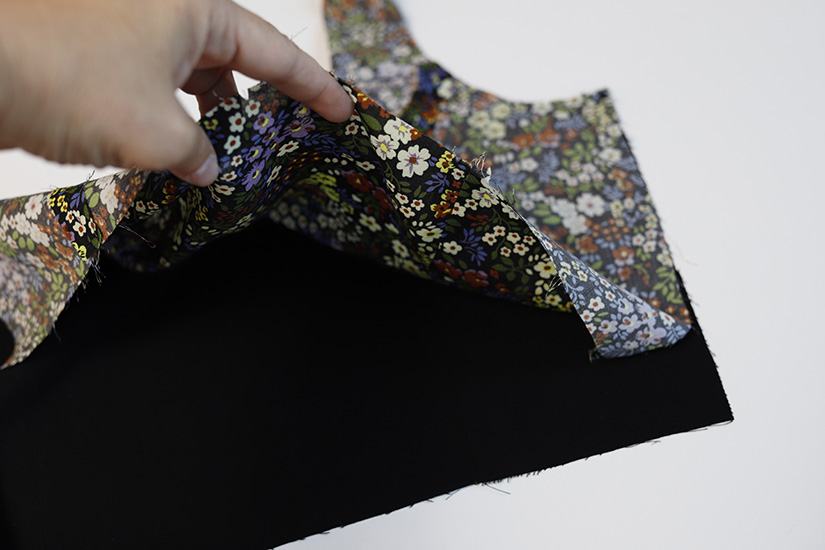
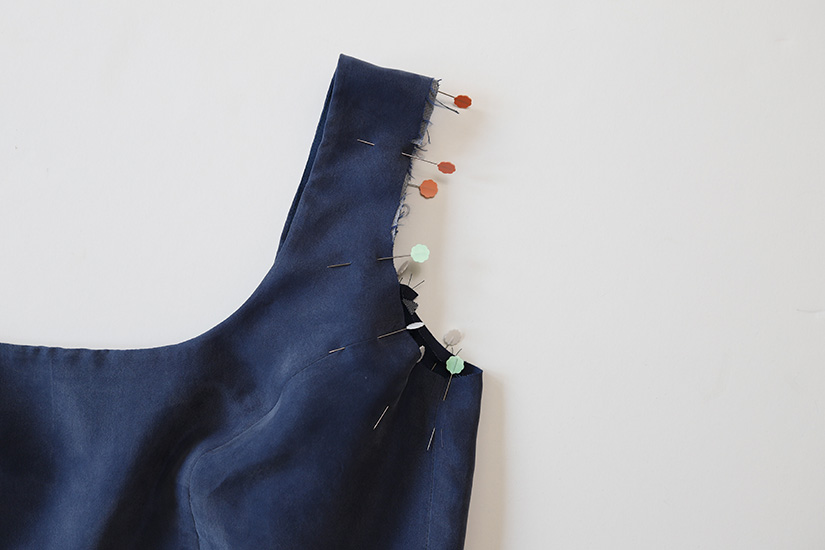
SEW THE NECKLINE
Lay the main bodice right side up. Place the lining bodice right side down. Pin the neckline, matching the shoulder seams.
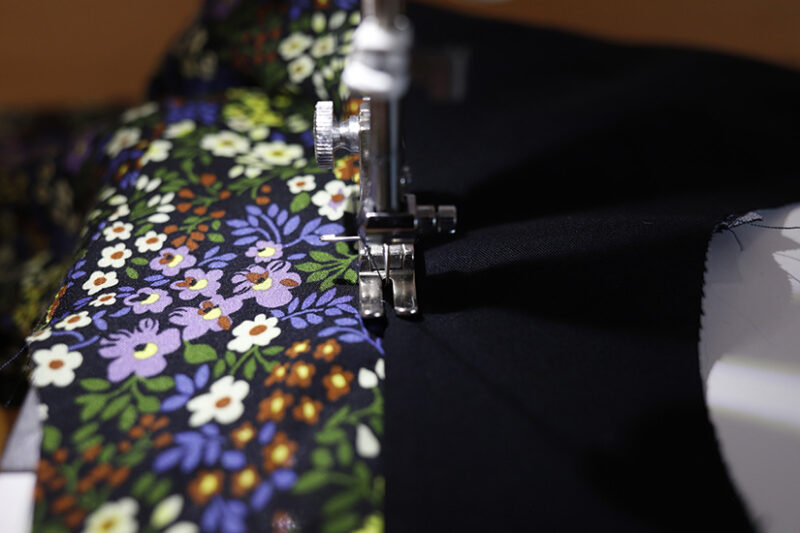
Sew the neckline and trim the seam allowance to half.
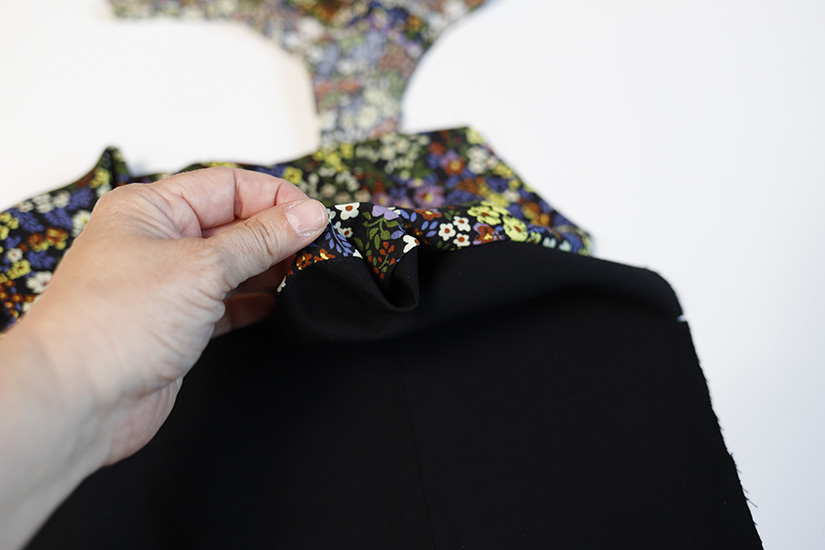
For view A (center back zipper), stop your neckline seam 2″ (5 cm) from the center back edge. I have added double pins to remind me when sewing.

Clip the curves and trim the seam allowance to half. Stop trimming the seam allowance 2″ (5 cm) before the seam ends.
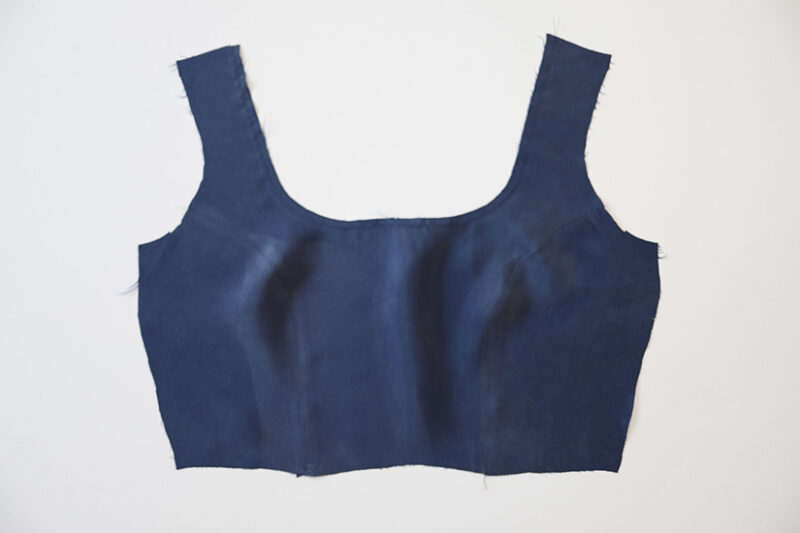
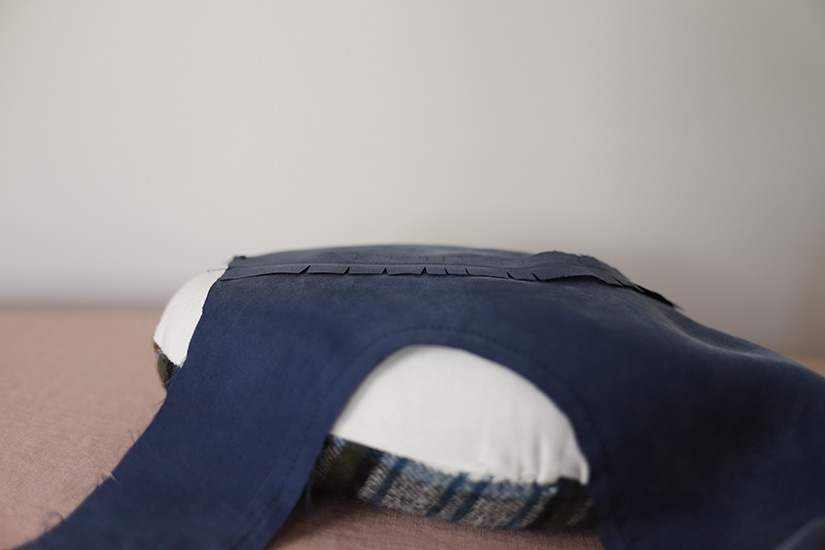
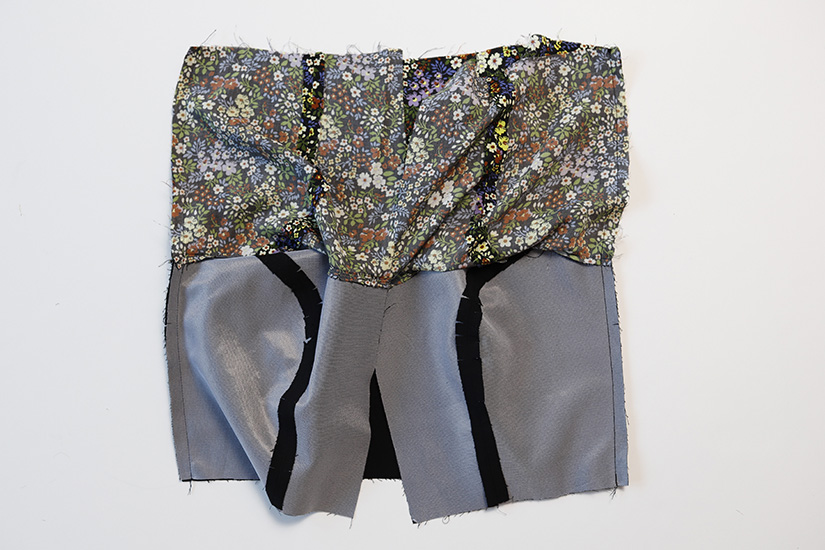
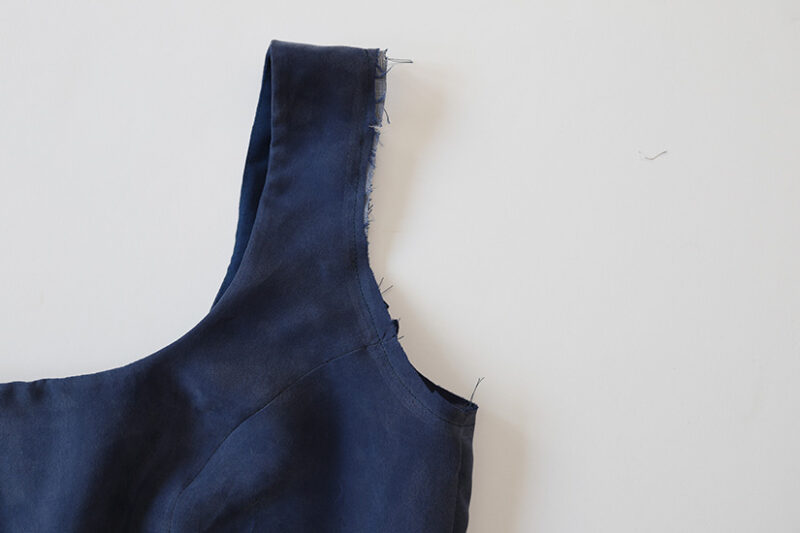
UNDERSTITCH THE NECKLINE
Open the neck facing and press the seam allowance towards the lining. Understitch by stitching a line 1/16″ (0.15 cm) away from the seam on the neck lining. Make sure to catch the seam allowance towards the lining when stitching. For view A, stop 2″ (5 cm) away from where you finished sewing the neckline.
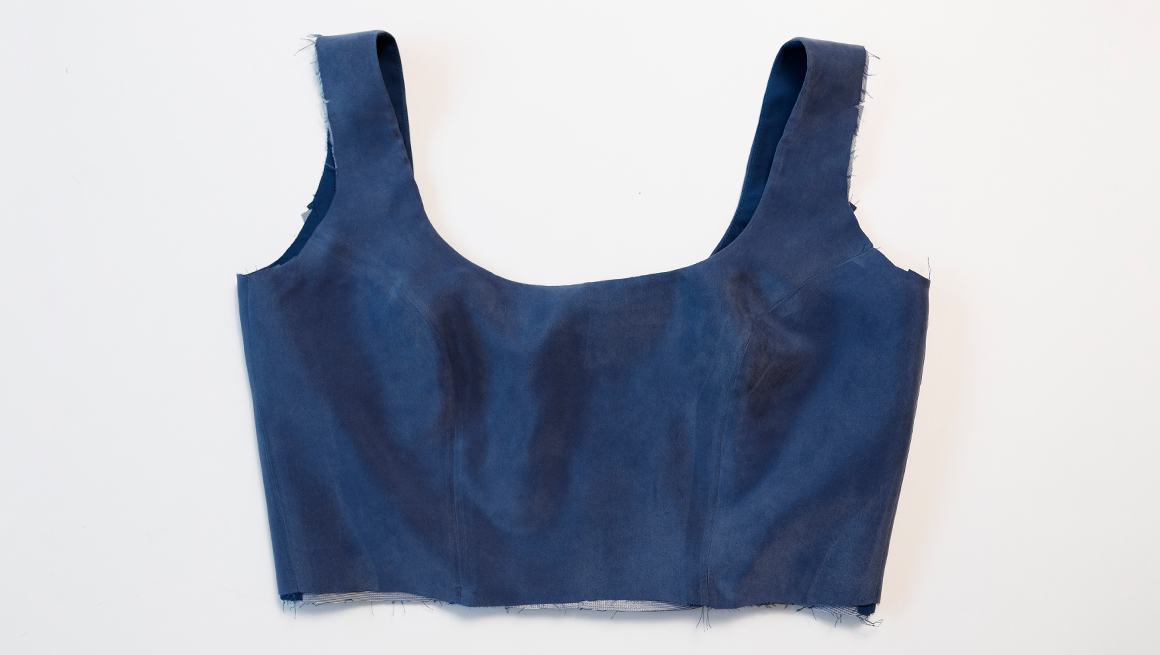
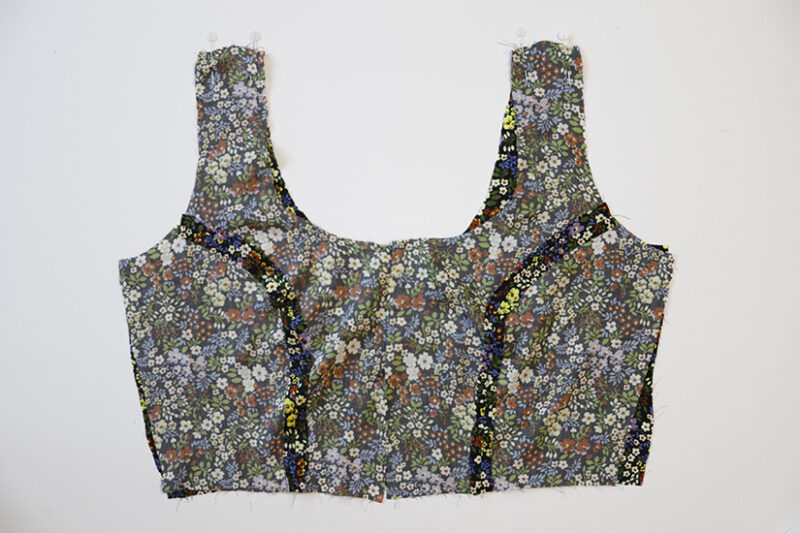
CLEAN FINISH THE ARMHOLE FOR THE SLEEVELESS TANK
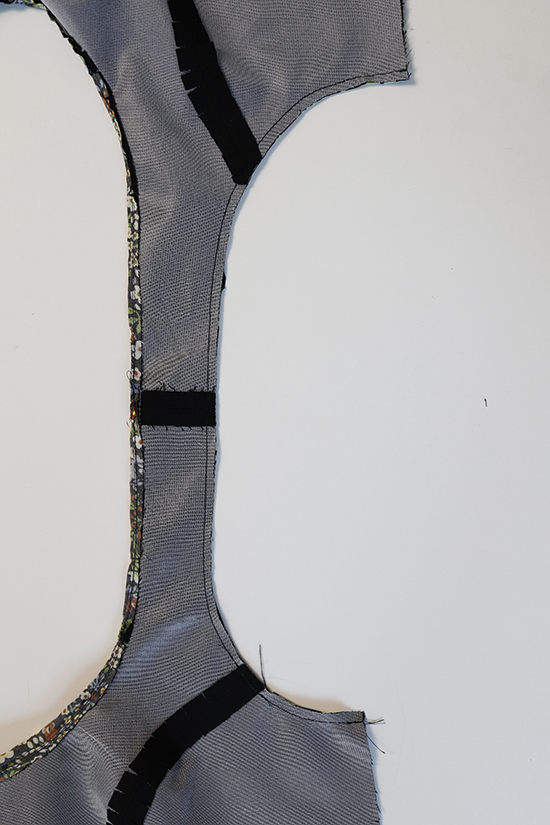
If adding sleeves, skip this step. With the right sides together, pin the armholes, matching the shoulder seams. Sew the armhole seams. Trim the seam allowance to half.
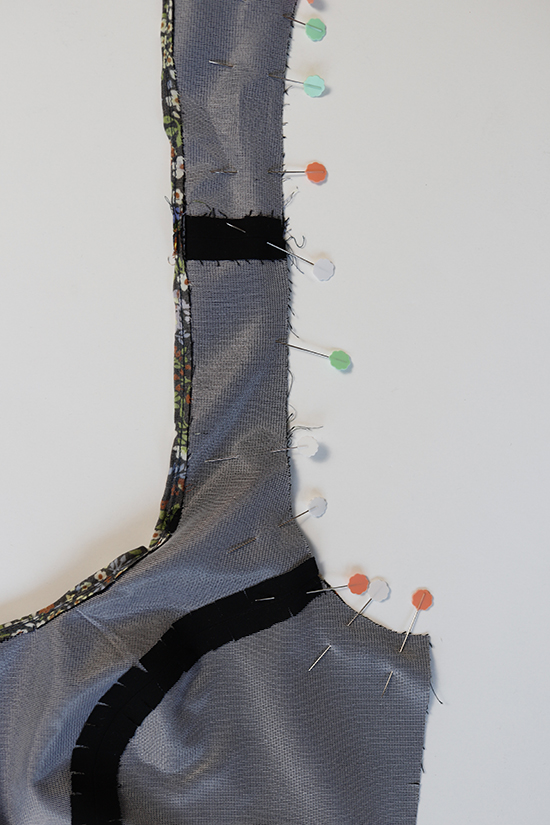
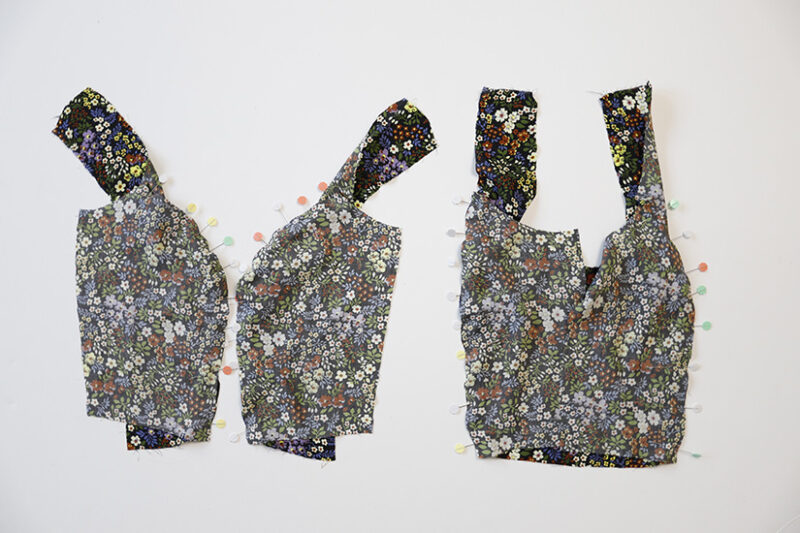
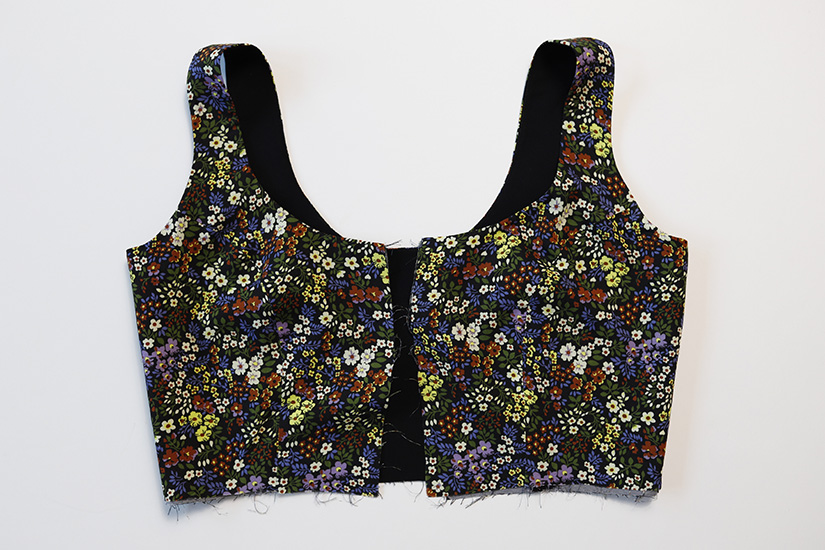
For view A, reach inside the front bodice and pull the back bodice pieces right side out carefully through the straps. For view B, reach inside the back bodice and pull the front bodice pieces right side out carefully through the straps.

Press the bodice.

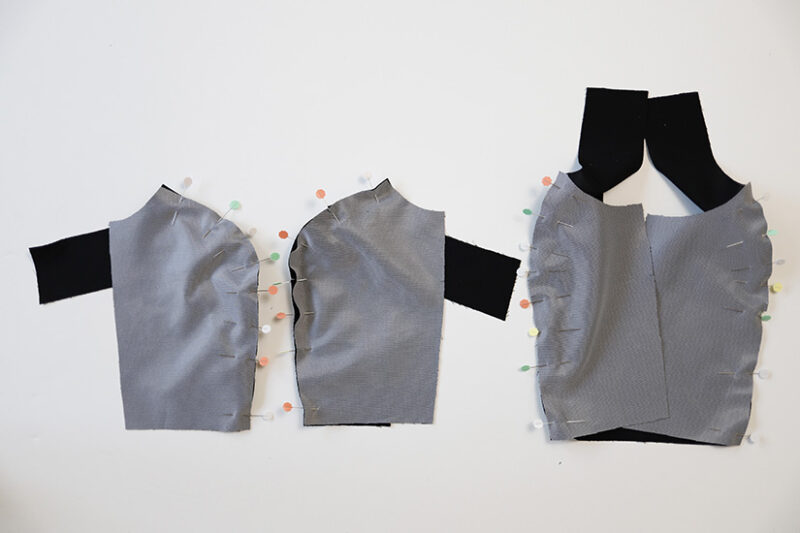
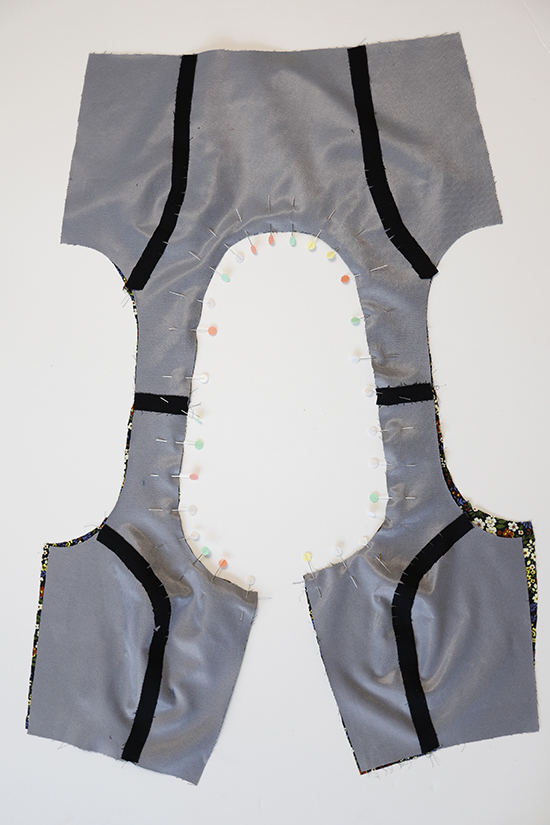
SEW THE SIDE SEAMS
With the right sides together, sew the side seams. If sewing the tank version, sew a continuous seam from the lining to the main. Turn the bodice right side out and press.

If sewing the sleeve version, the side seams will be separate. Turn the bodice right side out and press.

STAYSTITCH THE SLEEVE VERSION ARMHOLE & FINISH THE LINING HEM EDGE – VIEW A ONLY
If sewing the sleeve version, staystitch the main and lining together at the armhole at 1/4″ (0.6 cm).
The tank version will be clean finished at the armholes. Finish the lining hem with an overlock or fold the hem up at 3/8″ ( 1 cm) to prep for hemming. Skip to sewing skirt tiers if sewing tank version.
STAYSTITCH THE MAIN TO THE LINING – VIEW B ONLY
The tank version will be clean finished at the armholes. Staystitch the main to the lining at the center front and hem at 1/4″ (0.6 cm). Skip to sewing skirt tiers if sewing tank version.

Shay Sew Along Posts | Getting Started | Preparing the Bodice | Sew Bodice and Neckline, Finish Tank Armhole | Sew and Attach Sleeves | Sew and Gather Skirt Tiers | Zipper and Finishing View A | Button Placket and Finishing View B

