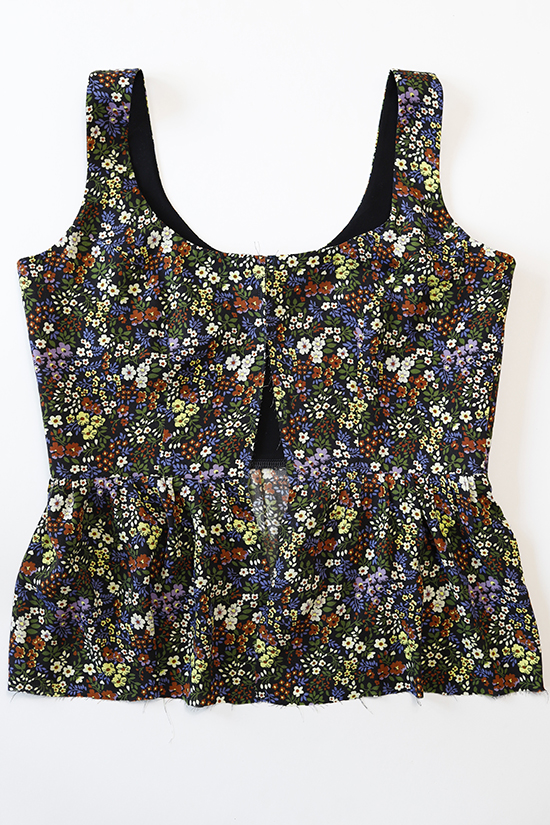
SEW TIER 1 TO THE BODICE
With the right sides together, sew the tier 1 skirt to the right side of the bodice main. Finish the seam and press towards the bodice.

TURN RIGHT SIDE OUT
Turn the bodice right side out and remove any visible basting stitches. Prepare to attach the second and third tiers.
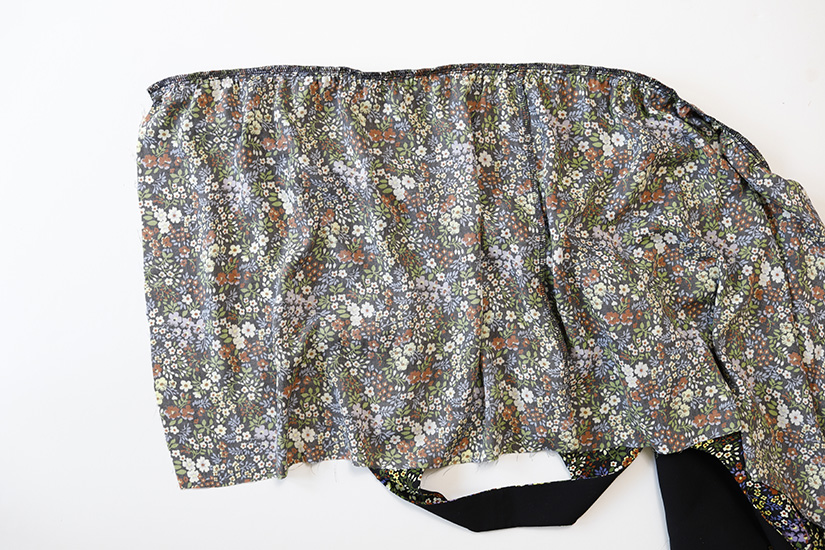
SEW TIER 2 TO TIER 1
With the right sides together, pin the gathered top edge of tier 2 to the tier 1 hem, adjusting the gathering. Match the notches, side seams, and the center back. Sew and finish the seam. Press the seam up. Remove any visible basting stitches.
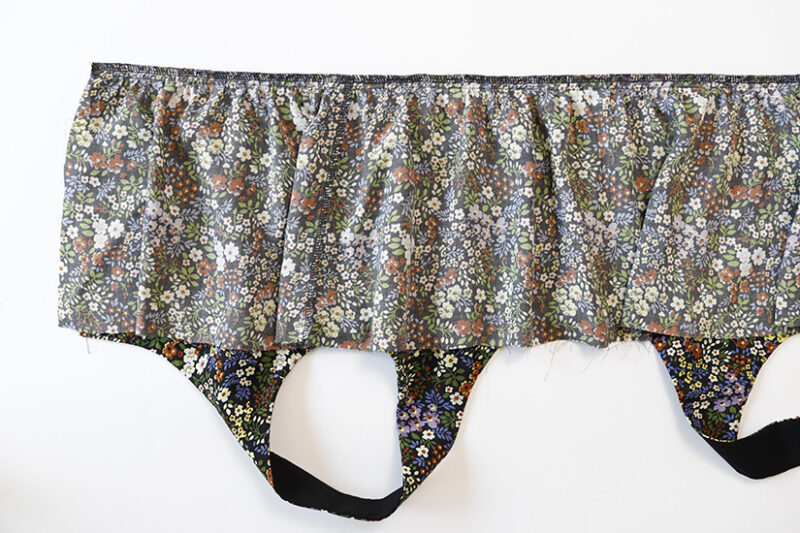
SEW TIER 3 TO TIER 2
With the right sides together, pin the gathered top edge of tier 3 to the tier 2 hem, adjusting the gathering. There will be a seam at the center back and side seams. The center front will be open. Sew and finish the seam. Press the seam up. Remove any visible basting stitches.
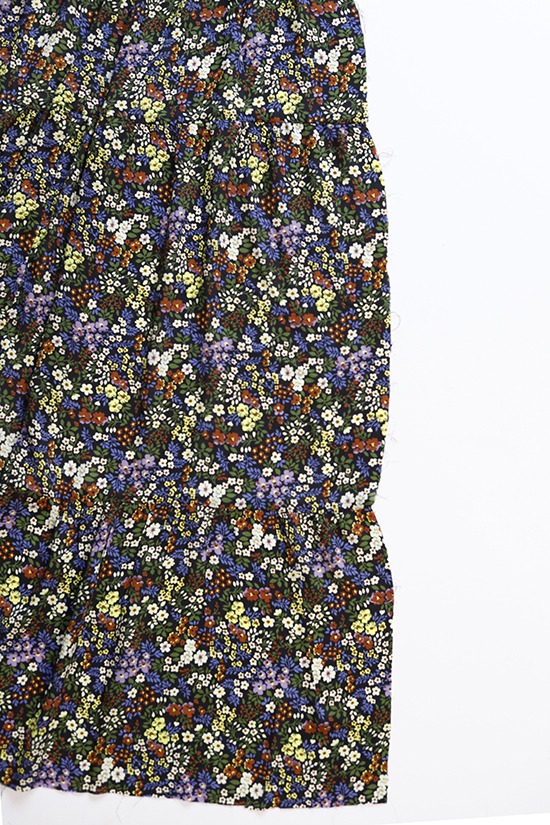
HEM TIER 3 WITH A DOUBLE 1/4″ (0.6 CM) HEM
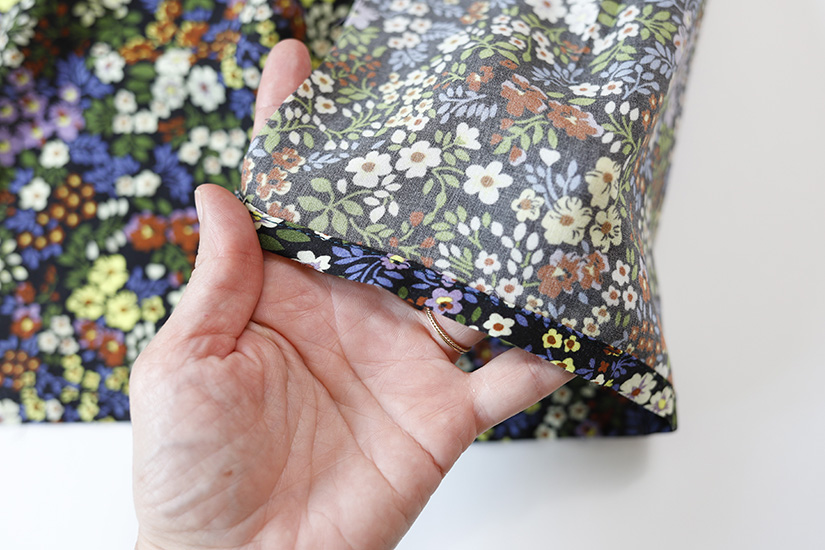
Prep the hem by stitching a fold guide at 1/4″ (0.6 cm). Press the hem up 1/4″ (0.6 cm), wrong sides together. Fold the hem up again at 1/4″ (0.6 cm) and pin in place.
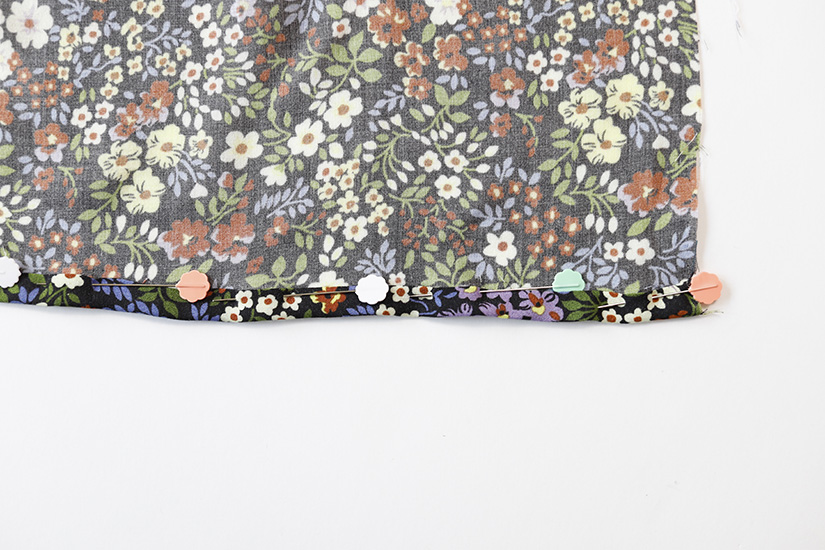
Sew from the wrong side, edgestitching the double folded hem in place. Make sure your bobbin thread matches your main fabric. Press the hem.
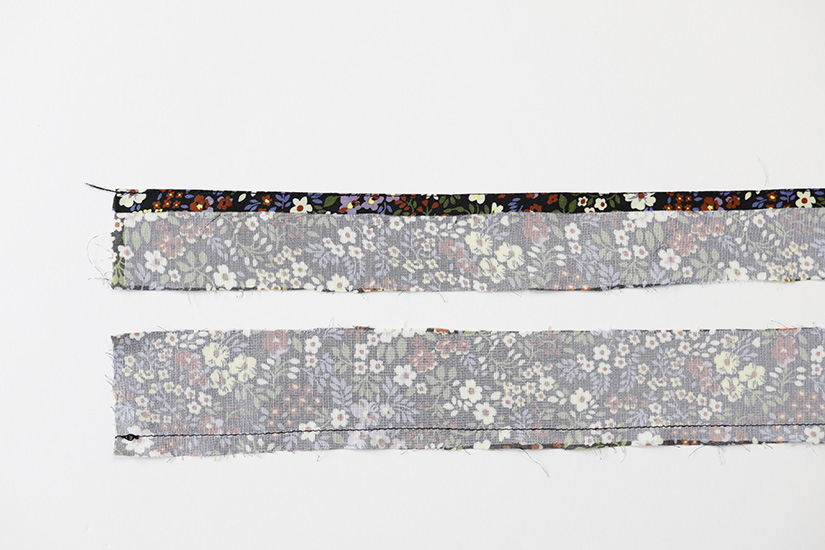
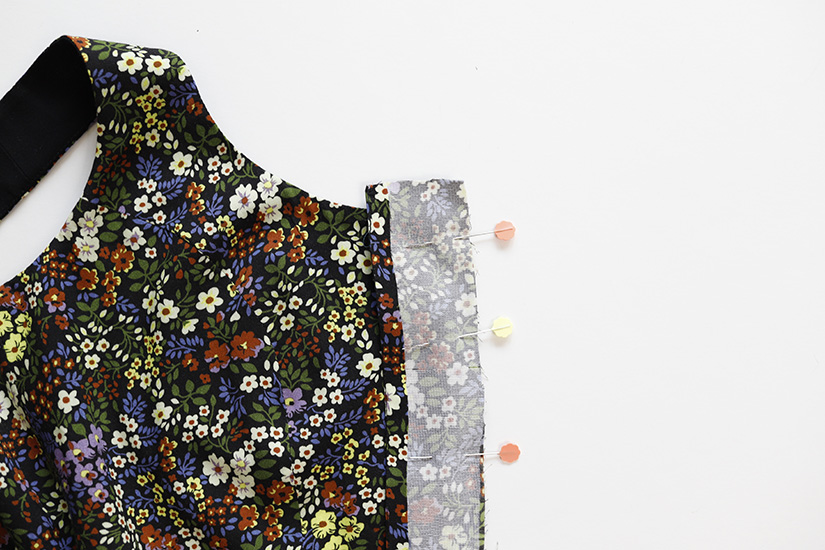
PREP THE CENTER FRONT PLACKET
Sew a fold guide on the edge of the center front placket without the notches at just under 3/8″ (1 cm). Press the edge in 3/8″ (1 cm), wrong sides together.
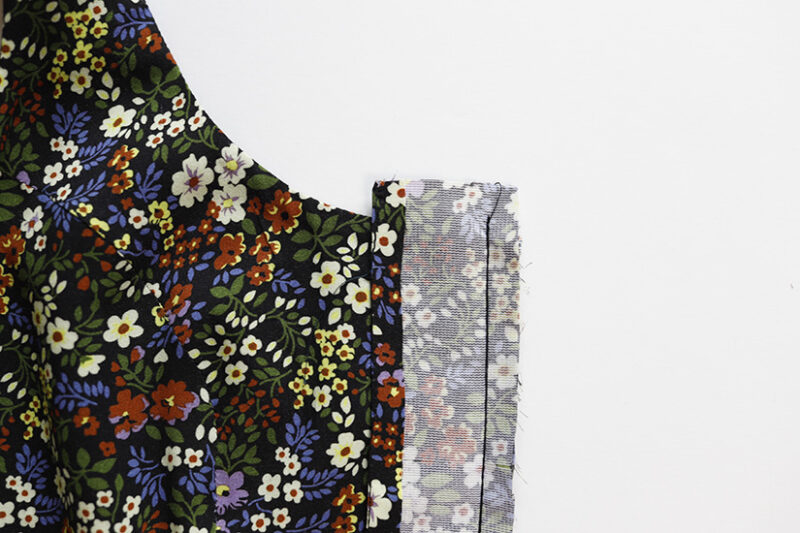
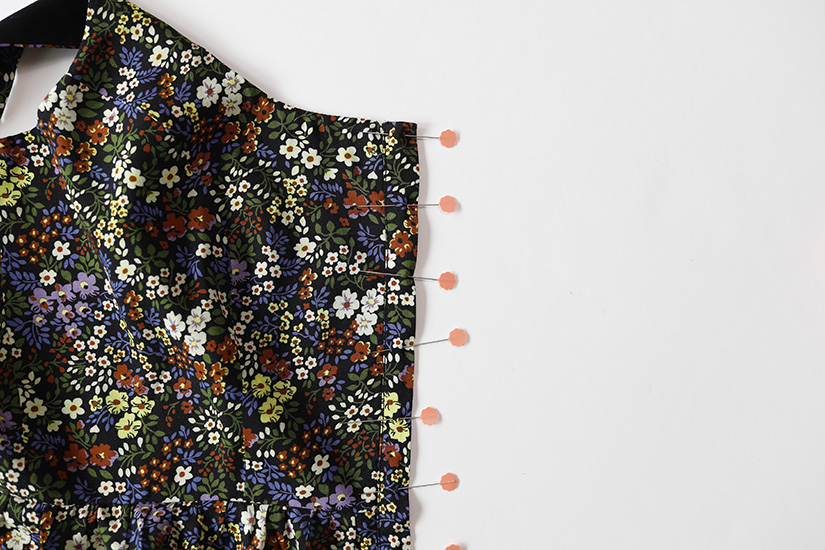
SEW THE PLACKET TO THE CENTER FRONT
With the dress right side up, place the center front placket right side down, lining up the cut edge and matching the notches. The top and bottom edge of the placket should extend past the dress. Sew the placket to the center front cut edge. Repeat for the other side.
SEW THE TOP & BOTTOM EDGE
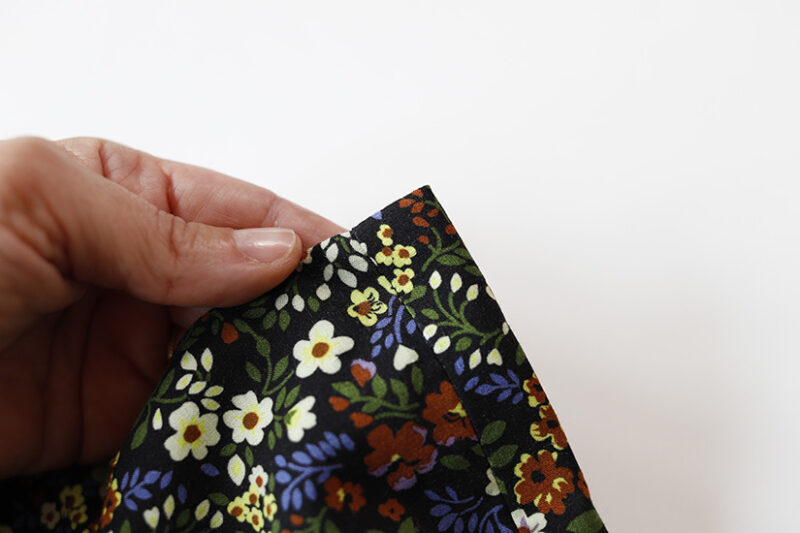
Fold the center front placket back, right sides together. Sew the short ends of the placket at the top and bottom.
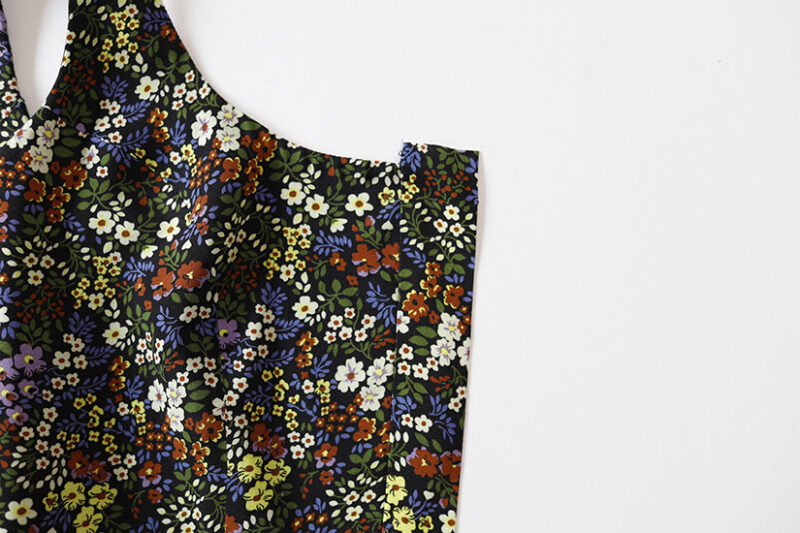
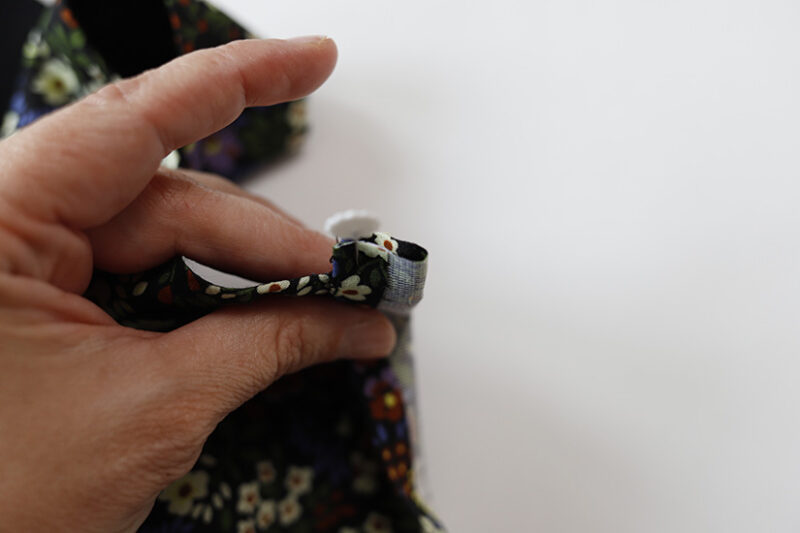
Fold the corners in and turn right side out. Use a point turner to square the corners.
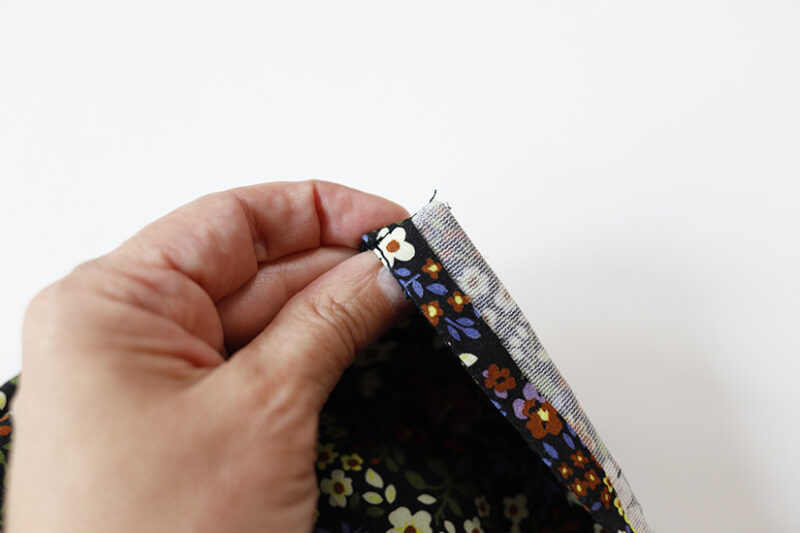
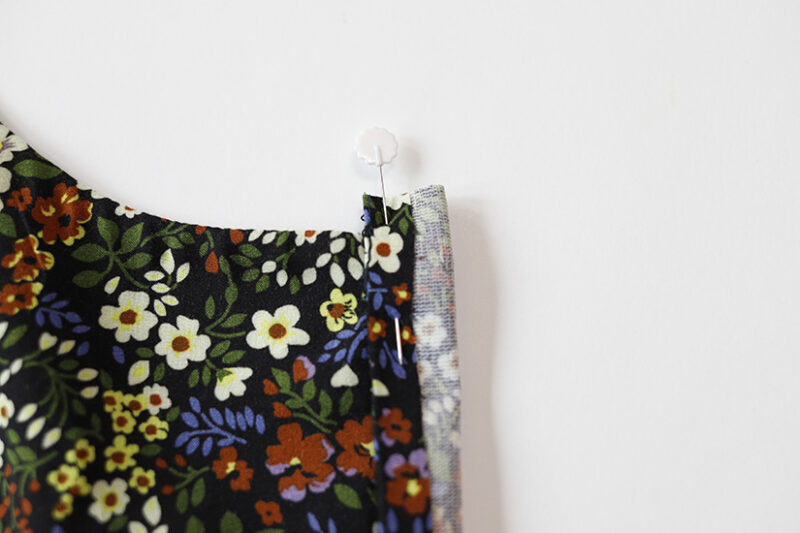
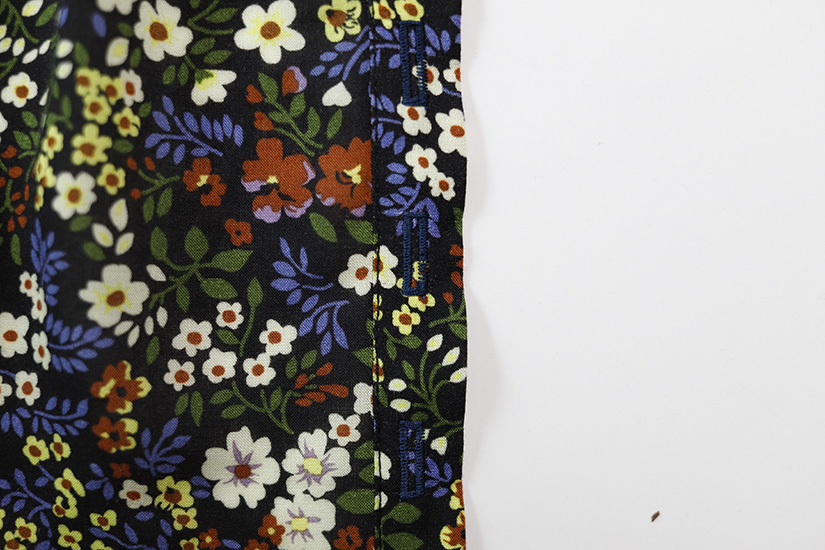
EDGESTITCH THE CENTER FRONT PLACKET
Cover the inside exposed seam with the pre-folded placket edge. Pin in place. Edgestitch the center front placket in place, catching the seam underneath to clean finish it.
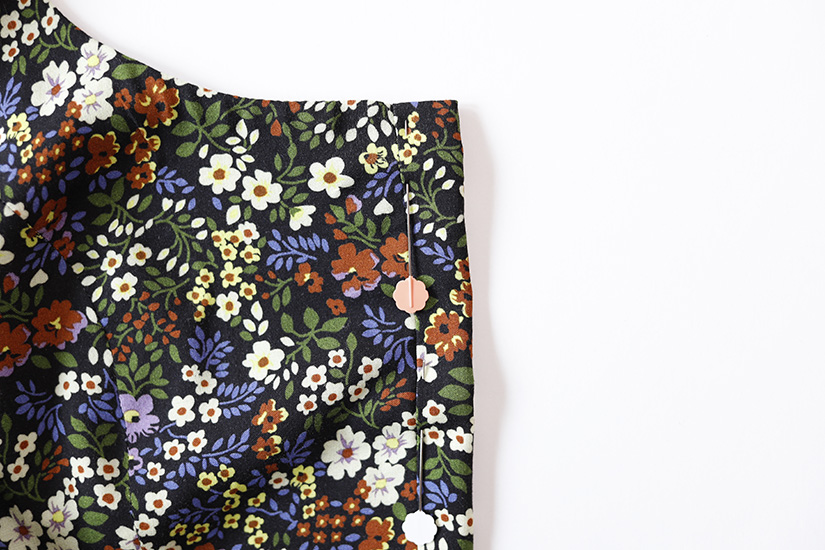
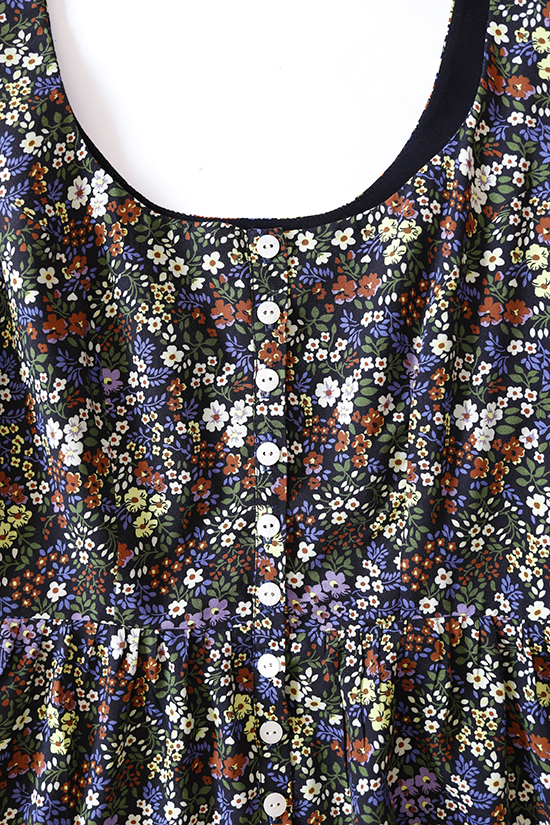
SEW THE BUTTONHOLES
Try on the dress to mark the buttonhole spacing before sewing the buttonholes to the wearer’s right side. You will want a button at the full bust and spaced evenly anywhere between 1.75″ (4.5 cm) to 2.25″ (6 cm) down the center front, stopping as high as you want your center front slit. The buttons on tier 3 do not need to be functional to get in and out of the dress.
Use fray check before opening the buttonholes.

ATTACH THE BUTTONS
Sew buttons on the wearer’s left side. Use the buttonholes to mark the placement for the center front buttons.
FINAL PRESS
You are finished. Give your Shay Dress a final press!
Shay Sew Along Posts | Getting Started | Preparing the Bodice | Sew Bodice and Neckline, Finish Tank Armhole | Sew and Attach Sleeves | Sew and Gather Skirt Tiers | Zipper and Finishing View A | Button Placket and Finishing View B
