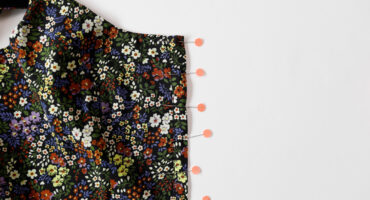
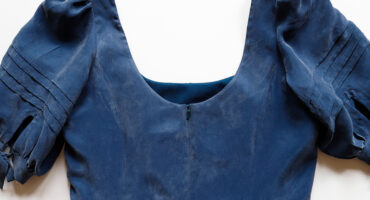
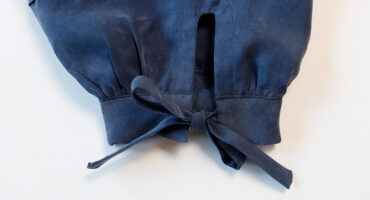
MEET OUR NEWEST PATTERNS – THE ARIA TOP AND MINI ARIA TOP! The Aria and Mini Aria and a limited-time Aria Bundle are here! Like most patterns, I have been working on this one for a while. You can even see some early Aria samples in our Isle Jeans listing images. I wanted a top
Hi! Nicole here. I’ve had a pair of Isle Shorts in my mind since first sewing the pattern back in January, and I can’t believe it’s taken me halfway through summer to make it happen. Inspired by high waisted vintage shorts, this Isle Jean Short Tutorial is an easy way to make comfortable, cute shorts
Today we’re lucky to be joined by Keira (@islandsewcialist on Instagram or check out her blog here) for our first Shay pattern hack tutorial. We’ll let her take it away below: When I first laid eyes on the Shay pattern, the skirt is really what caught me! If you’ve been following my page, you’d know
SEW TIER 1 TO THE BODICE With the right sides together, sew the tier 1 skirt to the right side of the bodice main. Finish the seam and press towards the bodice. TURN RIGHT SIDE OUT Turn the bodice right side out and remove any visible basting stitches. Prepare to attach the second and third
Let’s finish up View A! SEW TIER 1 TO THE BODICE With the right sides together, sew the tier 1 skirt to the right side of the bodice main. Make sure not to catch the bodice lining. Remove any visible basting stitches. Finish the seam and press towards the bodice. CHECK THE SEAMS AND TRIM
SEW TIER 1 SKIRT With the right sides together, sew the tier 1 front and back pieces at the side seams. There are three pieces. Leave the center back finished edges (View A) or center front edge (View B) open. View A will have fusible at the center back and should be finished. Finish and
PREP THE SLEEVE PIN TUCKS Mark the pin tucks on the right side of the sleeves. I try to do this right after I cut the sleeve pattern pieces if my fabric is shifty. There are four parallel lines 1″ (2.5 cm) apart. Press the lines in place. SEW THE SLEEVE PIN TUCKS Fold the