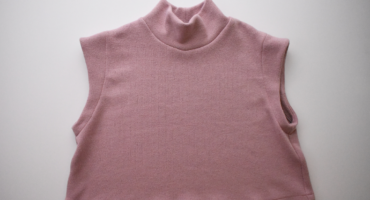
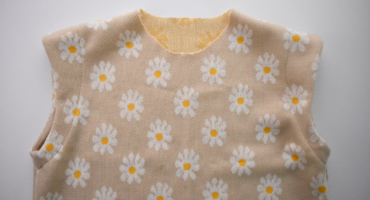
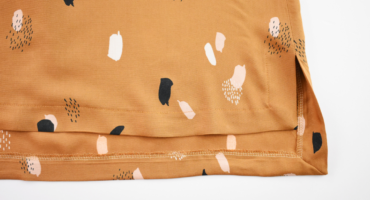
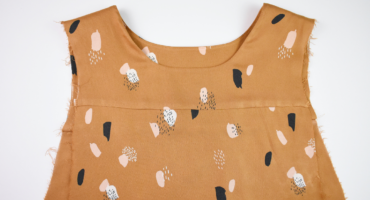
Now that we’ve sewn our bodices, we’re ready to finish the necklines. In this post, we’ll demonstrate how to sew all three neckline options: the rib neckband, the mock neckband, and the neck facings. SEW THE RIB NECKBAND OR MOCK NECKBAND With the right sides together, sew your preferred neckband, either the rib neckband or
We are ready to get started sewing! In this post, we’ll demonstrate how to sew the shoulder seams, and side seams, and how to attach the facings to the armholes. These steps apply to all three views of the Max tee. SEAM ALLOWANCES & OPTIONAL FUSIBLE Unless noted, the seam allowance included is 3/8” (1
Welcome to the Max Tee Sew Along! Over the next four posts, we will be showing you how to sew this elevated, boxy tee. We will be sewing each view, demonstrating the rib-knit neckband, the mock neck, and the faced neckline and hem. We hope that this sew along will provide all of the information
I love the shape of the Pony Tank and today I’m sharing how to raise the neckline and change the shape from a v-neck to a high crew neckband. I hope this additional neckline will give you more ways to wear your Pony Tank. I have drafted a high neck template, a new neckband, and
We are almost done sewing our Farrah! Our last steps are to sew the underarm gussets and to finish the armholes. VIEW A The following steps finish the upper edge of the underarm gusset for view A. If you are making View B, skip ahead to attaching the gusset to the armhole. ATTACH BIAS TO
Now we will attach the ruffle sleeves to View A. Then we’ll move on to sewing the side seams and hem on both views. ATTACH THE SLEEVE RUFFLES (VIEW A) Pin the right side of the sleeve ruffle to the right side of the bodice. Start at the shoulder seam and move down the armholes
We’re going to continue sewing and attach the yokes with a clean finish. We’ll also complete the neckline of our Farrah. GATHER THE BACK BODICE Change your stitch length to the longest possible length. Sew two parallel baste stitch lines at the top of the back bodice between the notches. Make sure not to backstitch